In this tutorial i bring you 3 ideas to do with crayons or also known as crayons. They are perfect to do with children, especially the first and second idea. In the third we use the clothes iron, but with the supervision of an adult there will be no problem. So stay to know everything you can create with this common material in crafts.
Materials
To do these Crafts we will use as common material the crayons o crayons. In addition to these you will also need the following materials:
- Paper
- Silicone mold
- Photo frame
- Hair dryer or heat gun
- Oven
- Baking paper
- Cloth bag
- Stencil template
Step by step
In the next video-tutorial you can see the Step by Step of each of the 3 ideas with colored waxes. They are very easy and you can see their process in detail.
Let's go over the followed to follow from each of the Crafts so you don't forget anything and you can make yourself at home.
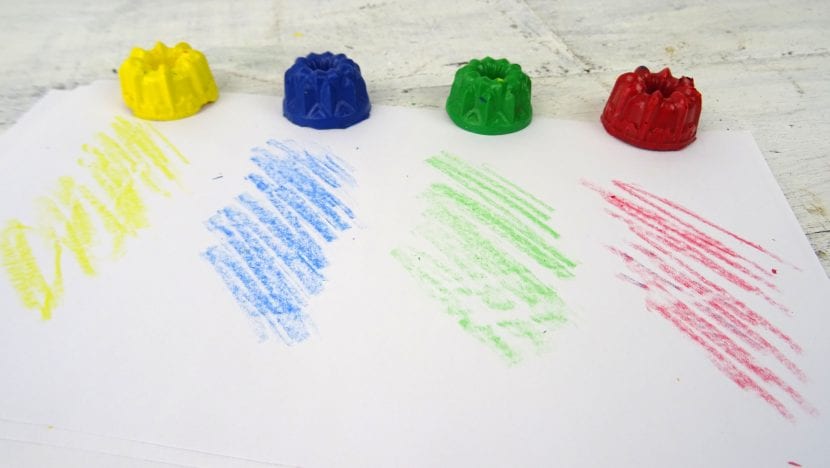
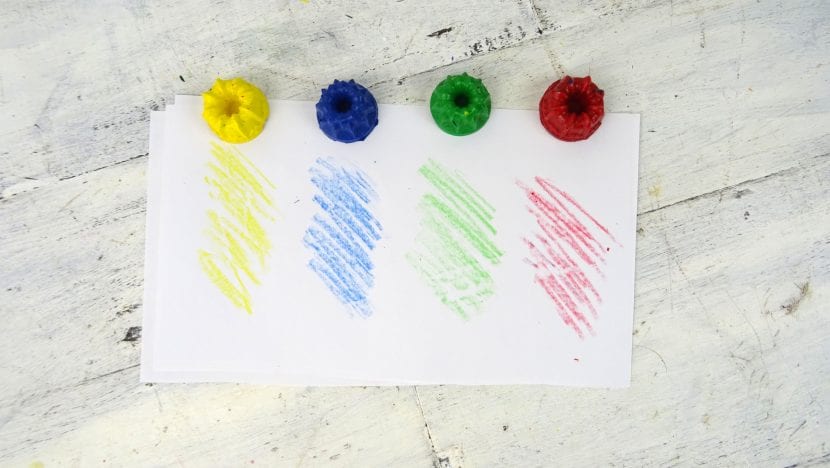
Idea 1: Shaped waxes
In this first idea we are going to change the crafts to waxes. It is a good idea to give or for recycle those waxes that children no longer want because they are so used. Just cut the waxes on small pieces and put them in the silicone mold what you want. You must bake them at 200ºC until the waxes are melted. When this happens, remove the mold from the oven and let it dry. When it is dry you can unmold your waxes, which will have the shape of the mold you have used.
It's great because we already know that children always want new things, that they get tired of the material or that they want something more original. Well, with this idea you will no longer have that problem. If they've gotten tired of their old waxes, turn them into new ones in fun shapes instead of buying new ones.
Idea 2: Embossed flower paintings
For this second idea we are going to create Tables original because they will be in relieve. This time I have done flowers, but you have thousands of possibilities. Simply draw the part you want flat, and for the areas you want in relief melt the wax and let it fall on the paper. I use the heat gun to melt them because it does it very fast, but if you don't have it, you can use a normal hair dryer.
Put a Marco pretty or eye-catching, contrasting with your embossed painting. You can also make a picture of a person with a dress and that it is made with melted waxes. Or even a beautiful landscape in which some areas are in relief. This all depends on your imagination.


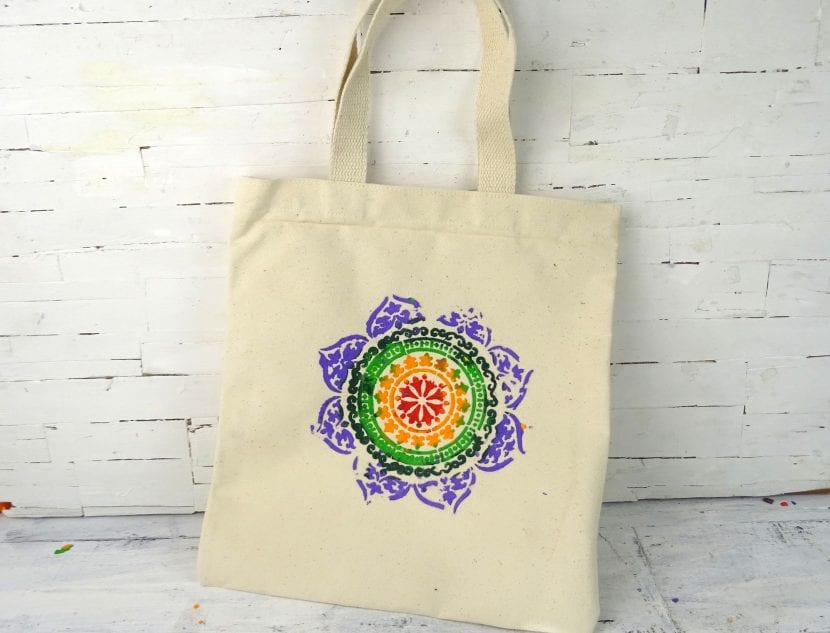
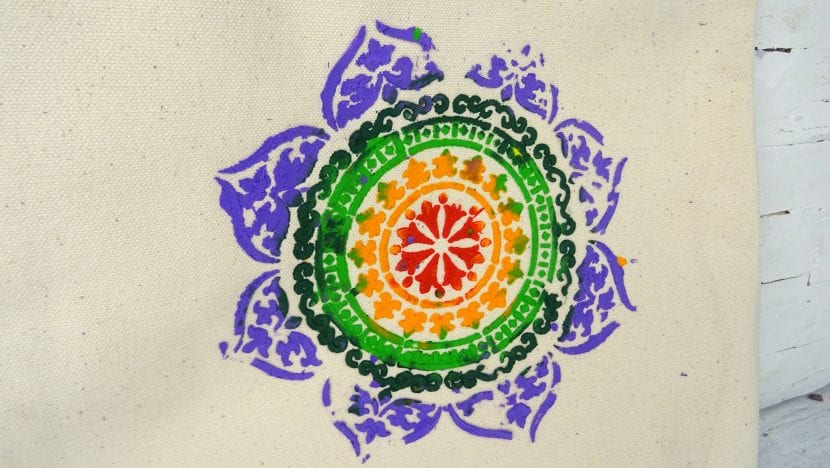
Idea 3: Decorated cloth bags
The last idea is my favorite, because you can get great finishes on any garment o bag. Choose the fabric you want to decorate and a template that you like. Pour the wax shavings onto the stencil and iron it. Do not forget to place the baking paper o vegetable paper in the middle so the wax doesn't stick to your iron.
The good thing about this is that you can wash it in the washer because it does not fade, so you can easily create a multitude of bag and clothing designs.