
In this tutorial we teach you 4 ideas different so you can create your own bookmarks o bookmarks, perfect for back to class. There are them for all tastes, more elegant, more fun, children's ... We give you the ideas and you decide to personalize them with the colors and designs that you like the most.
Materials
To do the bookmarks o bookmarks you will need different materials for every idea. Below you have the list of them and then you will see which ones are used in each design.
- Patterned paper
- Scissors
- Cutter
- Glue stick
- Gun silicone
- Wool
- Button
- Tape
- Elastic rubber
- Ruler
- Pencil
- Rubber eva
- Markers
- Magnetic foil
- Paper hole punch
- Piece of cardboard
Step by step
In the next video-tutorial you can see in detail the elaboration process of each of the bookmarks, you will see that they are all very easy and find out what materials have been used.
Remember the followed to follow each idea so that you do not forget any.
Idea 1
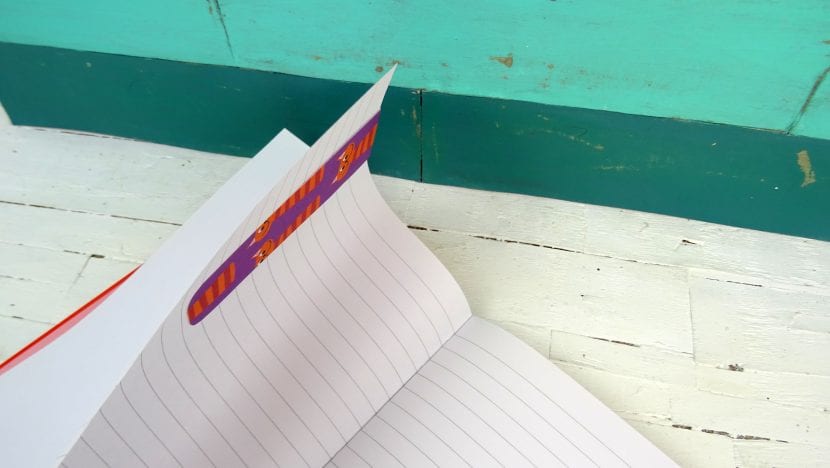
El pointer magnetized it is very practical and has the advantage that it will not slip between the pages with the risk of losing it. The two parts are well fastened with the magnets and you have thousands of patterned paper designs to give them your personal touch.
- Cut a 3x20cm rectangle of paper.
- Round the corners.
- Fold the rectangle in half.
- Glue a magnet to each end.

Idea 2
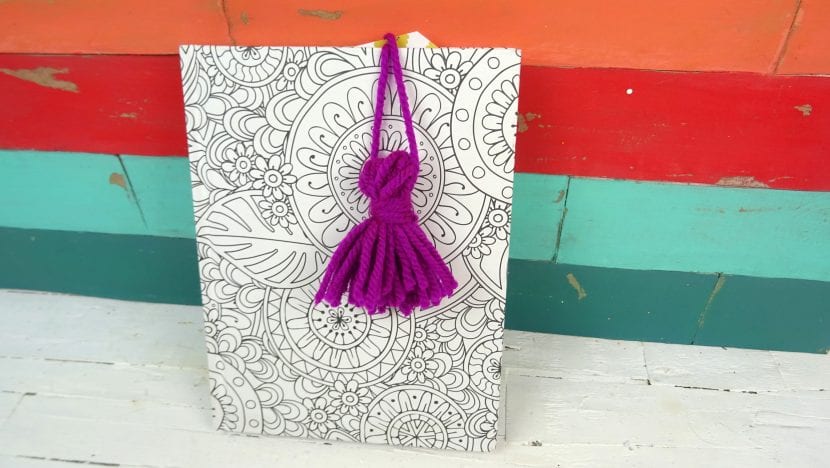
El tassel bookmark adds an elegant touch to the book. You can make the tassel more or less thick depending on the thread or wool you use, and don't forget to combine its colors with the tones of the bookmark.
- Cut a 5x10cm rectangle.
- Cut one end corners diagonally.
- Make a hole in the same end with the hole punch.
- Surround the piece of cardboard with the wool.
- Remove the piece of cardboard.
- Pass a piece of wool between the circle you just made.
- Surround the top with the wool.
- Cut the fringes.
- Tie the tassel to the bookmark.

Idea 3
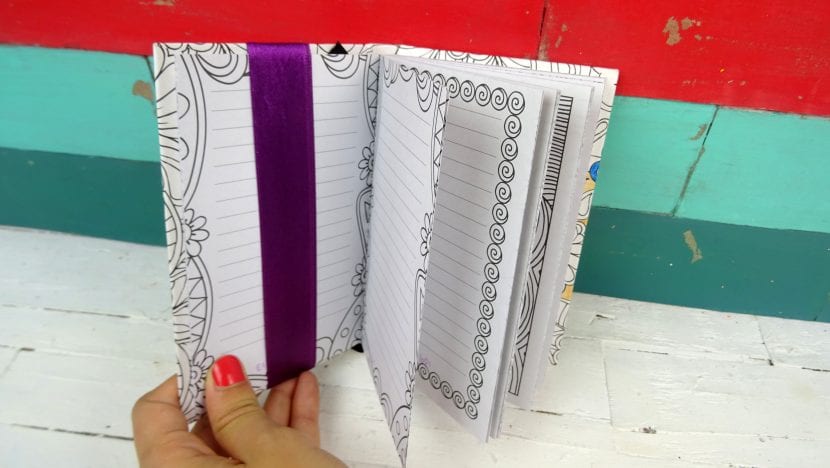
The idea of the pointer with the ribbon and button it has to adapt well to the size of the book, so it is a bit limited. If the book is much larger it cannot be closed, and if it is much smaller the bookmark will be loose. When it is the perfect size it looks great and very decorative.
- Cut a piece of ribbon.
- Pass the tape inside a rubber band.
- Close the tape by gluing the ends together with hot silicone.
- Glue a button to the junction you just glued.

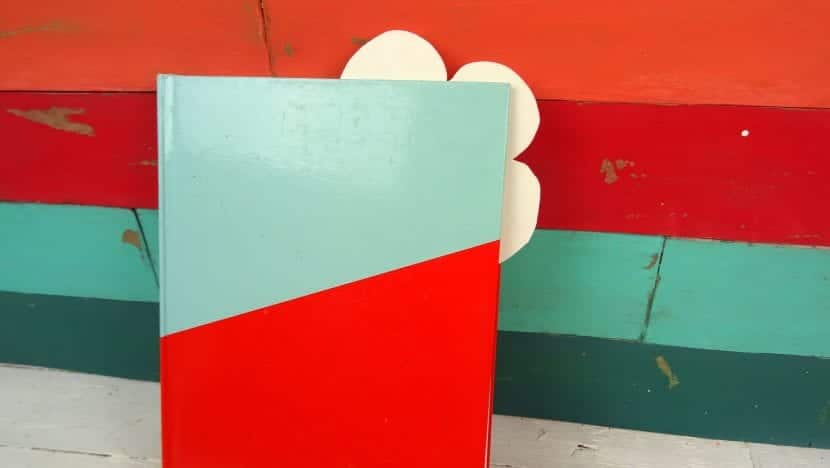
Idea 4
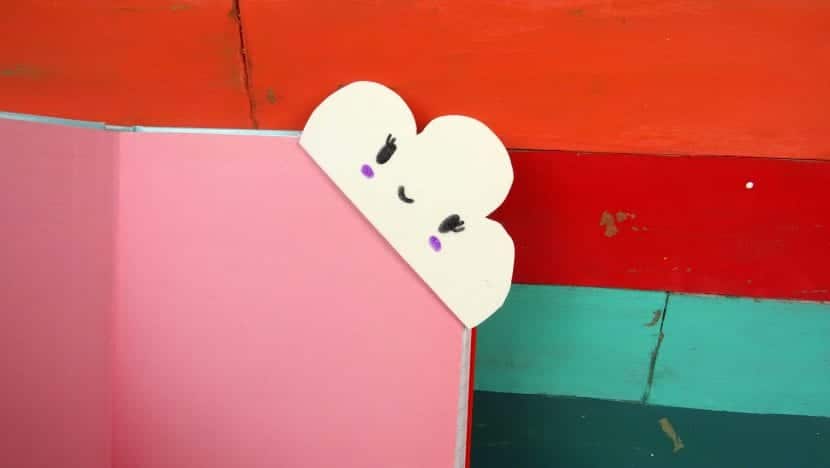
This last idea of bookmark with cloud It is more aimed at the little ones in the house, although depending on the design you make, the base serves many styles of bookmarks.
- Draw 3 squares of 7x7cm in the shape of an L, as you have seen in the video.
- Draw a diagonal on the end squares, removing the outside line.
- Cut out the shape you just drew.
- Fold the triangles into the square.
- Glue one triangle onto another.
- Cut a cloud shape out of the foam.
- Glue the cloud to the bookmark.
- Draw the face with markers.
I have noticed you don't monetize your website, don't waste your traffic, you can earn additional cash every month because you've got hi
quality content. If you want to know how to make extra bucks,
search for: Boorfe's tips best adsense alternative