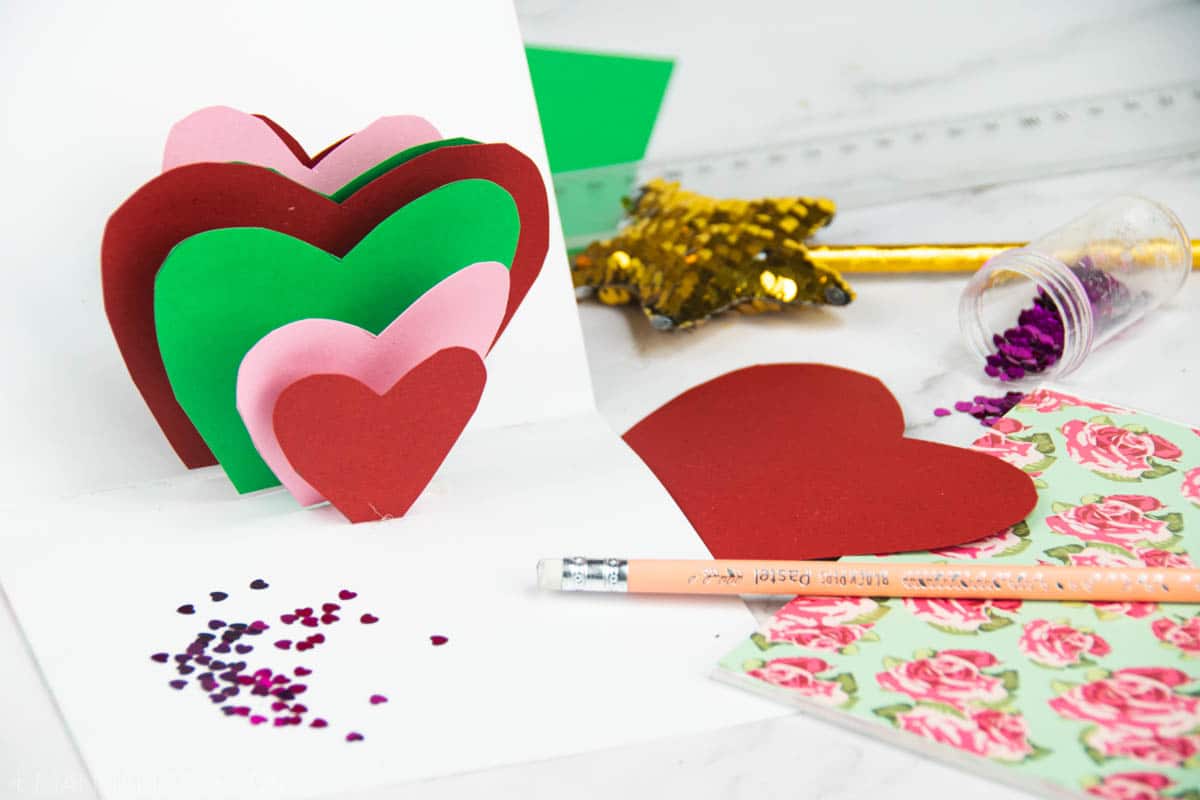
If you like to give personal gifts, here you go this super fun card and full of charm. When you open it you can enjoy their hearts in 3D to make it that special gift and made with your own hands. The craft that we have proposed is one more idea for you to learn how to make these pop up cards, although later you can use the colors and patterns that you most want. In order not to lose detail of how to do it, you have a demonstrative video below.
The materials I have used for the hearts card:
- Decorative cardboard to form the card.
- Red cardboard.
- Pink cardstock.
- Green cardboard.
- A white sheet.
- A pen.
- Scissors.
- Hot silicone and his gun.
You can see this craft step by step in the following video:
First step:
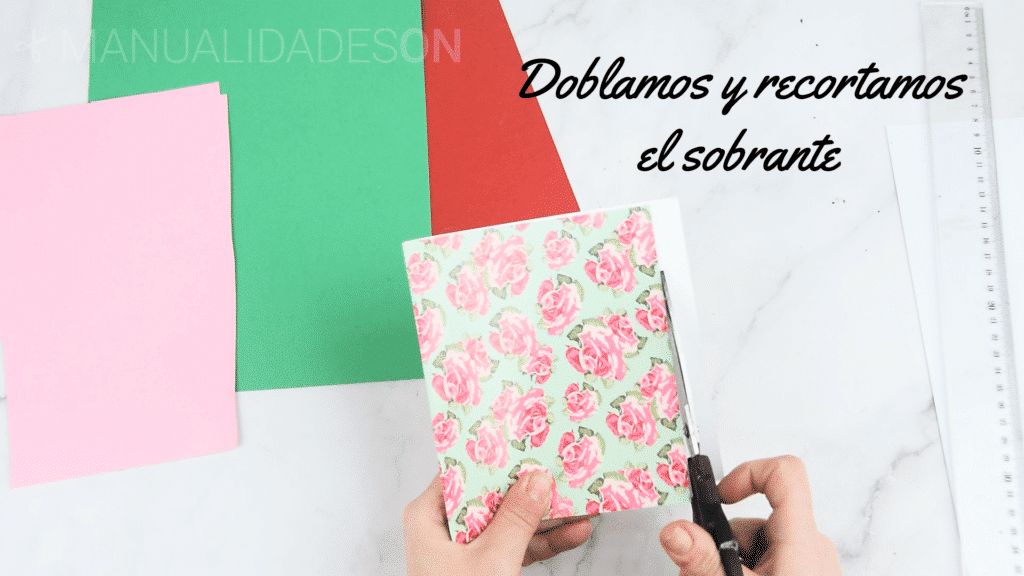
We choose the decorative cardboard for form the card. If we have the cardboard in quadrants, we can unite it, as is my case, to make the shape of a card. The we will join on the sides with a bit of silicone and we make the shape. If we have some cardboard left over on the sides, we cut it.
Second step:
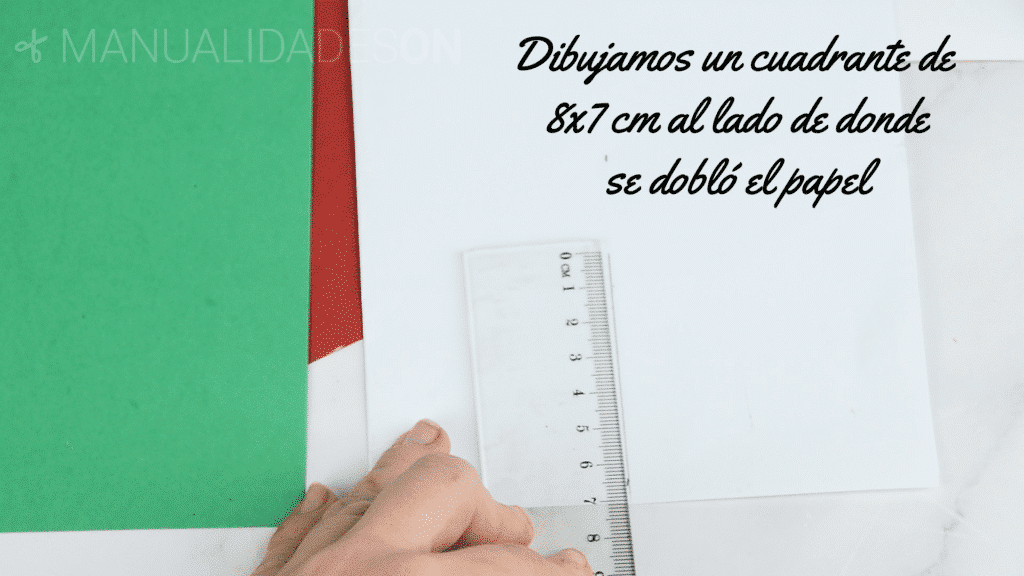
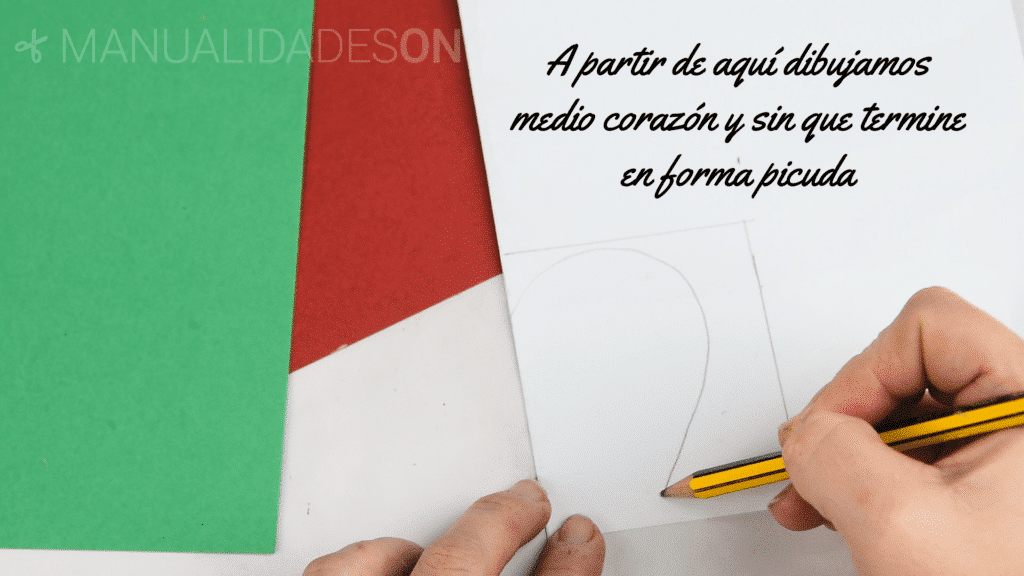
We take the sheet of paper and we fold it in half. In the part where the sheet has been folded, we make a square with the pencil of 8x7 cm. This quadrant will serve as a guide for us to draw the heart within the measurements. We draw only half a heart and as if it were party at the bottom. The idea of it being split is so it can look like it's holding onto the card when we form the structure. And the idea of drawing half a heart will be so that when we cut it out and unfold it, we will have a perfect heart.
Third step:
We draw the half heart and then we draw three others smaller in scale. We cut out the largest half heart and when we unfold the paper we observe that a perfect heart has been formed.
Fourth step:
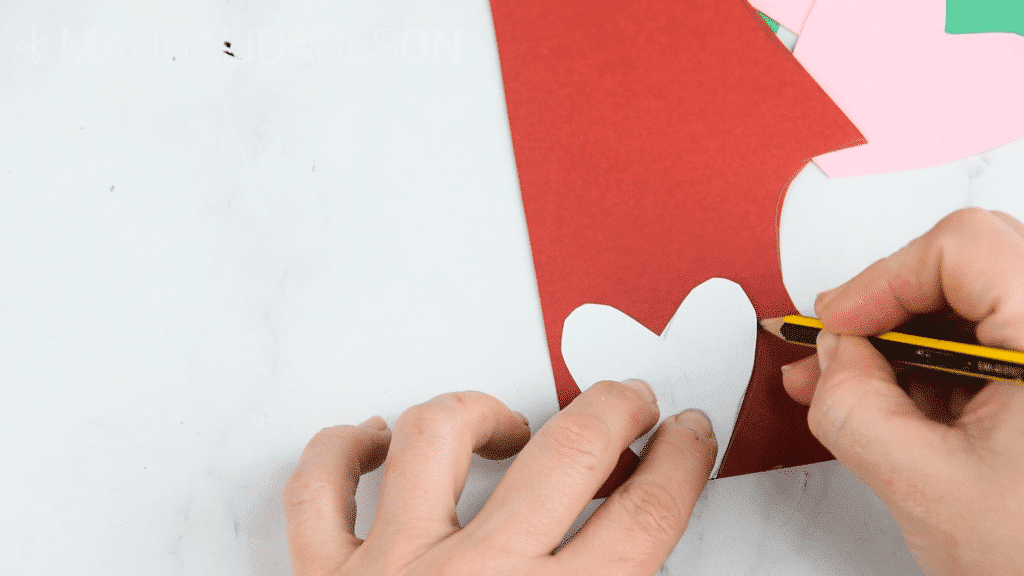
We take the heart that we have cut out and we use it as a template to trace it on the red cardboard. We cut it out.
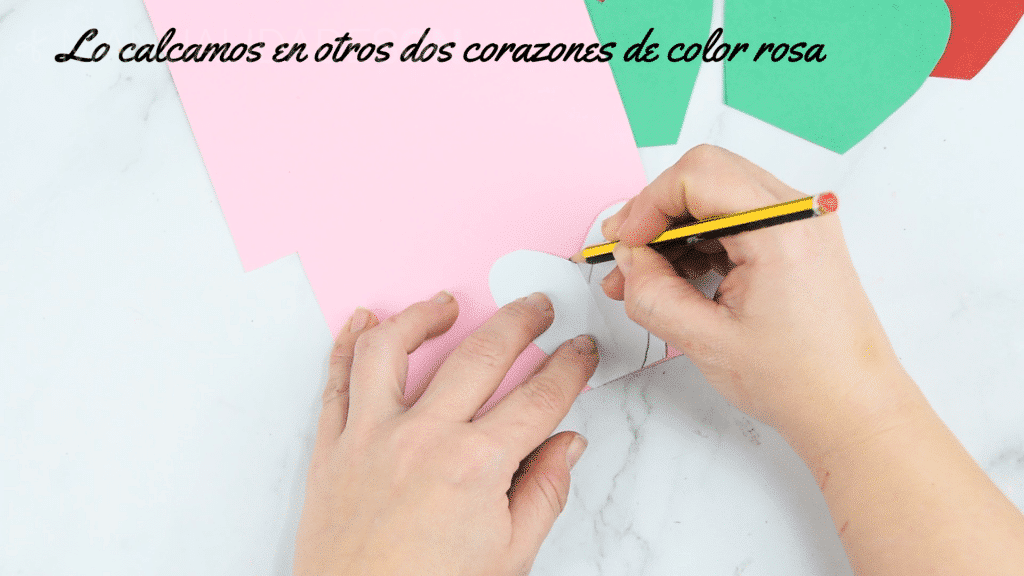
We take the folio of the heart, we fold it and we cut another piece of heart, where we had drawn it. We unfold the sheet and use that template heart to trace it on a green cardboard. We make two hearts and cut them out.
Fifth step:
We fold the sheet again and return to cut out another piece of heart. We unfold and use it as a tracing on the cardboard of pink colour. We make two hearts and cut them out. And finally we unfold the page again, we cut another piece of heart and unfold the folio. Again we use it as a trace on the red cardboard. We make two hearts and cut out.
Step Six:
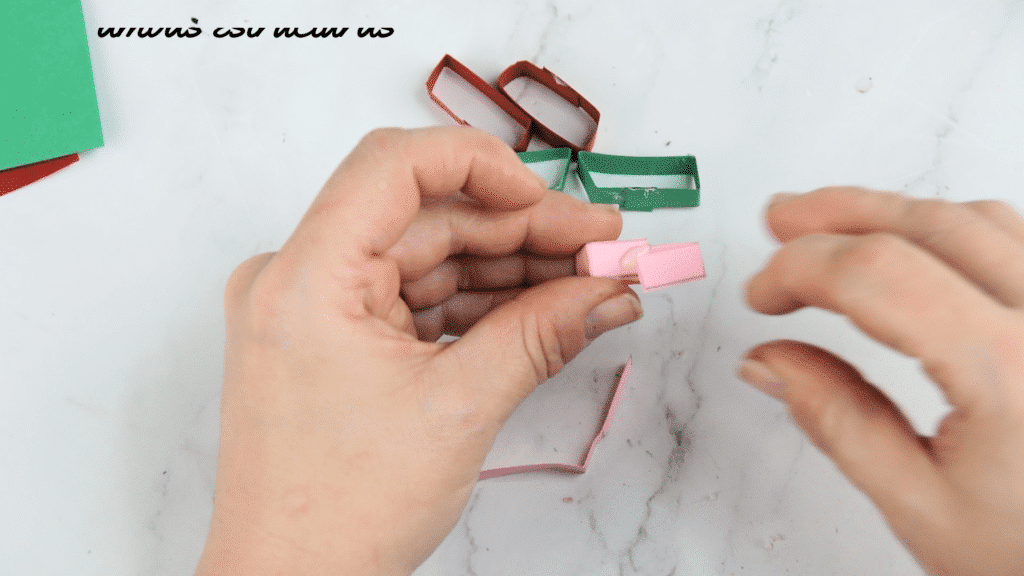
On the red cardboard we draw two 8,5 cm strips, more or less 0,5 cm wide. We mark with a pen inside the strip from the 2, 3, 6 and 7 cm. These marks will help us let's bend over there the strip when we cut it. We make another two strips of pink color and another two of green color. We fold through the marked areas and we form some small squares that we will unite with a little silicone.
Seventh step:
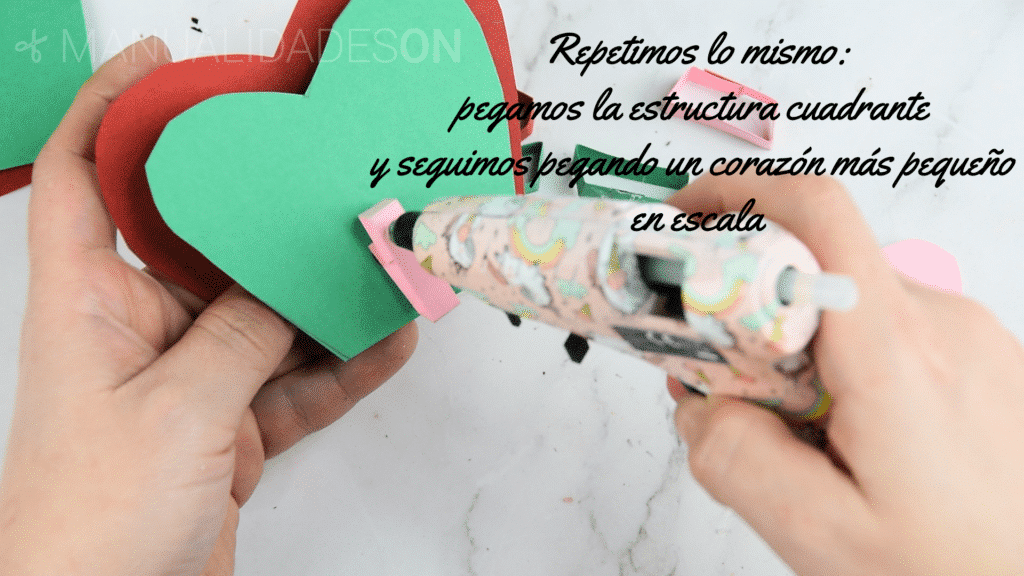
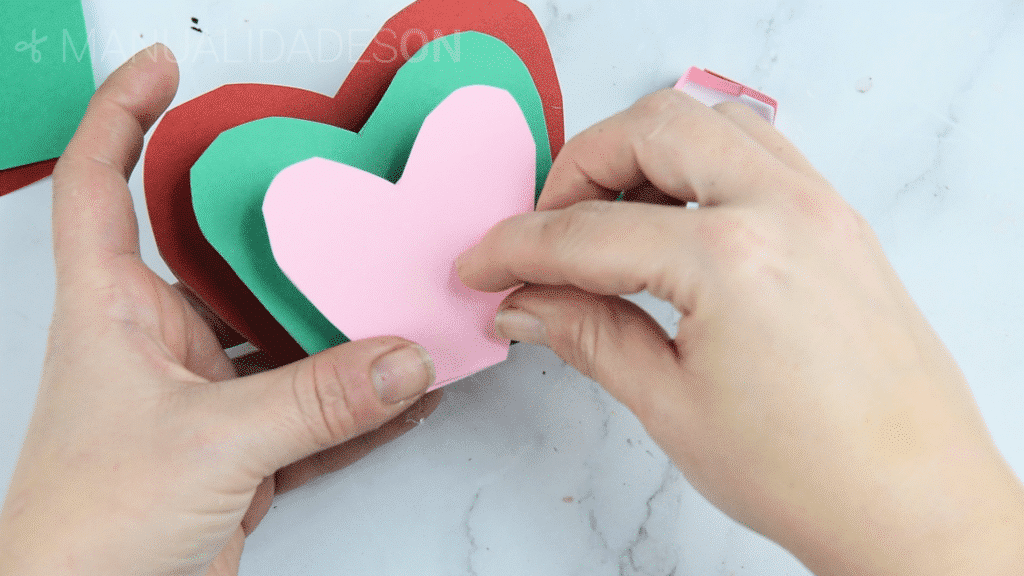
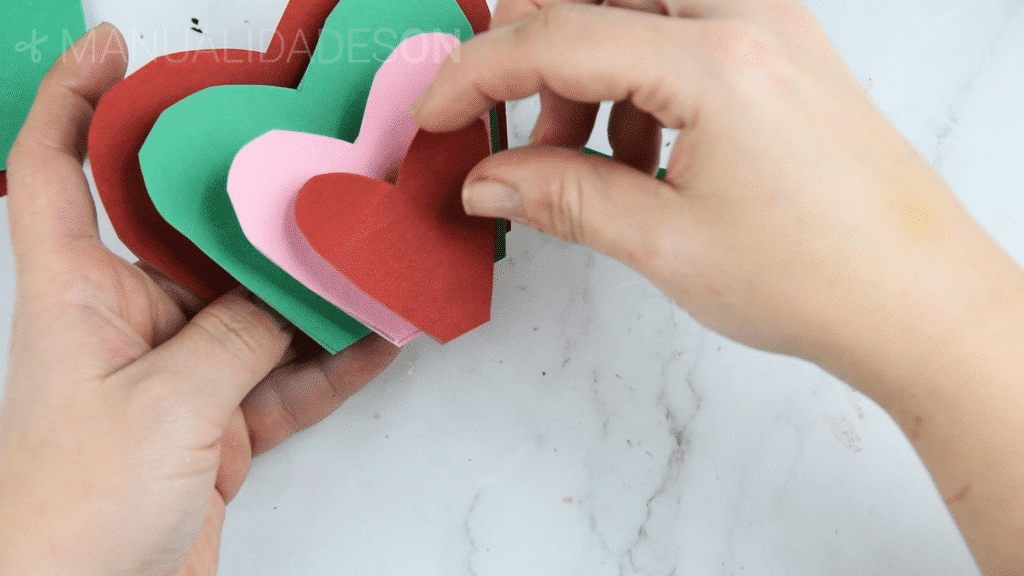
The small squares that we have formed will help us to stick the hearts one after another in scale (don't forget to paste them as far down as possible). We will start with the largest to the smallest and from that big we will do it in reverse, gluing from the large to the smallest on the back.
Eighth step:
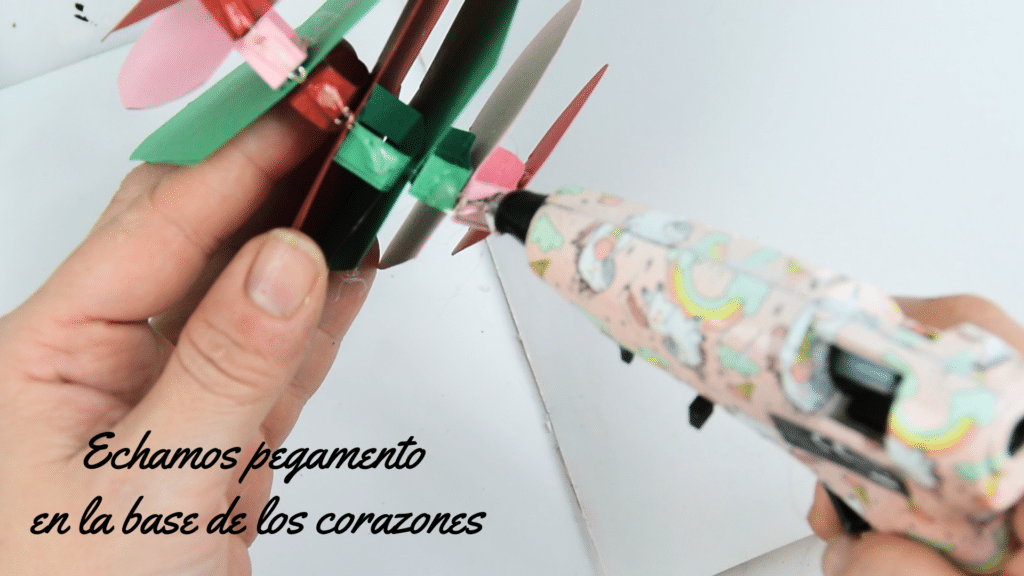
When we have the whole structure glued and firm, we'll fold it like an accordion so that it takes a folded shape. In the lower part where we have glued the squares, we will spread them with silicone and quickly without the glue drying we place it in the middle and in the central part of the card.
Nineth step:
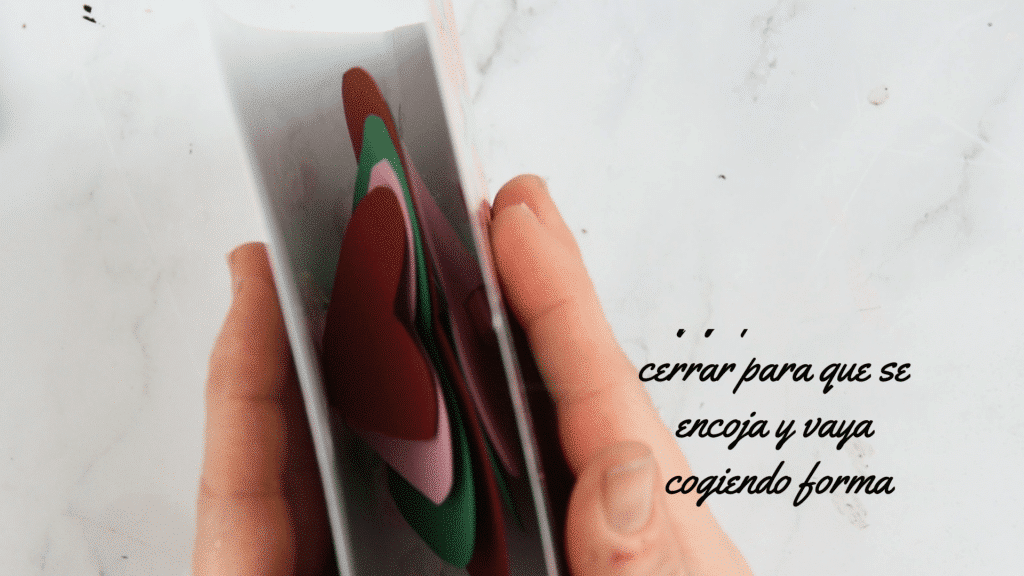
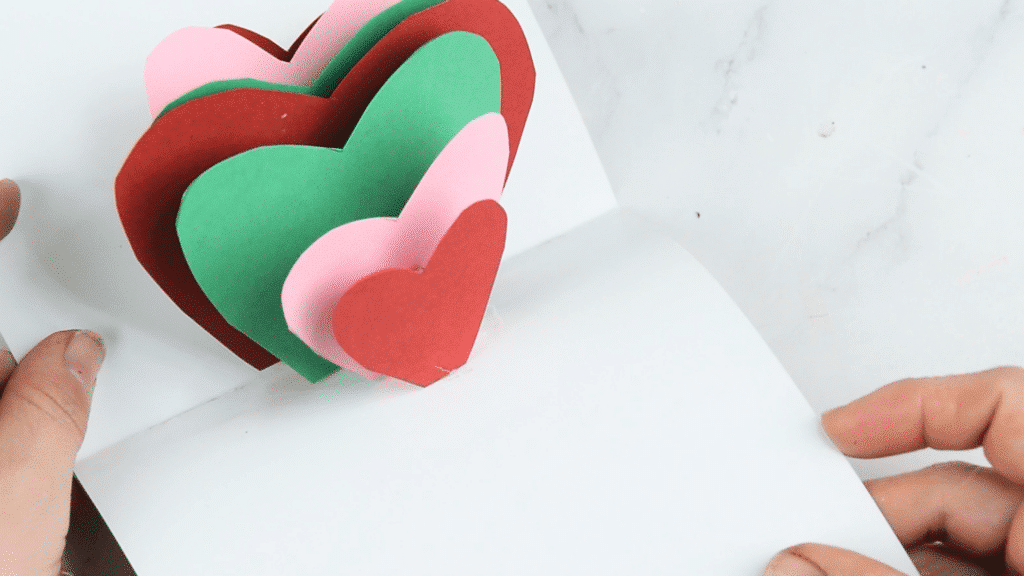
When we have placed and glued the structure, we fold the card so that it takes shape all together. We unfold and we can see how our card has turned out. We can decorate the rest of the card to our liking, with personal messages and other small drawings or figures.


