
Hello everyone! In today's craft we are going to see how we can make or write dates much prettier to the classic put points or bars between the day, month and year.
Materials we will need to write our dates
- black pen
- Colored markers or highlighters
- Notebook
Hands on craft
The first thing we must keep in mind is that whenever we are going to put color from a marker mixed with the fine black pen or marker, we must wait for the black color to dry or put all the color first. If we do not do it this way, we will blur the black ink and, therefore, what is written.
Number 1 way to write a date: day and month
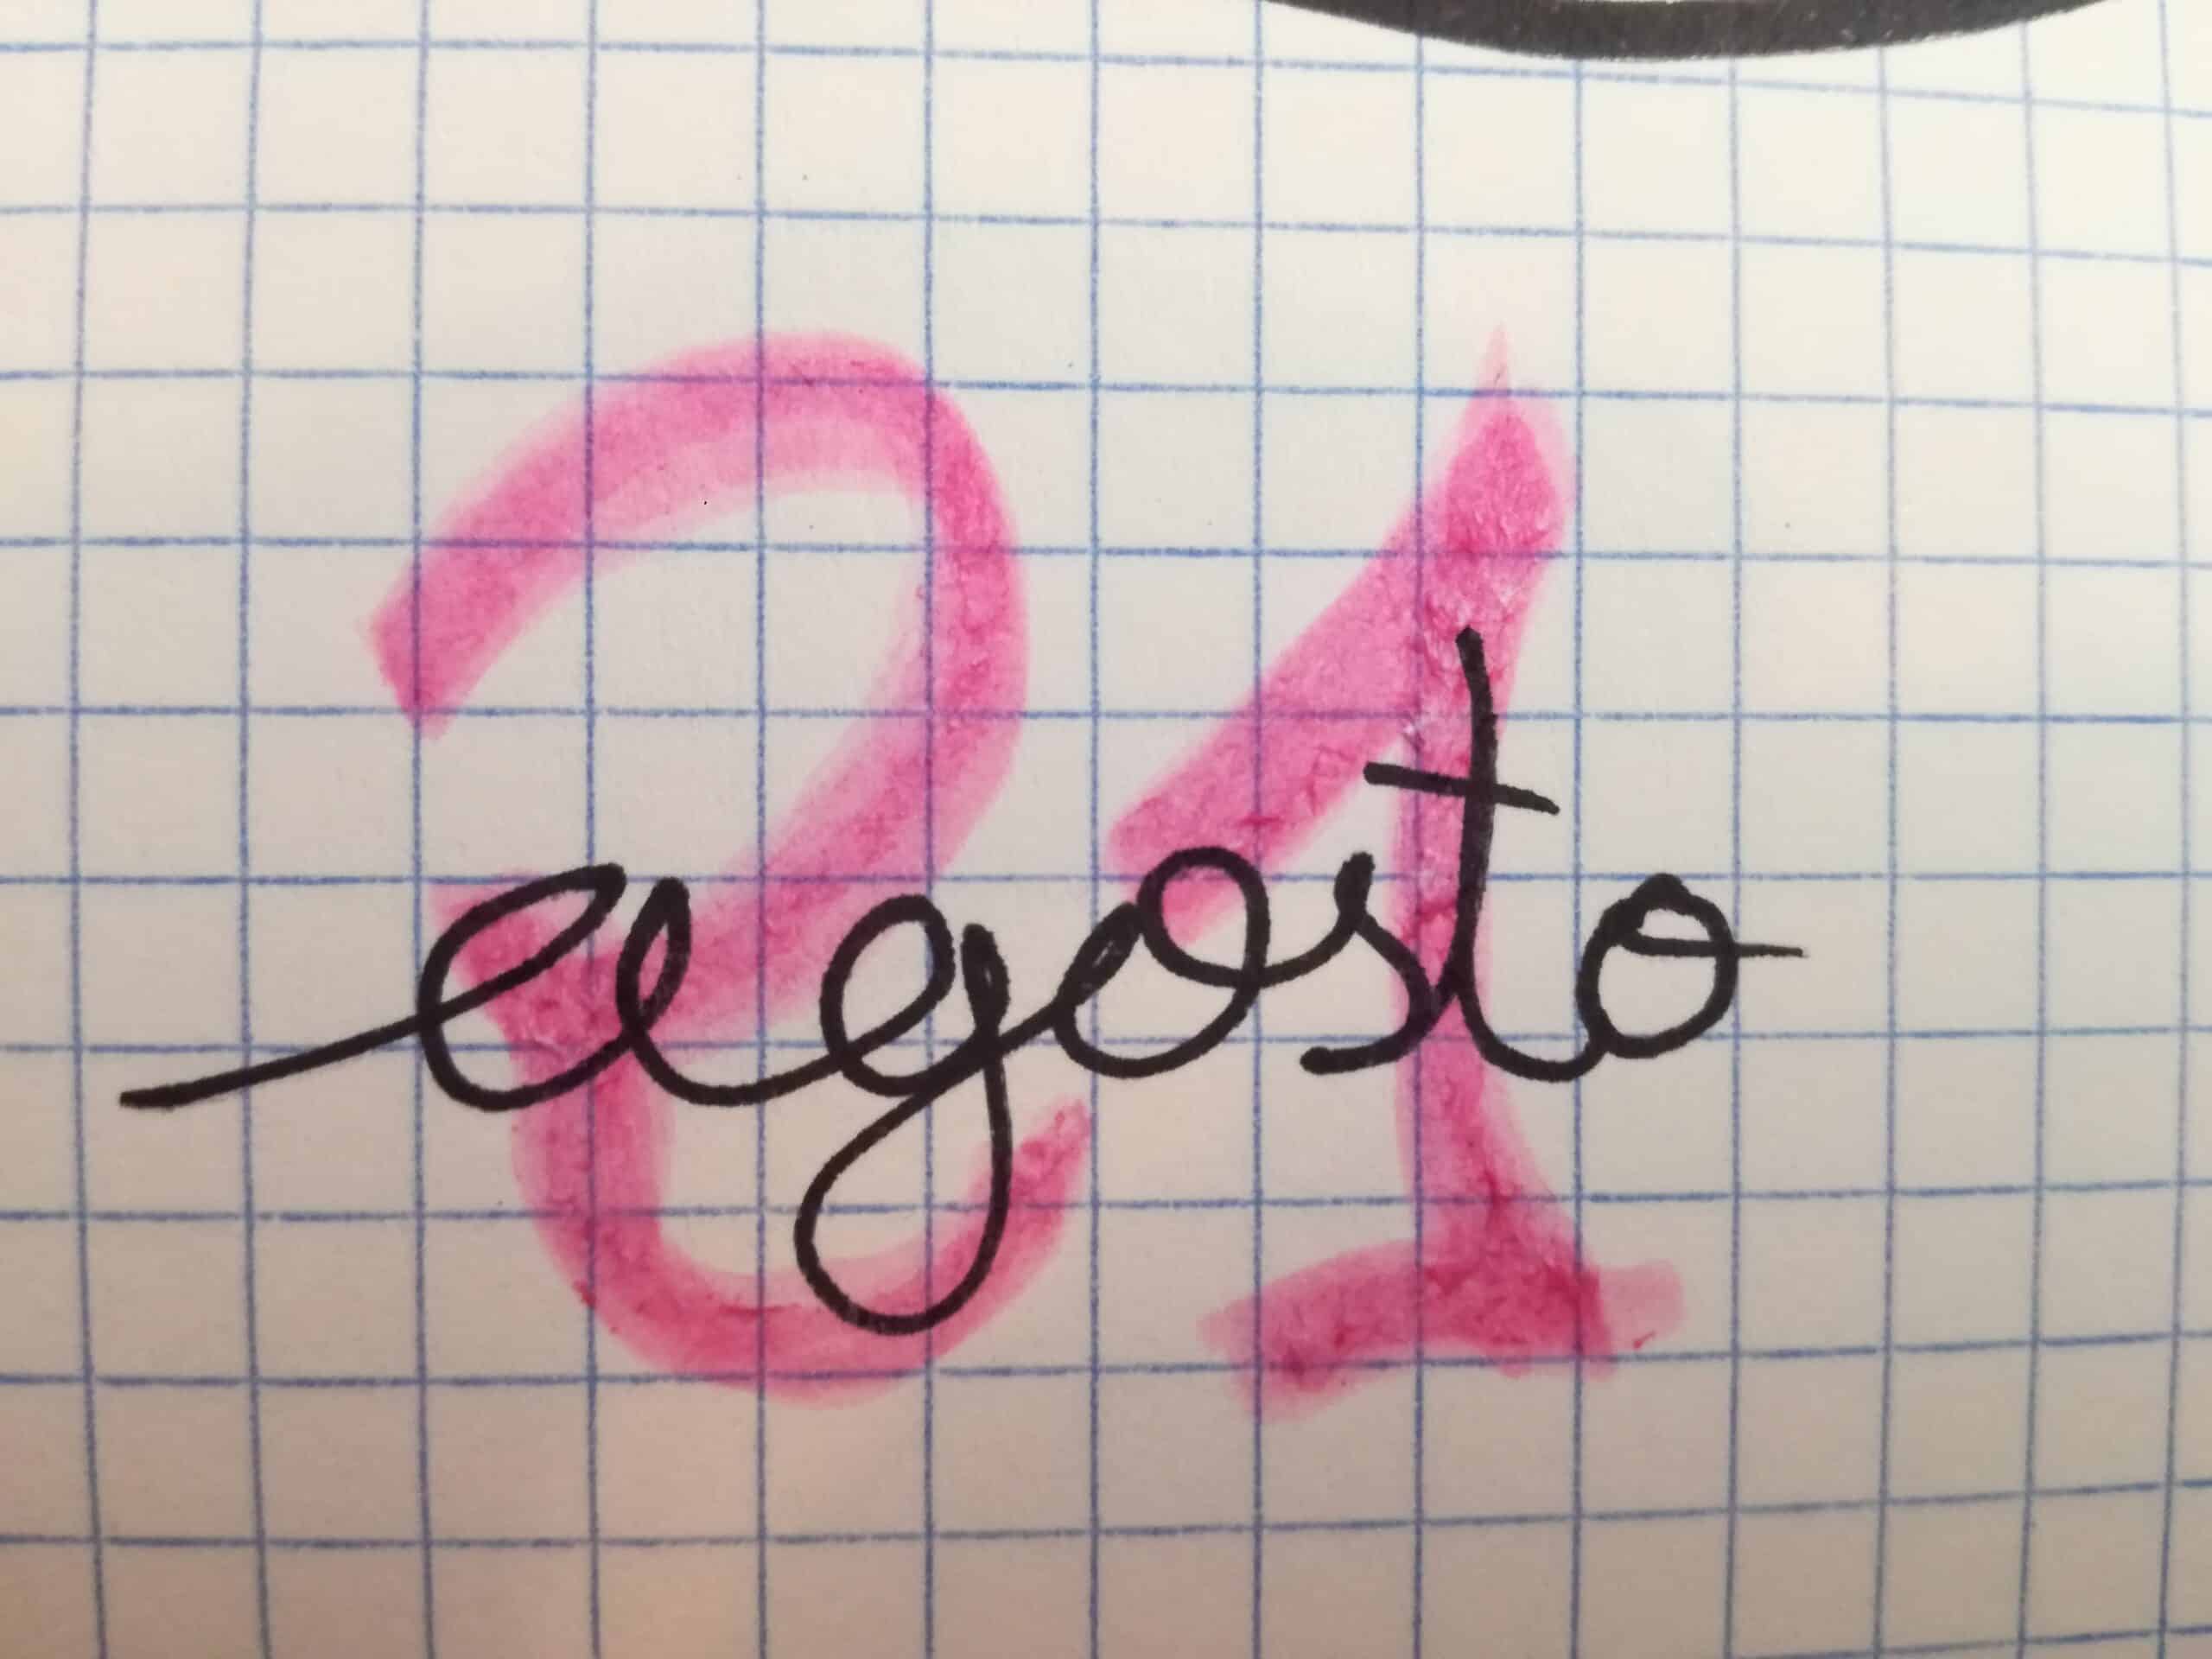
We write in color the number of the day that it is and, later, we write above the month in which we are.
Number 2 way to write a complete date
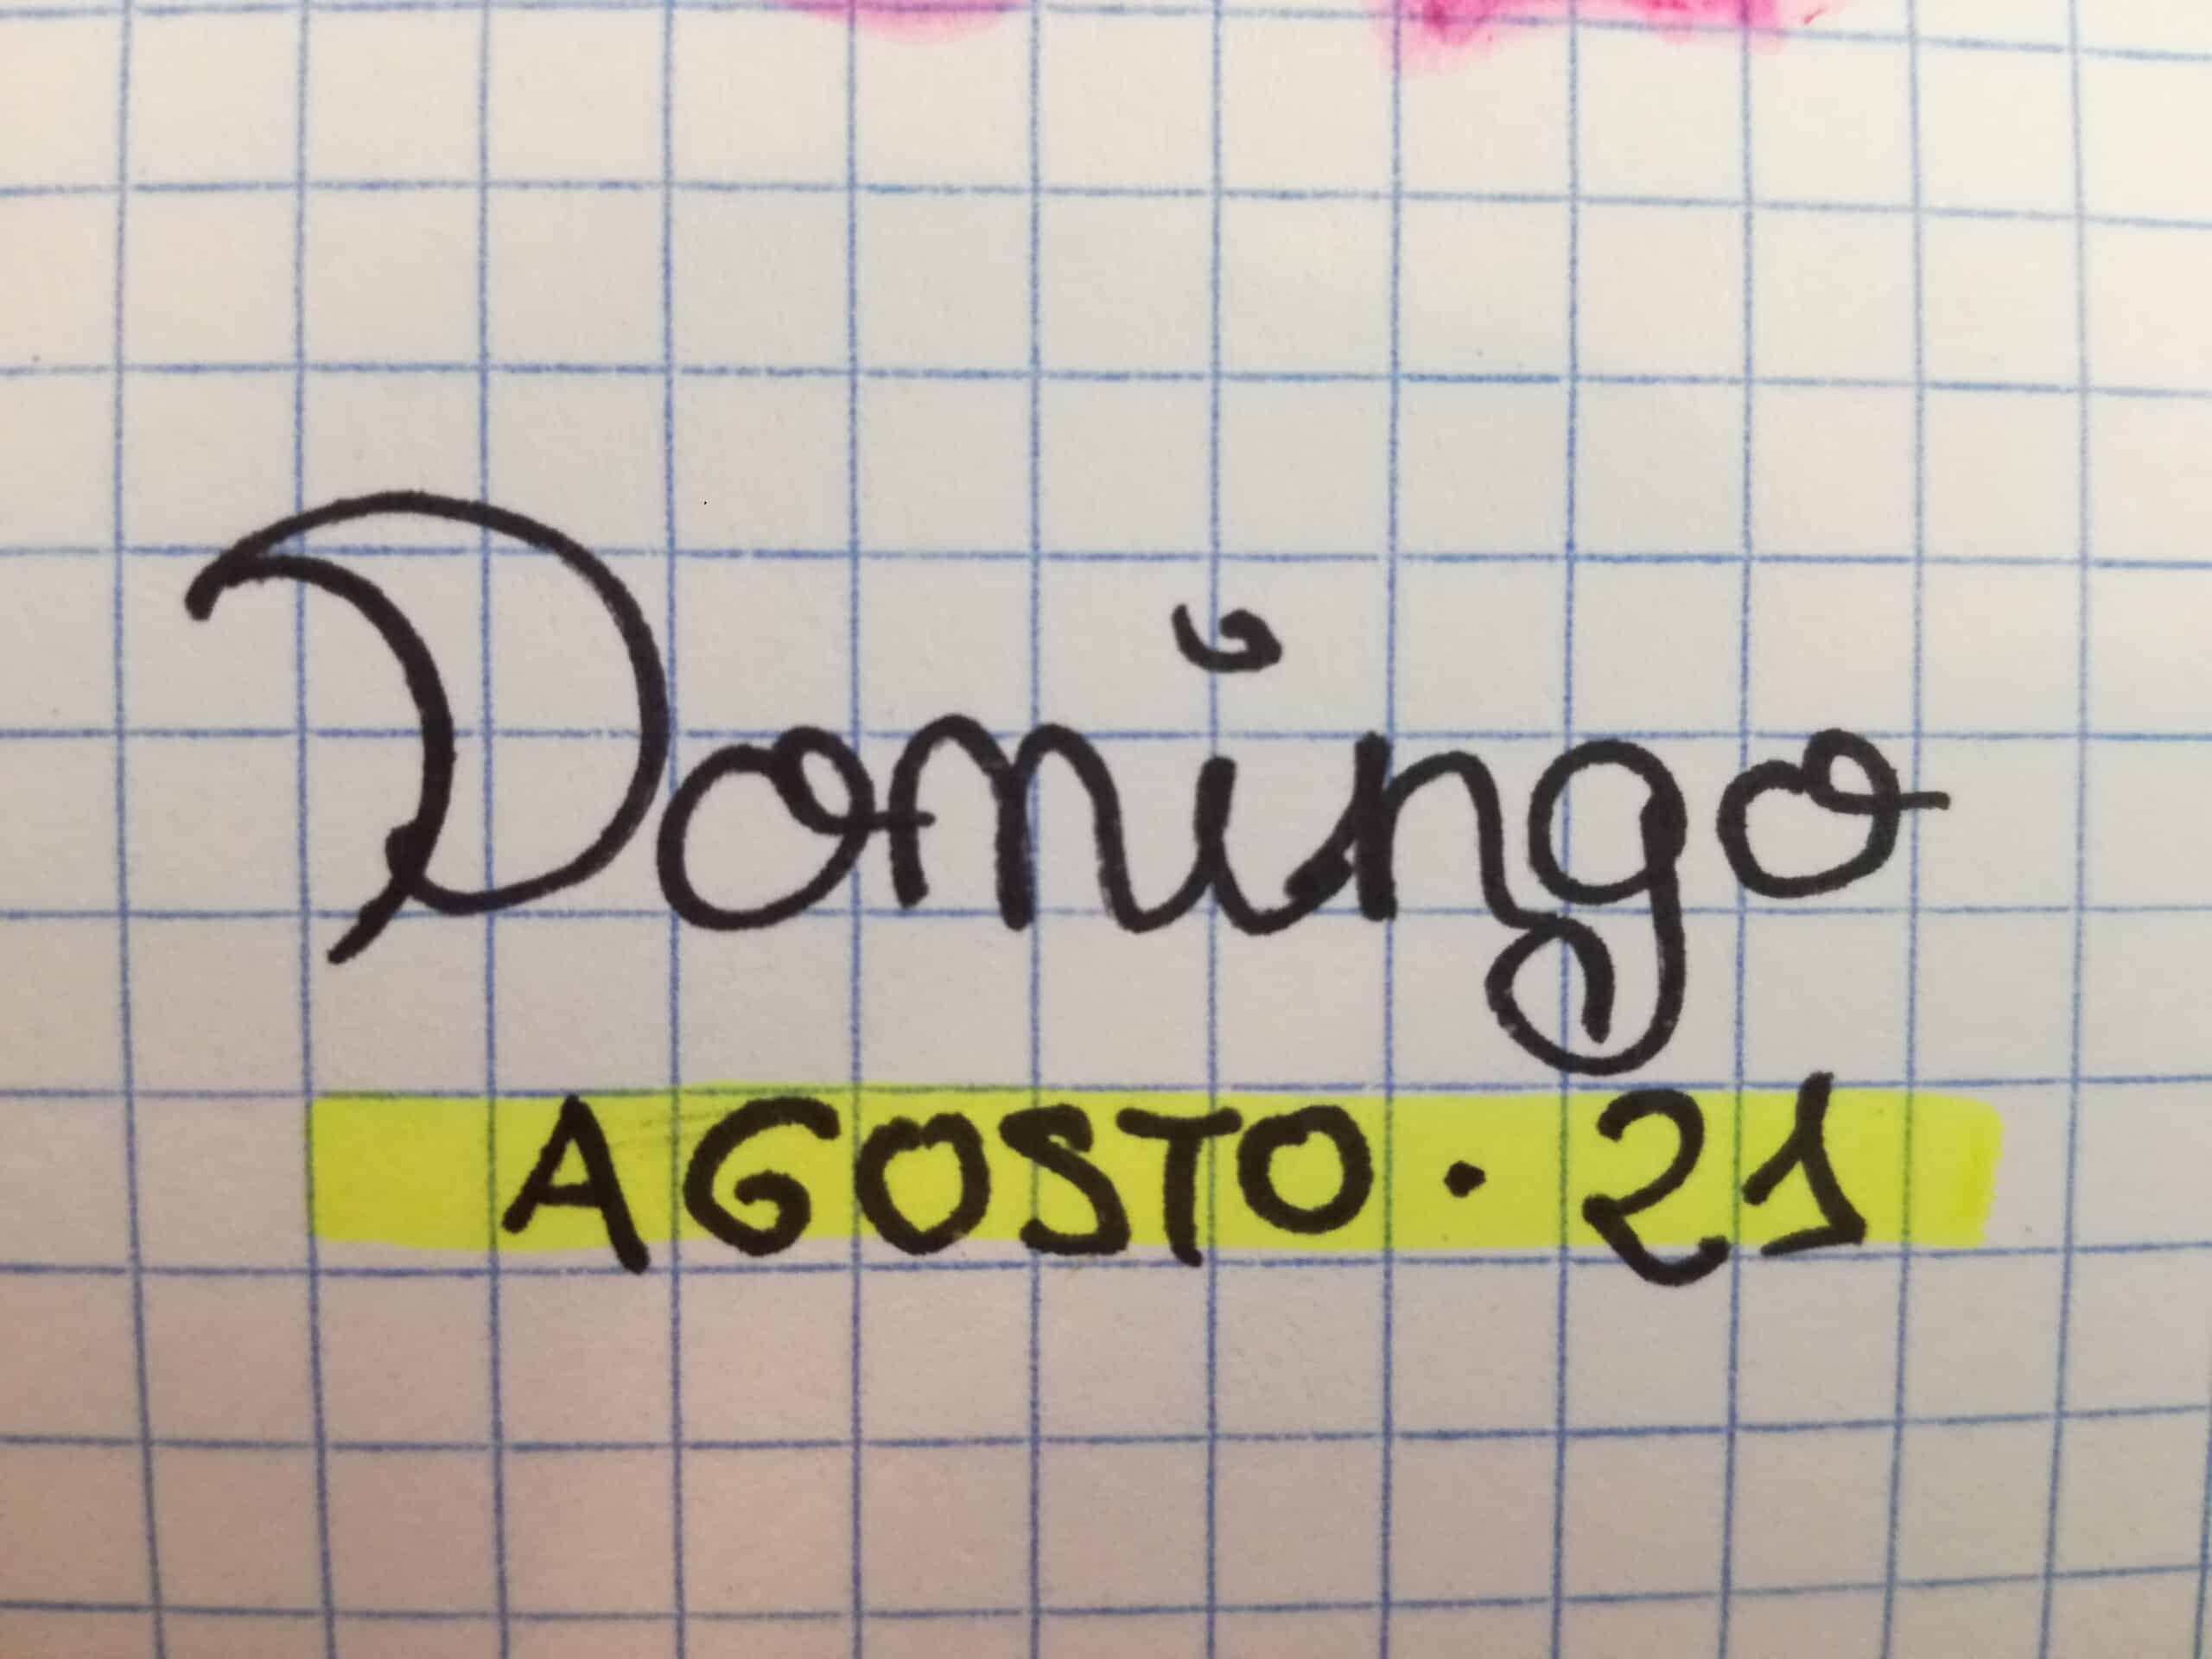
We write first the day of the week that it is, below we make a thick line with color and above we write the month or the number of the day that it is.
Way number 3 to write a simple date
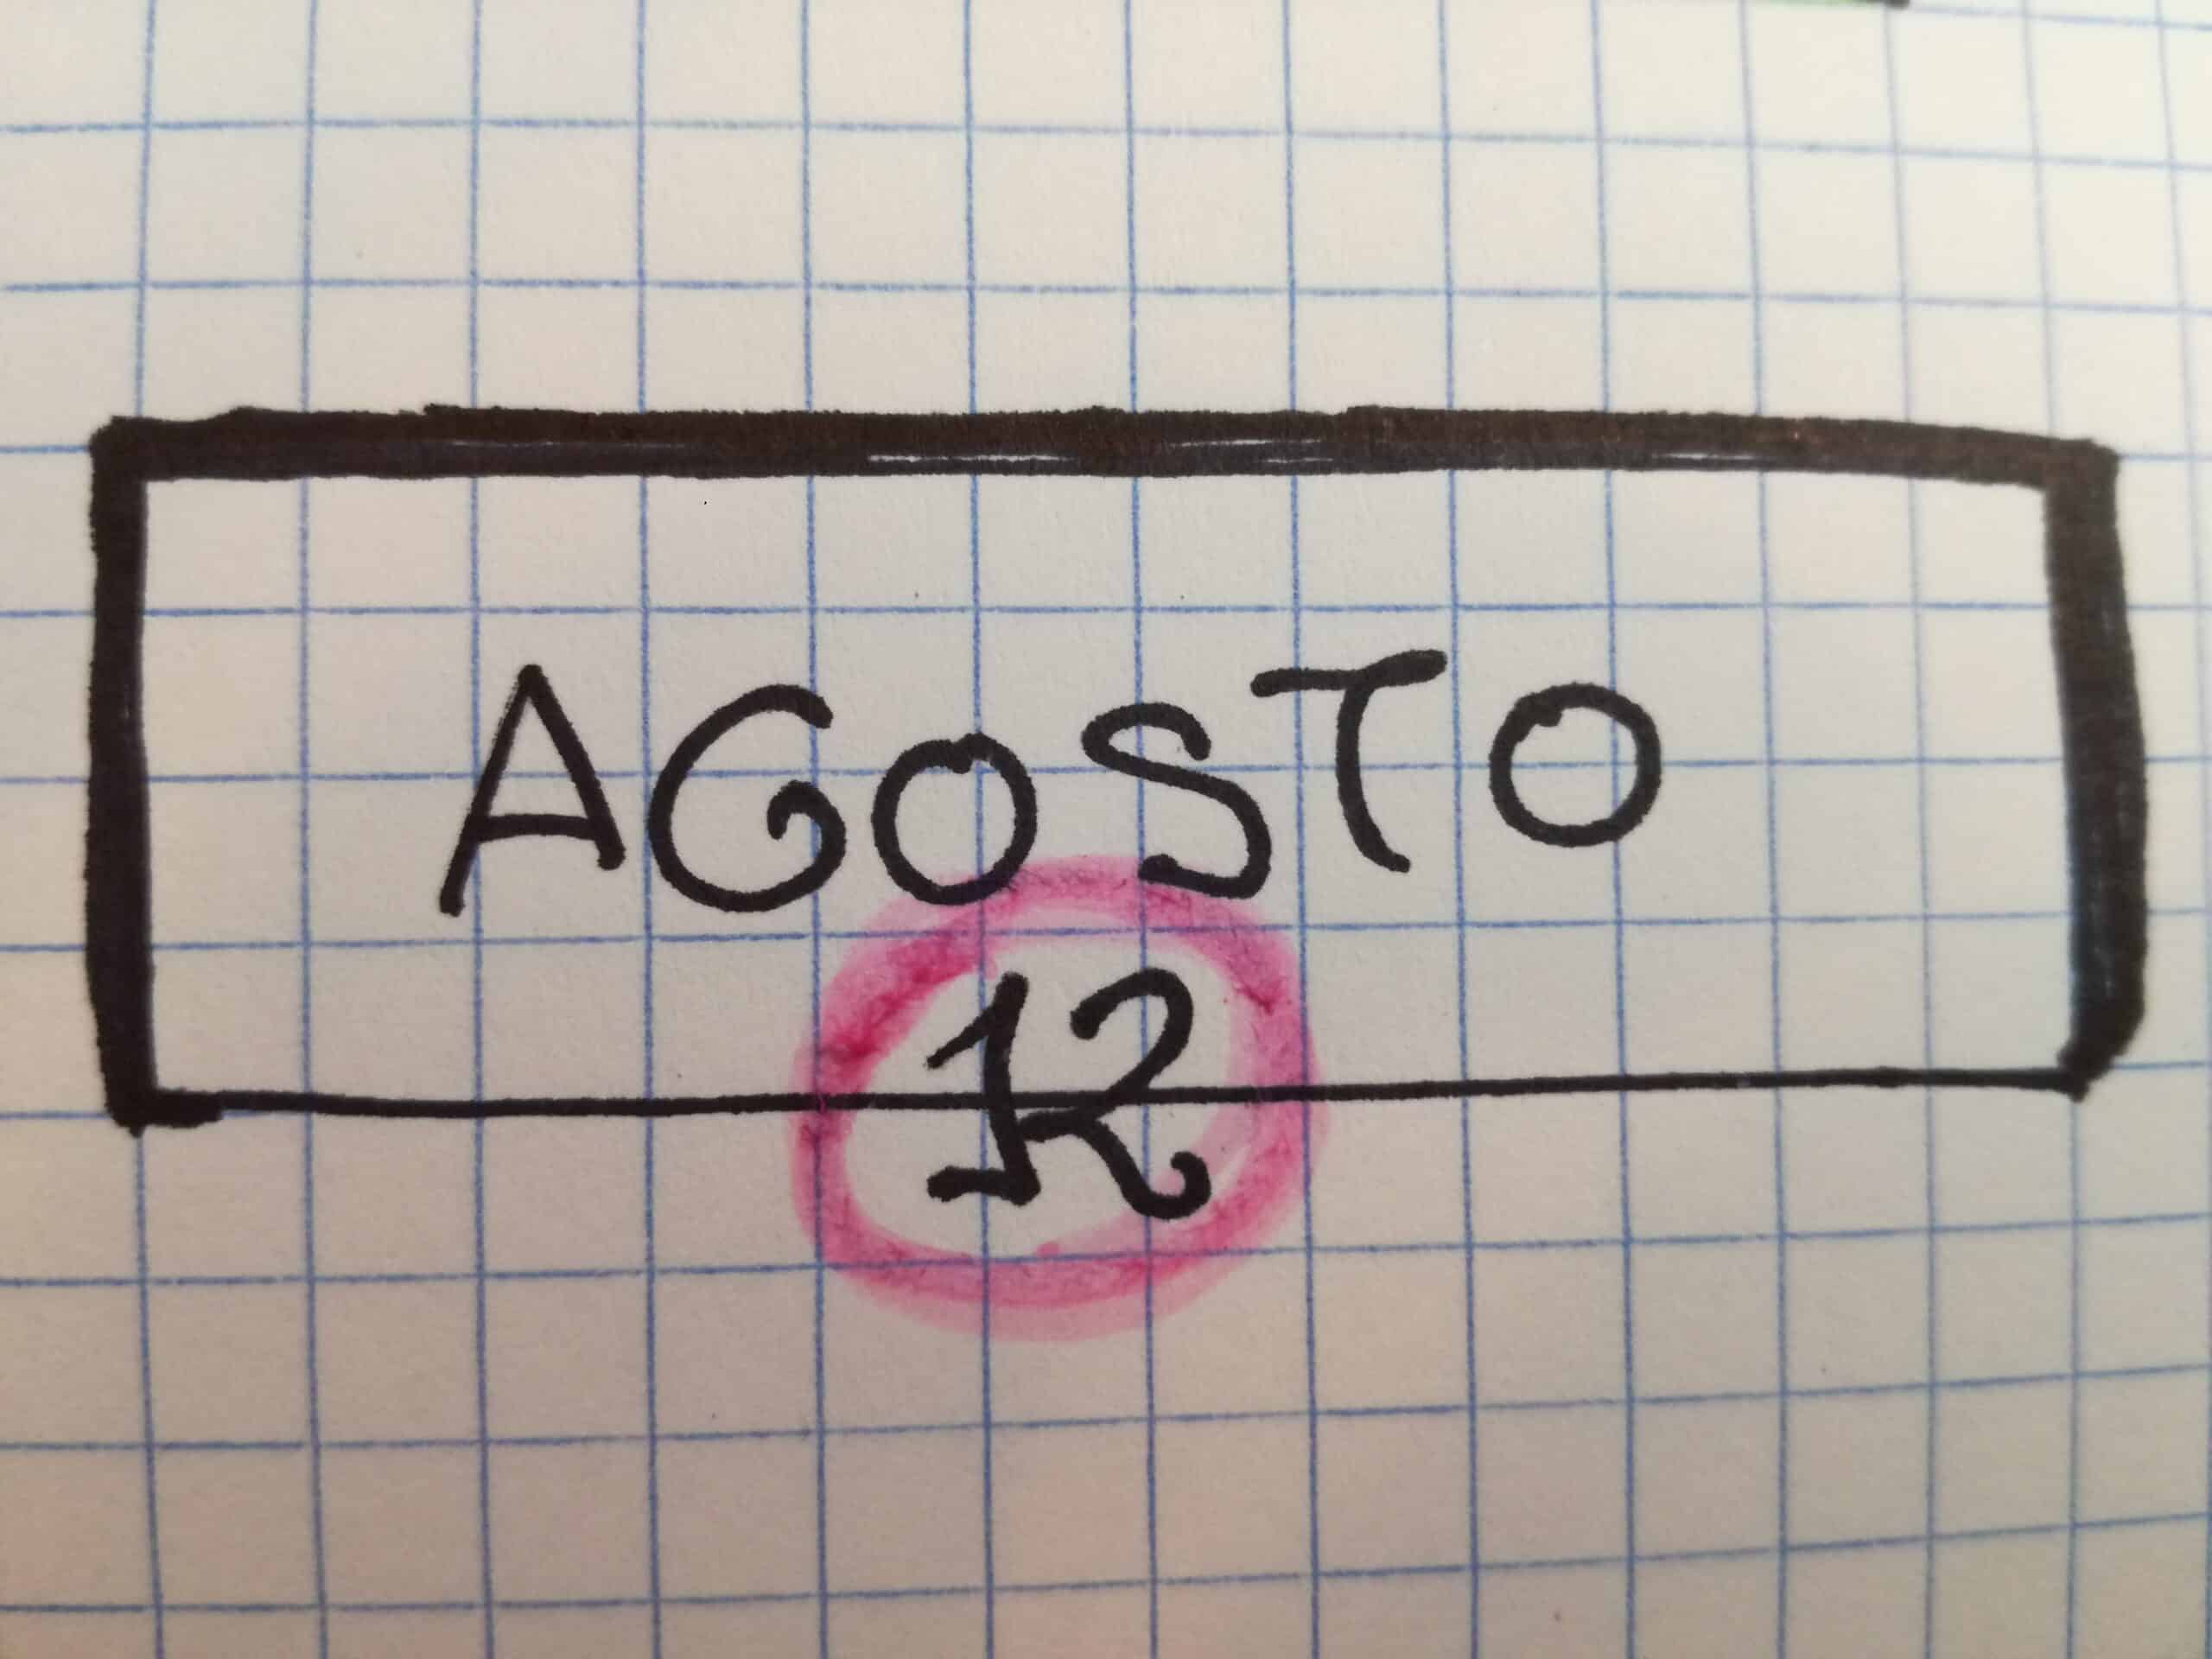
We put a square in which we can highlight some of the sides. Inside we write the month and below or on one side with color we will make a circle to put the day of the month.
Way number 4 to write a date as if it were a mini calendar
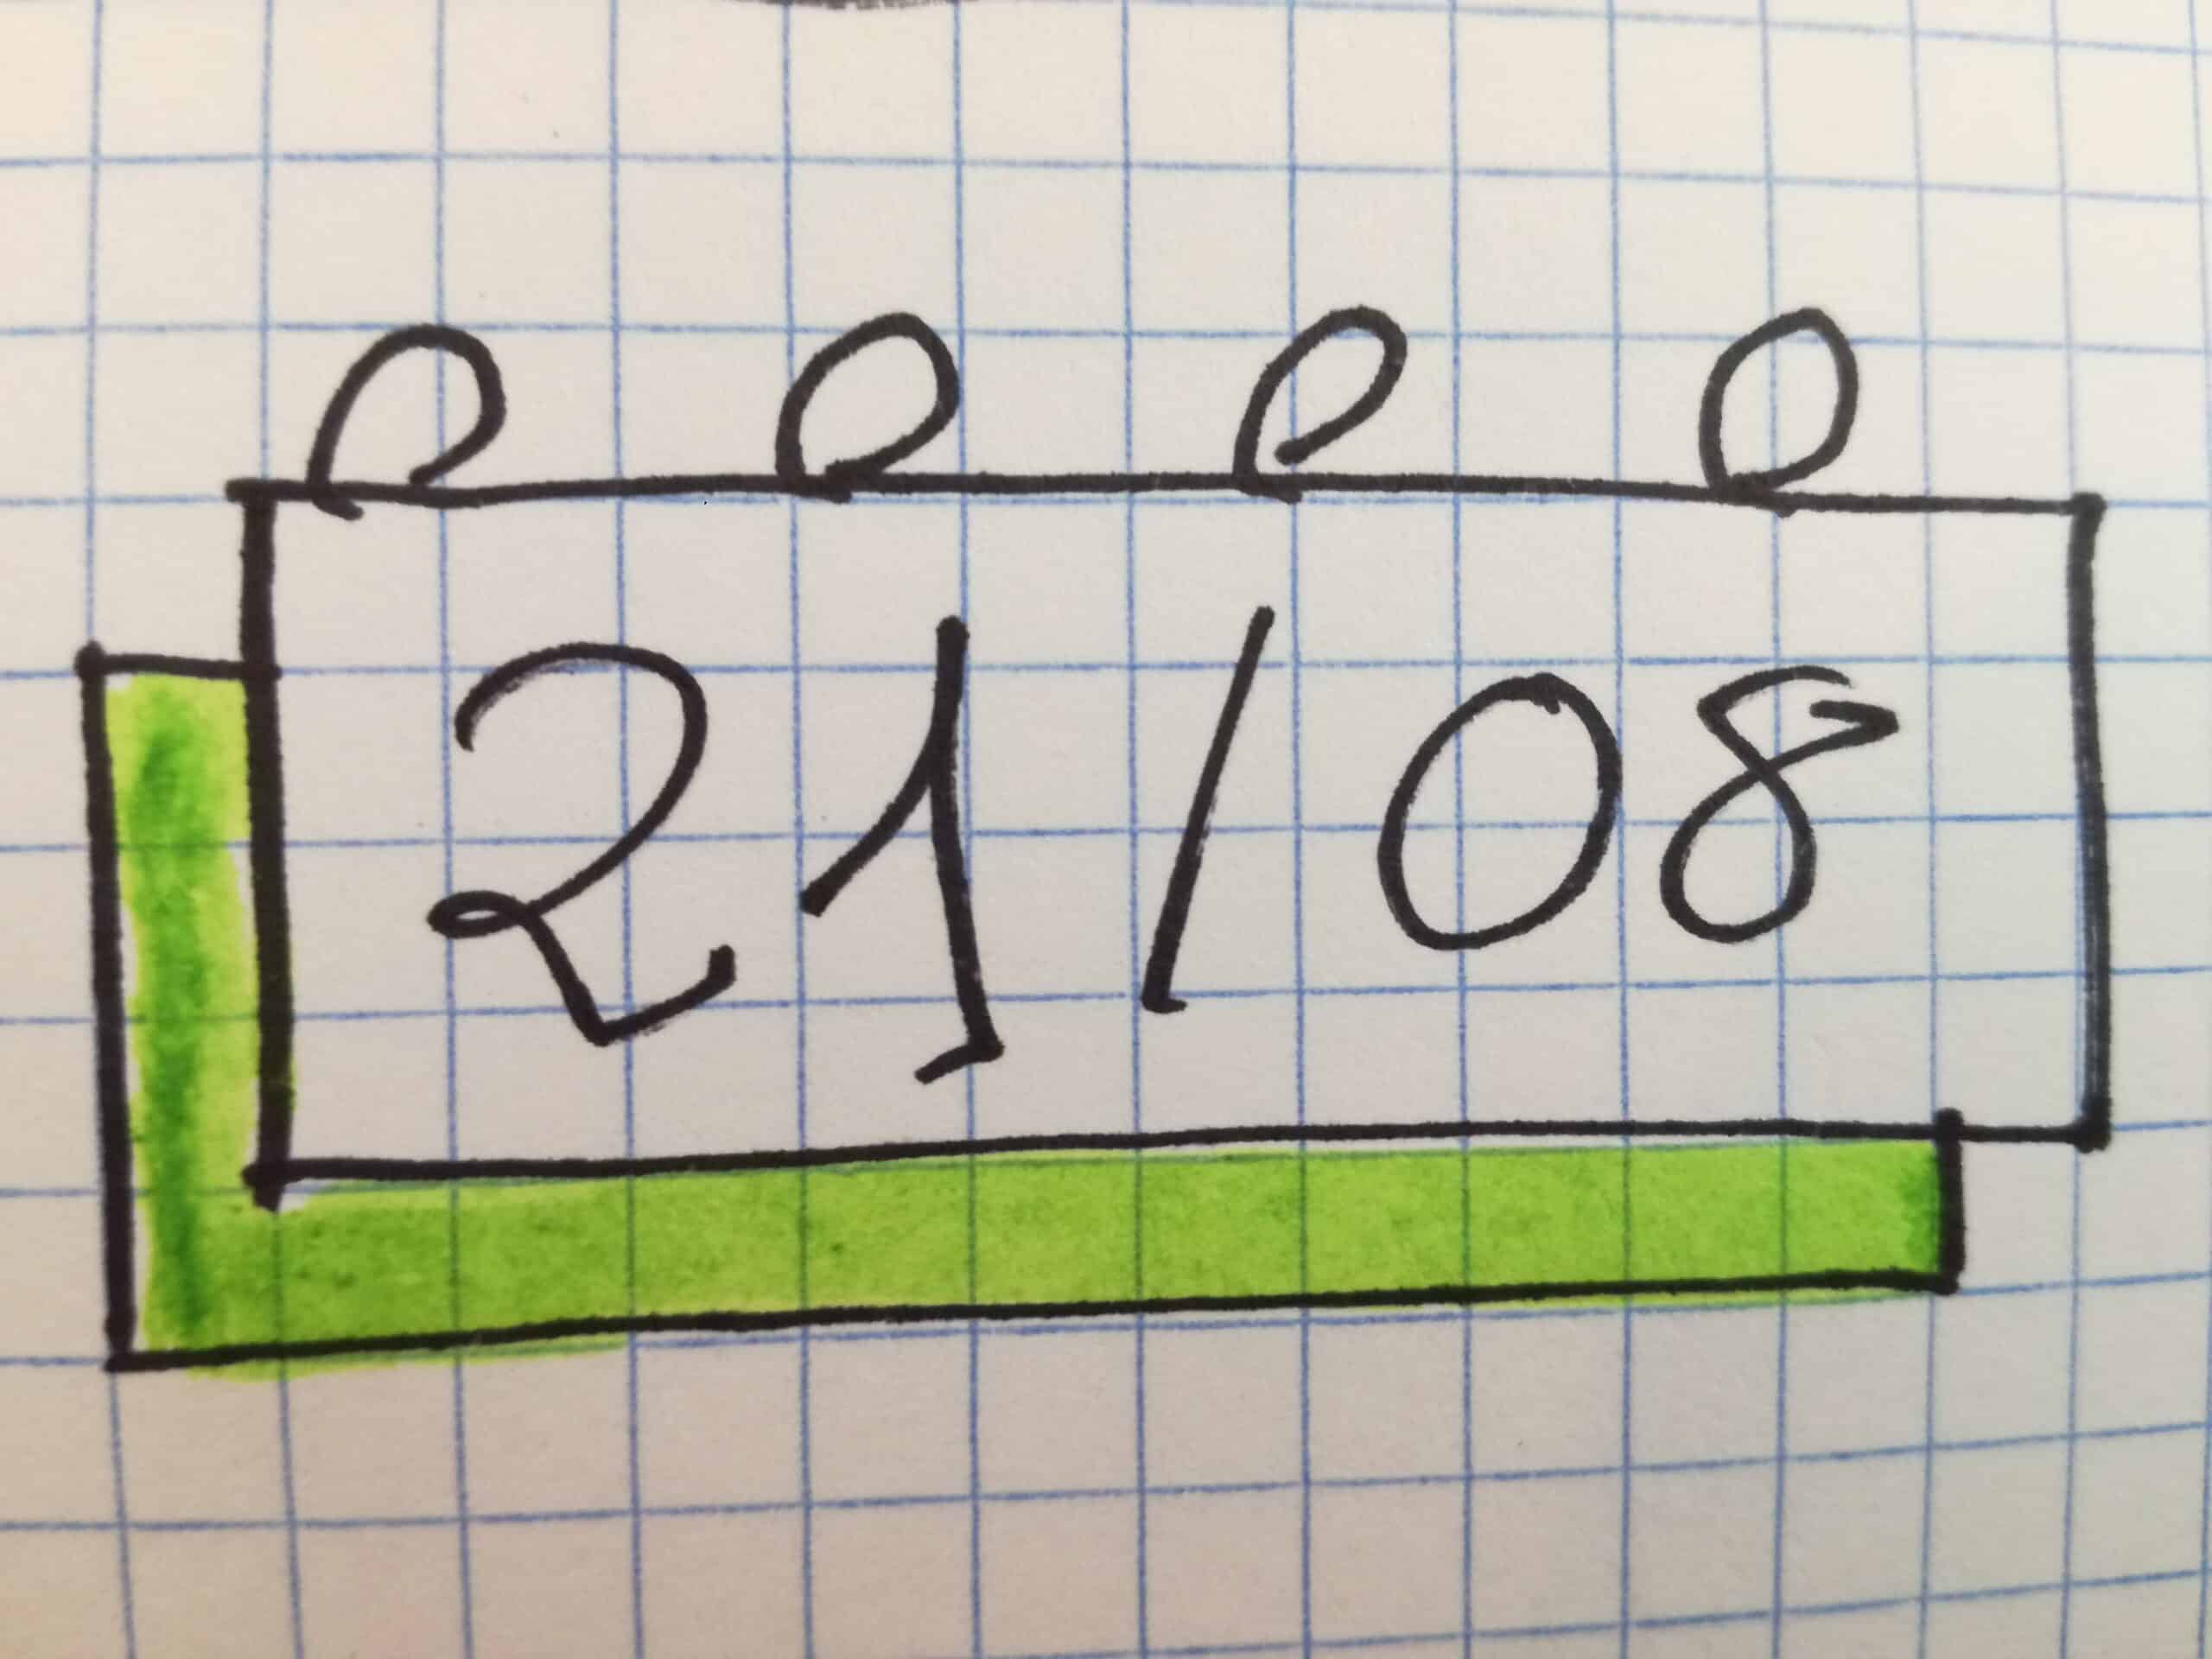
We make a square and behind it as if we had another square. We will put color on the back and on the front the day and the month in number. Above we will put some circles that give the appearance of notebook springs to have a mini calendar drawn.
And ready! We already have several ideas to write the dates in an original way, so let's use them and create more models from these ideas.
I hope you will be encouraged and put it into practice.