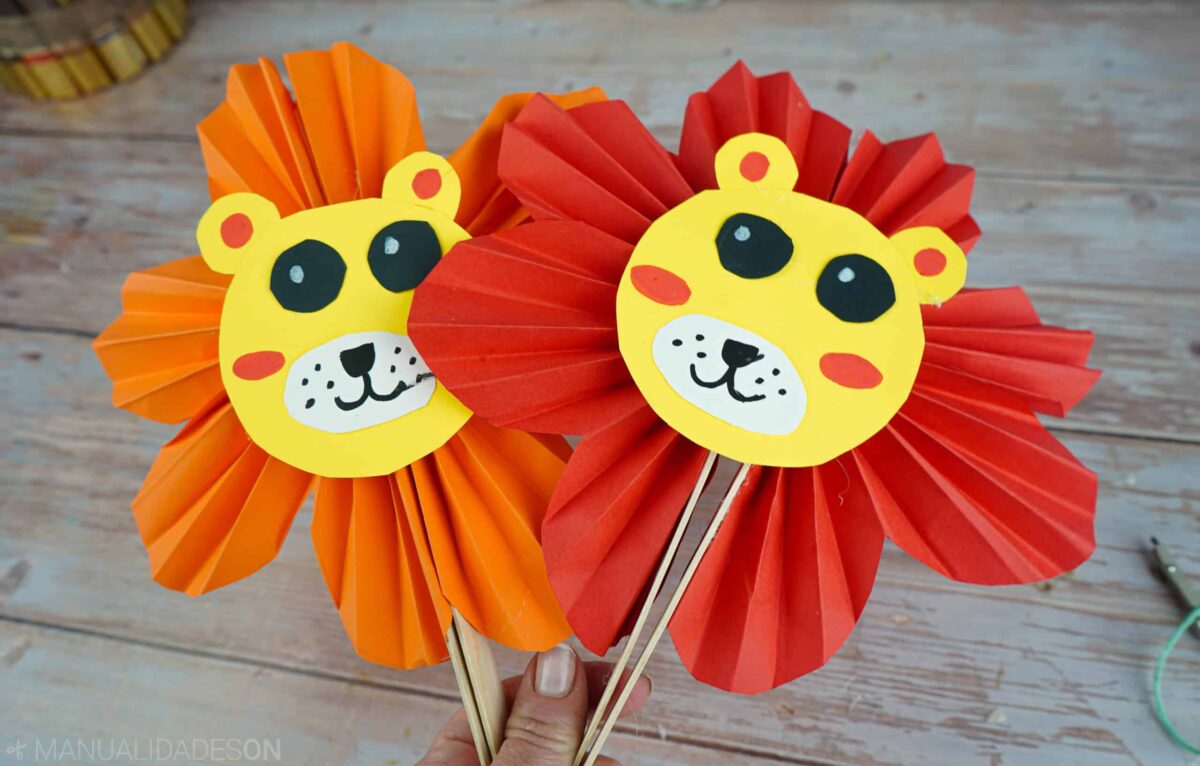
enjoy this pretty fan made with paper and some sticks so that the smallest of the house can enjoy. It has many steps, but its result is worth it, we also have a demonstration video so you don't forget any of the steps. This fan has an original shape, since it is decorated with faces that simulate bears, an original idea for the little ones in the house to play.
The materials that have been used for the children's fan:
- 4 sheets of paper, 2 red and 2 orange.
- 2 wooden sticks (type of ice cream).
- Yellow cardboard.
- Black cardboard.
- White cardboard.
- Black, white and red marker.
- Fine rope.
- Scissors.
- Compass.
- Ruler.
- Hot silicone and his gun.
You can see this craft step by step in the following video:
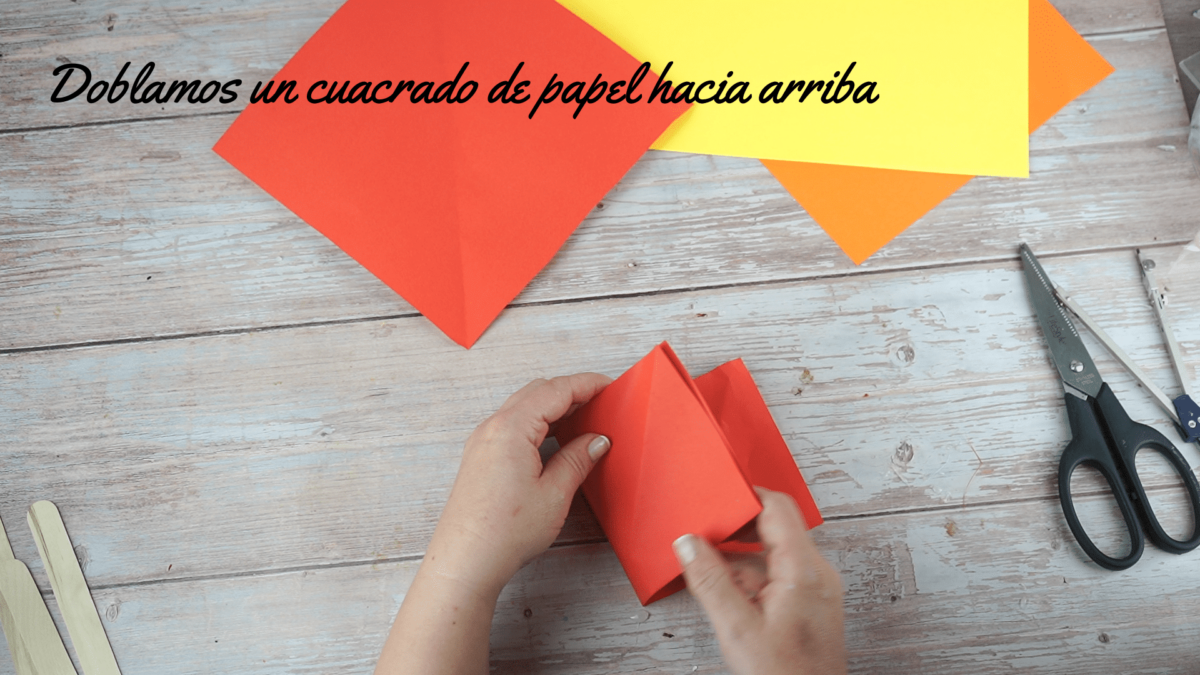
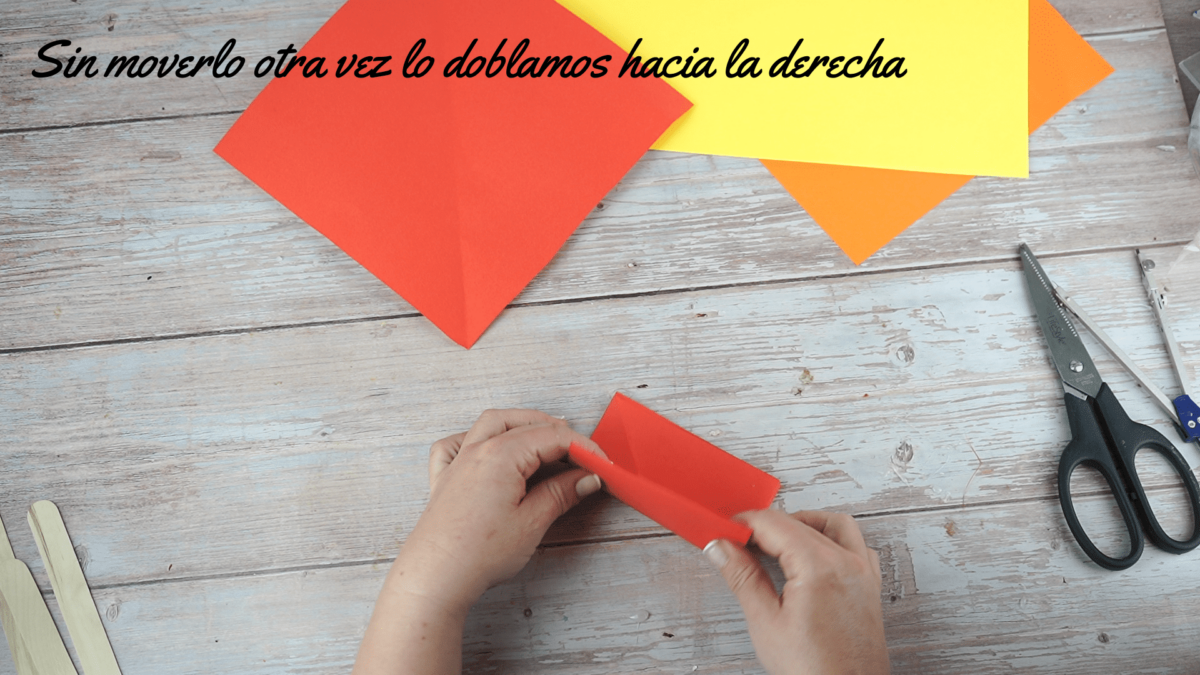
First step:
For a fan, we need to make two perfect squares out of paper. We have to fold it up, then without moving it, we fold it to the right. And without moving it again, we fold it to the right.

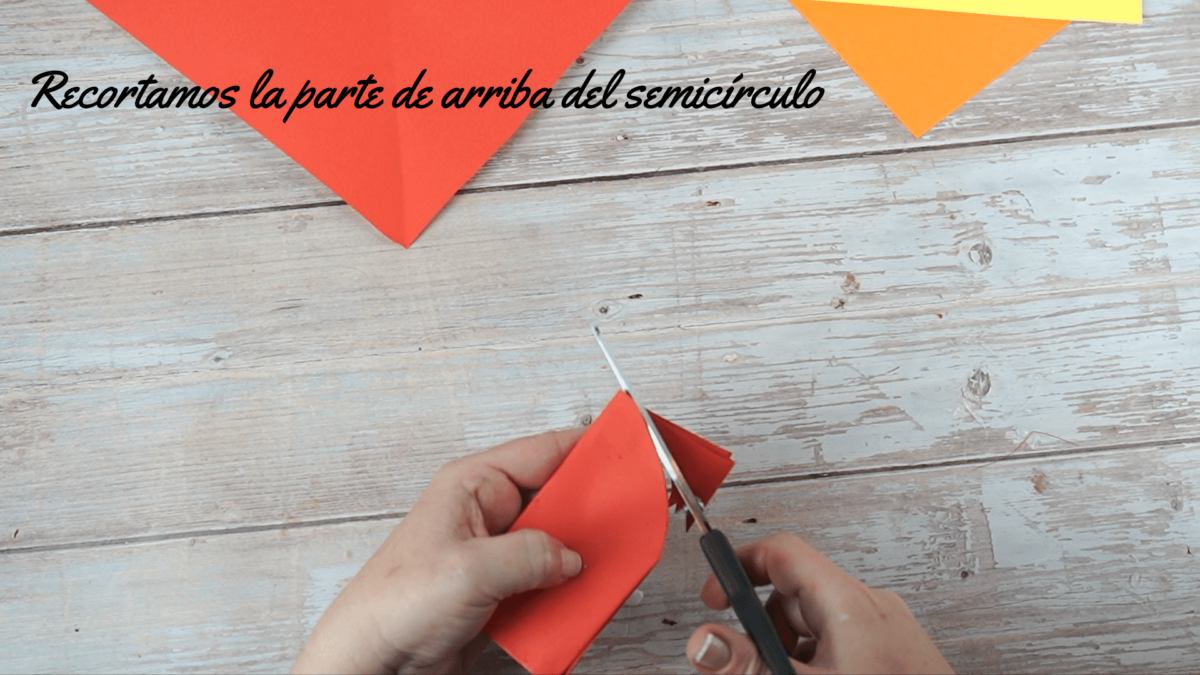
Second step:
With the help of a ruler we look for half of the rectangle in its longest part. We put the needle in the marked point and from there we make a semicircle. Then we cut it, but only at the top.

Third step:
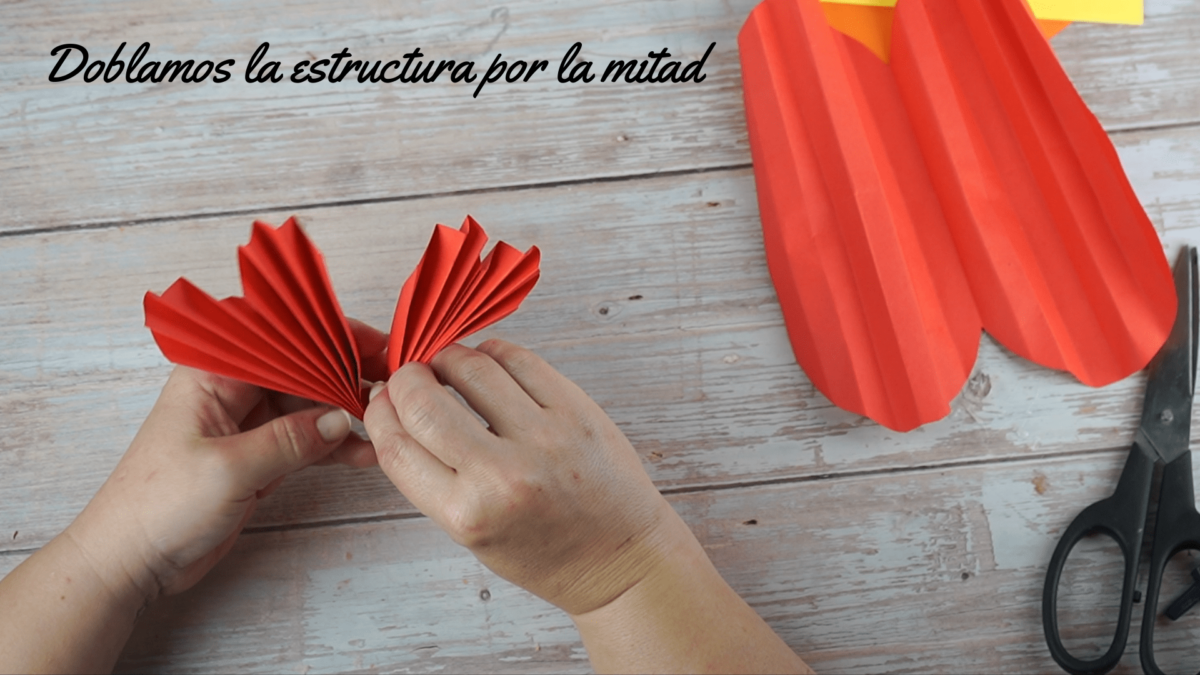
We stretched the paper and began to fold it in half. Then we fold in half again, and again... and so on until we form a thin strip. We reopen the structure and fold the part that is marked (the folded one) but once up and once down.

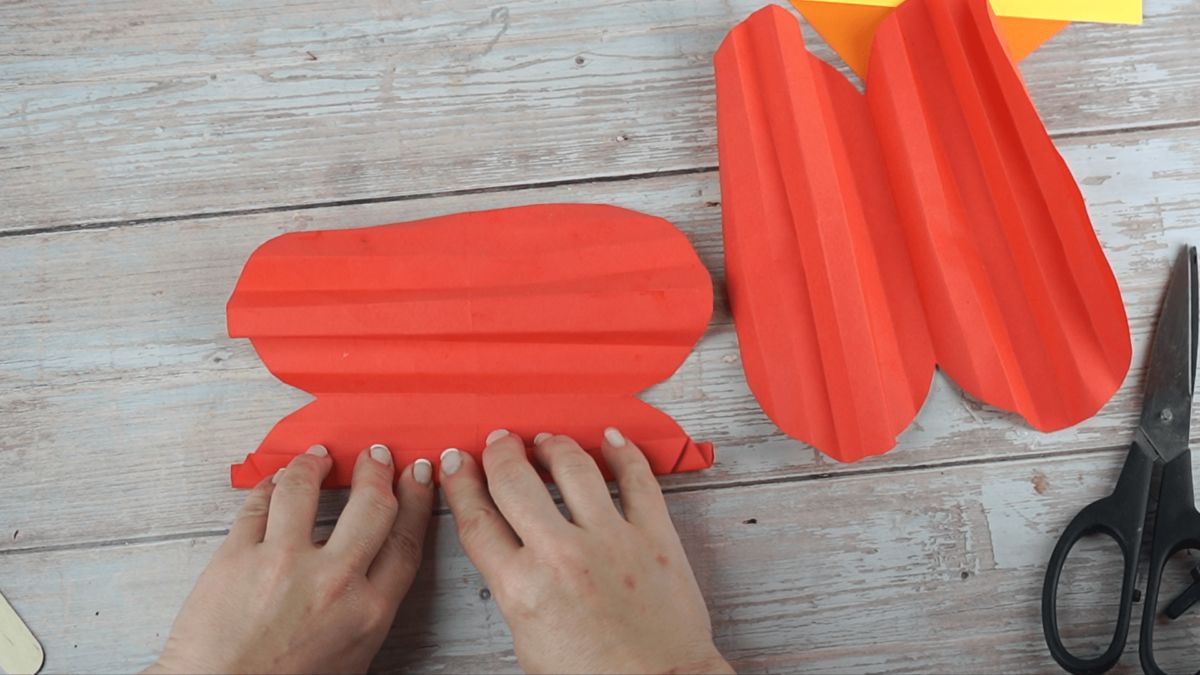
Fourth step:
When we have everything folded, we fold it in half again so that it is marked. Then, we will glue the two structures that we have formed with the silicone.

Fifth step:
We make the parts of the face. With a compass on the yellow cardboard (for two fans), we make 2 large circles, 2 medium circles (for the next step), 4 small circles (they will be the ears). On the black cardboard: 4 black circles, which will be the eyes. On the white cardboard, we draw freehand, 2 oval shapes. We cut it all and reserve.
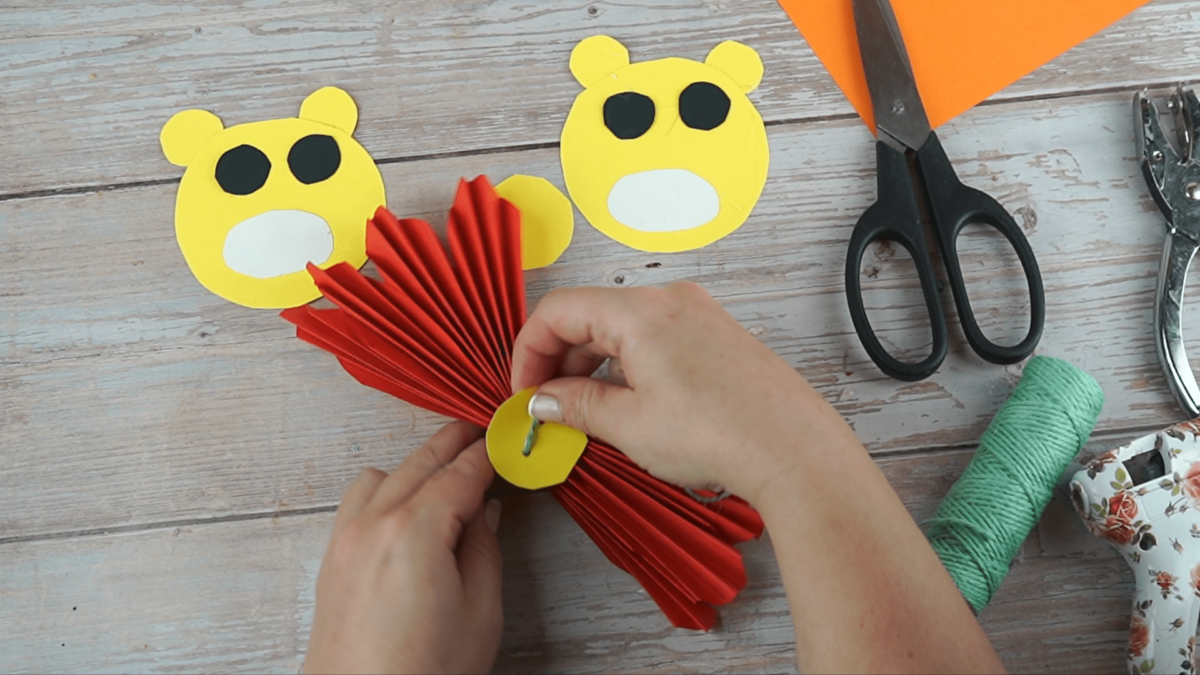
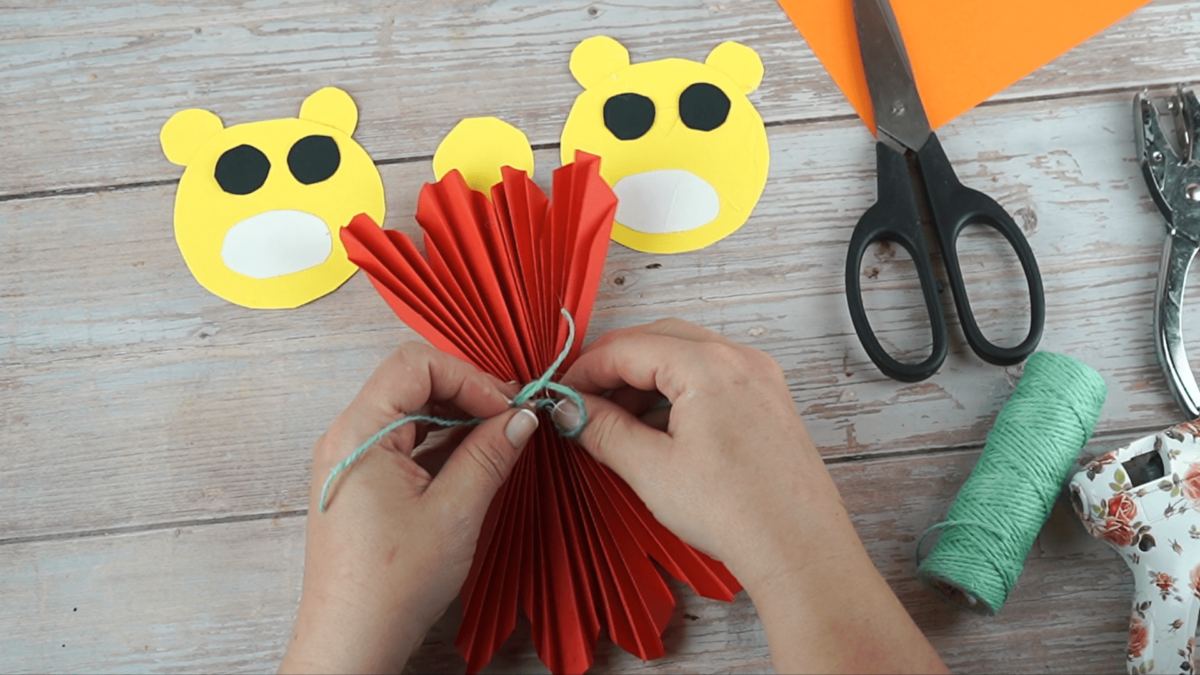
One of the circles we have made (the medium yellow ones), we pierced it twice. We passed a rope and tied it around the structure.
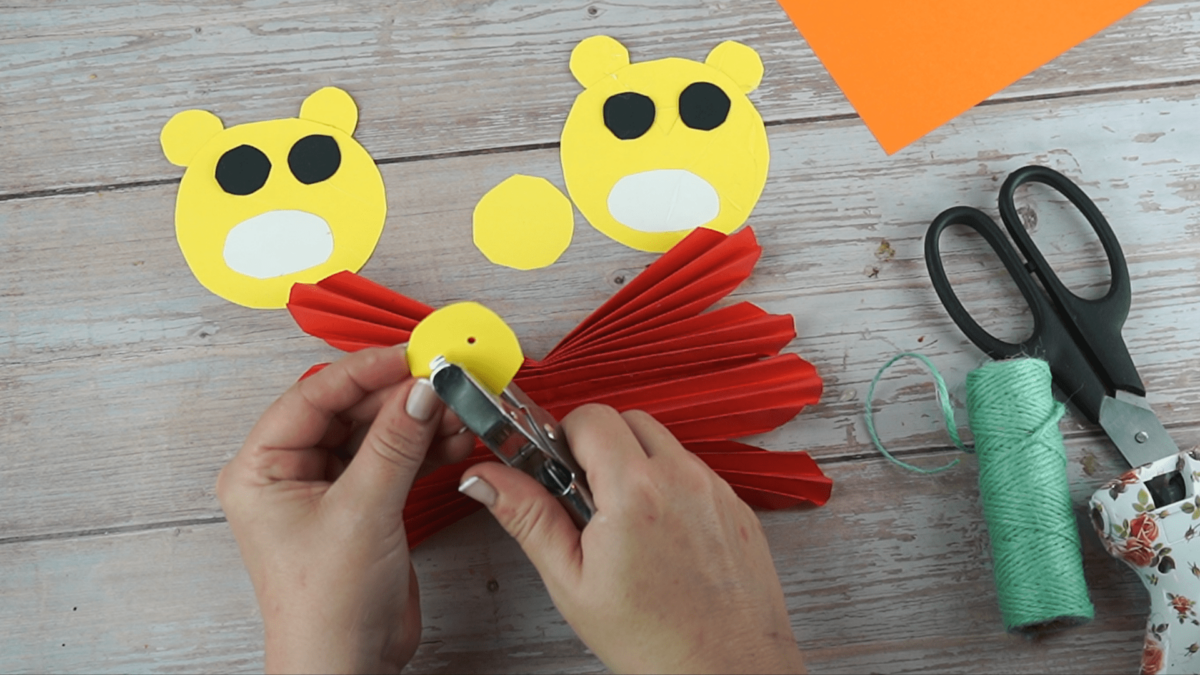
Step Six:
We glue the sticks to the edges of the structure. We glue the upper part of the structure so that the fan is formed.

Seventh step:
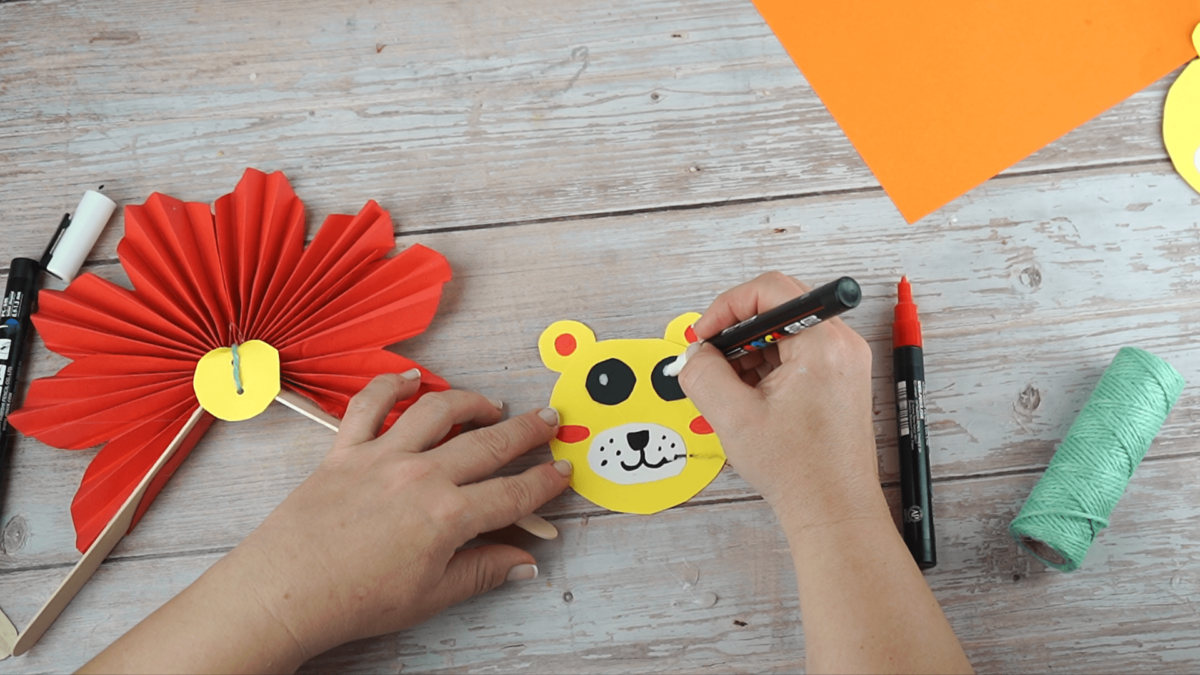
We paste all the circles that we have cut out to form the bear's face. Then with the markers we paint the muzzle, the inside of the ears, the blushes and the glitter of the eyes.
Eighth step:
We paste the face on top of the circle that we have fastened with the rope, we do not paste it on top of the fan, but in that circle so that it has freedom of movement. Finally we check that the fan opens and closes and we give it shape.
