In this tutorial I show you 3 easy ways to do ties using any kind of clay. They are very recurring for when you want to create figures to which you have to add this element. You can too decorate many other things like photo frames, notebooks or pens. And another option is to put it as a pendant or keychain.
Materials
To do the ties you can use any type of clay. The easiest to mold and with which I teach you to make the bows is the flexible paste, but there is no problem if you use other polymer clays, cold porcelain, fondant or normal clay.
In addition to the clay you will also need a knife to cut and make some marks that will add more detail to your ties.
Step by step
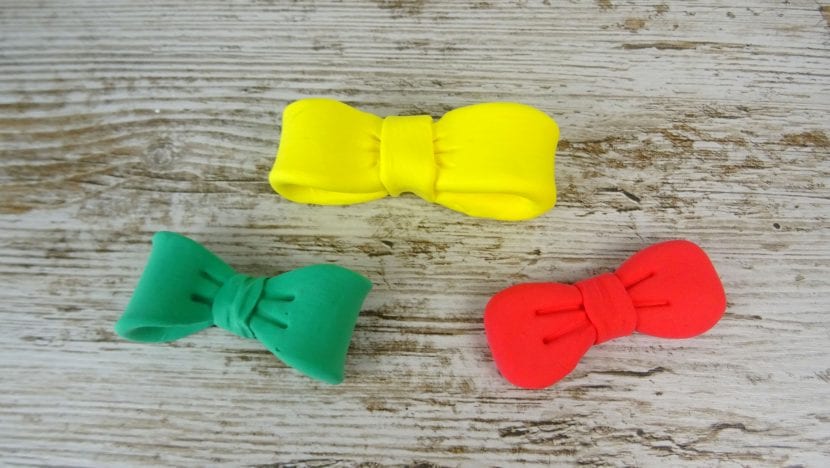
In the next video-tutorial you can see in detail the elaboration process of each of the ties. I have started with the most easy, although they are all pretty straightforward. Depending on the finish you want to give it and the shape you like best, you can choose the option that best suits what you are looking for.
As you can see by seeing the video, the three ties have some steps in common, such as the central part. To do it you always have to stretch a ball and crush the store what you have done. You stick it in the center of the bow and close it from behind. This is optional, but adds more detail to the bow, with the knife You can make some marks in the central part as if that piece were wrinkled.
What changes a little in each of the ties are the ends.
For Red tie you have to have two balls the same and make a drop with each one of them. You flatten them and mark the lines that the bow has in the center. You join them together by the peak of the drops and then you do the central part.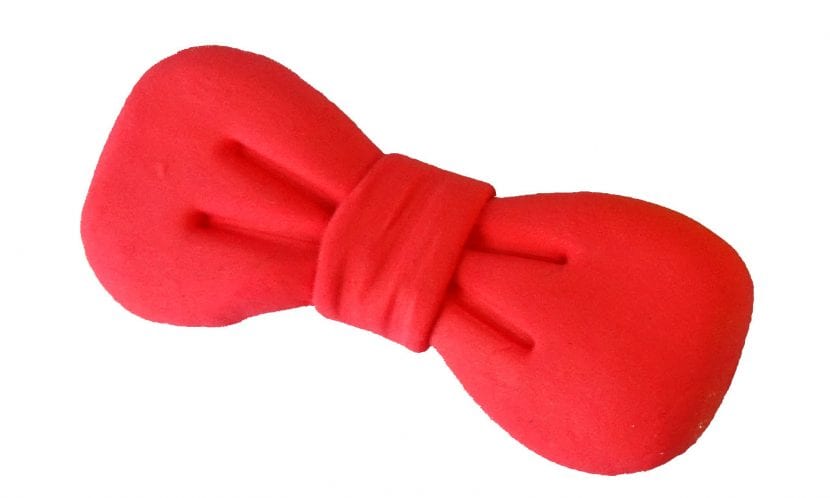
El green bow is my favorite. Instead of making two drops you do double drop, and you join the two peaks of each double drop to each other. This way you will have the hole inside the loop. As in the previous one, you make the marks and join the two parts.
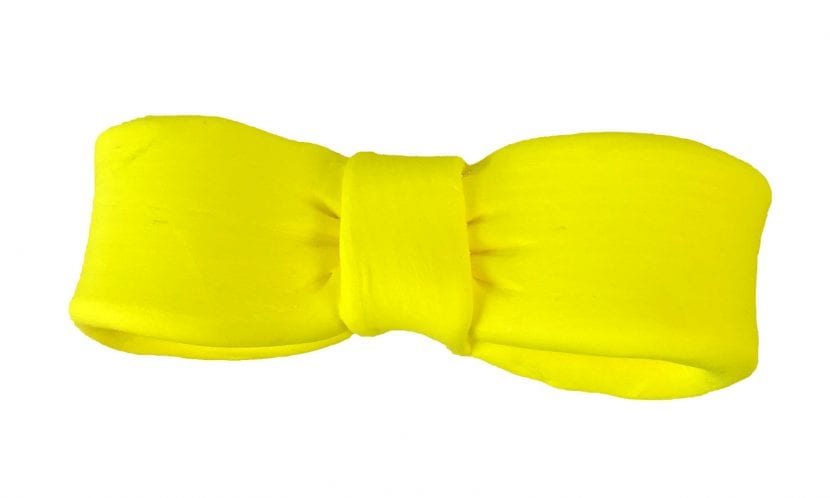
El yellow bow It has a finish similar to green, but it is done in a different way. It is the only one in which we do not have to separate two parts. Create a store long and flatten it with the palm of your hand. Join the ends in the center of the line. With the knife you can also make the center lines. To give it a little more shape, press the center with your fingers to make it narrower.