
It's good to be on vacation !!!, enjoying much more free time to do what we like the most, such as crafts: Today I give you an idea to do: personalize a notebook, to use it this summer or for the new course.
I don't know about you, but I love notebooks and more if they are personalized. We can use our favorite colors or characters that we like like this one that we are going to see ...
Makings:
To carry out this craft we only need:
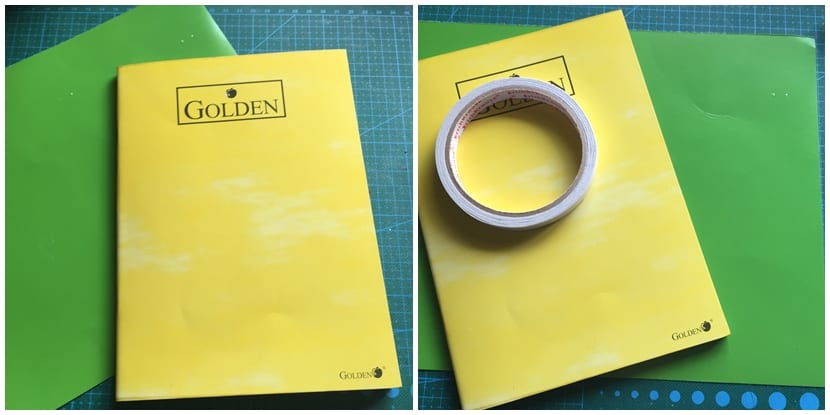
- Notebook to alter.
- Felt letters.
- Stickers
- Cardboard.
- Gluing.
- Wooden ribbon and ball.
- Cutter and ruler.
- Double sided tape.
Processing:
After choosing the color and design for our notebook, we will begin with its transformation:
- We cut the cardboard, in this case we have chosen the green color, to cut it we will take measurements from the notebook we have we will give it half a centimeter more both in width and height and we will cut it with a cutter and a ruler, with a guillotine or with scissors.
- We will put the double-sided tape on the covers of the notebook and we will glue the cardboard carefully that it is straight.

- We print an image that we like and stick it to a thin cardboard, we will cut it outlining the figure. Stickers can also be attached.
- We will paste the image to the cover, we can use glue stick, although in this case as the image was large I used hot silicone.
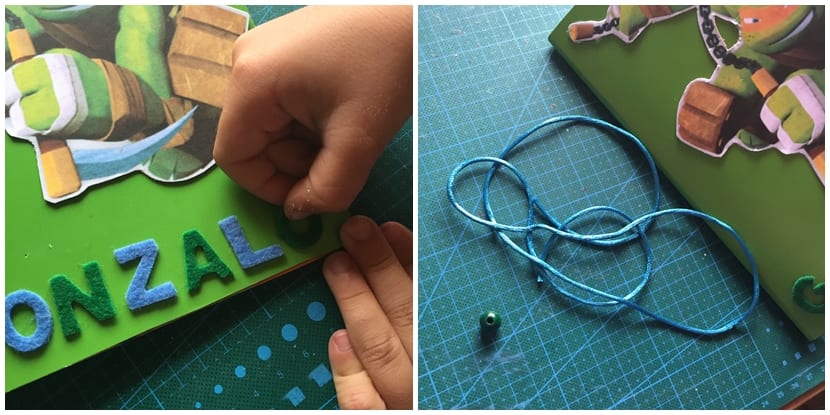
- We will put the letters in the notebookThis can be done by the little ones and be protagonists in its realization.
- We will put a ribbon or cord On the spine of the notebook we will tie with a knot and at the end we will put the wooden ball that will serve as a bookmark.
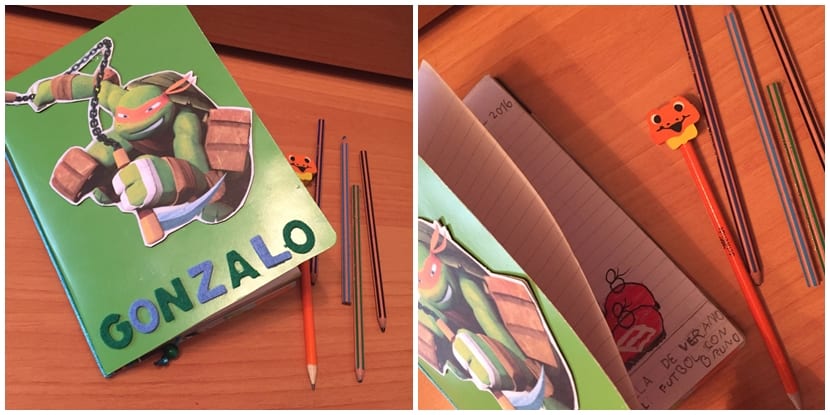
And ready!!!, we will already have a personalized notebook to our liking. I hope you liked it and that you put it into practice. see you with another craft.