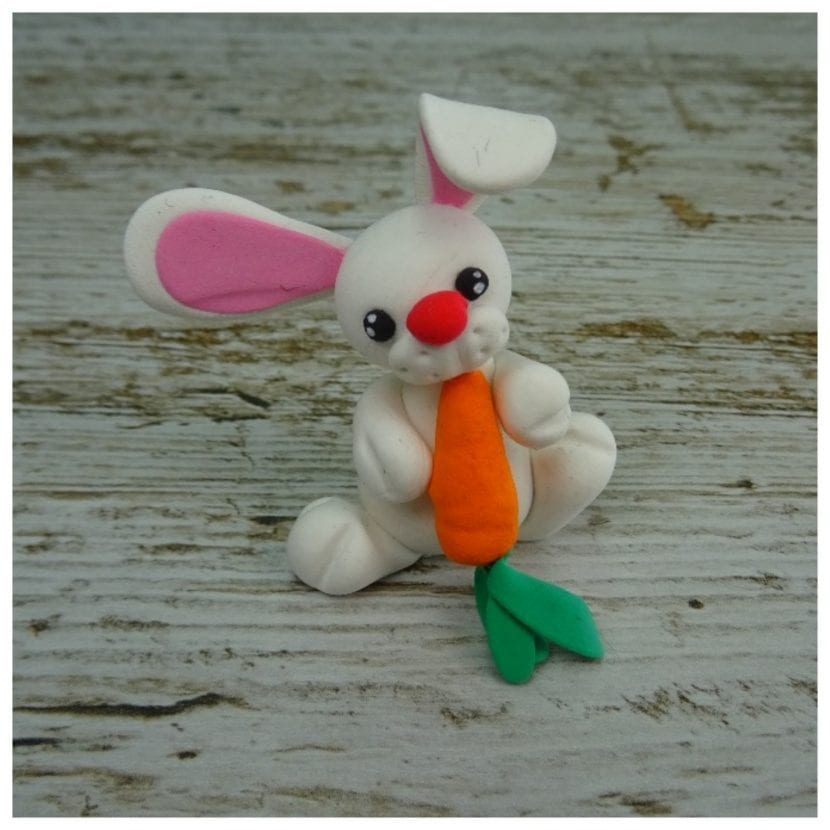
In this tutorial I teach you to create a Easter Bunny with Fimo or polymer clay. They can also do it children, and it will serve as a decoration for Easter gifts, as a surprise in chocolate eggs or simply as a decorative figure in any corner.
Materials
To make the Easter bunny you will need Fimo, polymer clay or any type of colored modeling paste. The Platinum are as follows:
- Blanco
- Pink
- Black
- Orange
- Verde
- RED
How to Live Aligned with tools a knife for clay and a toothpick.
Step by step
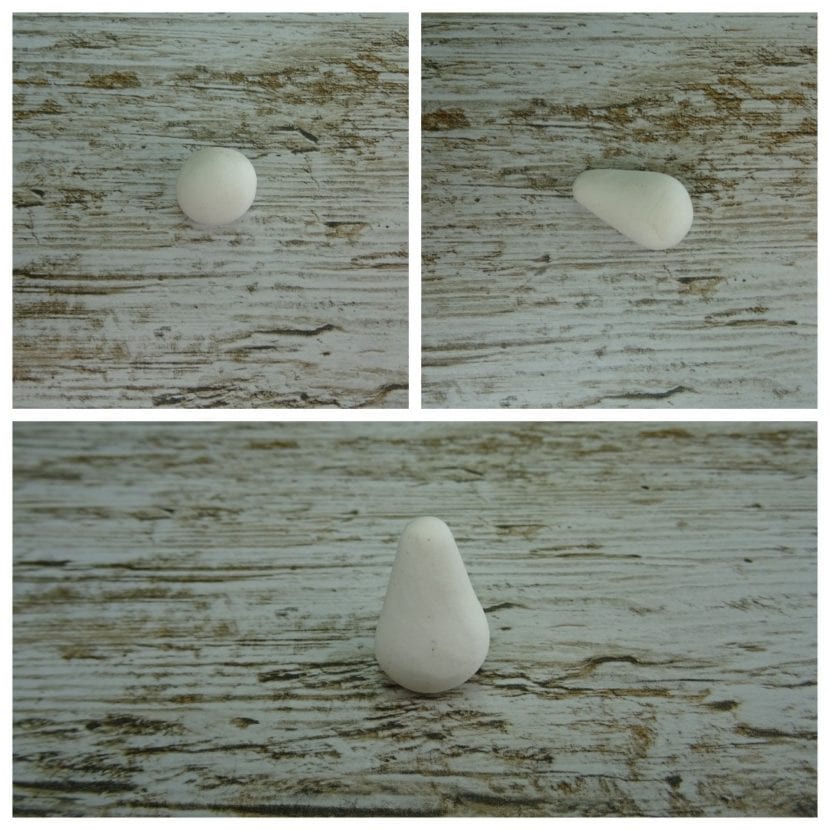
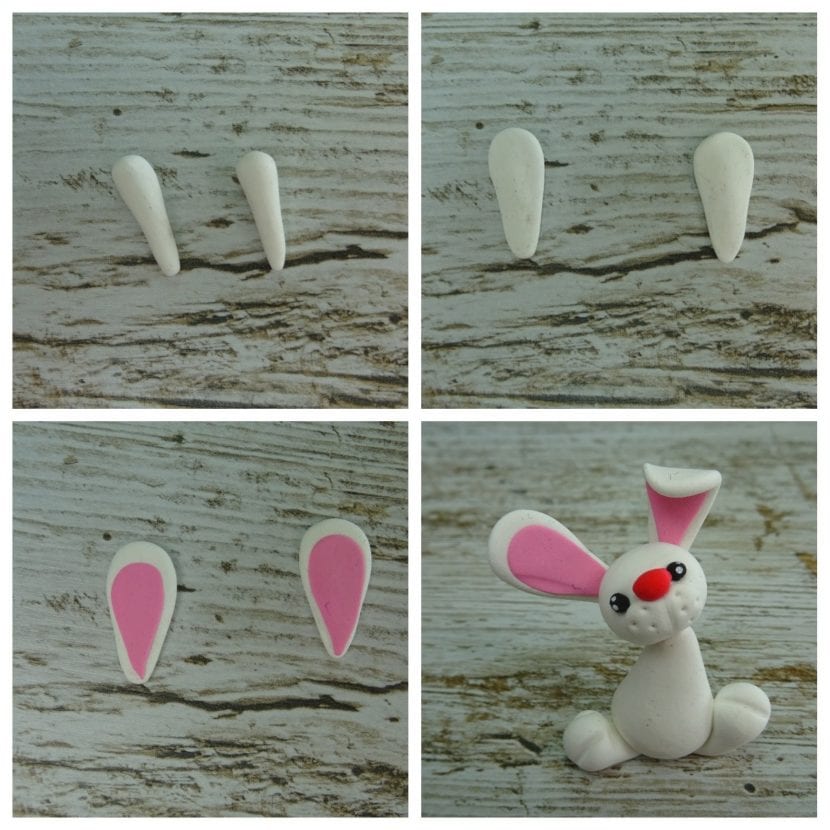
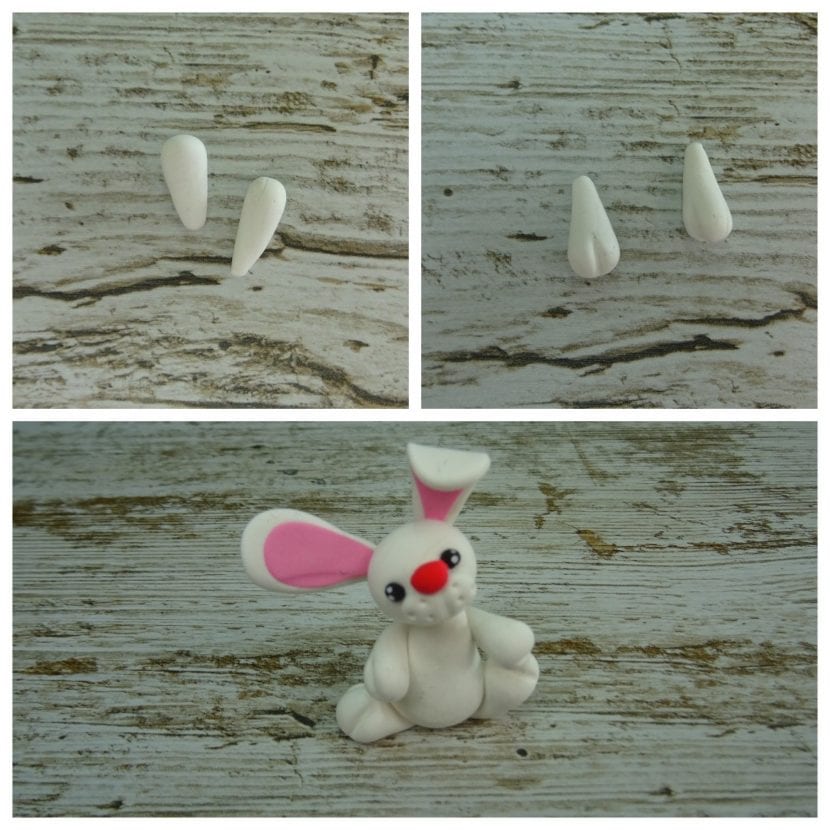
We will start creating the Easter Bunny by bodyso make a ball white and roll it on one side with your finger. You will see that only one end is sharpened, thus creating the shape of drop, which will be very useful in this figure. Place it with the sharp side up and flatten the thick one on the table so that it stands upright.
We continue for the feet. You must also make a drop but with two pieces this time. Flatten them gently on the sharp side and with a knife make finger marks. Stick them under the body.
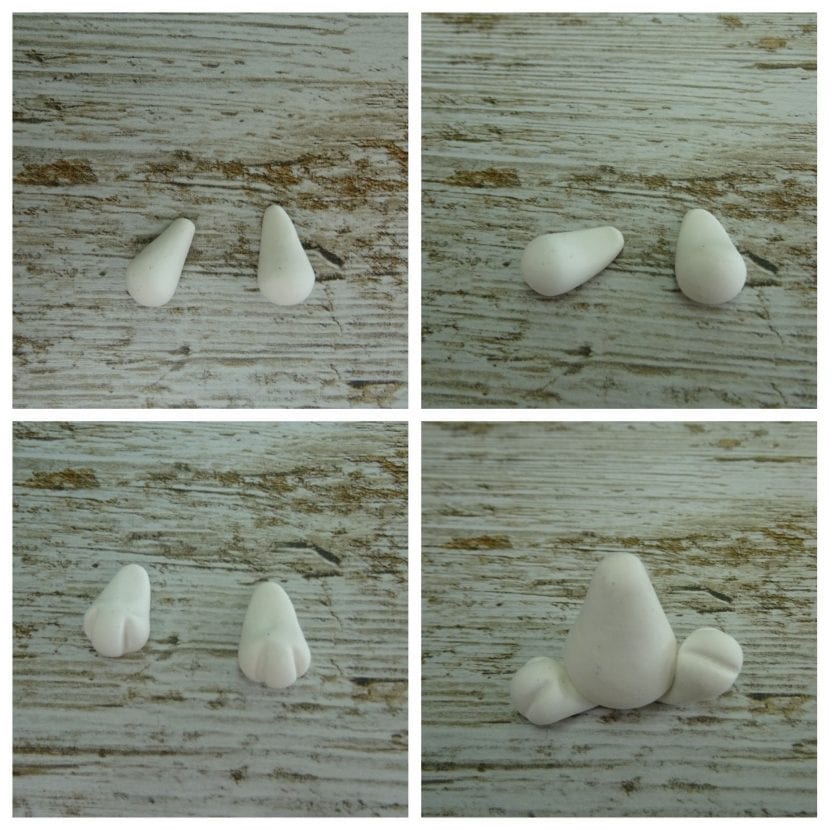
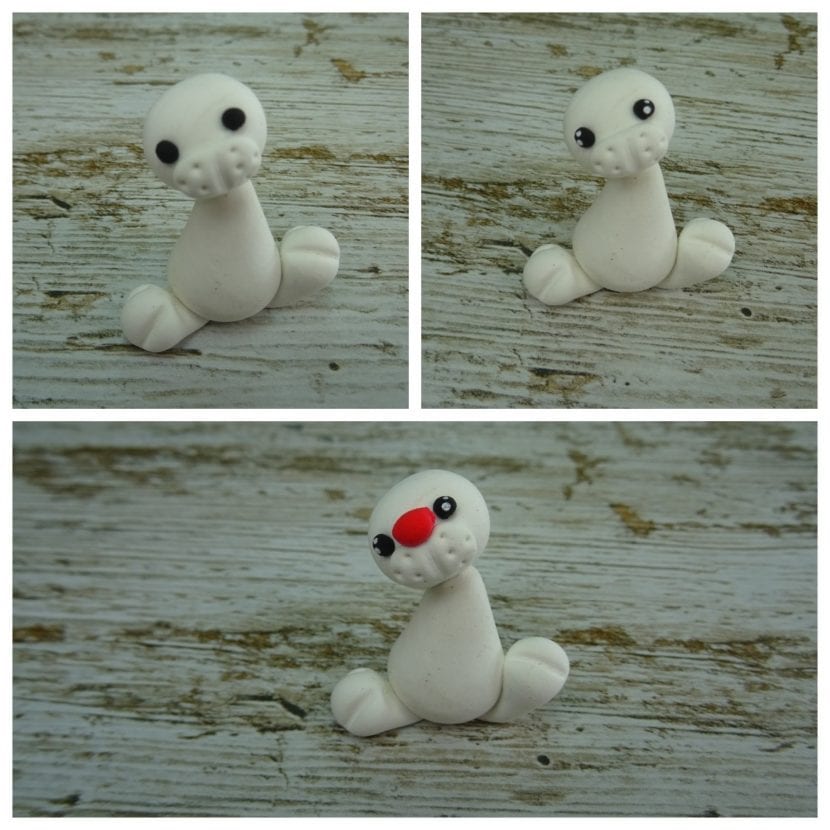
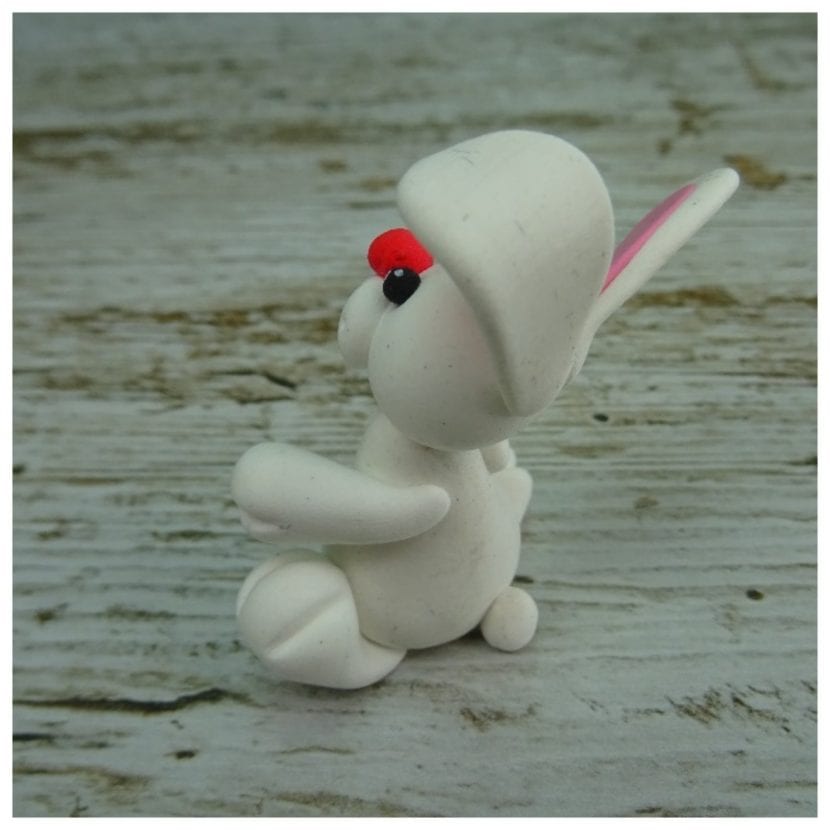
Let's go to cabeza. Roll one ball back and forth, but very smoothly so it doesn't stretch too much. You will thus create a small oval. To make him the snout take another smaller piece also white and roll it a little more, this way you will create a cylinder. With the knife mark him one stripe in the middle of the muzzle and with a toothpick you make dots in each half. Join the two parts and glue them on the body.


The eyes there are just two balls black with a few smaller dots of color white. And the nose is a Red ball a bit stiff.
To create the ears you must do two again drops just like I taught you before. crush them enough with the Palm of the hand and you hit another two smaller ones and in color on top pink.
The arms there are two again drops. They are made like feet, but instead of two brands they have only one. You should stick them on the rabbit's body by the sharp part of the drop.
La tail it's only one white ball stuck on the Easter bunny's butt.
Carrot
La carrot It is one more detail that you can add. Again do one drop elongated with color orange. If you roll the edge of the knife Stripes will be marked on the drop that will create more realism to the carrot. Create other drops green for leaves and stuck in the thick part of the carrot. And you will have it finished to put it on Easter Bunny as if he was eating it.