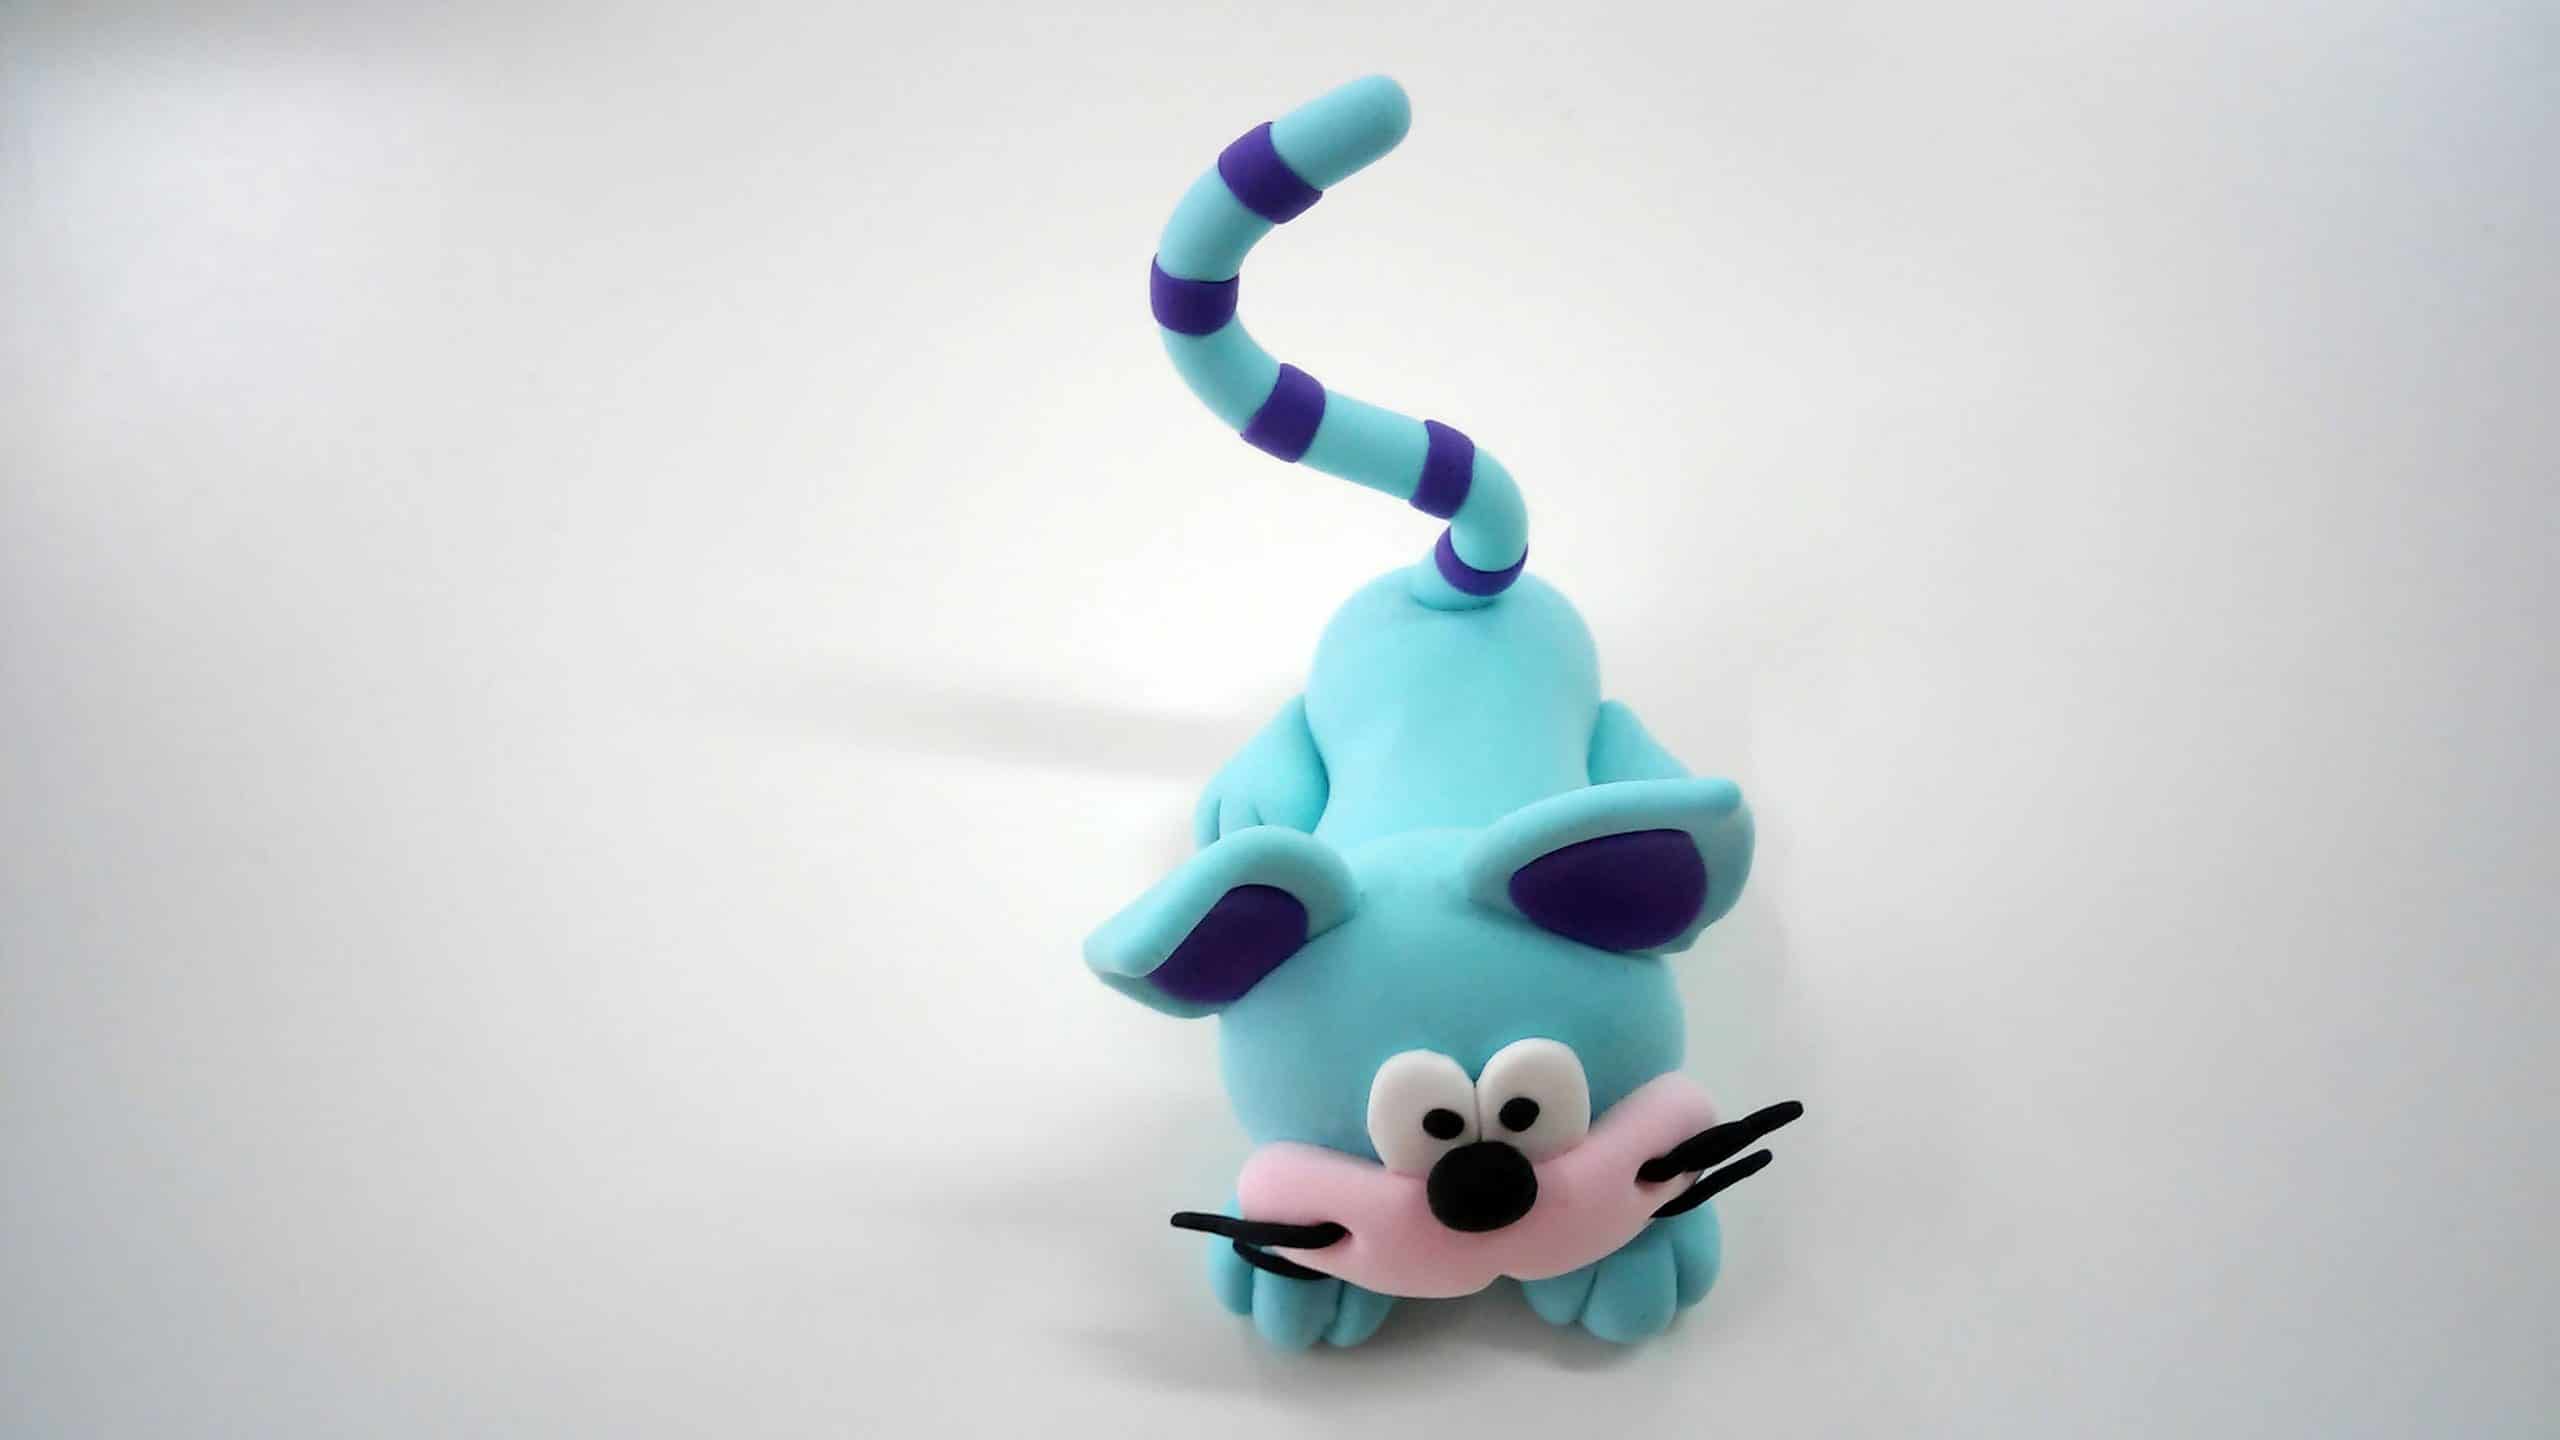
If you like cats, if you want to give a figure of a cat to someone, or you just want to learn how to model one of these animals with Fimo or polymer clay with a very funny appearance, then stay and see this tutorial because here I explain the Step by Step.
Materials
To make the cat out of Fimo or polymer clay, you will obviously need this type of clay, but you can do it both with one that requires baking and with one that requires air drying.
As for the colors, that's already your choice. I wanted it to be a bit original and fun, and I did it in shades of blue and purple. Another option is to make it monochrome and paint it later with acrylic paint.
Step by step
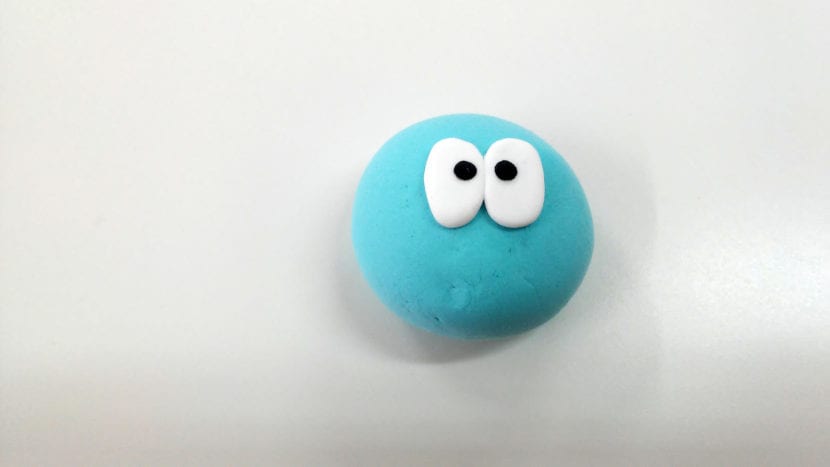
Start with the head, which is the one with the most parts.
This is round, so create a ball and then flatten it very slightly with the palm of your hand.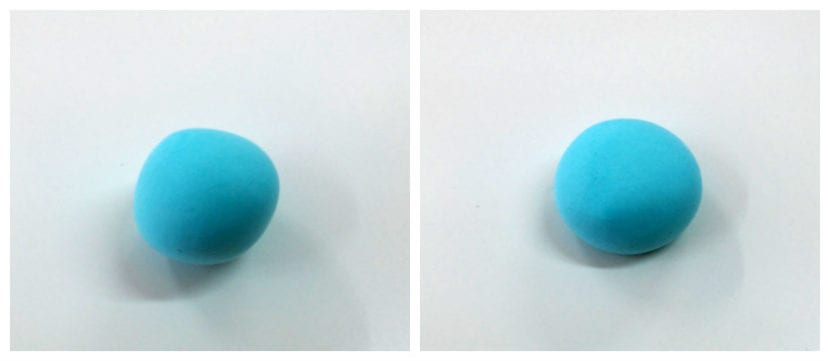
For the eyes you need two white balls. Stretch them a bit and flatten them. Put them together on one side.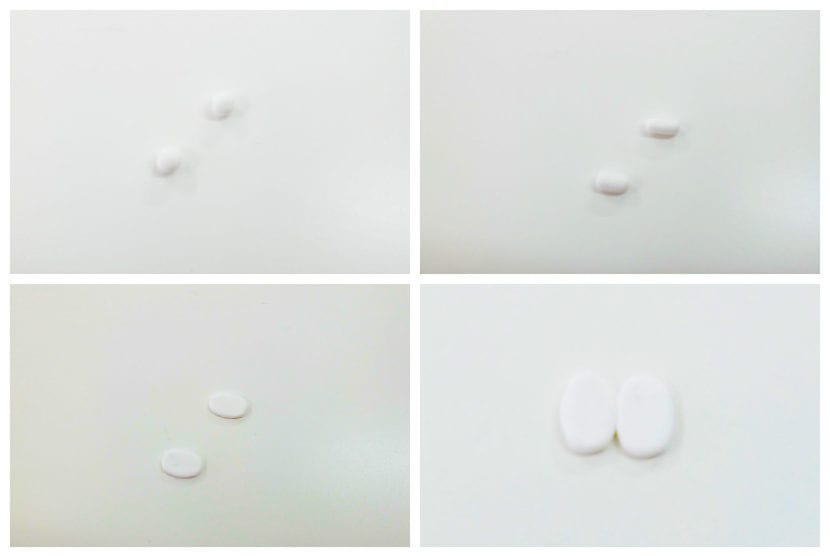
Stick them on the face you just made.

Put the pupils with two small balls in black.
To create the muzzle, stretch a ball of the color you want this part, and make a small mark with the knife in the center. Glue it under the eyes by squeezing with the palm of your hand to flatten it a bit.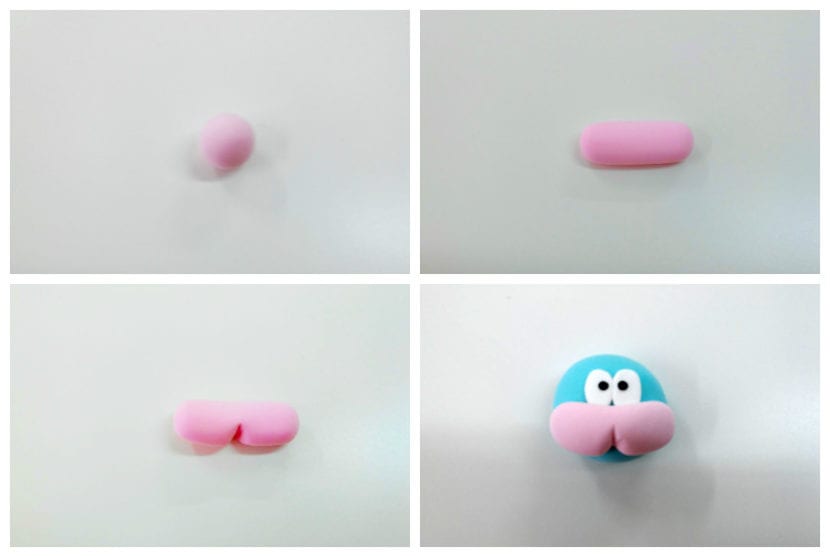
One of the most important details when creating a cat is the whiskers. Make a few holes with an awl on both sides of the snout to later glue the whiskers better. Roll out as many pieces of clay as you want your cat's whiskers to have, and insert them into the holes in the snout.
To make the nose, simply stretch a ball a little and stick it in front of the eyes on the muzzle. 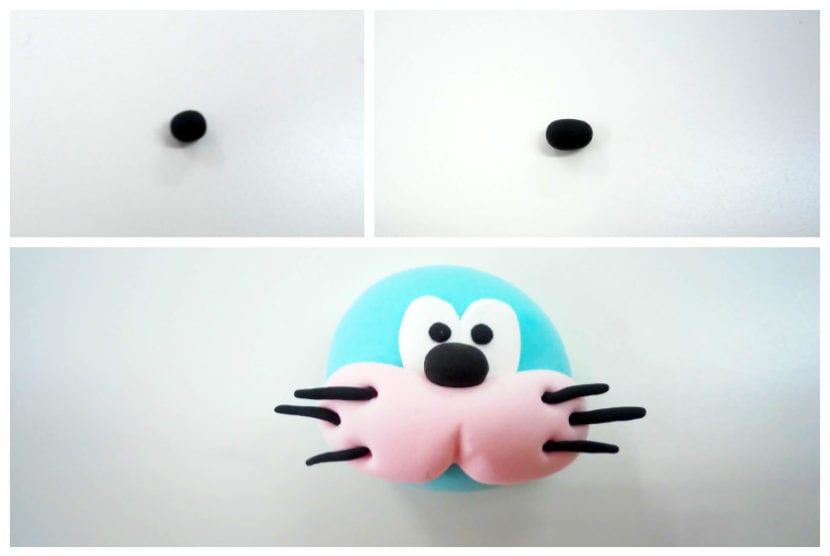
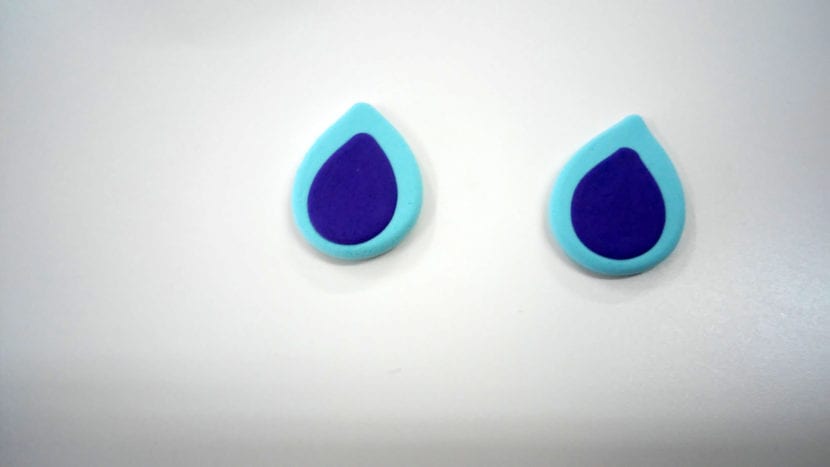
For now it will look more like a seal than a cat, but wait until you put your ears on it. To do this, take two balls and roll them on one side, in this way only that part will be sharpened and will create a drop. Flatten it quite a bit.
Put another color inside the ear, so do the same with two other pieces but smaller.
Glue one drop onto another.
Glue the ears on the head at the widest part of the drops, so that the tips are facing up.

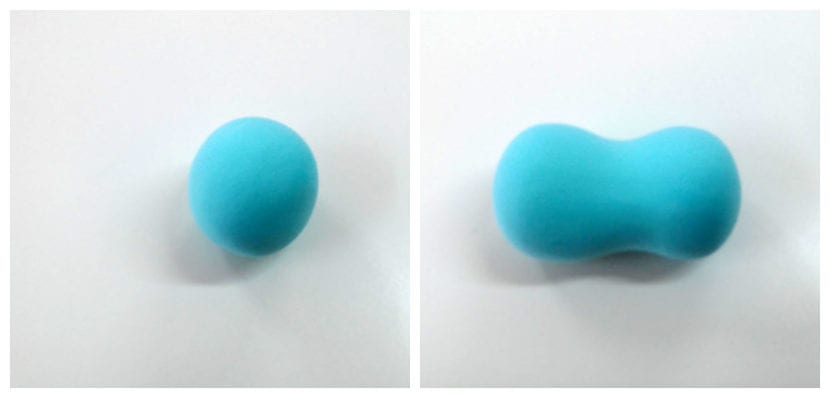
Now that the head is done, let's go for the body.
From a ball you must create the peanut shape, and this is done by rolling only the center of the ball with one finger. This will be more stretched and sunk in the center.
Hit the body to the head.

To make the tail you must stretch a ball quite a bit.
To decorate with the stripes, create lines in the same way with smaller pieces. Flatten them and surround the tail with them.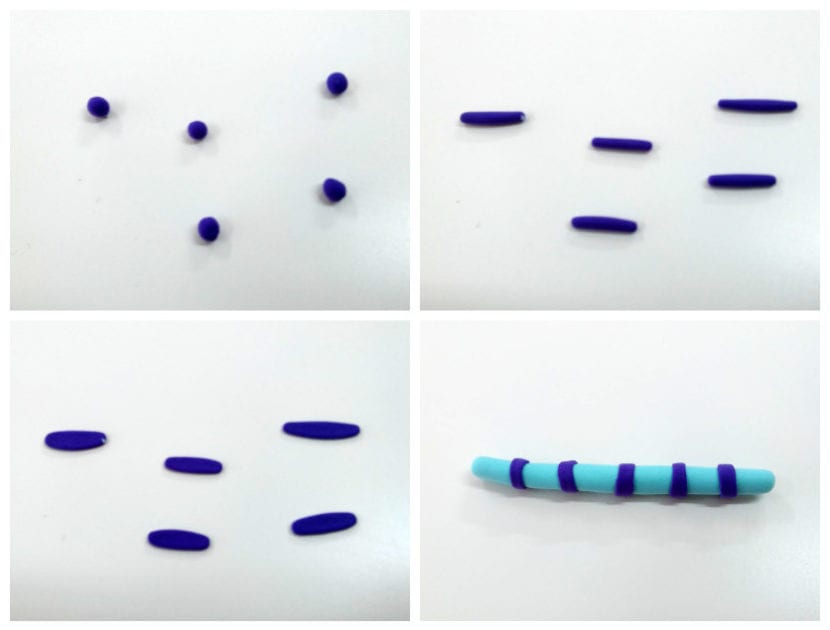
To glue the tail, make a hole in the body with an awl and attach it.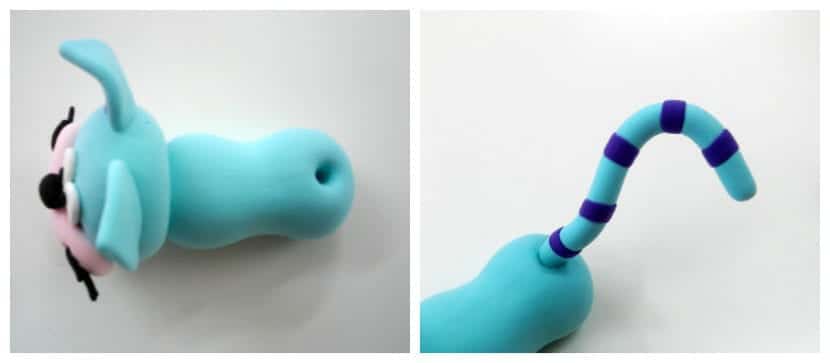
Lastly, create the legs.
Roll four balls on one side to create the drops like the ones you made with the ears. With a knife mark the hooves.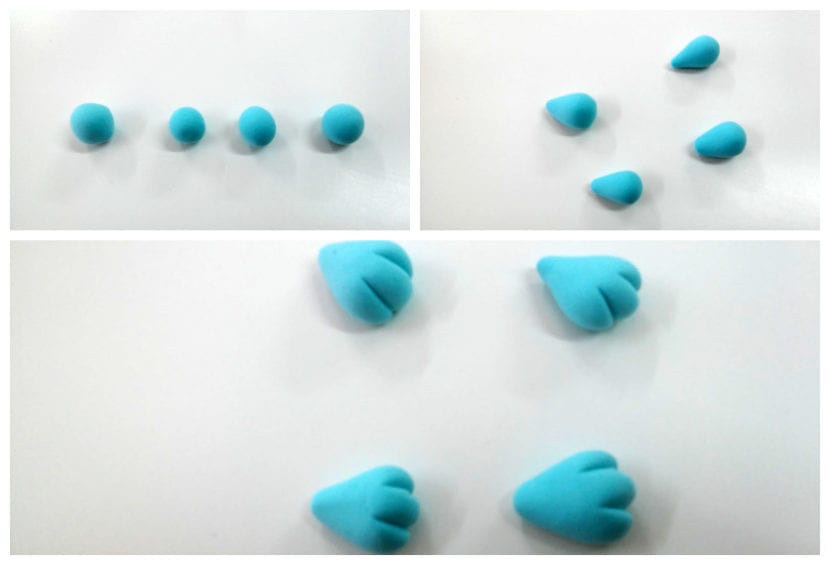
Glue them back and forth.
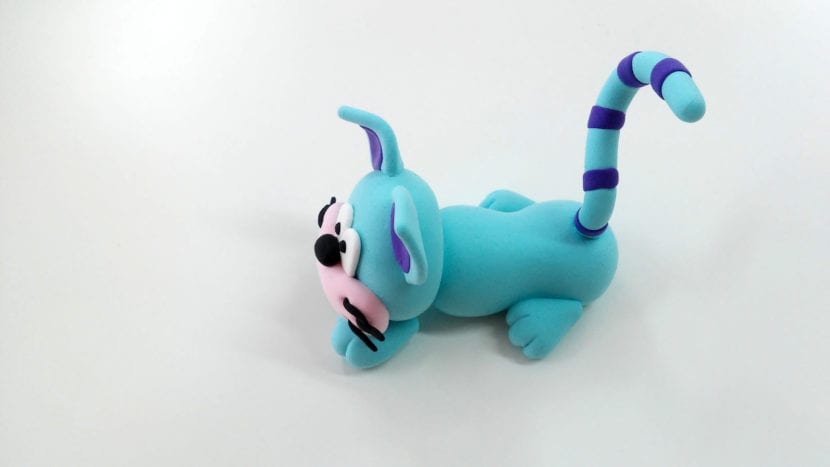
And you will have your funny cat finished.