This card to give the mother's day you will love it. We like it for its colors, for the handmade cardboard flowers and the flowerpot that has been made to serve as a sustenance for the flowers and as a card to keep that message that we want to give. The flowers may seem a bit complicated, but if you follow their steps in detail you can make them without any problem. If you don't want to miss any of the steps, you can also take a look at the video that has been made.
The materials that I have used are:
- A4 colored cards: light pink, dark pink, green and red
- Small yellow pompoms
- Narrow and decorative bow
- Scissors that cut with a rounded shape
- Normal scissors
- Ruler
- Pencil
- Hot silicone and gun
- Black marker
You can see this craft step by step in the following video:
First step:
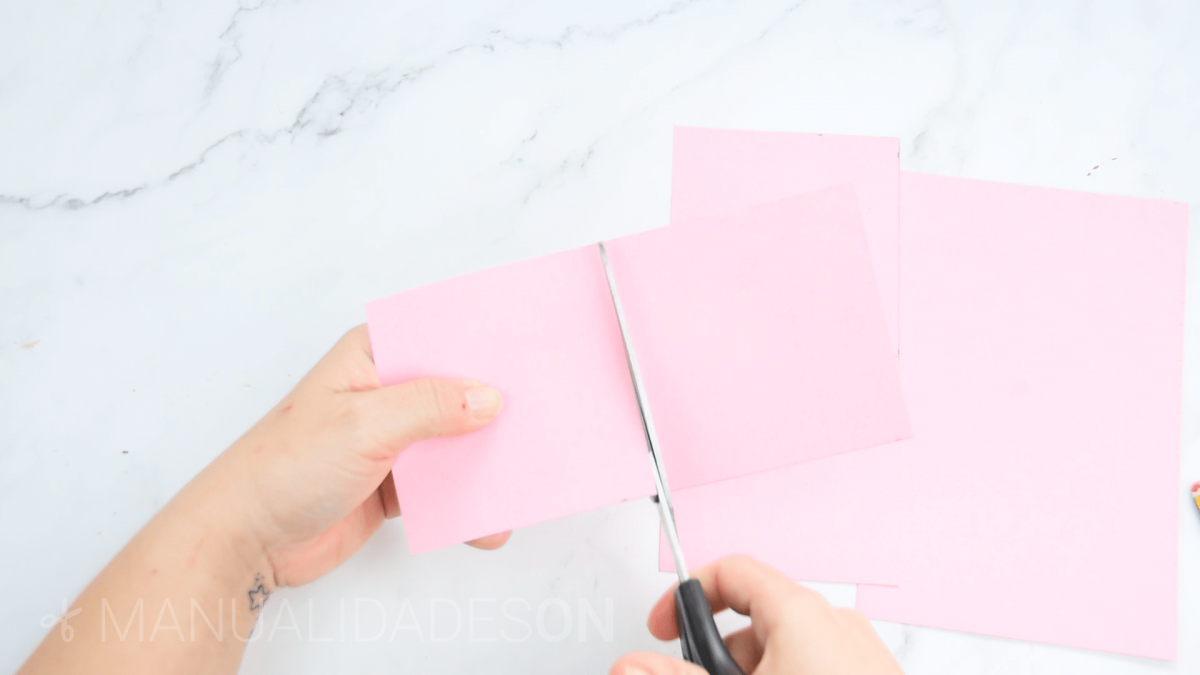
To make the flowers we will draw in a light pink card stock, two 9 x 9 cm squares. We will do the same on a dark pink cardboard, we draw it and cut it out.
Second step:
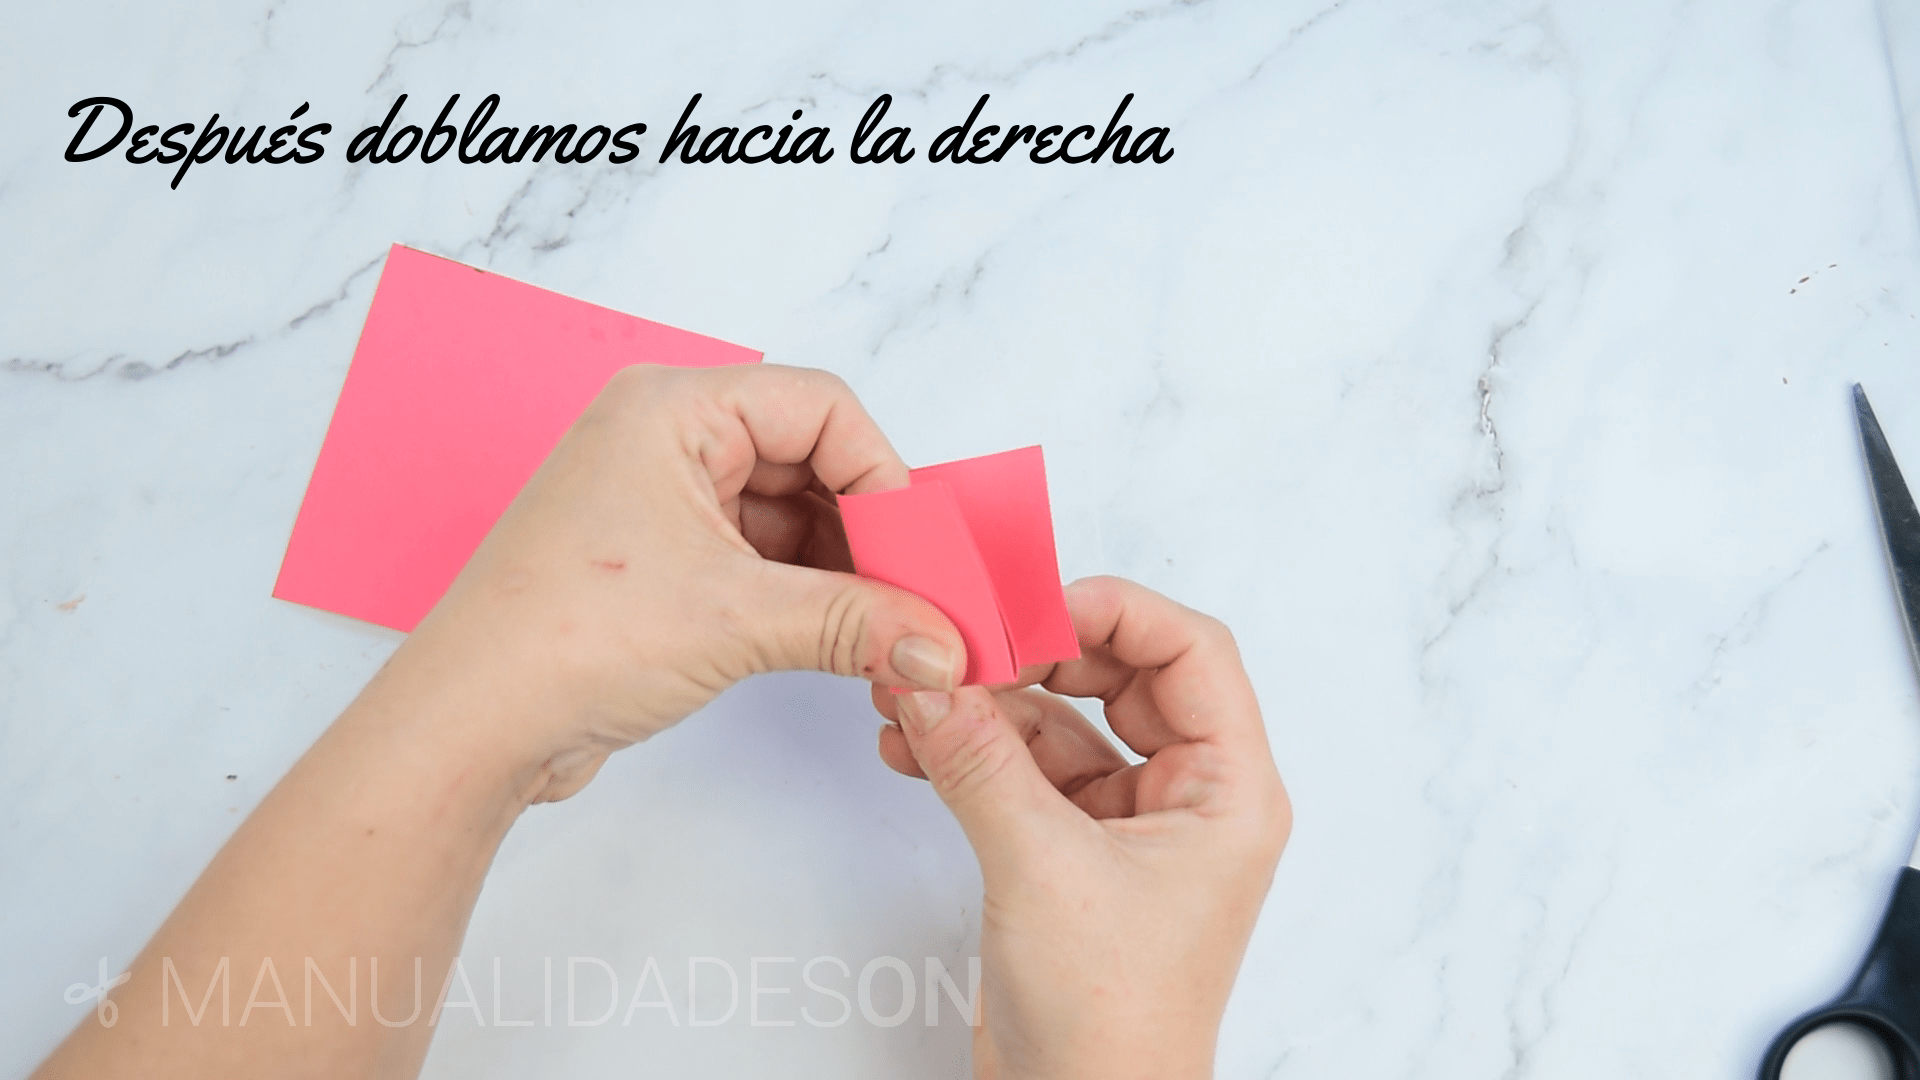
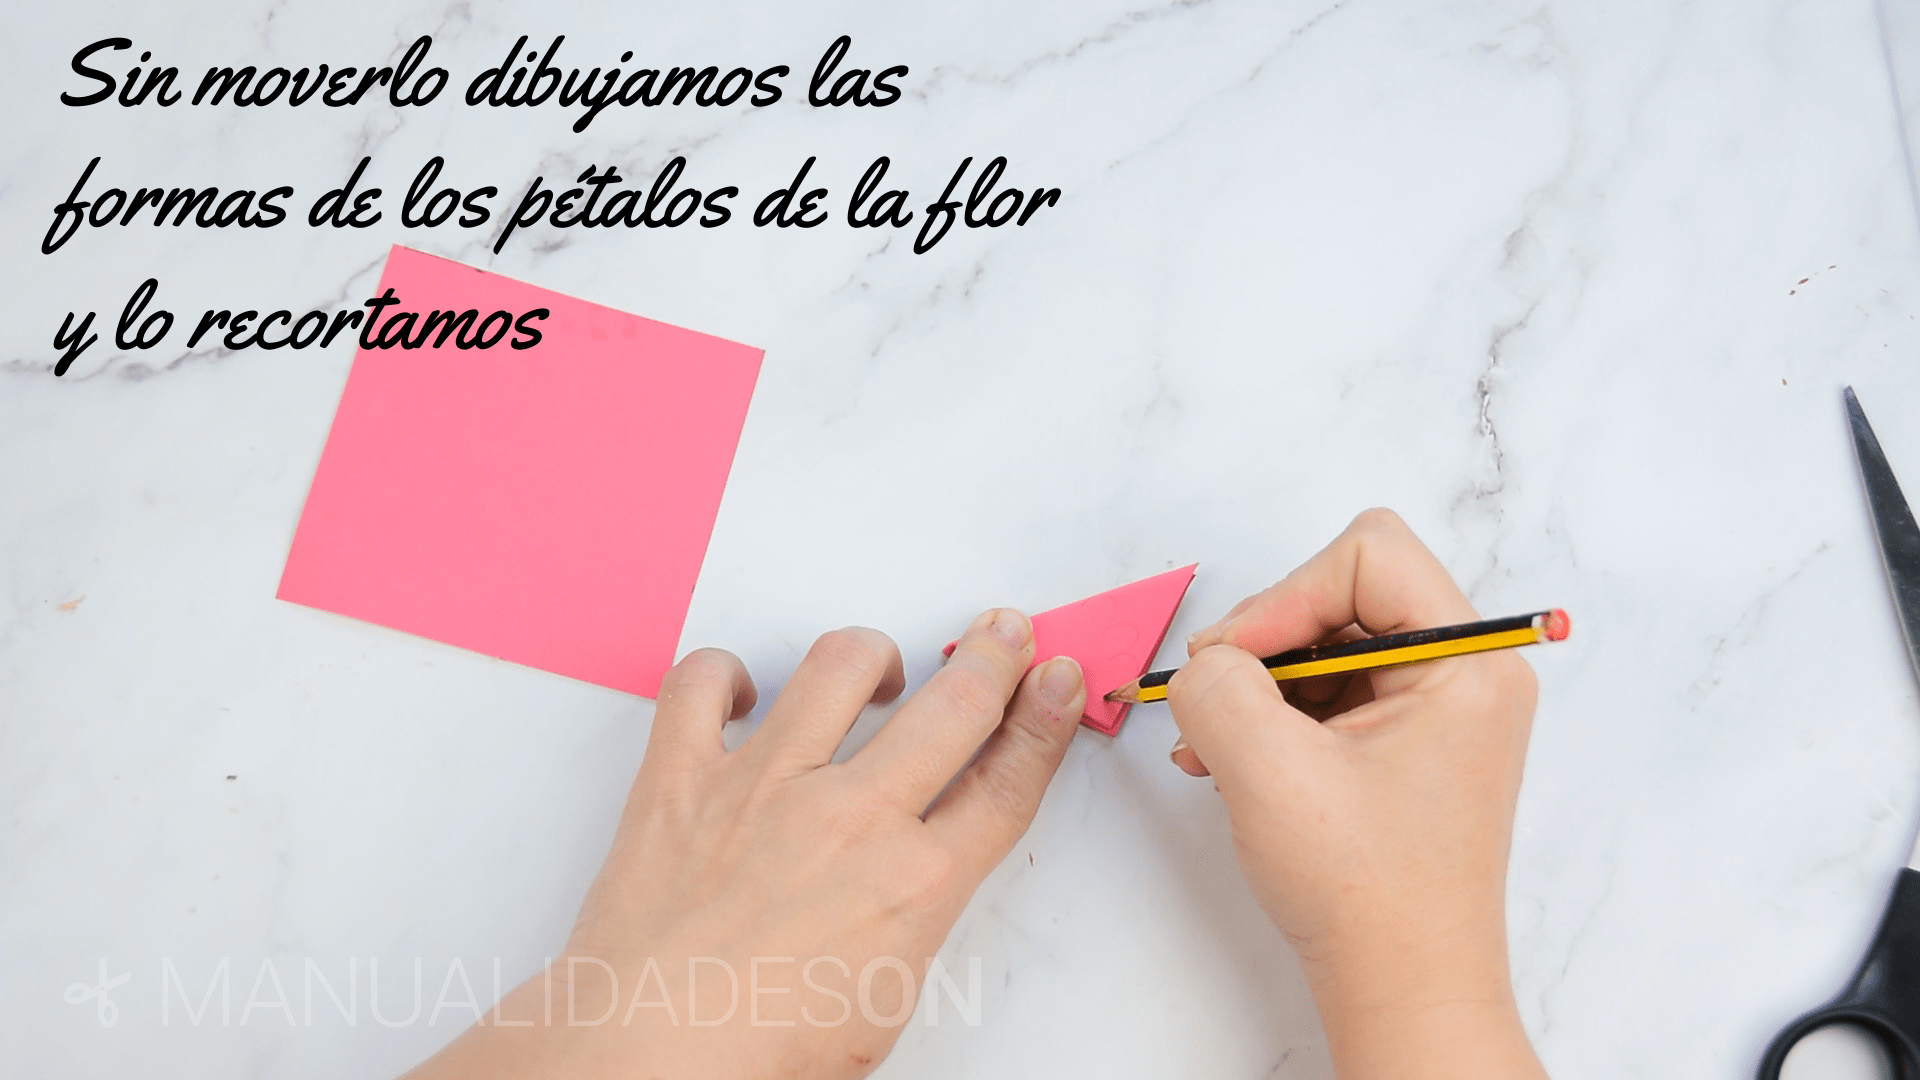
To make the folds we take the square and we bend up, then we fold the rectangle toward the left. Finally the upper left corner we fold it down forming a triangle.


Third step:
In the middle part we will draw the rounded shapes of the flower petals and cut it out. The sides must be well trimmed down.

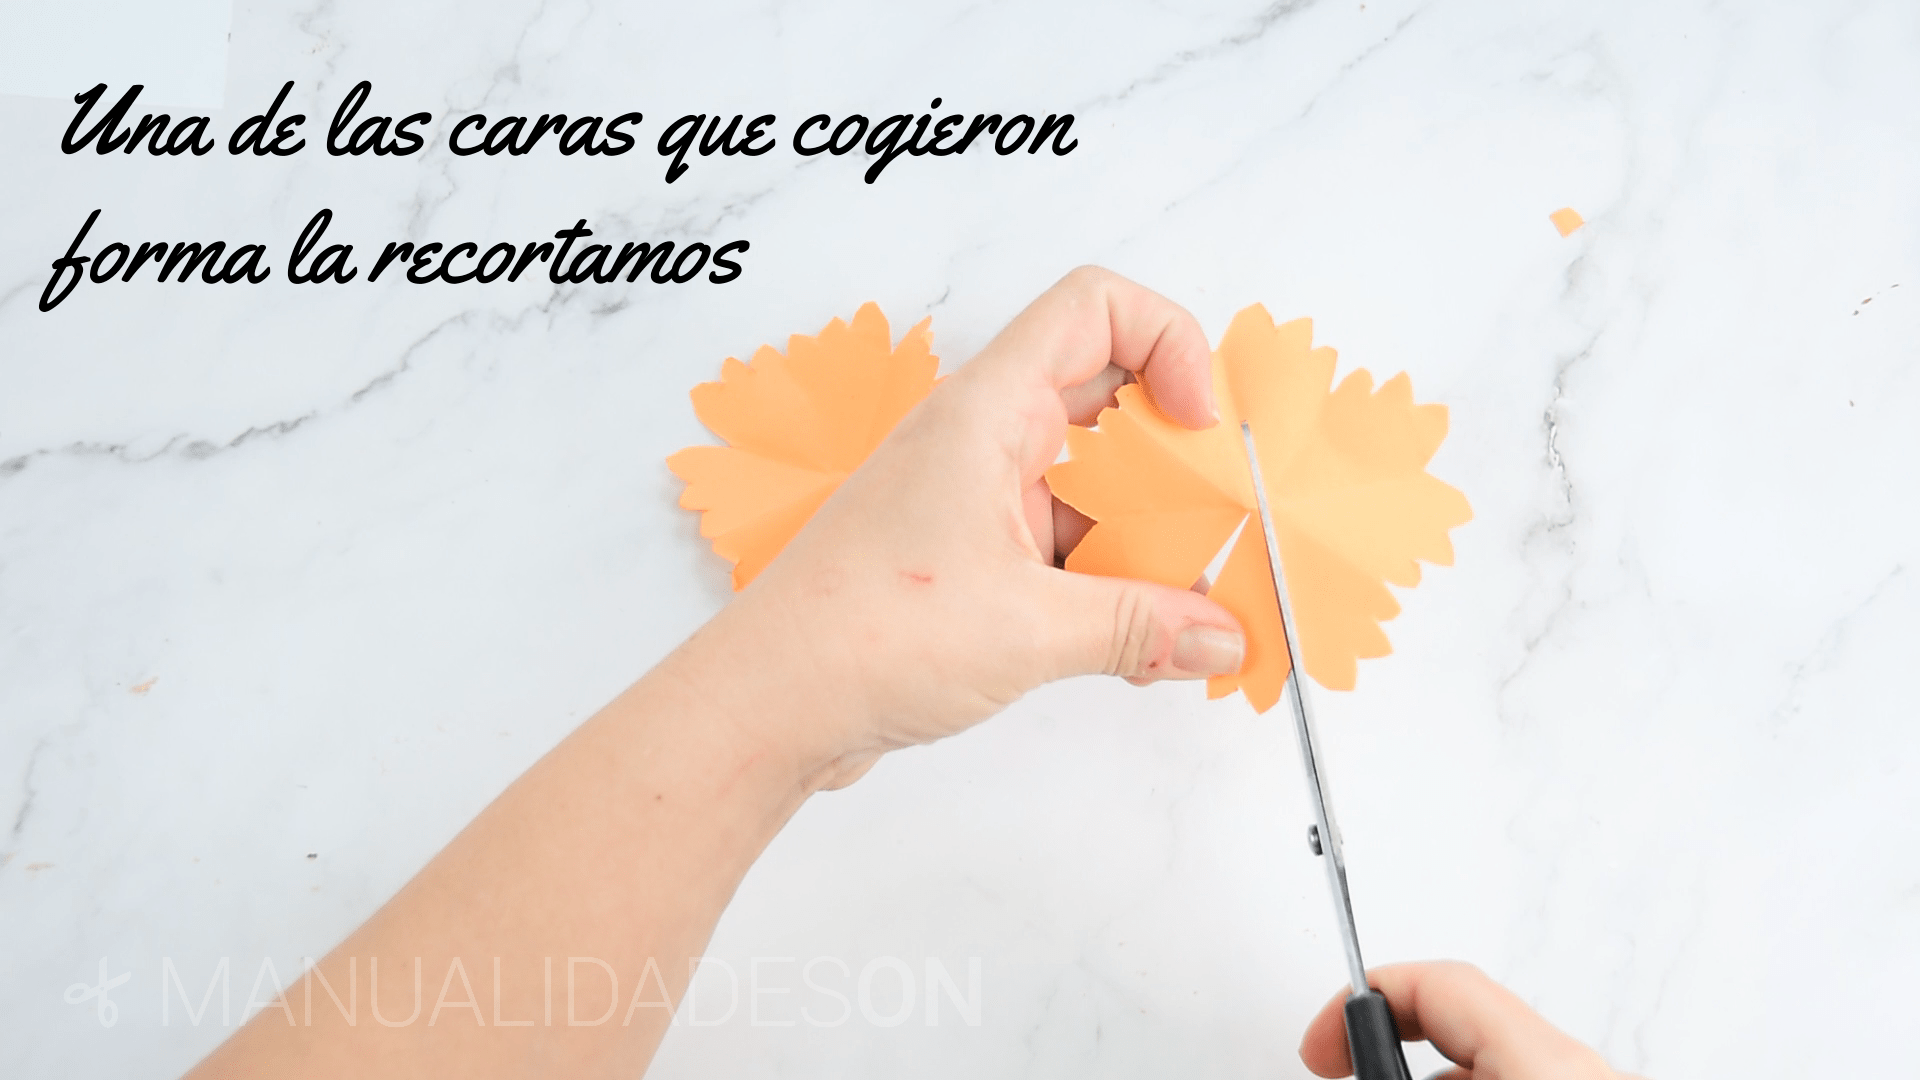
Fourth step:
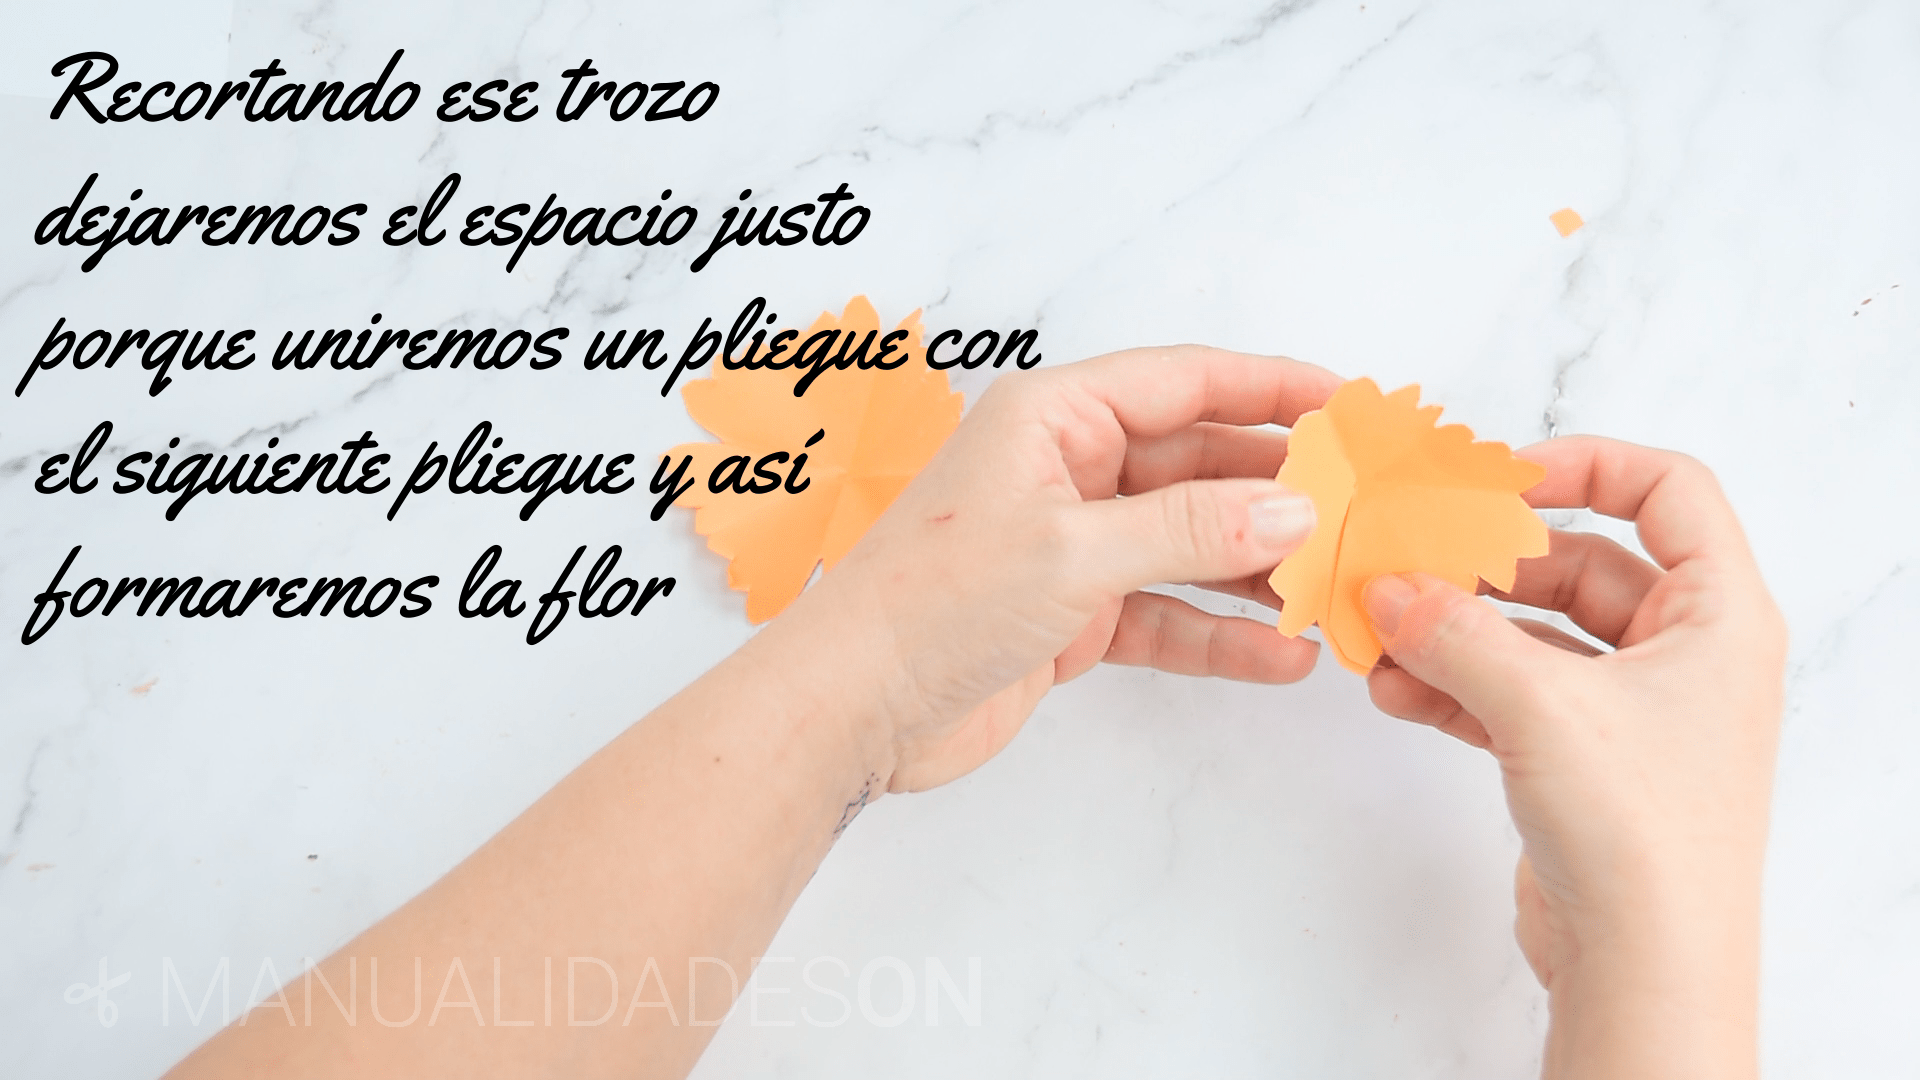
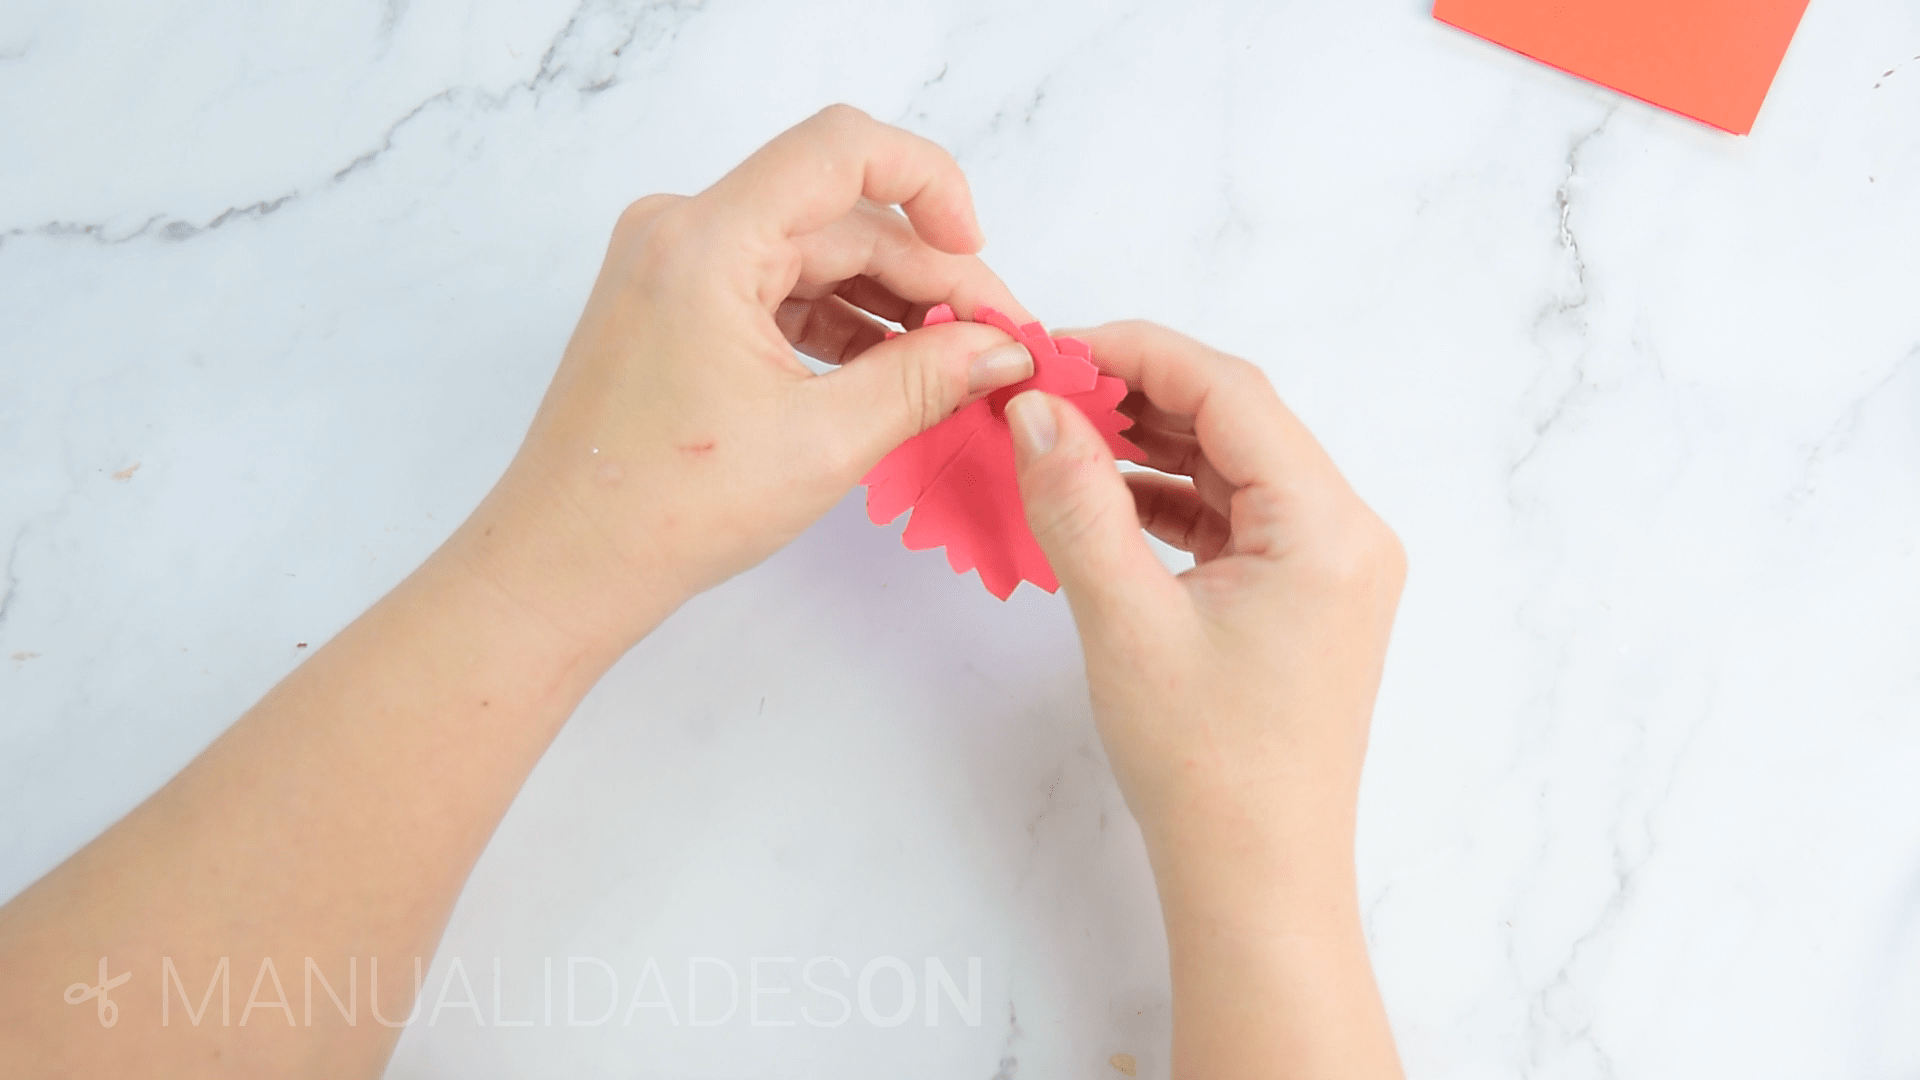
We open the flower and look for a face that has been formed from the folds and we cut it. We observe that we have an empty space and that will help us to form the flower when we close the ends. We glue the ends to keep the shape. We will also glue a yellow pompom in its center.
Fifth step:
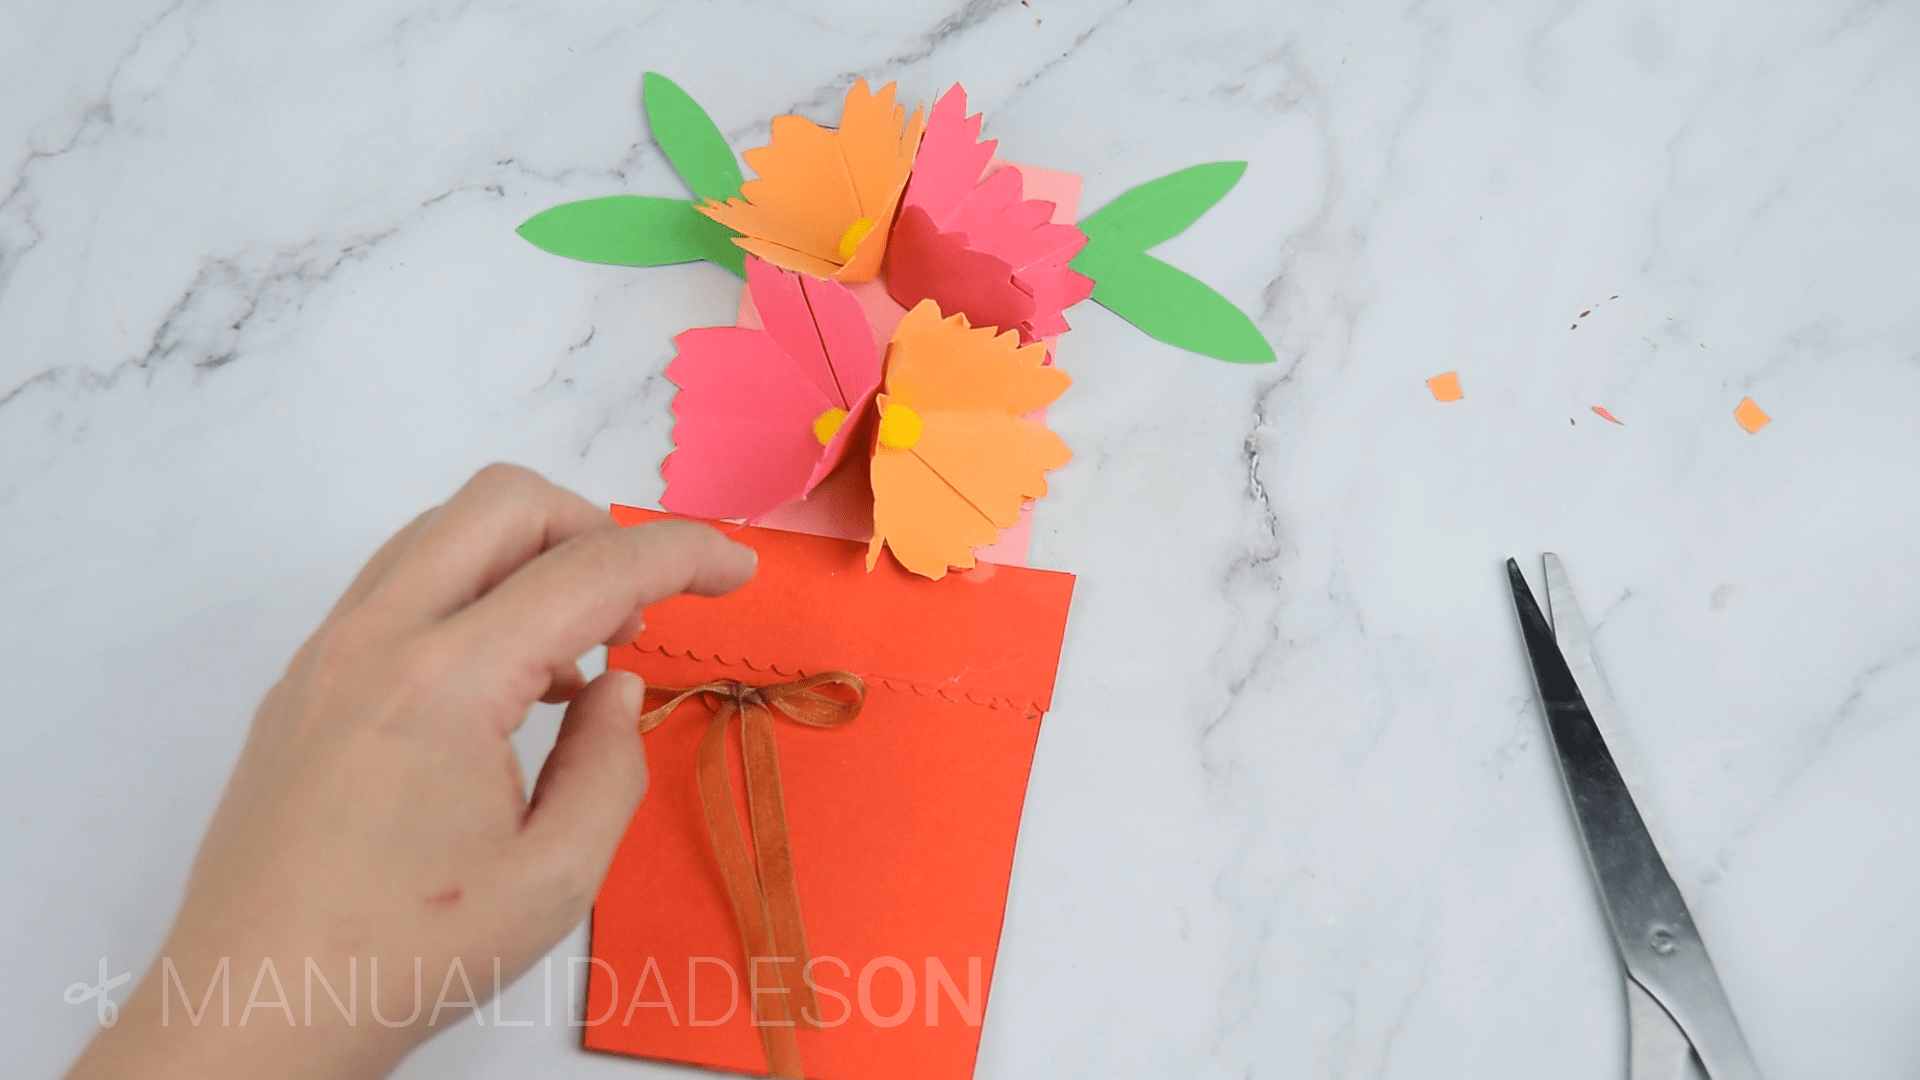
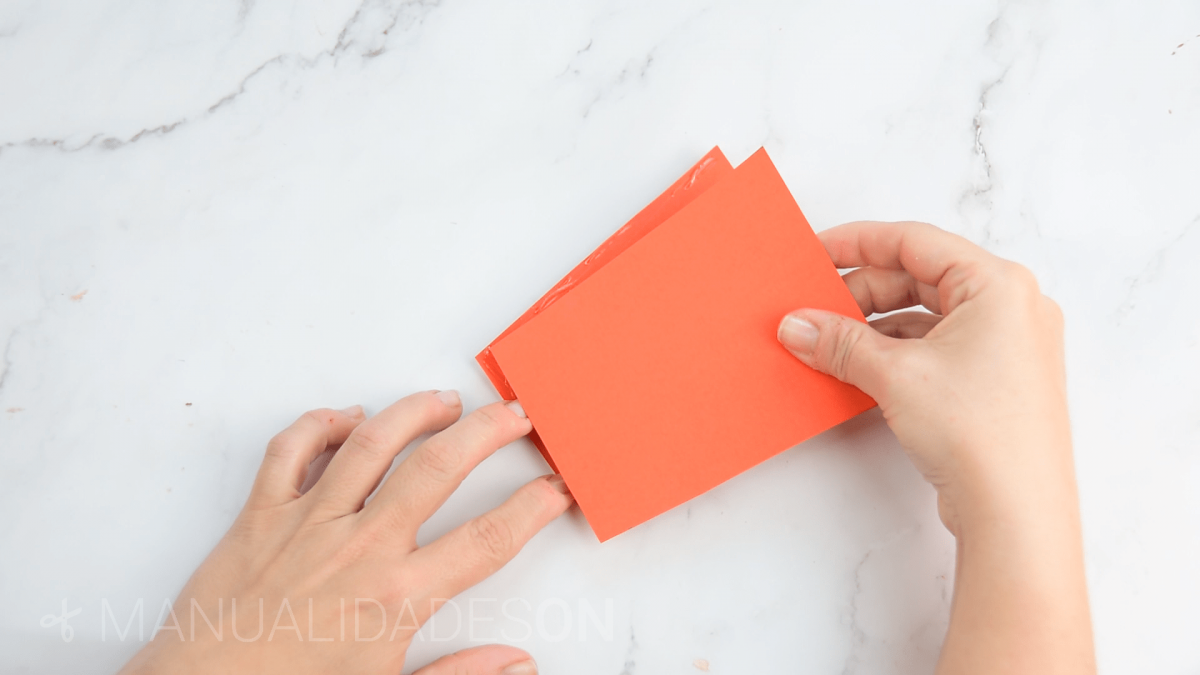
We make the shape of the pot: we will draw on the red card stock two shapes of a trapezoid with 9 cm at the base, 12 cm on the side and another 12 cm at the top. We cut them out and join them, throwing silicone on all sides less at the top of the trapezoid, because it will be where we put the card.
Step Six:
We will make a small strip 3-4 cm wide to decorate the top of the pot. You have to fit the piece with the shape of the pot. We cut it, but we will cut one of the sides with scissors that have rounded shapes. This piece the we will stick in the pot.

Seventh step:
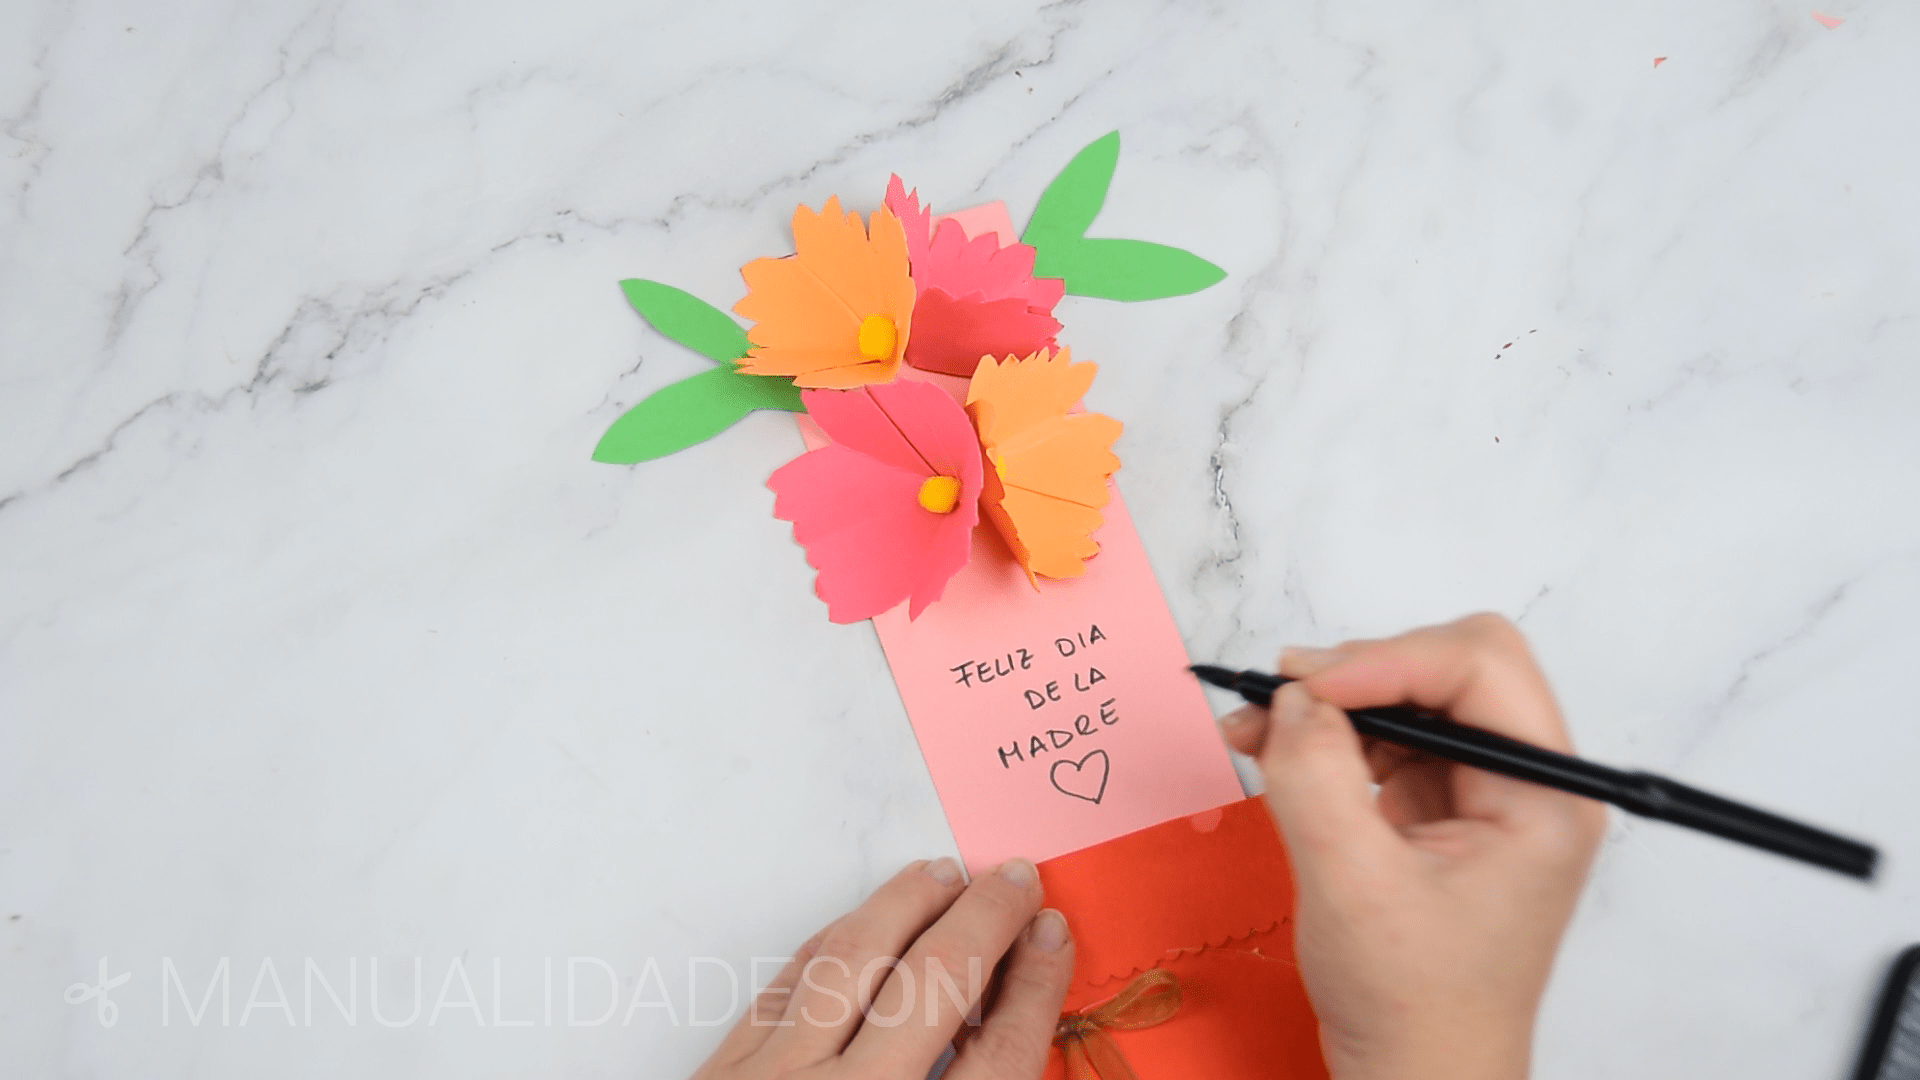
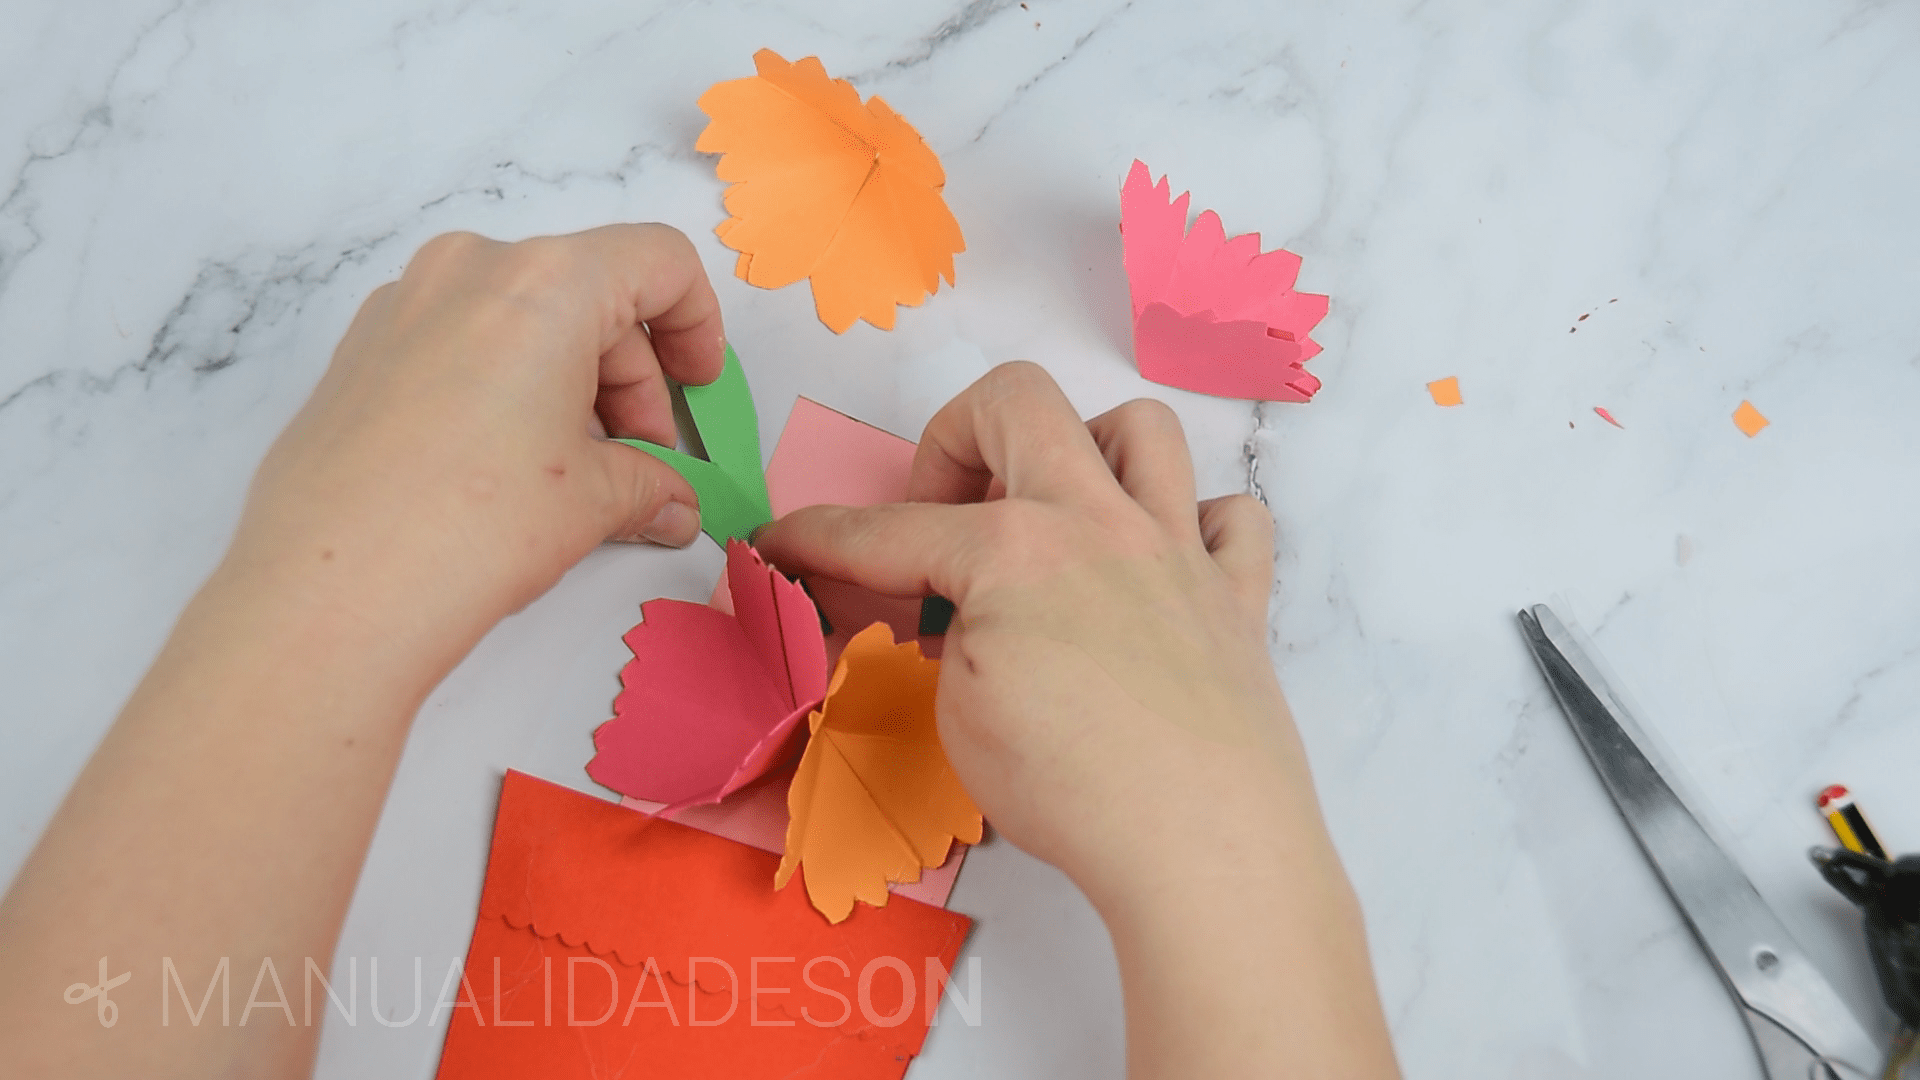
We will draw and cut out a quadrangular shape (19 x 7cm) on a light pink card stock. It will be the part that will have the roses attached and the one that will go into the pot where the written message will go.
Eighth step:
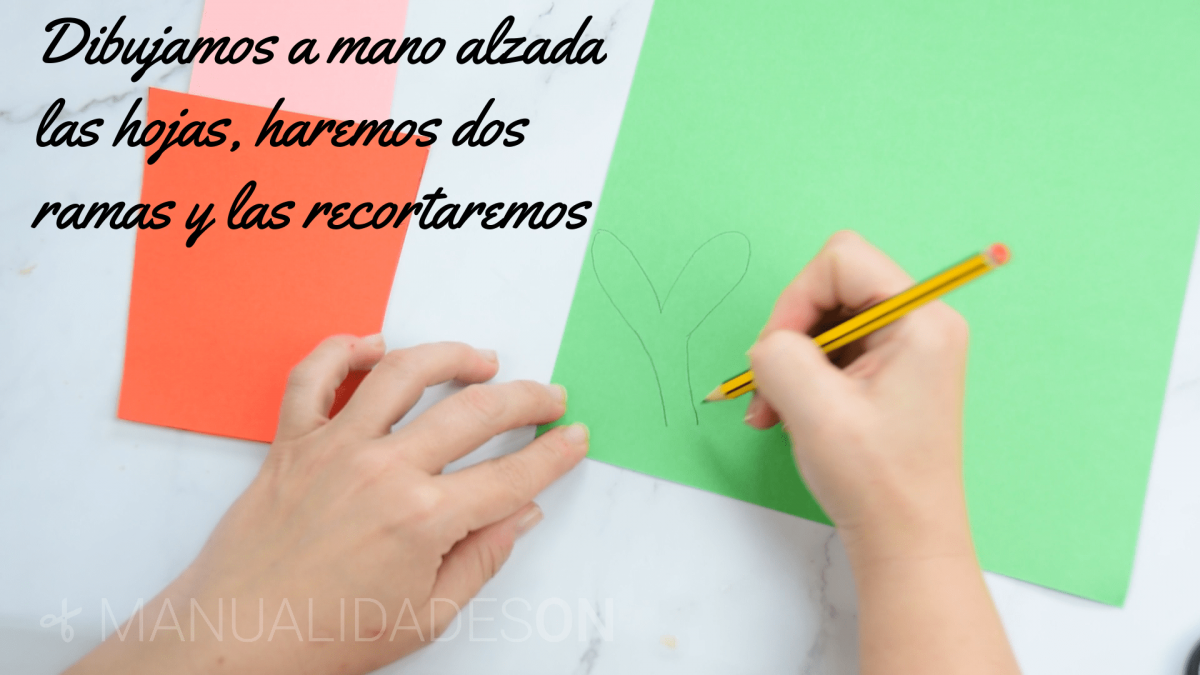
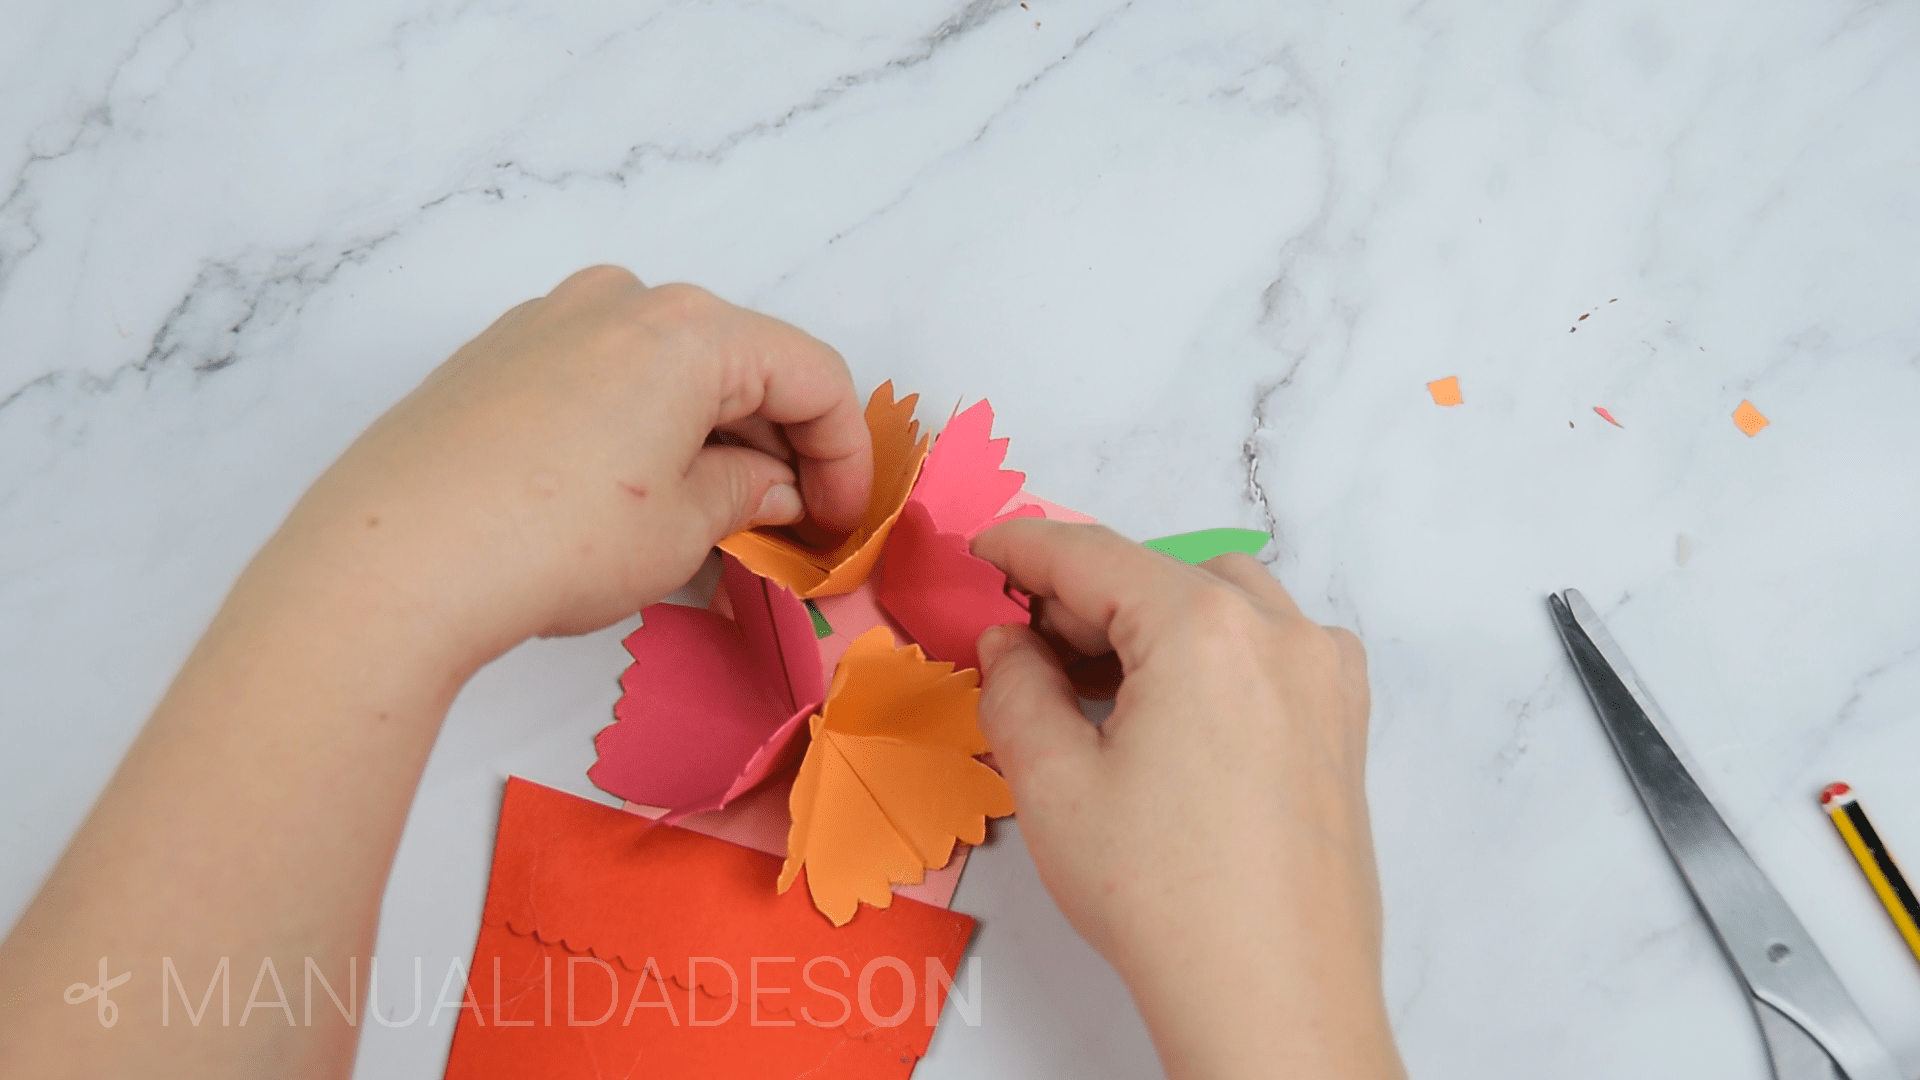
On a green cardboard we draw two branches with two leaves each. We cut them out and we can now place all the pieces in the rectangular piece of pink cardboard. We will glue the leaves and flowers in an orderly way as in the photo.
Nineth step:
With the bow that we have to decorate we make a bow and We stick it on one side of the pot. Once finished we can write our message inside the card and close it.