
In this tutorial I show you the step by step to make a heart keychain ideal to give on Valentine's Day o Valentine's Day.
You can put the color you want and the name to make it totally personalized. It can be used as a keychain or placed in the bag for adornment.
Makings:
- Cardboard (in my case I have used pressed gray cardboard, as it has to be resistant).
- Decorated paper (If you use a paper, the red tones will be more suitable for these dates).
- Carabiner (You can also reuse another keychain that no longer works for you).
- Glue.
- alkyl.
- Brush.
- Big Shot (It could be cut with a cutter if this tool is not available).
- Eyelet or brooch.
- Crop a tell or a punch.
- Permanent marker.
- Lima.
- Ink.
- Pliers.
Step by Step:
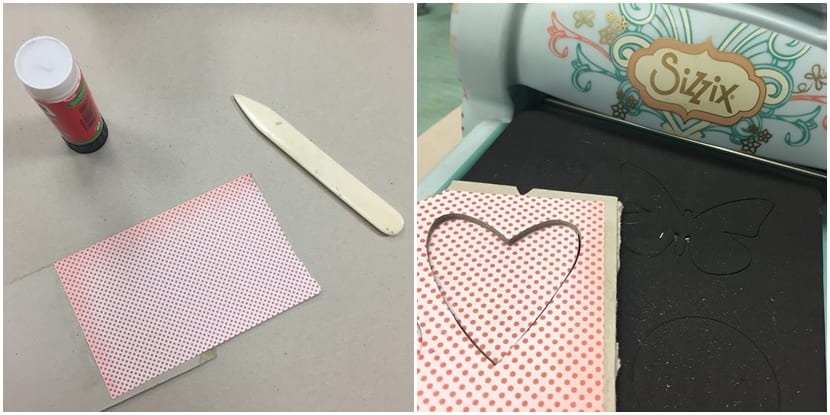
- Glue the decorated paper on both sides of the cardboard and let it dry.
- With the heart die and the big shot pull out the desired shape (This step can be replaced by drawing a heart and with a cutter carefully cut curved shapes).

- Pass a file around the contour to remove burrs or leftovers from the paper.
- Ink the edge of the heart, to give it a more professional finish.
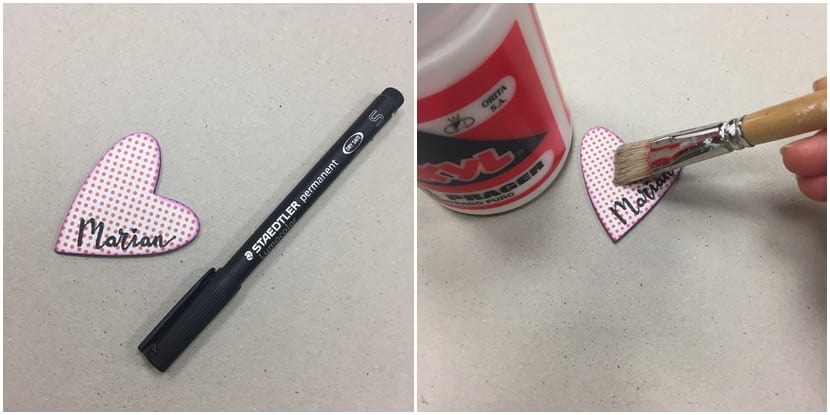
- It's time to put your calligraphy to the test. Write the name in nice handwriting of the recipient. Do it with a permanent pen.
- Give it two coats of varnish or alkyl On both sides. Let dry between coats.

- Make a hole and place the eyelet so you are more protected.
- Insert the carabiner chain with the help of the pliers.
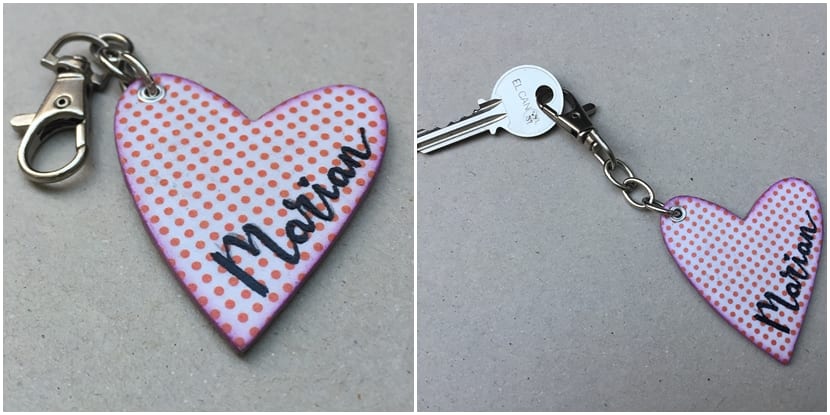
And this is the result: a beautiful totally personalized keychain.
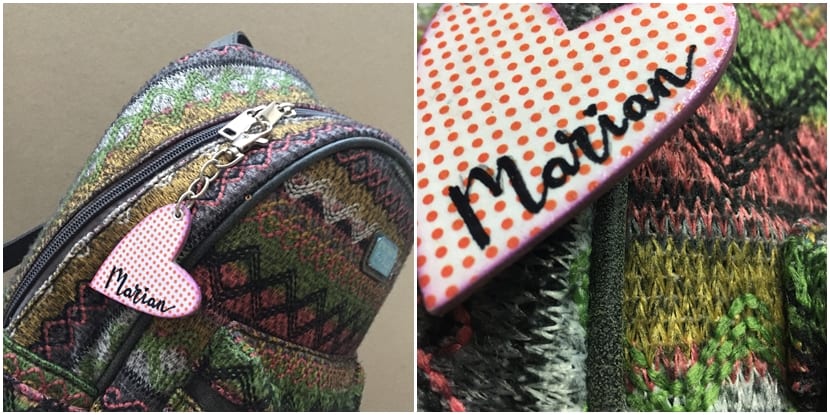
Although if you wish, you can also put it in the bag to decorate.
I hope you liked it and that you put it into practice, you can ask any question through any of my social networks, I will be happy to answer you.