
Hello everyone, today I bring you a tutorial super fun and colorful.
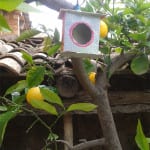
Some fantastic birdhouses made with milk cartons and colored papers and assorted drawings ..
These birdhouses can be used to decorate any room or corner or to hang in the garden in case any guest wants to use them.
It is also a very easy tutorial to do with our little ones and very entertaining.
Materials
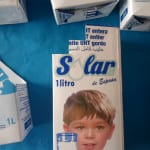
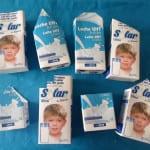
- Empty milk cartons.
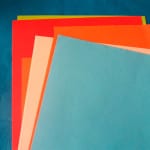
- Color papers.
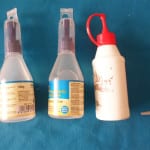
- Glue or glue.
- Brushes, marker,
- Colored cartons.
- Paper or tape tape.
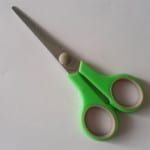
- Cutter and scissors.
- Decorative elements that we want to use.
-

- Empty milk cartons.

-
- Color papers.
-
- Patterned papers.

-
- Colored cardboard.

-
- Felt.

-
- Glue.
-
- Carpenter's tape.

-
- Scissors.
-
- Cutter

-
- Brushes.

-
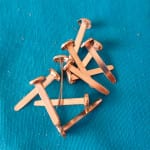
- Staples for binding.
Procedure for making birdhouses
The first thing i did was wash and dry the cartons well of milk since if they cannot catch bad smells.
The next thing I did to start making the birdhouses is cut the ceiling in the way that I liked the most. I did this tutorial with my children and as you will see in the images there are several different models and sizes of birdhouses.

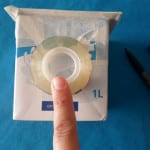
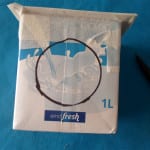
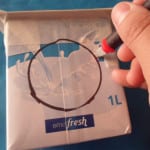
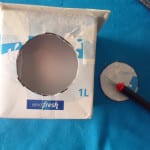
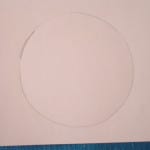
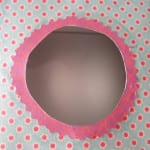
To continue, what we did was cut the ceiling out of cardboard and stick it to the carton with paper tape or carpenter's tape, we can also use zeal. When we had the roof well glued to the brik we used a roll of tape or something round to draw the circle on the brik as a door and trim it with a Cutter. It does not matter if the circle is imperfect, then we can hide it with the decoration of the birdhouses. To hide it, what we did was make a circle the same size as the door with a smaller circle inside and cut it out with irregular cut scissors.


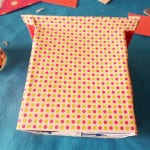
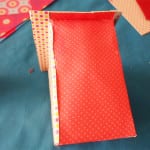
After having the ceiling glued and the hole for the door the following is go decorating the birdhouse to our liking. We did it with colored paper, corrugated cardboard and felt. But you can use all the materials you can imagine to make birdhouses.


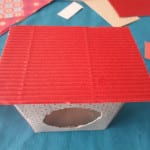
When we had all the walls of our birdhouses decorated what we did was add a soil. We use a piece of colored cardboard and attach it to the birdhouse with some binding staples that we can get at any common stationery store.


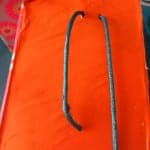
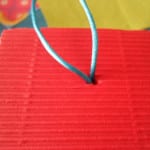
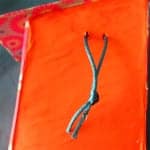
Then we put a thread on the ceiling or on the side to hang the birdhouses where we like the most and finally what we have left is to decorate that place we want with our little houses for birds.

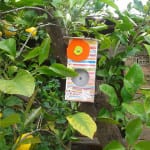
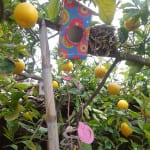
you can also add decorative elements to the birdhouses, in the photo gallery you can see our already finished and hung birdhouses. We made the birdhouses to hang them in the garden and that is why when we finished them we have lined with wide transparent tape, to give them more duration.

I hope you liked this tutorial and that you put it into practice with your little ones.
Tell me if any guests have entered your birdhouses !!
It's great, I see it and it looks great