
Image| CJMM via Pixabay
Are you leaving on a trip soon and would you like to change your old toiletry bag to store all your cosmetics and hygiene products? If you have any leftover fabric at home from other crafts and you want to prepare a multipurpose and ecological toiletry bag in which to store all your travel things, stay and read the following post because we will show you a very simple and quick way to learn how to make one. very original cloth bag.
Let's see below what materials you will need to make a cloth bag as well as the steps to make it. Let's do it!
How to make a cloth travel bag
Materials to learn how to make a cloth bag
The following idea will be great for you if you want to make a simple cloth bag. It is perfect for carrying your hygiene products or your cosmetics if you go on a trip. Let's see, below, the materials you will need.
Image| PDPics via Pixabay
- The basic material that you will need to make your bag is a 27 x 40 cm piece of fabric and two 70 cm pieces of cord.
- Scissors
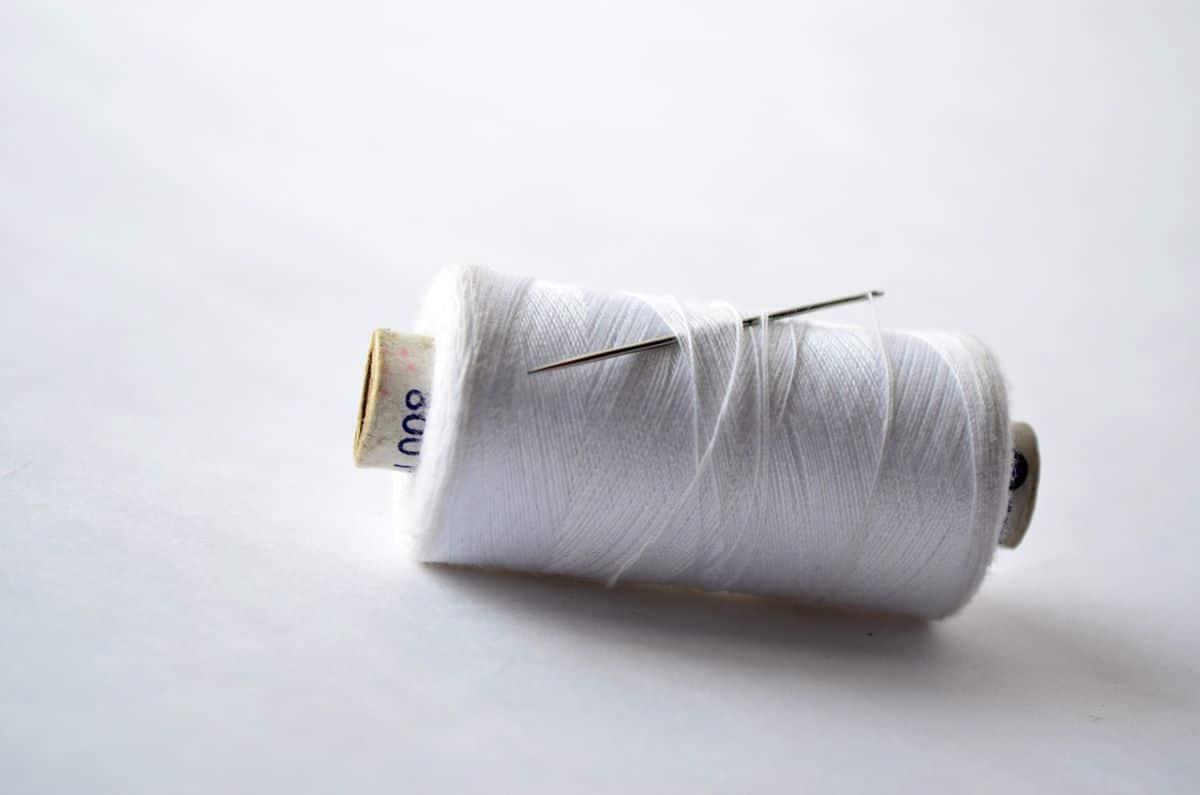
- Needle and thread
- Sewing machine
- Pen
- Ruler
- Two tanks
Steps to manufacture learn how to make a cloth bag
After gathering the materials that you will need to make this craft, it is time to put it into practice. Let's see, below, what are the steps you will have to take to learn how to make a cloth bag.
- The first thing you will have to do is place the back of the fabric next to the other back of the fabric to create the bag and pin both parts together so that they do not shift.
- Next you will have to pass a normal backstitch with the sewing machine on the sides and the bottom of the bag. About half an inch from the edge.
- Then, so that it is well finished on the inside, turn the cloth bag inside out and iron it a little so that it is very flat with all its shapes.
- Once you have ironed the fabric, what you have to do is pass a backstitch on the sides and bottom of the bag using the sewing machine but this time but this time going a little deeper into the fabric, about 7 millimeters or so . In such a way that all ends will be well sealed.
- Now that it's sewn, turn the fabric over again and check that all the stitching is correct.
- For the next step you will have to turn the fabric inside out again and with the help of a pen and a ruler we are going to draw a reference line that will serve to place the cord. The measurement will be 10 centimeters from the edge of the upper part of the bag downwards and we pass a line. Then repeat the same step on the other side of the wrong side of the bag.
- Later, fold the fabric so that it reaches that line that we have drawn. Fold the end of the bag in a little and place it just above the line. Next we are going to baste little by little the entire mouth of the bag to half a centimeter. Then machine sew it.
- The next step will be to pass a backstitch to the mouth of the fabric bag a centimeter or so down.
- Now you will have to unstitch a little between the two stitching of the mouth of the bag on both sides of it. Therefore, two small holes will be created and with the help of a safety pin it will be time to put the closing cords on the bag.
- Put the cord in the area below the safety pin and tie a knot so that it does not escape. Insert the safety pin through one of the holes in the bag and go around the entire bag until you remove it through the same hole.
- Then remove the safety pin and undo the knot. Immediately afterwards, insert a tanca and gather the fabric to close it.
- Then repeat the same step of the safety pin through the other hole in the bag.
- And you would have your bag ready! As you can see, it is a very easy craft to do with a little patience. In just a few steps you will be able to learn how to make a very useful and original cloth bag.
How to make a cloth bag to go to the market
For a few years now, shopping bags in markets have had a cost and are also made of plastic, an element that, if not recycled, contaminates the planet. If you want to save a penny when going to the supermarket and take care of the environment at the same time, you will surely want to learn how to make a cloth bag to go to the market.
Materials to learn how to make a cloth bag
The materials you will need to make this craft are very few. You probably already have some of them saved at home from previous occasions. Let's see below what things you will have to gather to create this cloth bag to go to the market.
- Fabrics of different patterns.
- Felt.
- Buttons.
- Scissors.
- Thread and needle.
Steps to learn how to make a cloth bag
- First of all, to make this craft you will have to cut the fabric measuring 40 x 90 centimeters with the help of scissors and hem the short sides.
- Then, the next step will be to fold the fabric in half and sew the sides to close the bag.
- Next, draw the leaves and flowers on the felt fabric. Then she takes the scissors, cuts them out and sews them to the bag.
Don't forget to also sew a large button in the center of the flower. - Later, cut two 48 x 6 cm strips. The next step will be to fold the fabric in half, sew it by machine, turn it inside out and finish sewing.
- Finally, fold each strip in half, the ends too, and sew them as a handle to the bag.