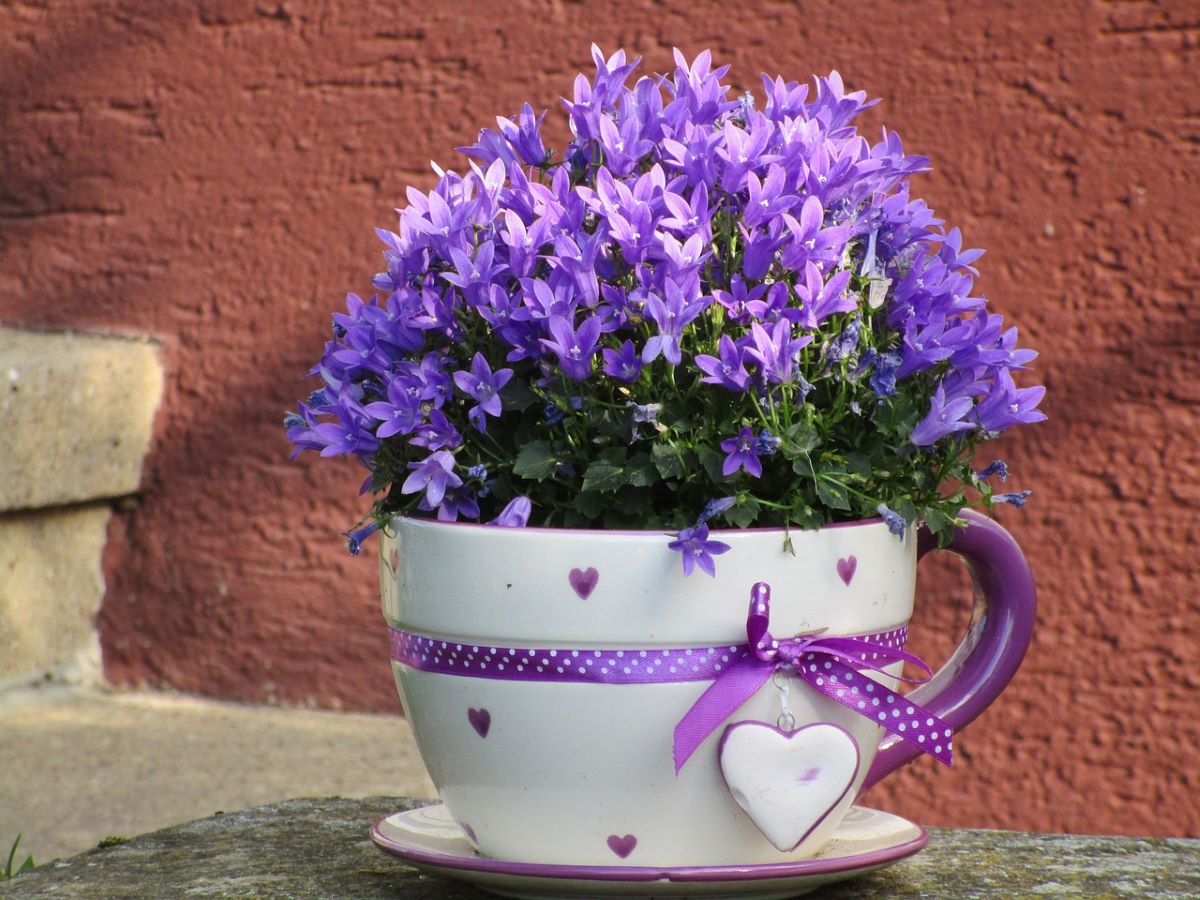
Image| workingDOG via Pixabay
If you are thinking of decorating your house with plants, you should know that it is a great idea because they not only brighten up the rooms of the house and give it a cozy and personal air, but they also purify the environment and help regulate the temperature. In addition, its beauty has a very positive impact on the mood of the occupants of the houses, as they cause a feeling of harmony and well-being that make people feel even more comfortable at home.
Due to their diverse colors and shapes, flowers and plants are the perfect complement to our furniture. However, in order for them to combine well, we must not only pay attention to their appearance but also to the pots that contain them, as they will help the flowers last longer and enhance their beauty.
A fantastic way to get a good pot that fully suits our plants is to create it ourselves. A fun and cheap option to own one is to learn to how to make a homemade planter. As? Very simple, next we are going to see how to make a homemade planter.
Materials to learn how to make a homemade planter
This time we will learn how to make a homemade planter with clay that does not require an oven. It is a fairly simple craft for which you do not need many materials, so it is perfect to practice a little if you do not have much experience when creating this type of craft.
Take note of the materials that you will have to gather to make a beautiful homemade pot:
- First, air dry clay. It will be the fundamental element of the pot. Since clay needs specific drying conditions at high temperatures to avoid drawbacks, an easy way to make a homemade clay pot is to use air-drying white clay.
- Also colored paint to decorate.
- Brushes and a sponge.
- A knife.
- A roller.
- A bowl.
- Some water in a glass.
Steps for how to make a homemade planter

Image| secondtruth via Pixabay
The first step to know how to make a homemade planter is to take the clay and spread it out on a flat surface to start kneading it. Since it usually comes in blocks, it will be necessary to reduce the height with the help of a roller. Remember that for the pot to be strong, the layer of clay must be a little more than half a centimeter.
Afterwards, the next thing you will have to do is cut a part of the clay plate that you have extended to create the base of the pot. Use a bowl or a glass to mark a certain depth in the clay and then cut that part with the help of a knife or box cutter.
Next, take some more clay to create the walls of the pot. The next step will be to attach the clay of the wall to the clay of the base. Do not forget to carefully glue the joints of both parts of the pot with a little water so that they join properly.
Allow a few hours for the pot to dry and when you check that everything is fine and that the base has stuck to the walls of the pot, then it will be time to take the brushes or the sponge to decorate the pot. This is one of the most creative steps that you will surely enjoy the most!
Ideas for painting a homemade planter
metallic design
If you are looking for an elegant and classic model for your planter, paint it with a metallic color It may be a good choice. The result looks beautiful and it is also one of the easiest designs if you do not want to complicate too much when it comes to giving color to your homemade pot.
Choose a silver, gold or bronze plating and carefully apply it to the planter using a brush. Let it dry for a while and admire the result. Doesn't it look great?
speckled design
This is a design that looks beautiful in pots and has the advantage that it is very easy to carry out. You will only need a brush or a sponge to create the Moles on the surface of the suitcase.
Depending on the model you want to make, you can apply the paint directly on the pot or paint it all first and then add the specks.
The key to making this speckled design look good is that you remember to make an irregular pattern to make it look more spontaneous and therefore beautiful.
design with template
In case you want to decorate your planter with a pattern, you can always use a peculiar design in a template. You can buy them, search for them on the Internet or design them yourself on a sticky paper.
Then stick the stencil on the pot and apply the paint that you like best.
Finally, let the paint dry and remove the stencil.
Design with little flowers
If you want to give your pot a delicate style, you can create a simple design with flowers and pastel colors. To do this, the first step you will have to take will be to choose the pot on which you are going to capture your model.
Then choose blue, pink, white and green paints and take a sponge to start painting the pot.
Soak the sponge lightly in white and apply the paint in small dabs to the pot. After the first coat, let the paint dry and apply a second coat. If you need it, give it a third coat.
Using the blue and pink colors, paint the top edge of the pot. Then take a brush to draw the roses in the shape of dots. Then with a fine brush, paint the leaves of the flowers in green on the sides of the flower.
Later, with a finer brush and with the color red, paint over the petals of the rose to give a little depth to the flower.
Finally, apply two or three coats of water-based varnish to protect the paint on the pot. And ready!