
Image| moritz320 via Pixabay
If you are one of those people who have a large dose of creativity and love to design and make their own accessories, surely on more than one occasion you have created your scarves, hats, headbands, mobile phone covers and even your bags. In the latter case, if you like to keep your bags well closed and protected, you will surely want to put some kind of button, magnet or buckle, as a closure. They are very simple methods that look great with the bag as a whole and also fulfill their function perfectly.
But have you thought about using a zipper on your bag to close it? At first, it may seem like a somewhat complicated method compared to magnets or buttons, but in reality it is not. Sewing a bag zipper by hand is pretty easy if you know how. For this reason, we will show you below how to sew a bag zipper by hand in this little tutorial, which will also be useful for toiletry bags, in a cloth bag for shopping or whatever you want. Let's start!
Materials to learn how to sew a bag zipper by hand
The first thing we will need is a zipper that presents the same length as the groove that we are going to cover. If it is a little longer, nothing happens because it can be hidden, while if it is a bit shorter, you can also close it, although it is best that it be the same size.
The thread cannot be passed single, but double so that it has strength and at the end of the two threads a knot must be tied to join them. As for the length of the thread, it should never be longer than our arm because if you take a thread that is too long to try to make it last the entire work, knots could form. In case you run out of thread in the middle of a project, don't worry because the thread can always be changed. All you have to do is sew a couple of knots, cut the thread and simply add a new one to continue the craft.
We will also need a needle, scissors and pins to carry out this craft.
steps to learn how to sew a bag zipper by hand
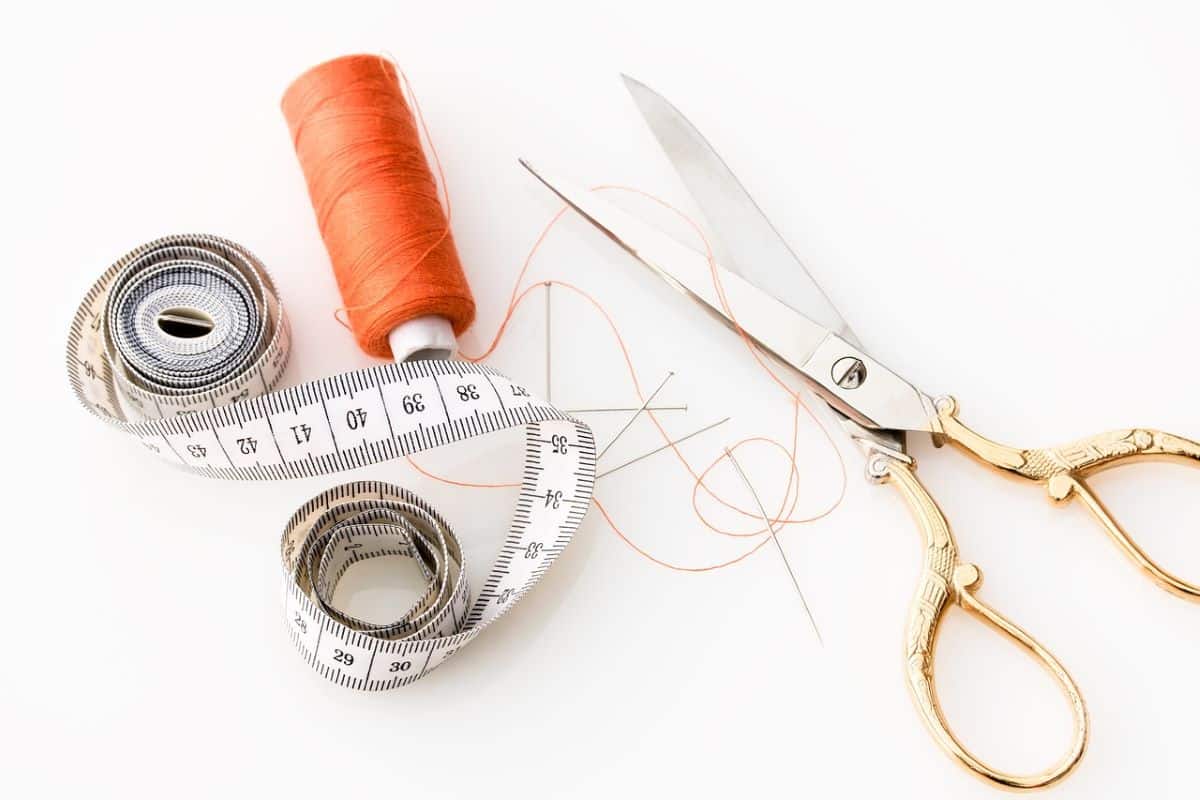
Image | Myriams-Photos via Pixabay
- First of all we will have to place the zipper on the bag and hold it with the pins. The zipper can be put both closed and open, although it is best to do it open because it is a little easier.
- You will see that at the end of the zipper there is a lock, which is a stop. The rest of the fabric that is left over from the zipper must be folded as it cannot be seen.
- Next, we placed the zipper in a small corner of the bag slot and began to pin the bag or bag lining to the zipper. Remember to put pins all over the zipper. It is not necessary to place them very close together, but it is convenient that they take the entire length of the zipper well so that there are no spaces that can move up or down.
- When sticking the pins into the zipper, always try to go in a straight line.
- The next step is to sew the zipper. You can use a thread that is the color of the zipper or a different one. The important thing is to make it as hidden as possible. Try to catch zipper fabric and bag fabric when you thread through the first stitch. Be careful in this step because the thread should not be seen outside the bag. That is, the needle should only take zipper fabric and bag hem fabric, not the outer face.
- Once you have made the first stitch, continue along the entire length of the zipper making straight stitches all the way. They do not need to be very close together or very small, but they must be precise. Be careful, do not make very large stitches or at very large distances as the zipper could fall out of the bag quickly.
- When we reach the end of the zipper, the next step is to tie a knot. To secure the zipper, it is convenient to make a couple of more sewing knots because zippers are subject to the pressure of opening and closing continuously, with which these knots will help us to keep it firm.
- Next, it remains to sew the other side of the zipper in the same way that we have sewn the first one. When you reach the end and make the pertinent sewing knots, it will be time to close the zipper of the bag and check the result.
- That easy! You have already managed to sew the zipper to your bag with your own hands. Now you just have to try it and show it off.
What is the main difference between sewing a bag zipper by hand or by machine?
The zippers of the bags or toiletry bags can be sewn both by hand and by machine, as you like. The main difference of the method is that if you sew the zipper by hand you will be able to hide the stitches while if you do it by machine, they will be visible.
However, if you go for a thread that's the same color as the fabric of the bag, they won't really be too noticeable either. On the other hand, it should also be mentioned that sewing a bag zipper with a machine is much faster than doing it by hand, but if you love crafts you will enjoy the process a lot and time will fly by.
Now that you know how to sew a zipper on a bag by hand, you just have to put these simple steps into practice to add a new zipper to your bag or fix one that was damaged. You will see that putting on a zipper by hand will be much easier than you had originally thought. Ready to get started?