Instructions
Step 1: Prepare the beltwhite for tools moistening it. Dip it in water for a moment or two, and then wrap it in damp paper towels and leave it overnight. This makes the inside of the leather moist and smooth, but allows the outside to dry out a bit - the perfect consistency for tooling and stamping.
Step 2: Determine your waist size. Put the buckle on the white belt before measuring, since the buckle adds the length, and you want to get the exact size. The quickest way is to use a belt you like for reference, but you can also use the tape measure. Band size generally is your pant size, plus 2 ”. Take that number and then add 8.6 ″ to the holes and spaces at the end of the tape.
Step 3: Cut the end of the ribbon using heavy scissors. You can cut your square, pointed, or rounded. We have cut the corners in a unique way.
Step 4: Use the X-Acto knife to mark the points where the holes are made in the belt. Start with a hole in the exact place where you want to wear the belt, then add additional holes on each side, a 'gap' between each other. This is what can be adjusted, or for someone else to use.
Step 5:: Use the insertion tool to poke holes in the skin at each of your marks. Make sure the holes are large enough to accommodate the buckle. Once the holes are drilled, remove the buckle from the blank for the rest of the steps.
6 passed: This is the most creative part: Decorating the belt! Set the piece of marble, then place the face belt along the top. Choose a stud, and hold it in place on top of the skin. Hold it as still and straight as possible, and then hit it hard evenly and with the wooden mallet. To make the best impression, strike the bolt only once, very deliberately. Cover the entire length of the strap with as many stamps as you like.
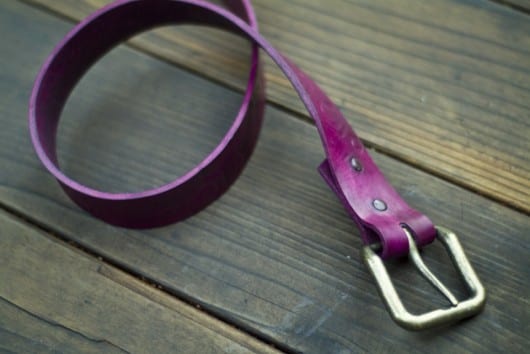
Step 7: dye the belt. Set the paper towels to protect the work surface, and wear gloves to avoid staining your hands. Wipe the ink on the skin until you like the color saturation. Hang the belt and allow it to dry according to the dye manufacturer's instructions. This will take at least two hours.
After the belt is dry, buff to remove excess dye. Rub and shake the leather with a clean, soft cloth, until the dye stops coming out on the fabric. The best way is to dry the belt, but if necessary you can rinse the belt with water to help remove the dye. If you do use water, make sure the tape completely dry (at least overnight) before moving on to the final steps.
Step 8:: When the dyeing process is complete coat, the belt with oil. Rub the oil with a towel until it is completely absorbed, then wipe it off. If the leather is still tough, wait an hour and then re-oil the strap until it reaches the desired level of flexibility.
Step 9: Give the belt a couple of hours to fully absorb the oil, and then seal it with a leather conditioner that contains beeswax. This last step protects the strap and gives it a nice shine. To apply the conditioner, coat the tape, wait a few minutes and then wipe off the excess offset. Clean the tape several times over the next hour until it is no longer tacky and has a perfect shine. If any stain comes off, continue buffing until it has been removed.
Step 10:: Add the buckle back to the band, and voila!
Source - Crafts