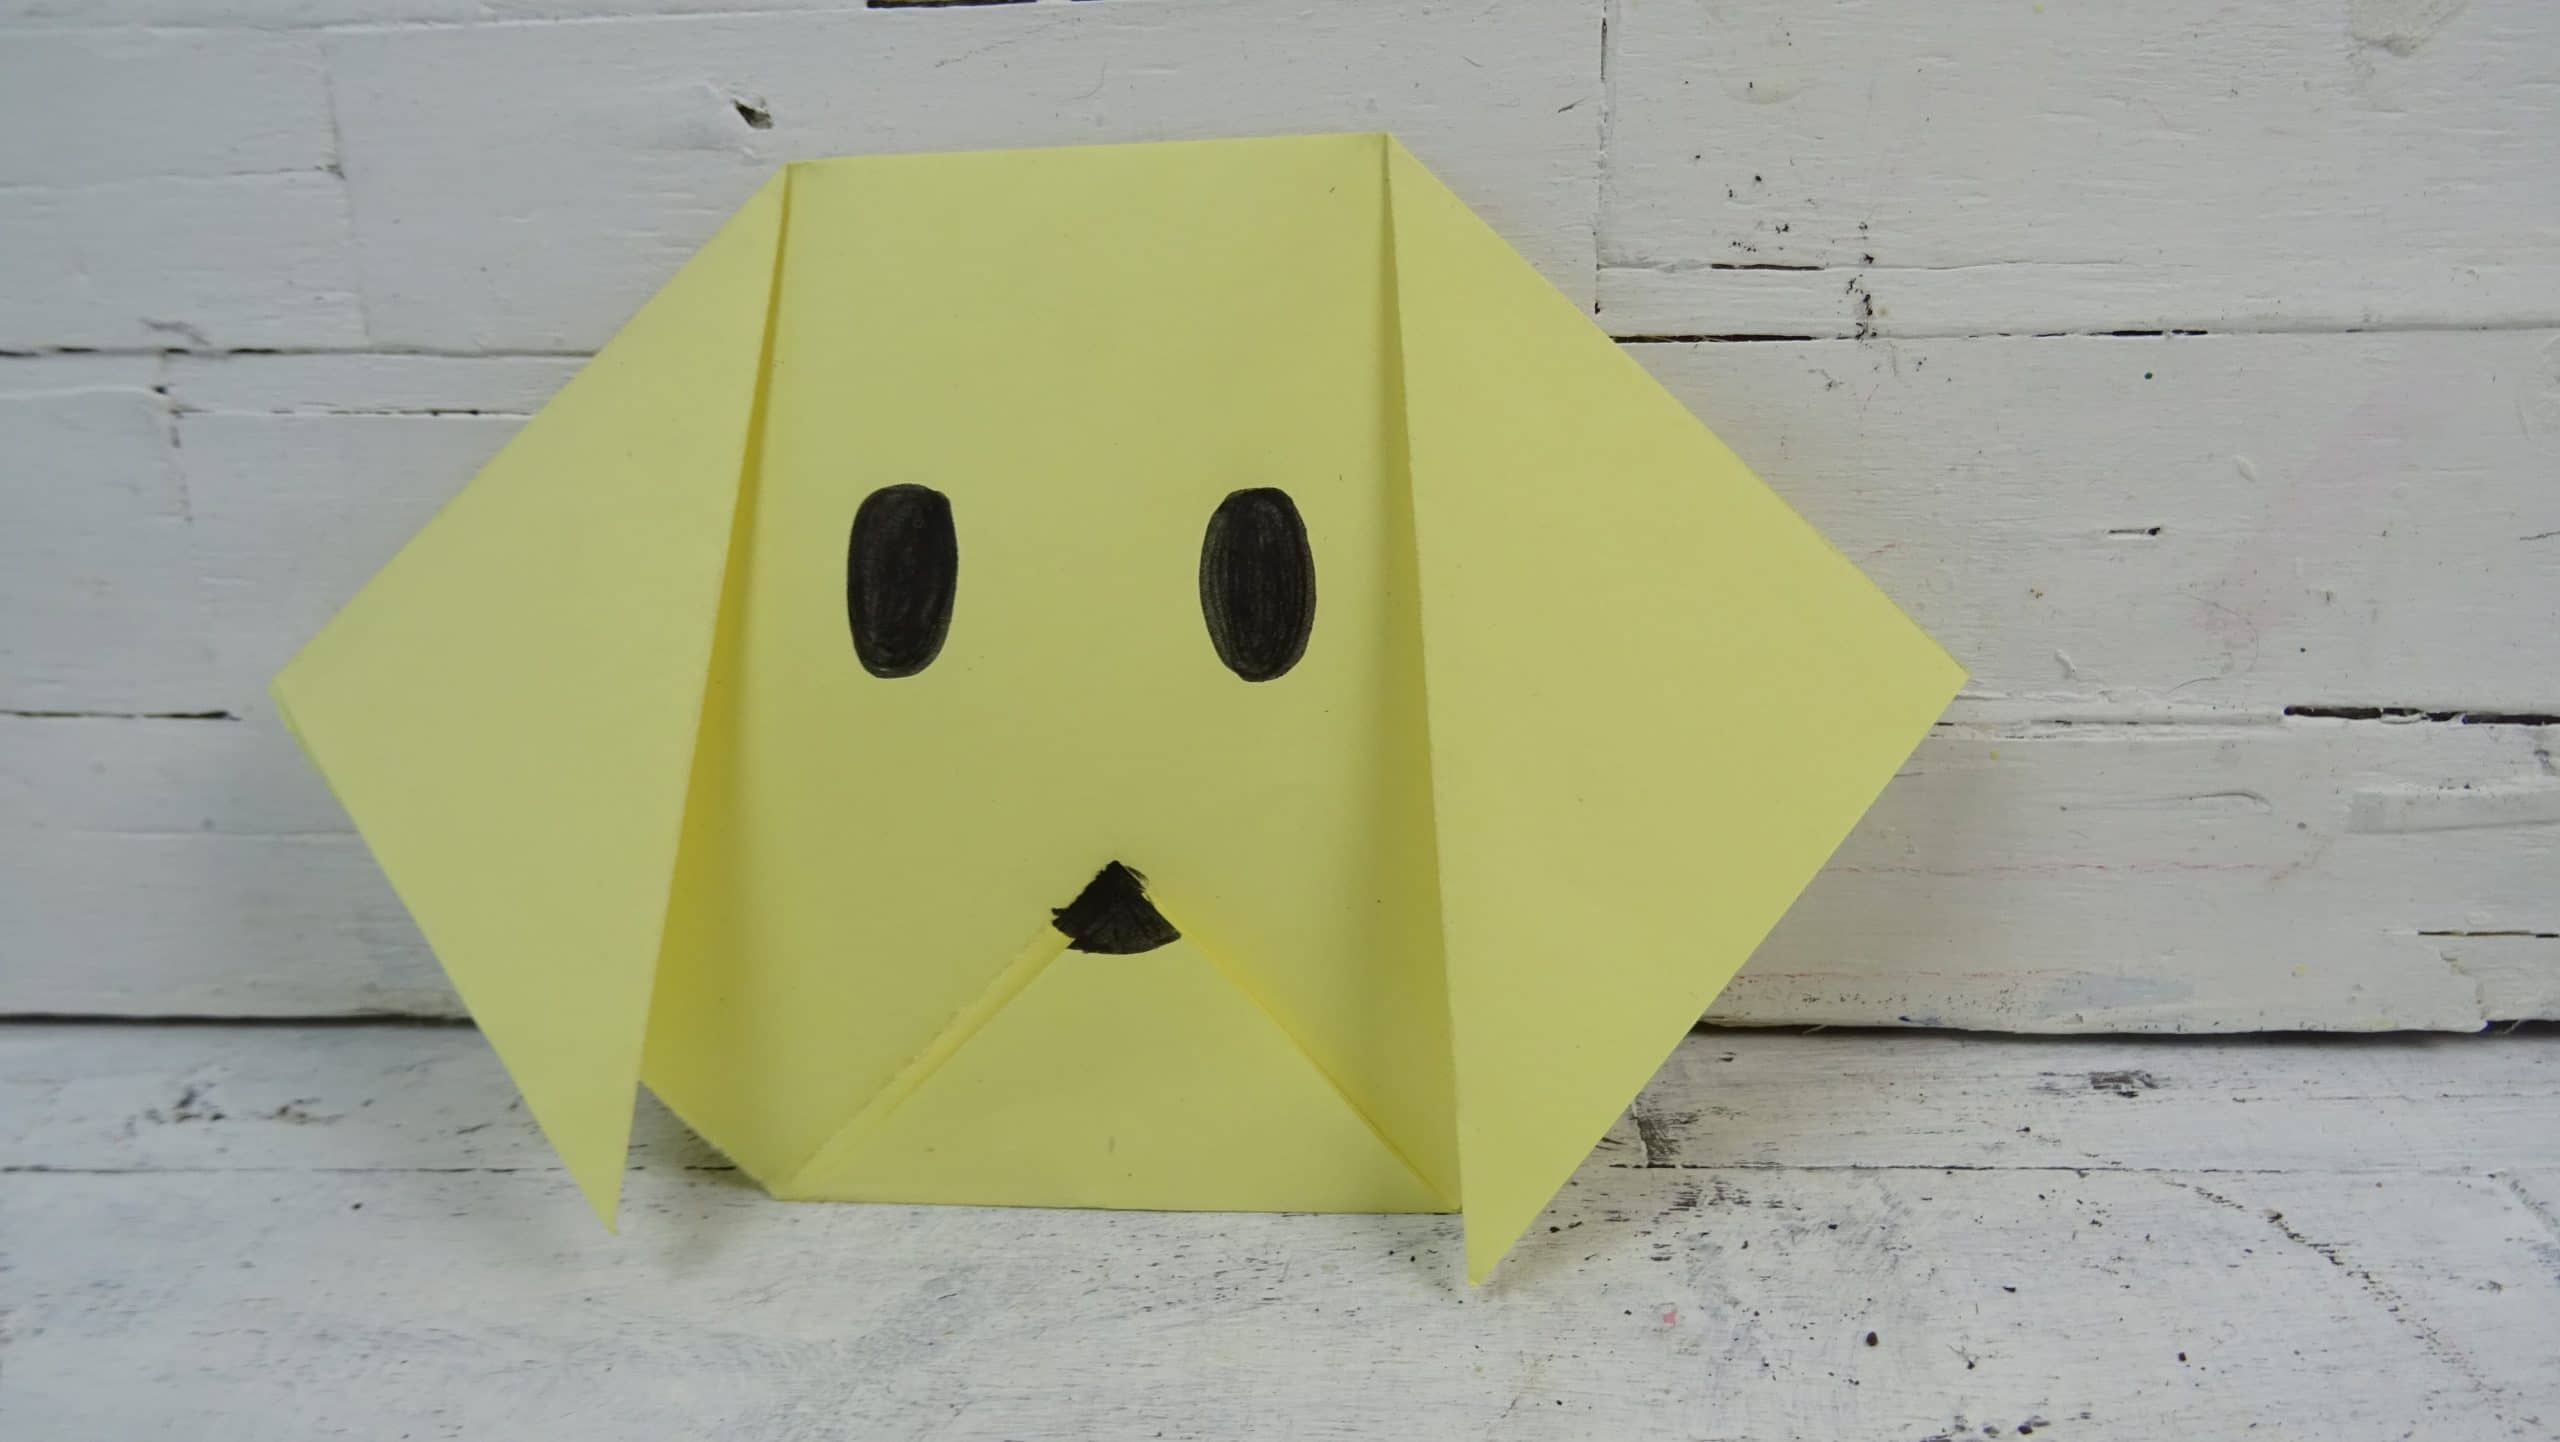
In this tutorial let's learn the technique origami aimed at children, so that they can start with quick and easy jobs. This will make the little ones start to get a taste for this technique thanks to getting their first jobs without much difficulty.
The technique origami consists of creating figures of paper folding it successively.
Materials
To make the paper dog obviously you will need one paper sheet. In this case, how are we going to create the face of a dog, it would be very good if it was the color you want the dog. The blade must be square, and the size will depend on how big you want your dog.
You will also need a black marker to draw the eyes and nose.
Step by step
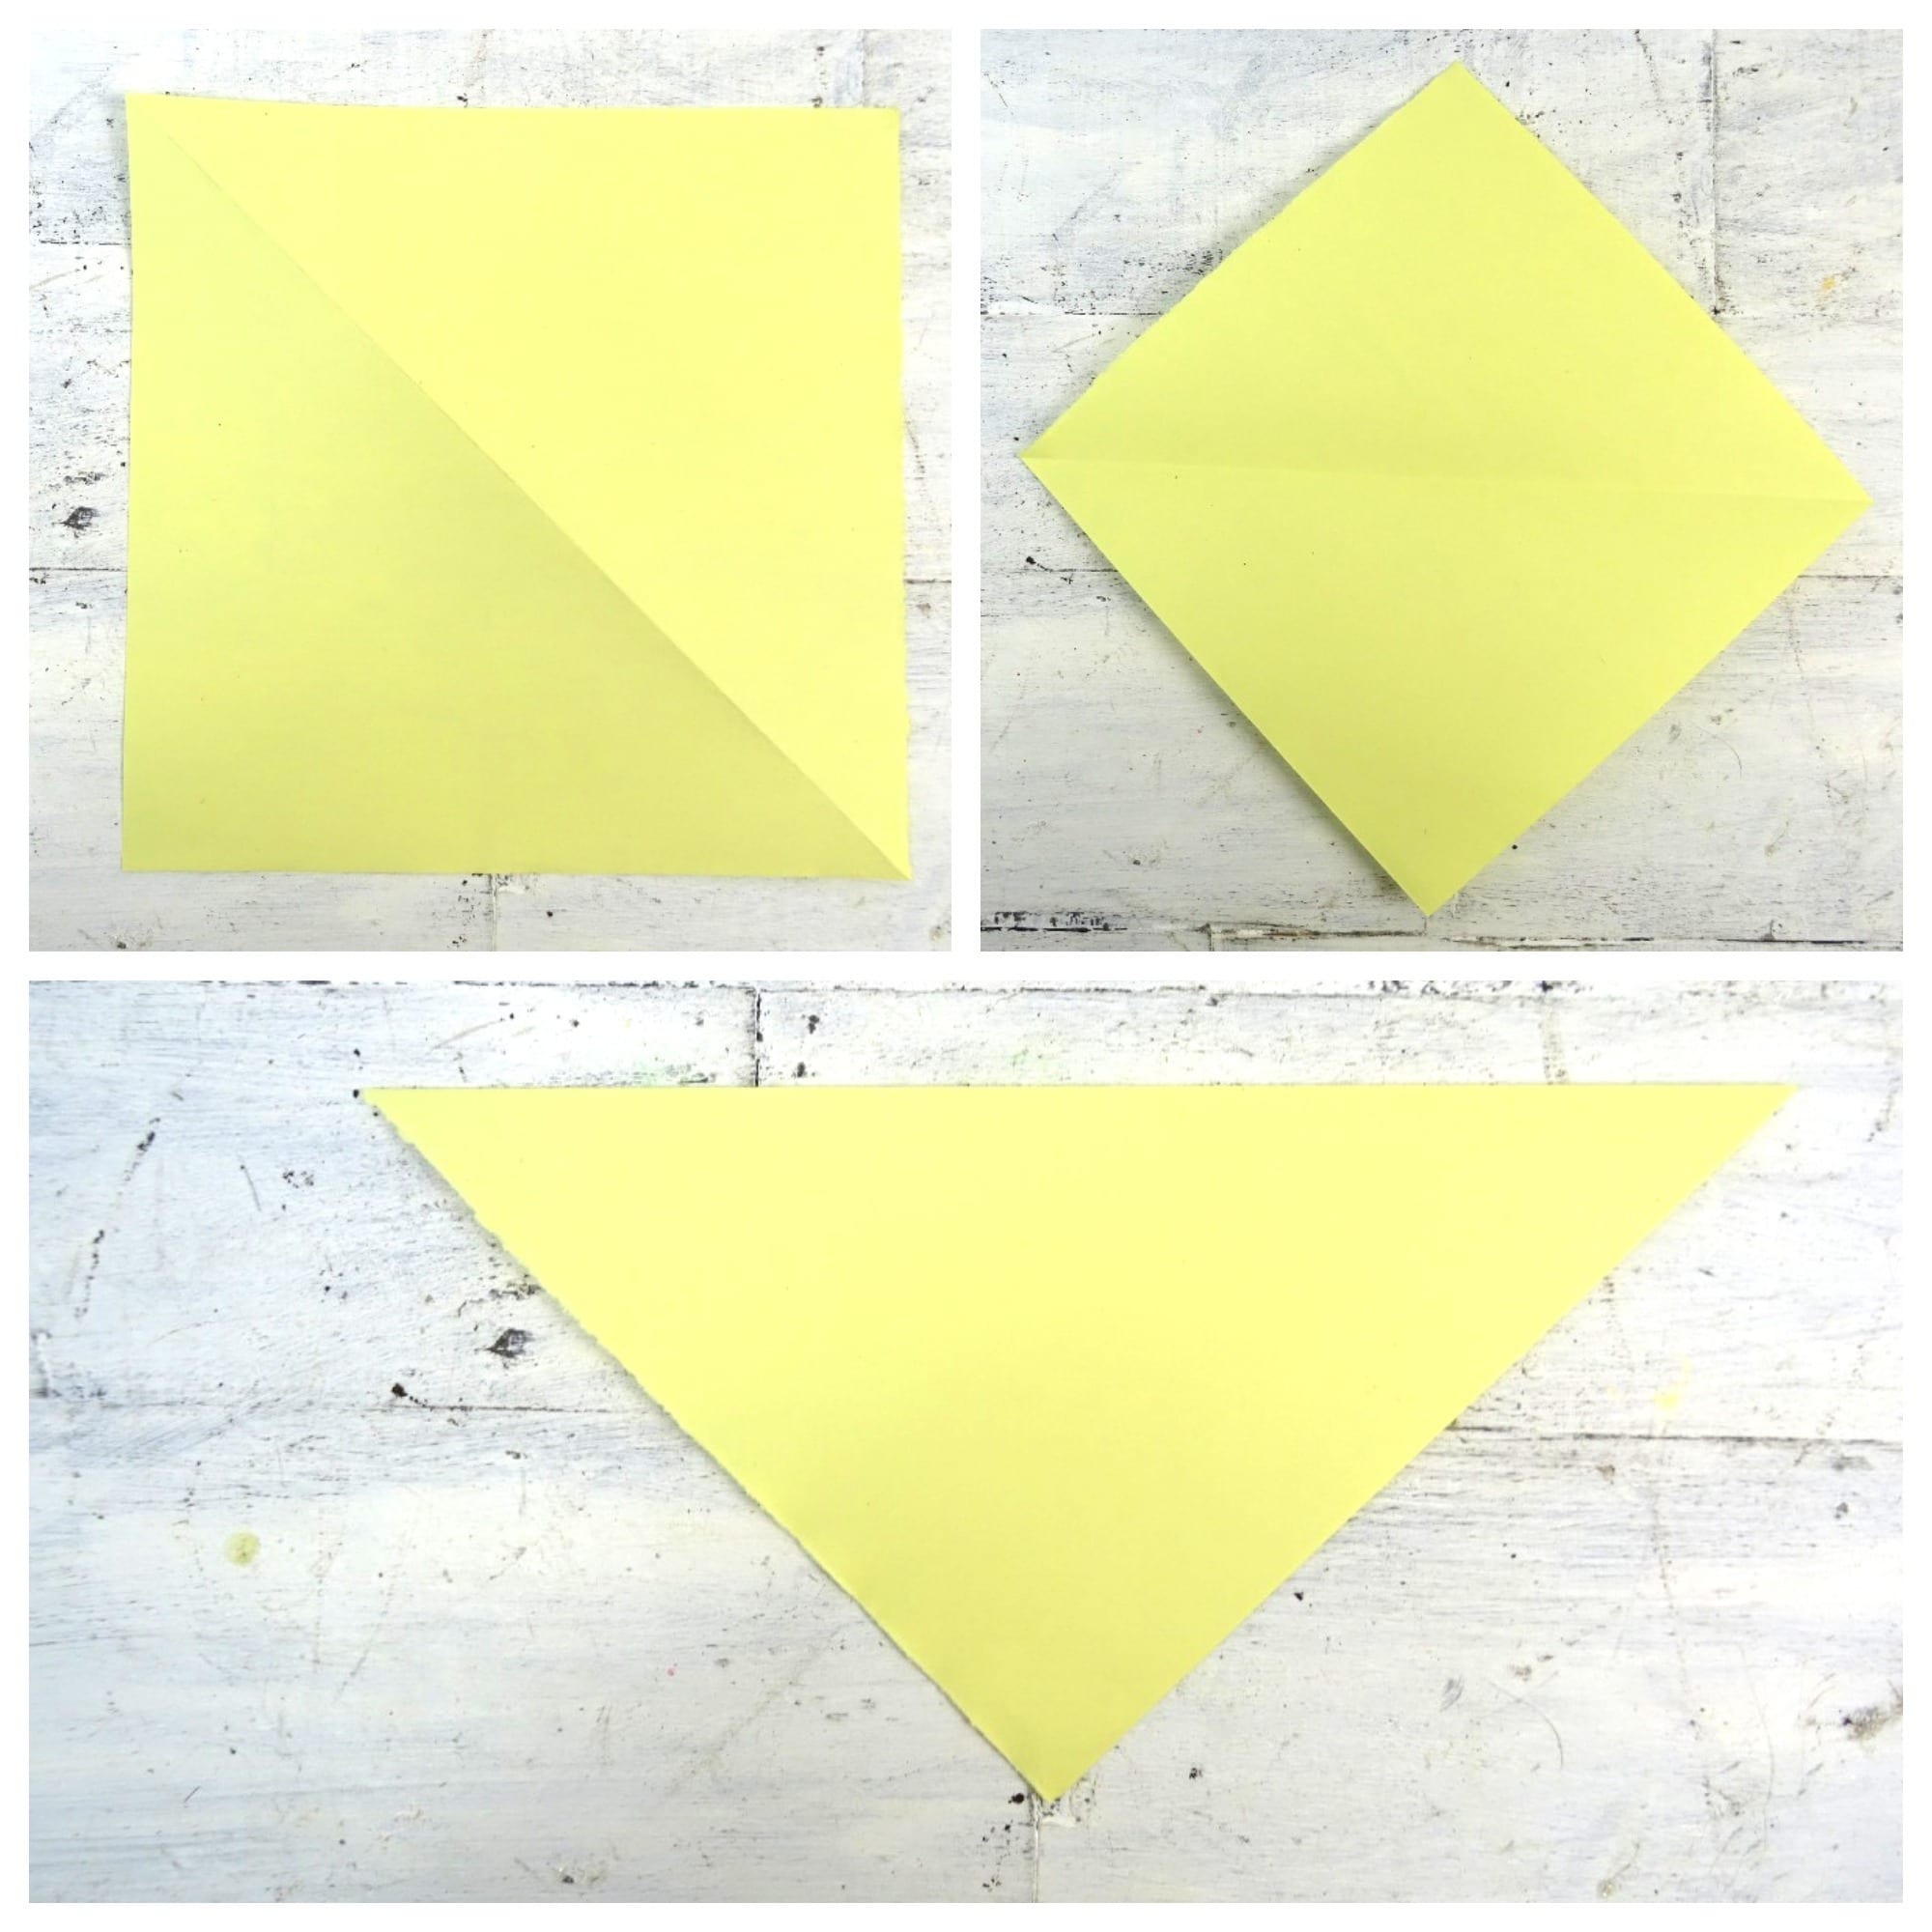
To make the paper dog Start by laying the sheet with the corners up, down, and to the sides. That is, in the shape of a rhombus. Fold the sheet at the half from top to bottom joining the corners and creating a triangle.
We are going to do the ears. You must fold the corners of the sides and leave the peaks down, as you can see in the following images.
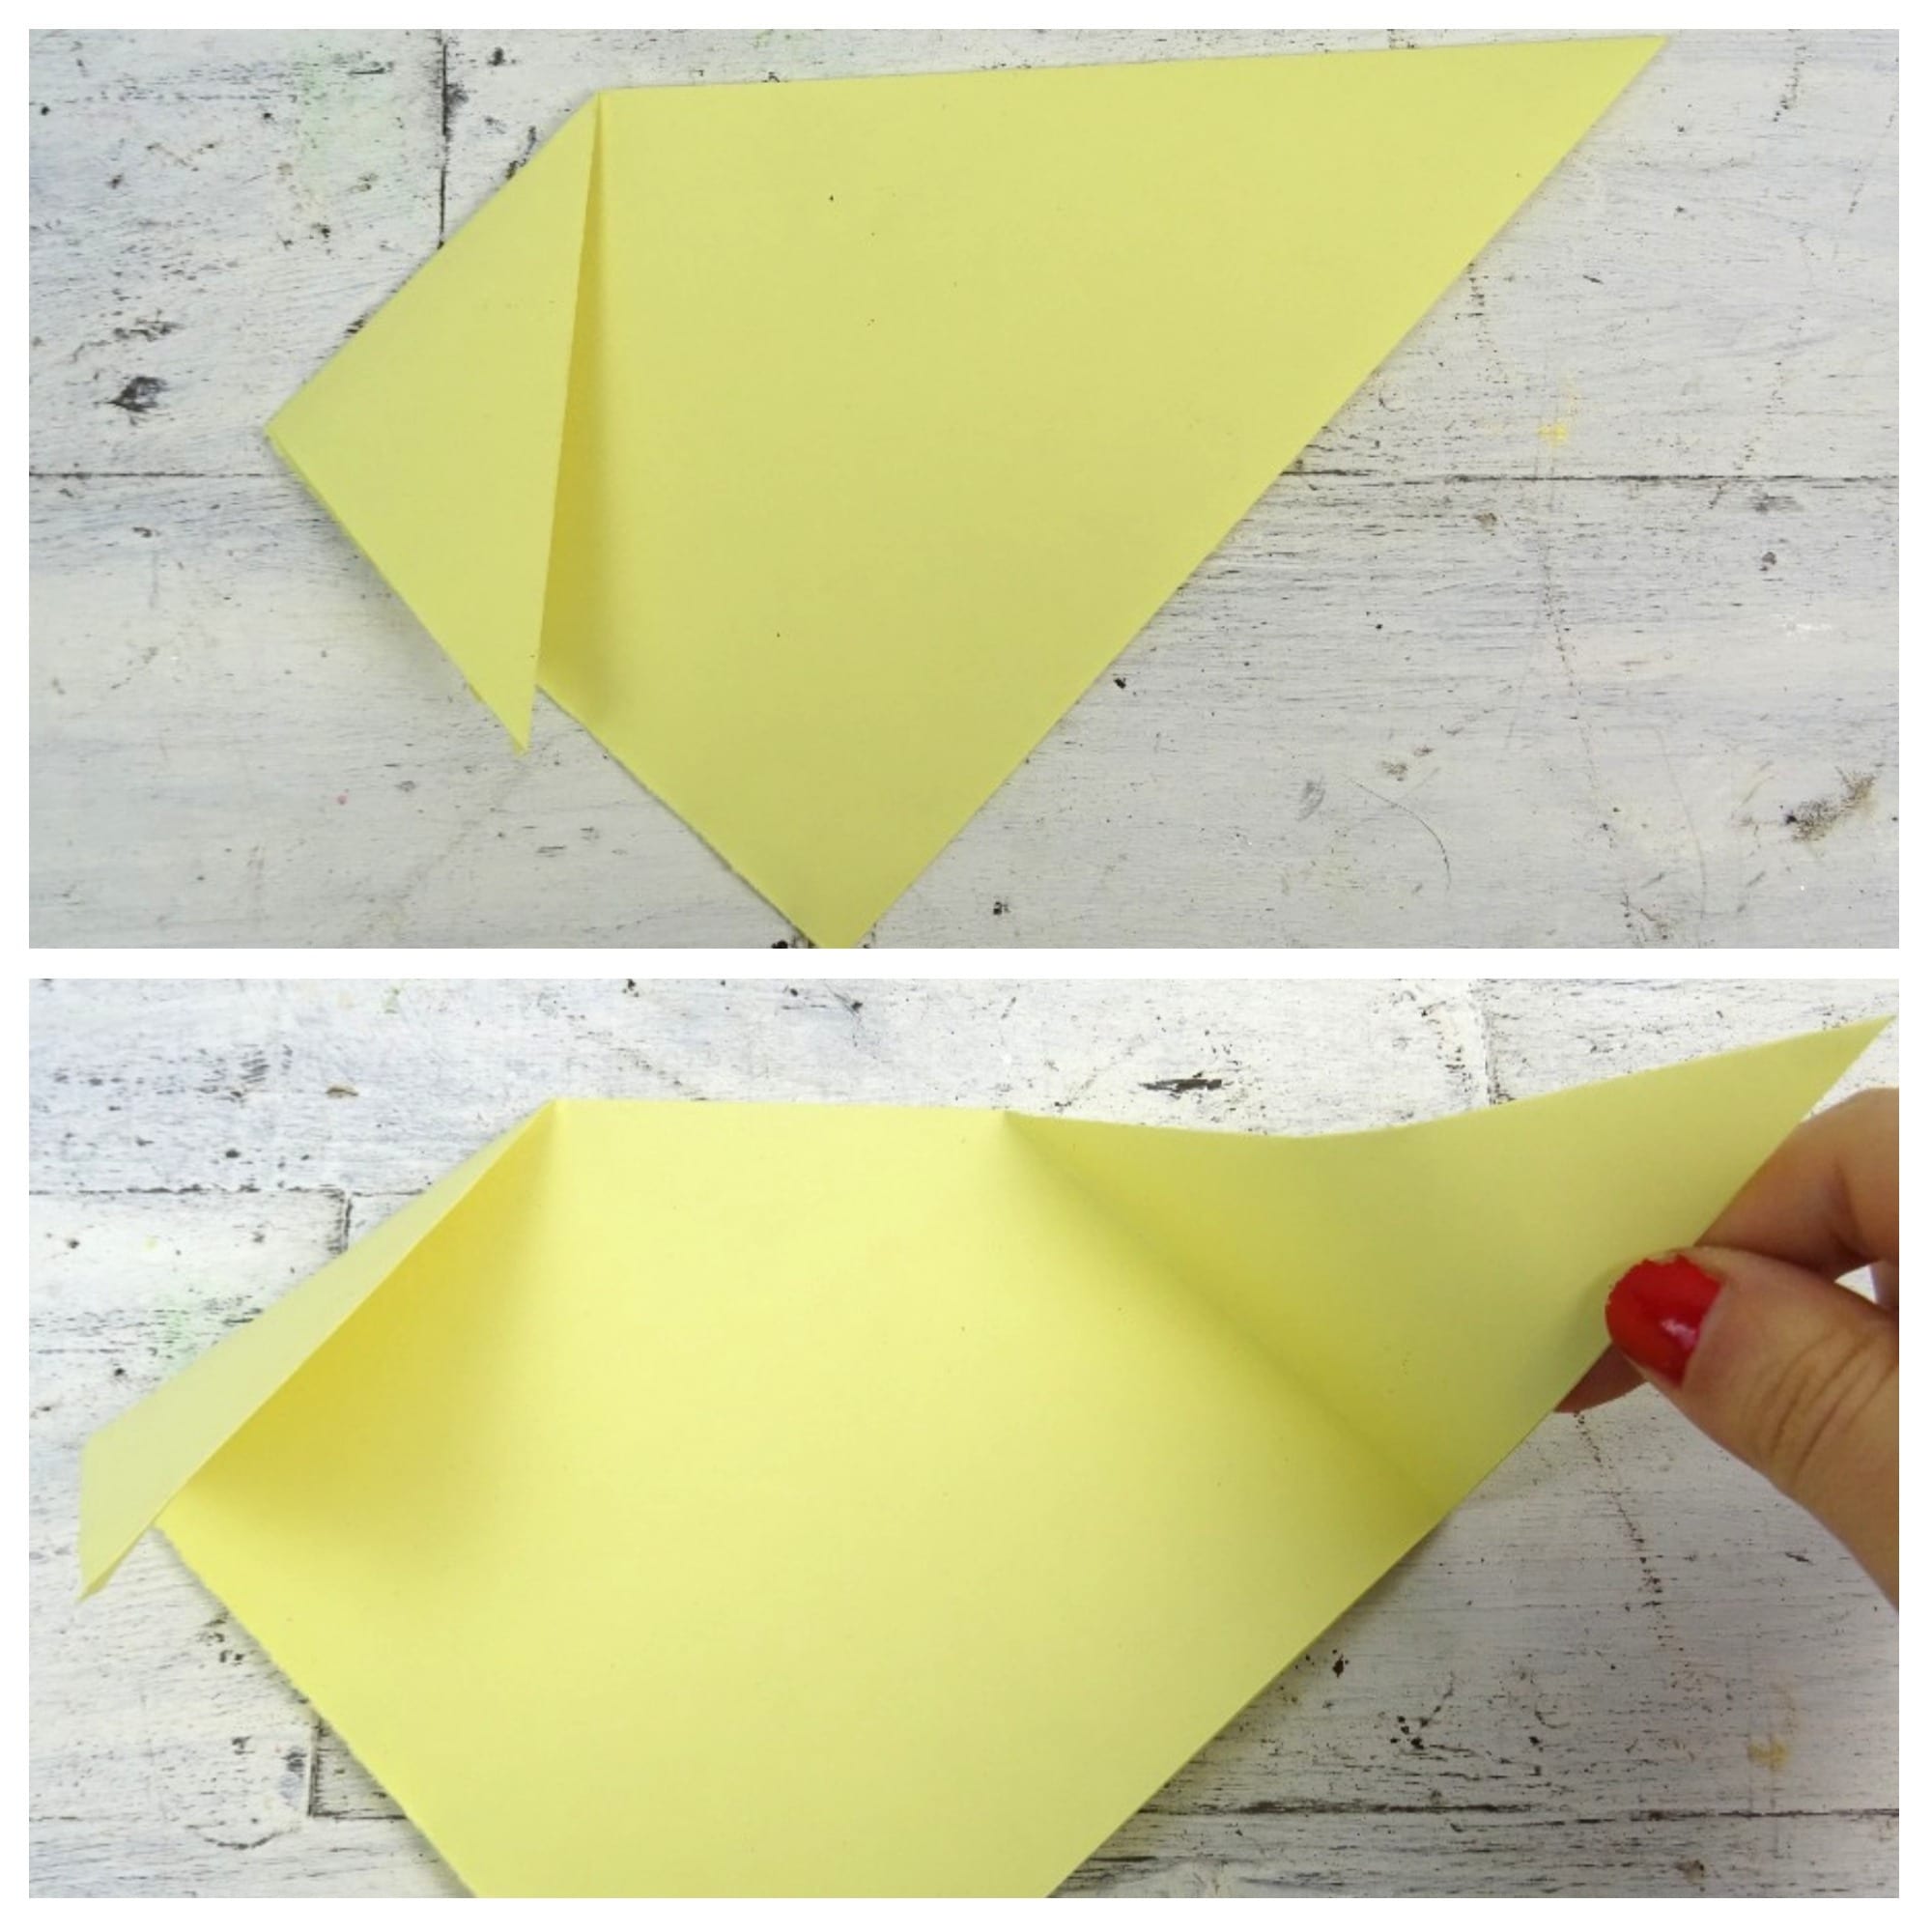
The folded part will be triangles that will create the dog's ears.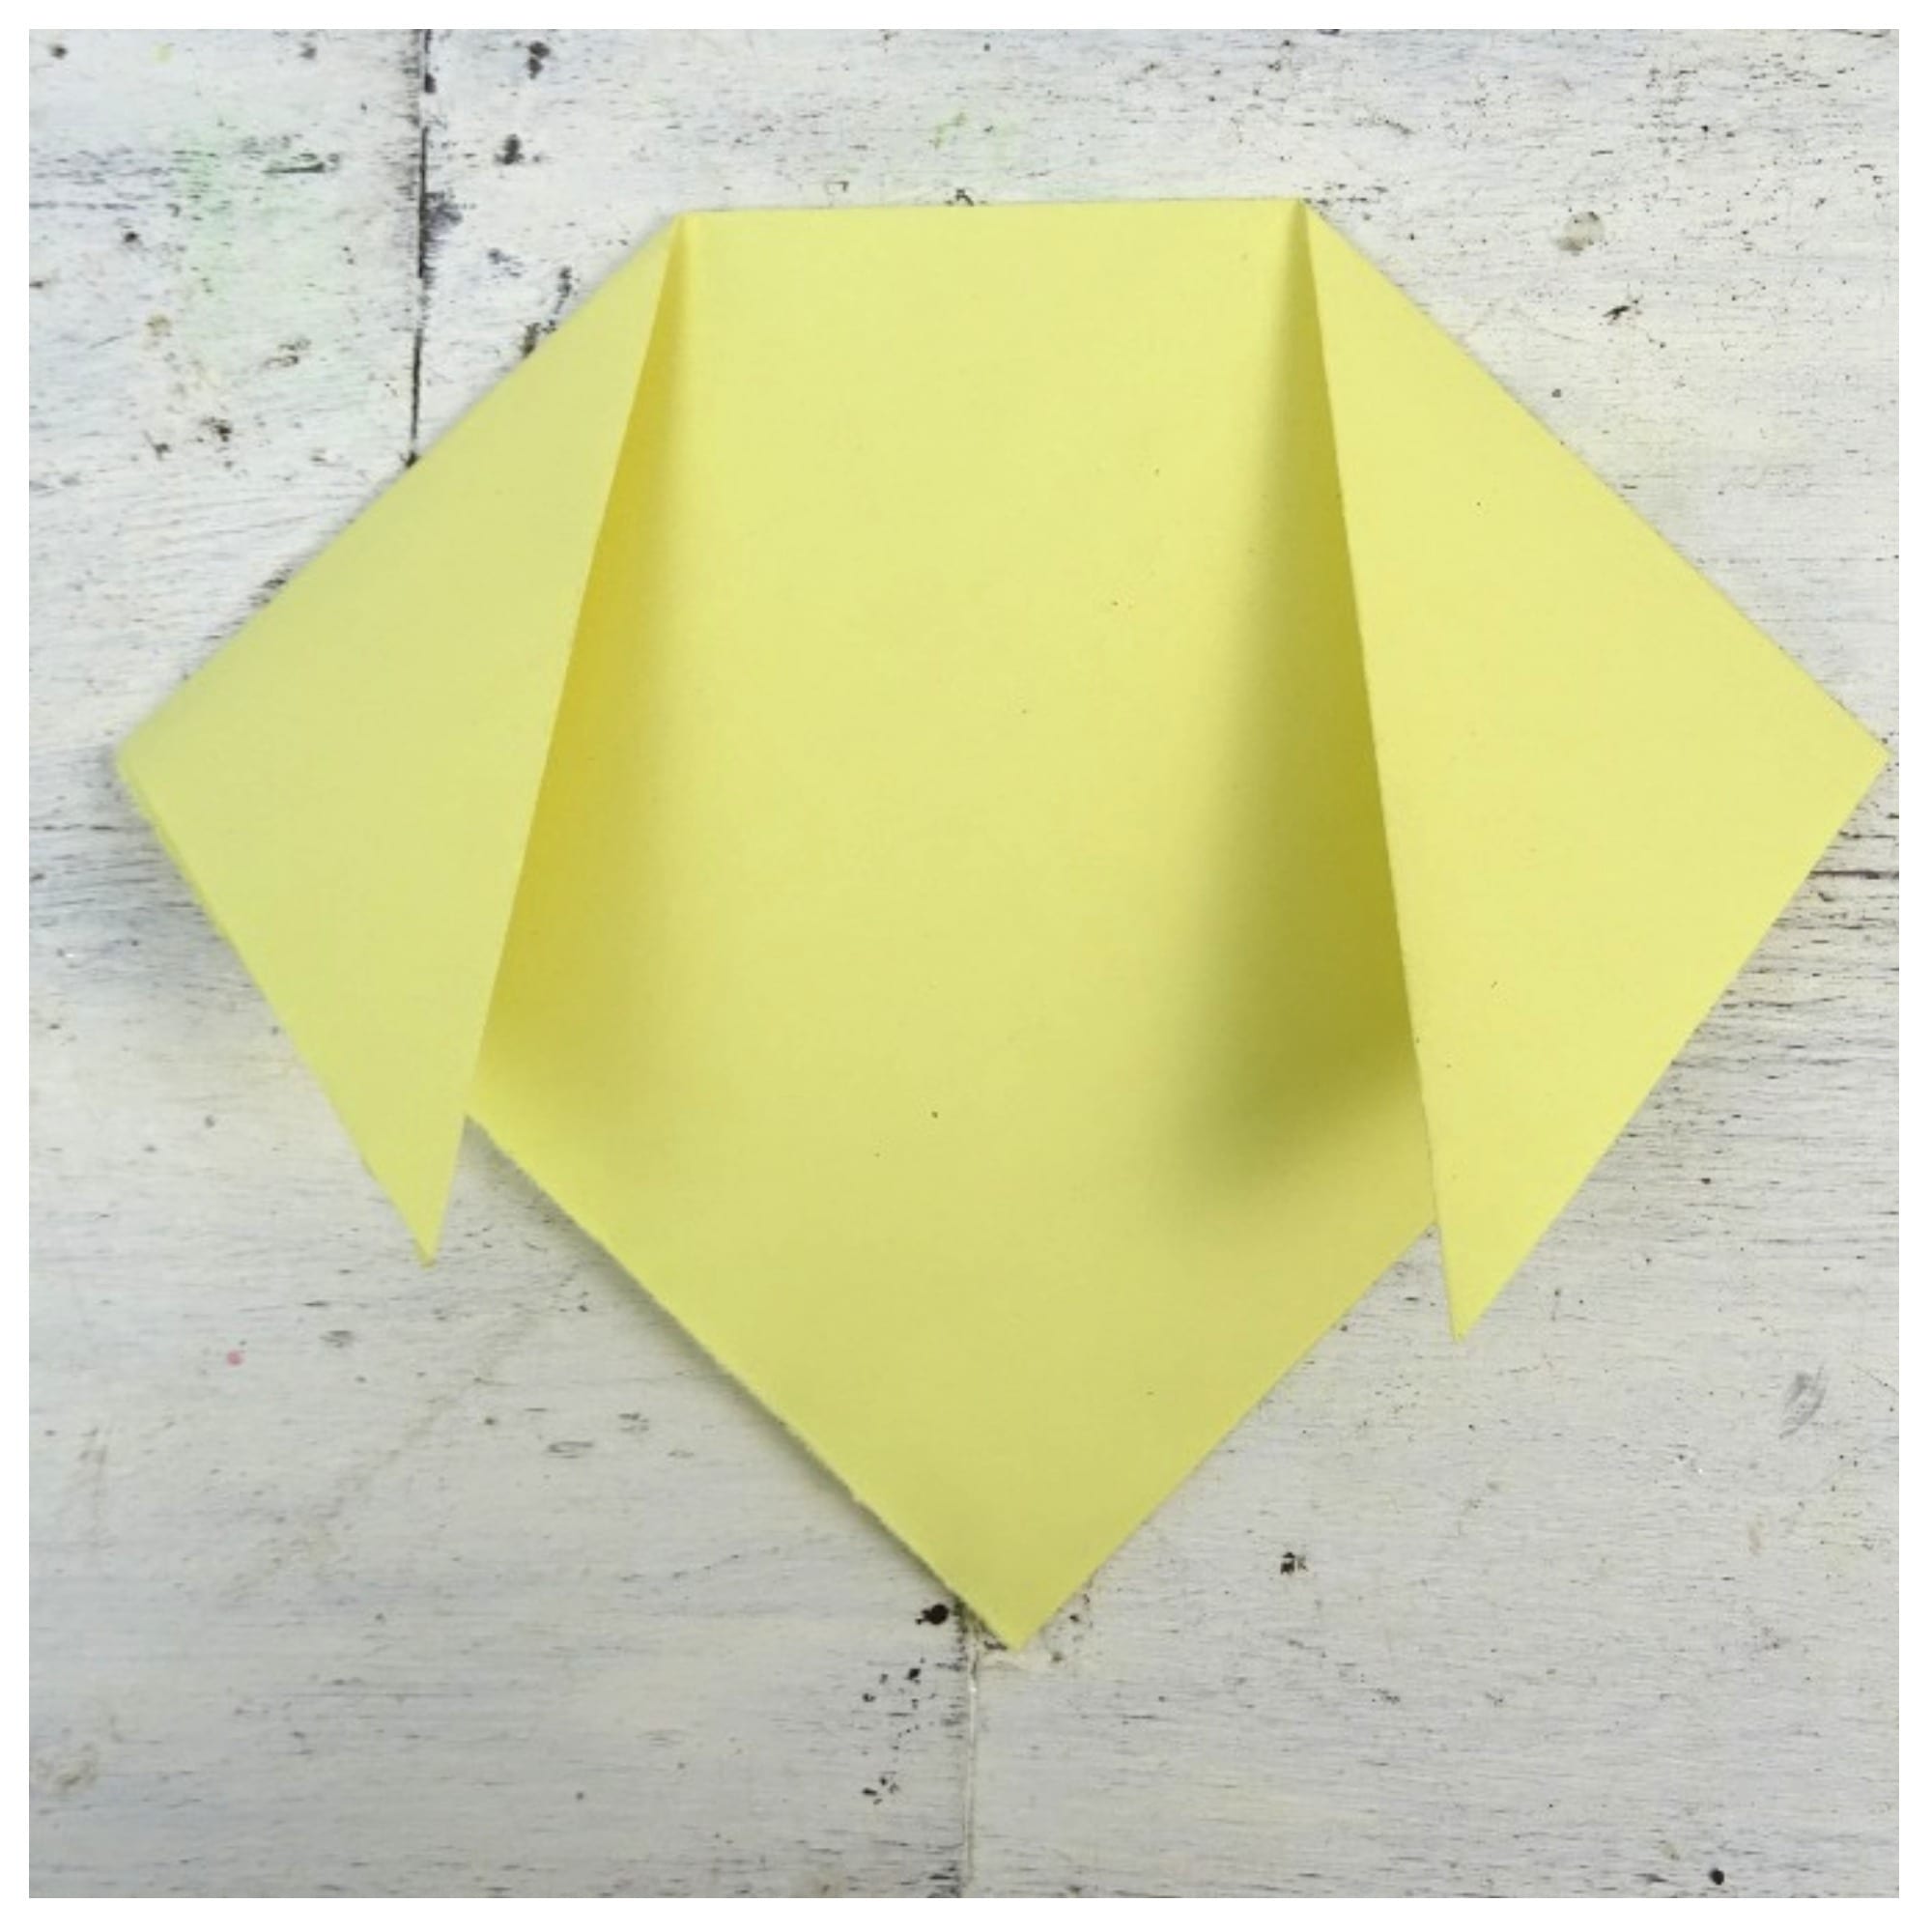
Now it's time to do the snout Of the dog. To do this, fold the peak from the bottom up, leaving the base flat. Fold just a little bit, so it's not too big a triangle.

It only remains that with a marker pen of black color you draw the nose on the beak of the muzzle. The eyes in the center of the face, which will be two ovals or two circles.
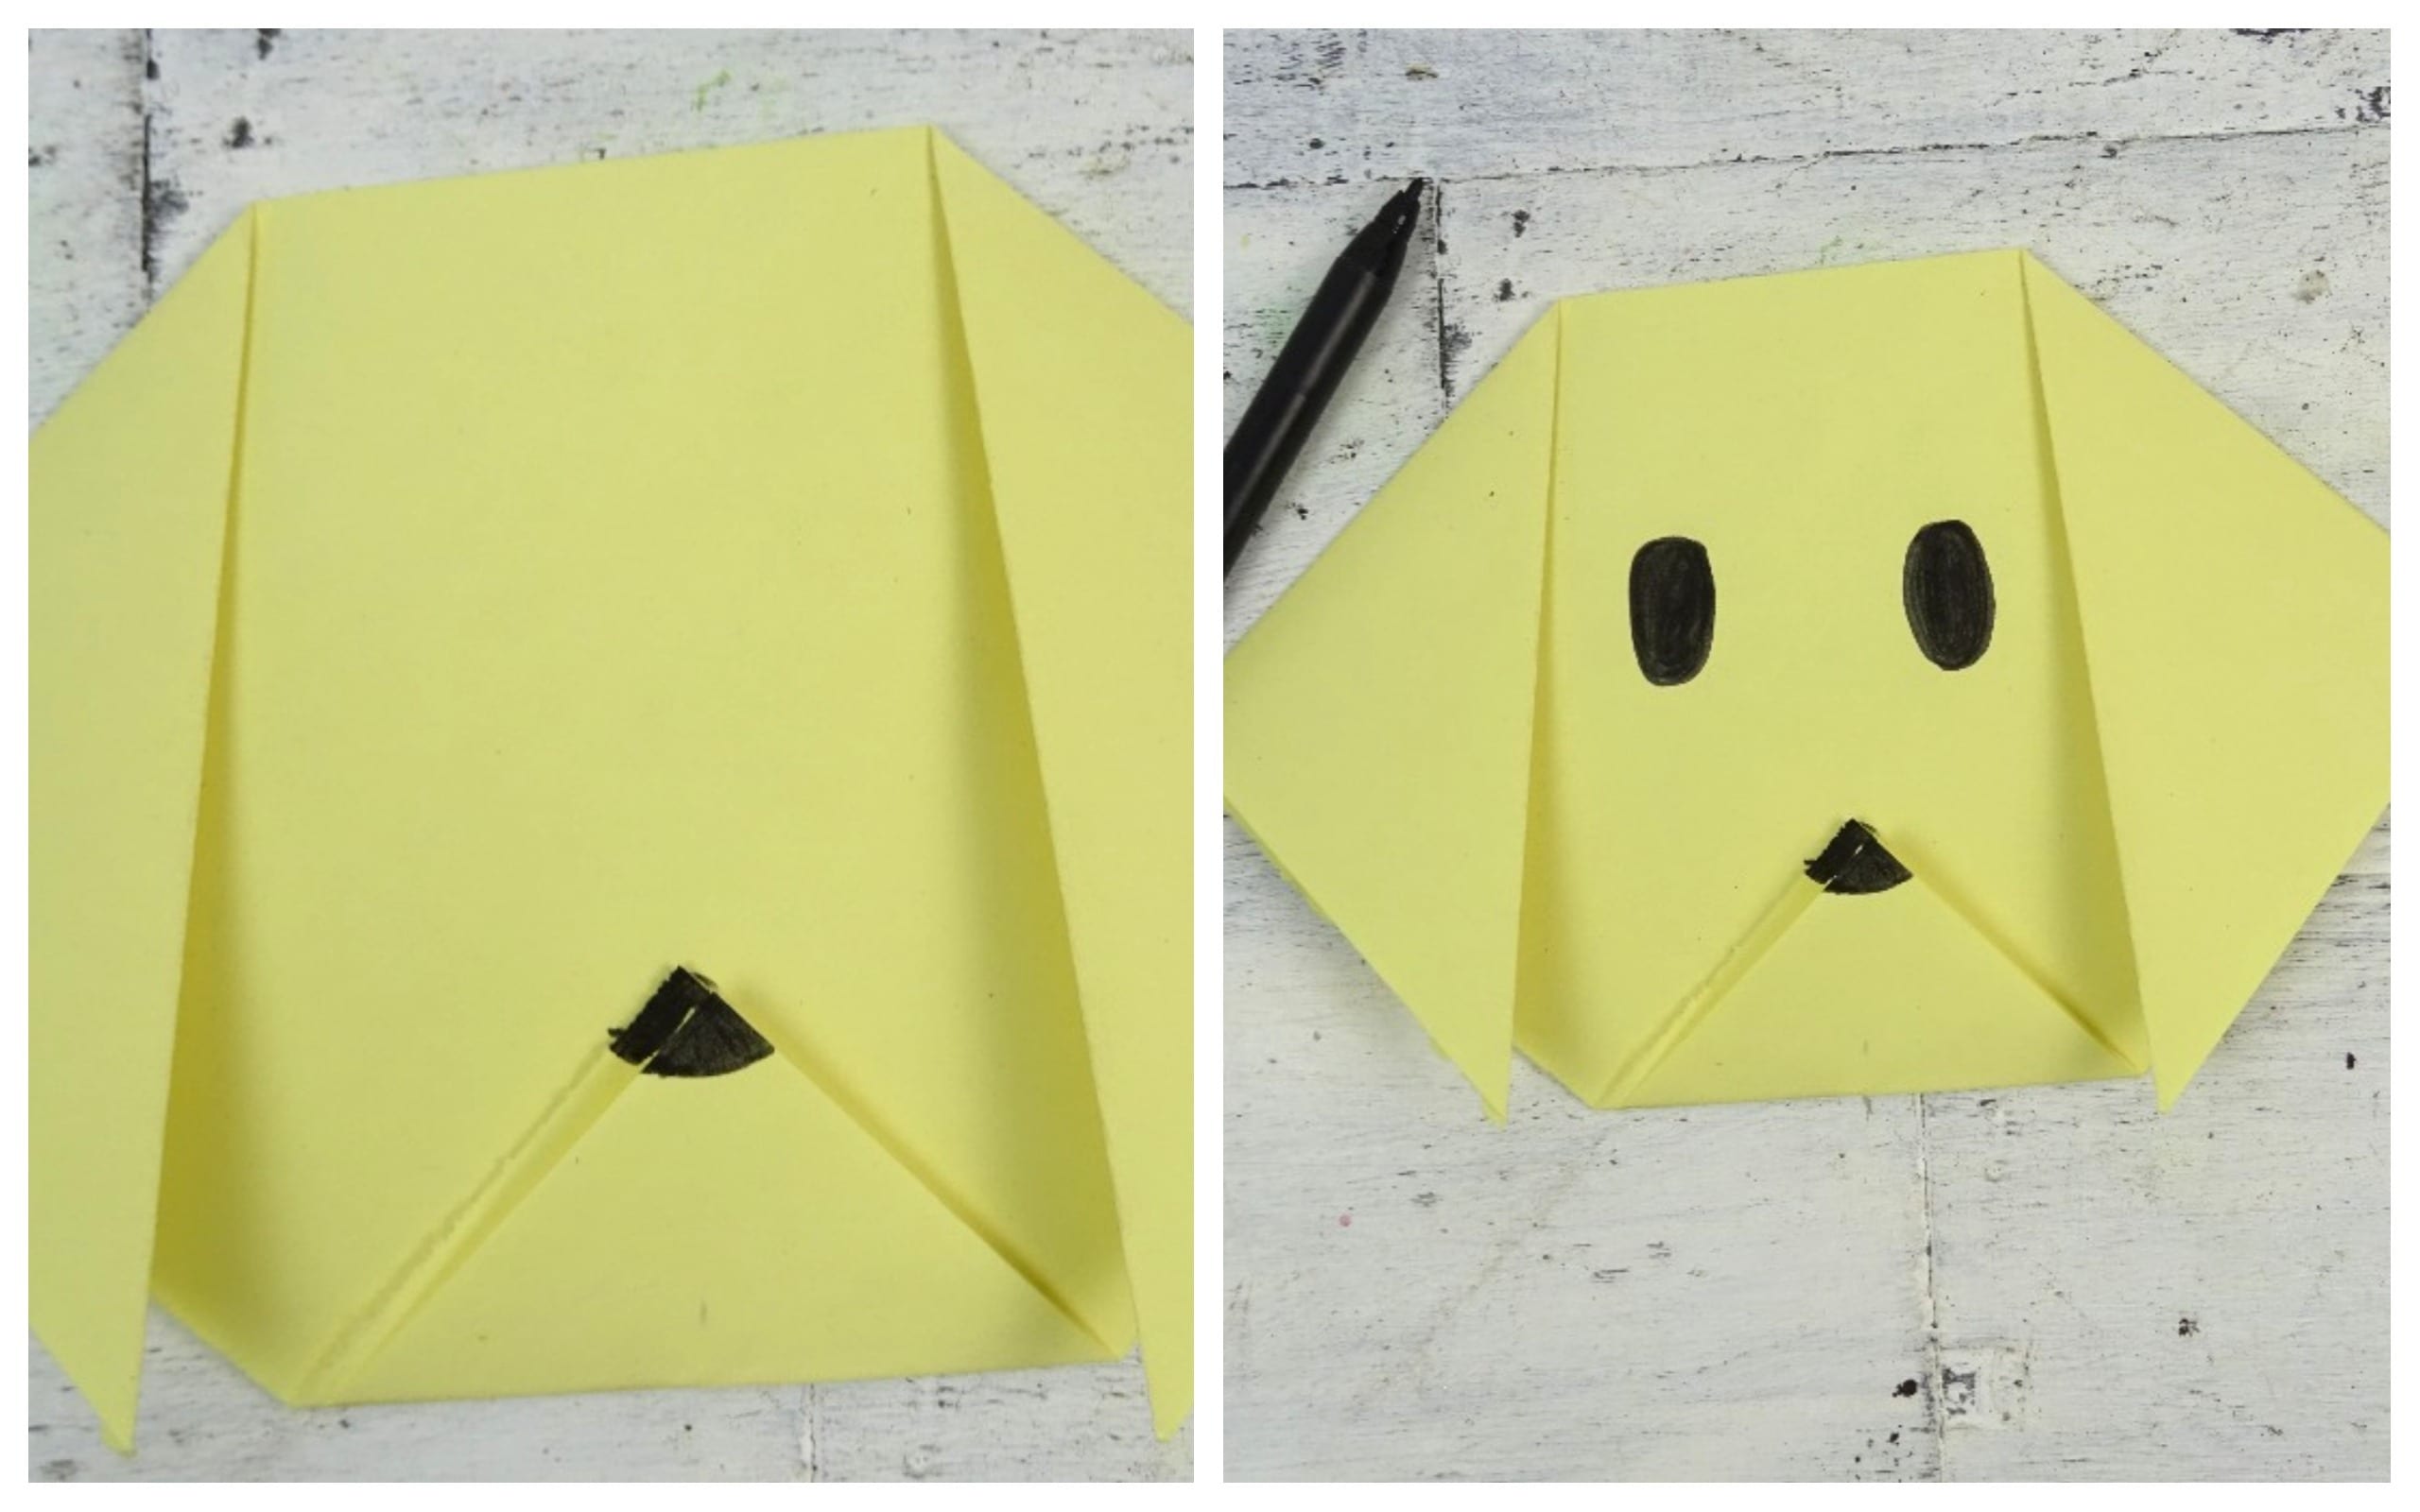
As you can see, it is very simple. From the 3 years kids can make their own dogs from origami. They do not have to use scissors or anything that poses a danger to them. Also, give them the possibility to choose the color of the paper so that they can make them with the colors they like the most.
