
Completed work
In this work we are going to make a quilt for a bed, although it could also be a blanket for the sofa or a travel blanket.
Surely you have fabric scraps from other crafts at home, which you don't know how to use.
This time I am going to use a very cheap and very attractive resource: an upholstery fabric swatch. Many times the decoration stores sell these samples very cheap. To make the bedspread I used a special chenille for upholstery.
You can also take advantage of it to make gifts with history. If you use old clothes of your children with a special meaning or shirts from your travels, you can make a very personal gift.
Materials
- Sufficient fabric scraps to cover the surface of the work we want to do.
- Sewing thread
- Satin ribbon
- Bias to finish the work
- Fabric the size of the piece for the wrong side.
On many occasions you will also find scraps in fabric stores. It is important that the fabrics you choose have the same density, that is, you should not mix very thick fabrics with very fine ones. The work will not look good, the seams will be uneven and there is more risk of breakage.
Our Process
First of all, you should have scraps of fabric of the same size. If you start from a sample book, this part of the work will already be solved.
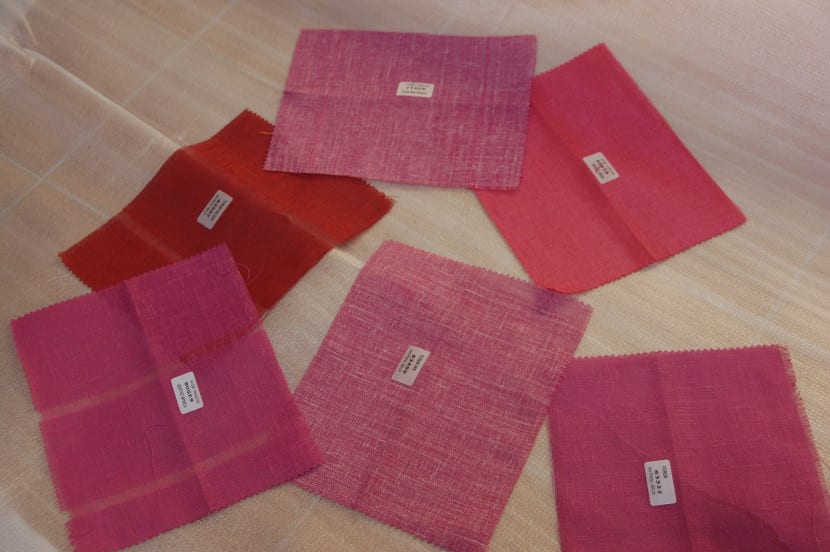
Patch example
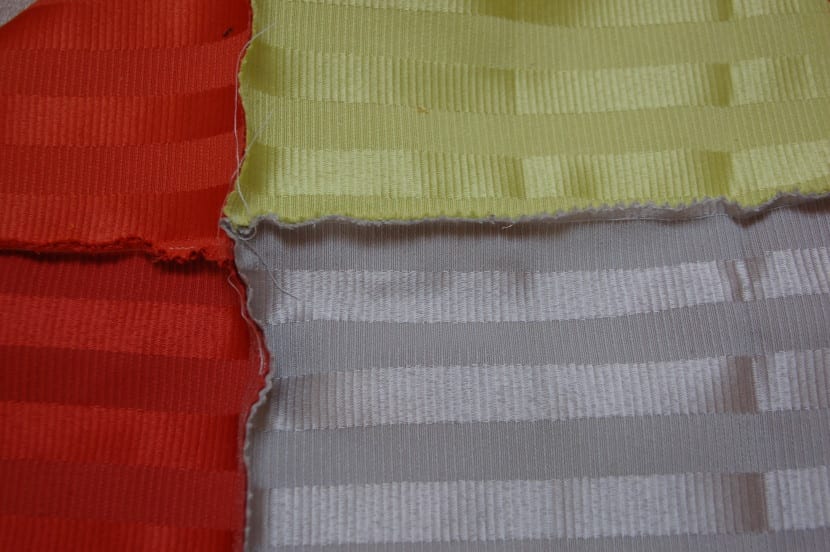
The next step will be join with the sewing machine the squares between them following the scheme you have prepared. You should sew as close to the edge as possible to make the most of the fabric, but always avoiding that it can become unstitched or frayed. Normally you will work with fabrics that are not finished.
The risk of these samples is the glue with which they are held together. They can sometimes make sewing with the machine difficult, causing the needle to snag. Be careful.
Seam between pieces
Once you have sewn the squares together, you will have something like this.

Work progress sample
We can choose to leave the work like that, but I have preferred to put a reinforcement. Thinking about the risk that the seam was not strong enough, I have sewn a satin strip over the joining seam. And I have also done it in a zig-zag to ensure the best possible both edges.
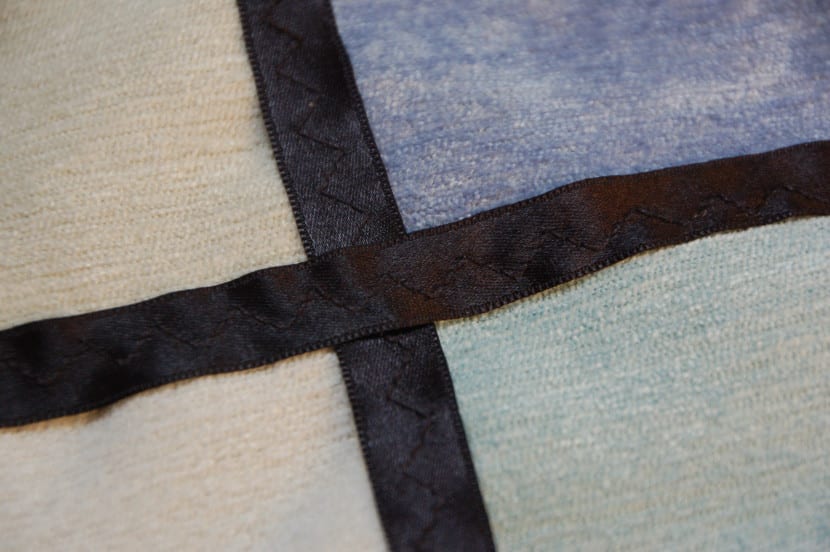
Reinforcement between pieces with satin
The next step will be finish the job. For this we need a fabric the size of the work, which we will join our work by means of a bias. As you can see, the bias seam has also been done in a zig-zag, with the same idea of reinforcing the work, to avoid as much as possible the fabric from fraying and opening the seams.
I have used a top sheet inside out that I found very cheap in an outlet.
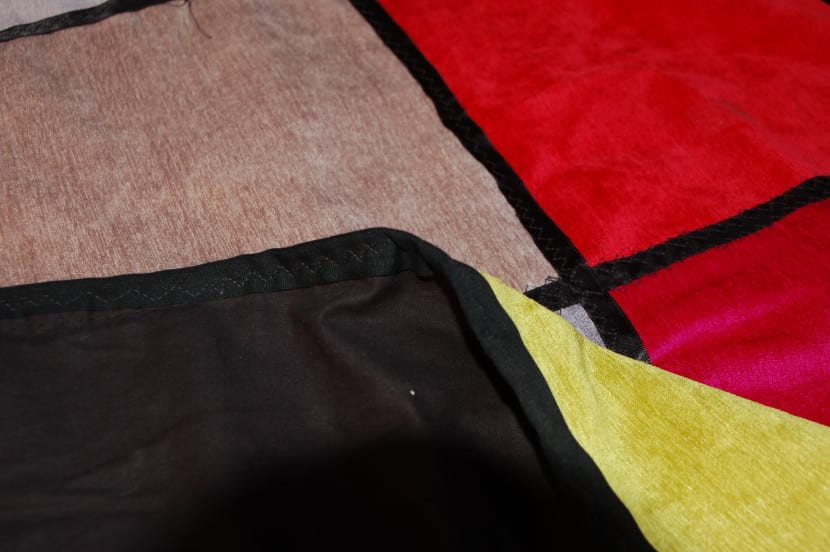
Finishing of the work with bias
Also on this occasion I have chosen to transform my quilt into a Duvet cover, not sewing one of the sides, which allows me to insert a filler without problems.

Quilt ready to fill
The final aspect of my work is the following.

Finished quilt
Hope you like.