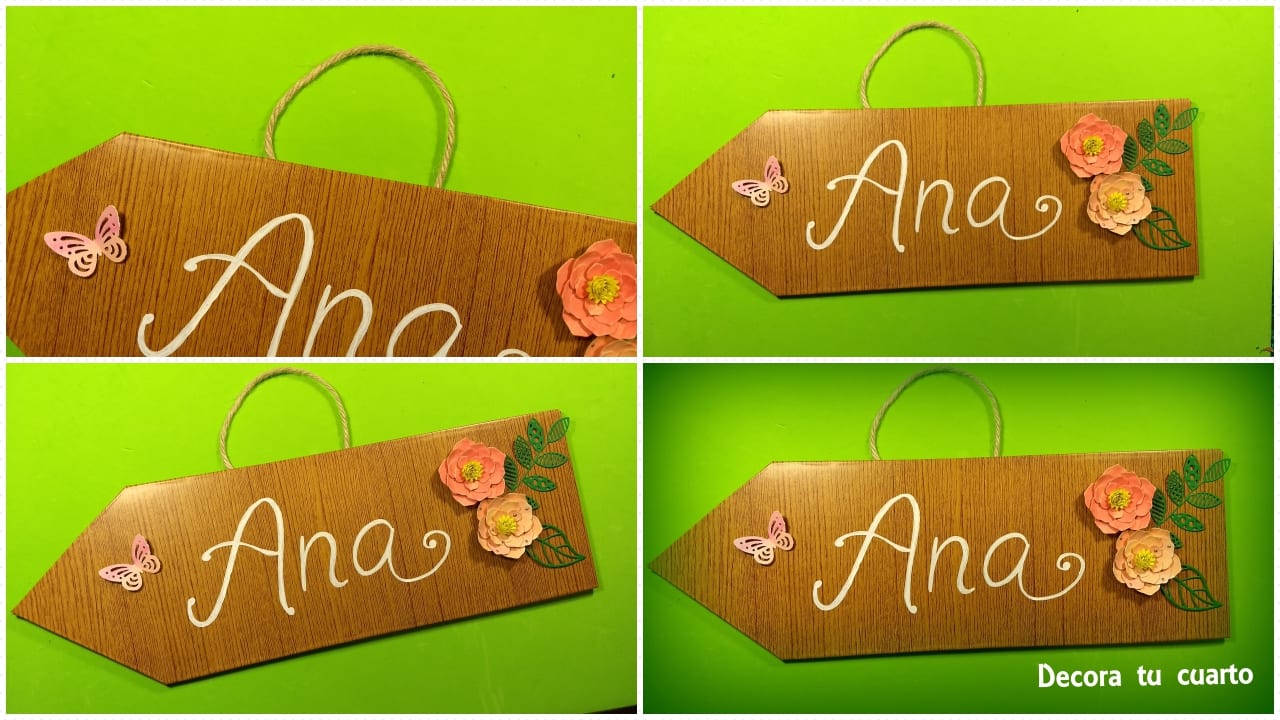
Arrives spring and in this post I'm going to teach you how to make a perfect sign to decorate the door or any corner of your room. It imitates wood and is very easy to get.
Materials to make the wooden sign
- Double channel carton
- Imitation wood adhesive paper
- Scissors
- Glue
- Cardboard
- Ruler and pencil
- White permanent marker
- Dies and Die Cutting Machine
- Butterfly die cutter
Procedure for making the wooden sign
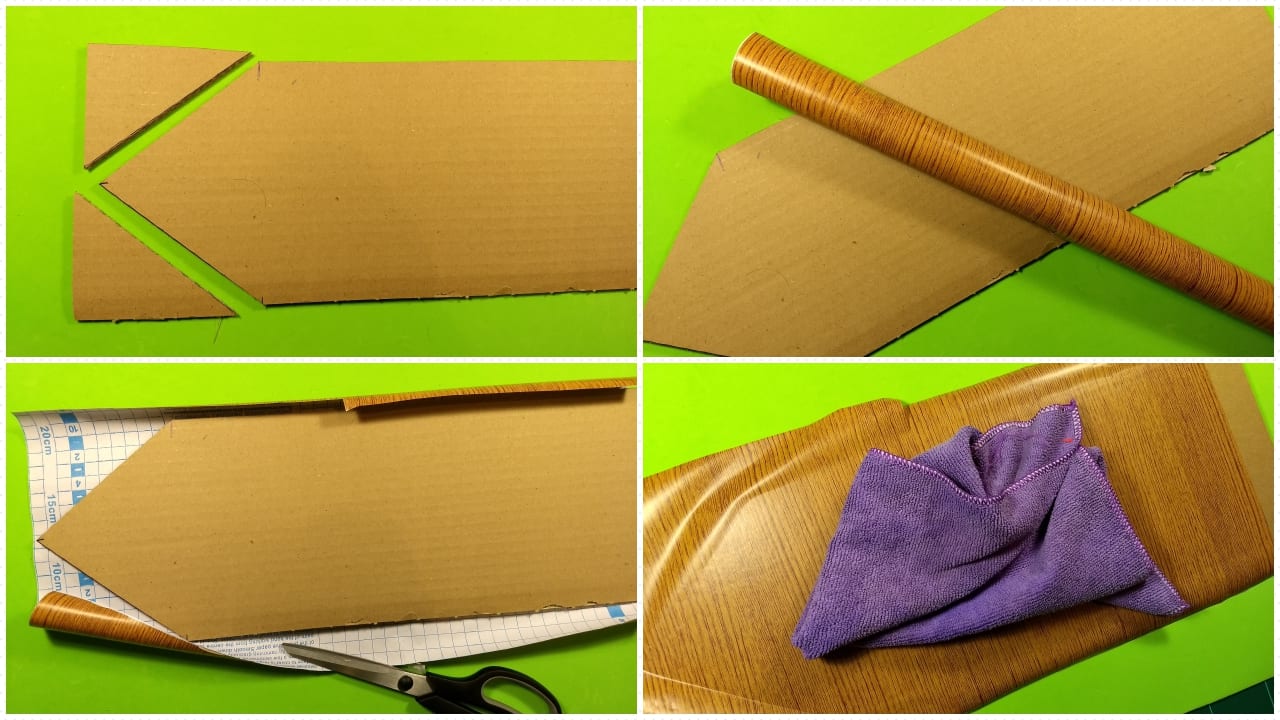
- To start you need a 45 x 15 cm cardboard or the size you want to make the poster.
- Make a mark in the middle approximately, in this case at the 7,5 cm.
- Make other marks to 10 cm up and down.
- Connect the 3 points and it will give you a way to beak or arrow.

- Cut along the lines and you have to have the base of the formed poster.
- Use wood-effect sticker paper in the color you like best.
- Cut a strip and very carefully line the cardboard.
- You can help yourself with a cloth so that no wrinkles appear.
- Once glued and without wrinkles, cut the corners so that you can stick it from the back without problems.
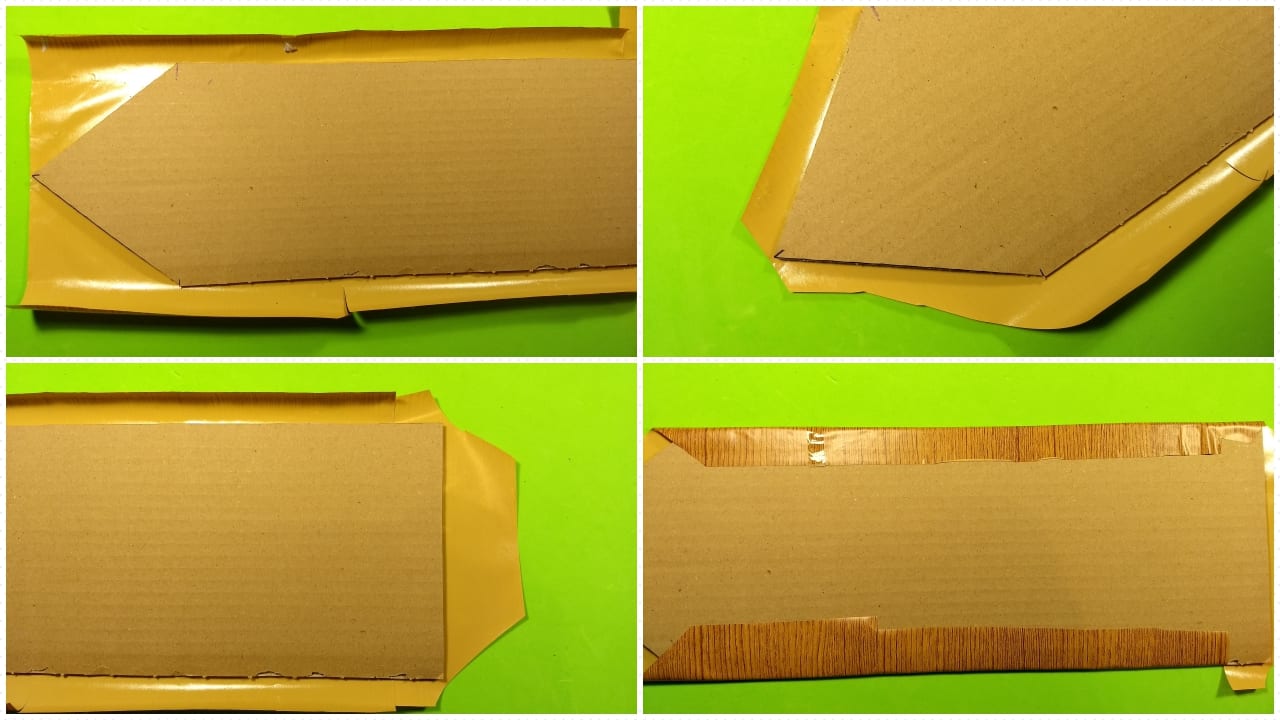
- Do it little by little and if it looks bad, you can lift slowly.
- Draw the outline of the arrow on a piece of cardboard, it does not matter the color, it will not be seen.
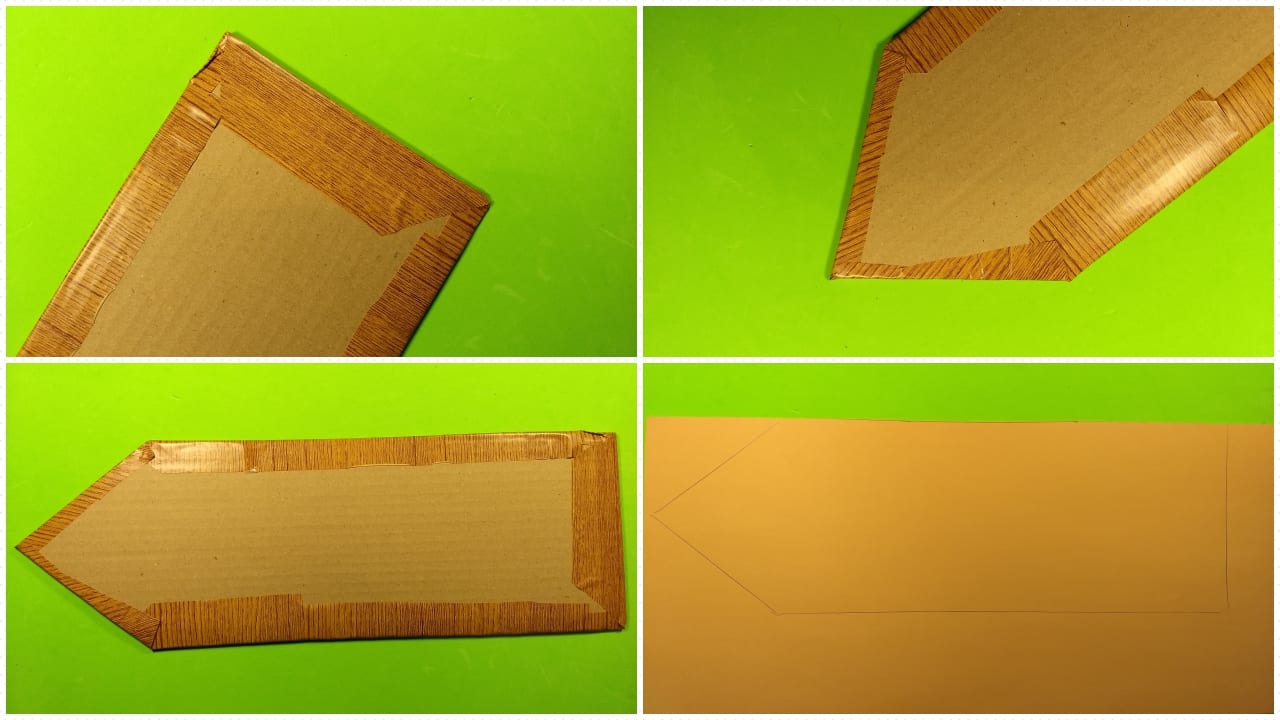
- Cut out the cardboard 1 cm smaller that the arrow so that it cannot be seen anywhere.
- Glue the backside of the card stock to avoid showing the seams of the tape.
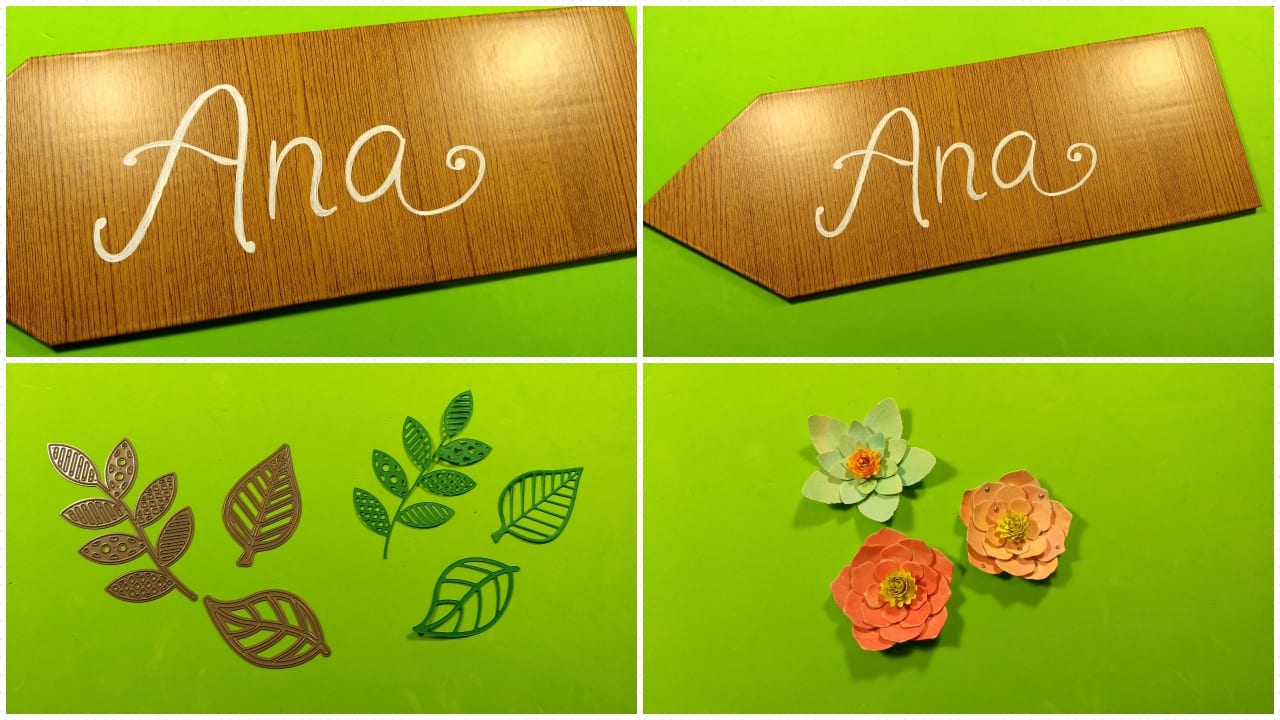
- With white marker I'm going to put the girl's name I'm going to give it to her, Ana.

- I will give it several layers so that the white color is very intense.
- Now with the help of the dies I am going to do some stems and leaves on green cardboard.
- I will also do some flowers which I taught you to do in a previous tutorial. If you want to learn how to make flowers CLICK HERE.
- Now it's time to make the composition that you like the most.
- I will also add a butterfly made with my hole punch, but you can decorate it as you like.


- To hang it you can put a rope from behind And voila, we have made our poster to decorate our room.