If you like to recycle, here you have a very original way of doing it, it is very simple and cheap and you only have to have a shoe box to be able to make a box with compartments and fill it with your special belongings. You already know that the decorative paper that I use is occasional, you can always use the one you like the most and everything else that I use for decoration is optional, you can use what you like the most. I have used it with my work tools but it is valid to place it in a bathroom with personal items or even for children to use to store their toys, any idea is good ...
You can see the step by step of this tutorial in the following video:
These are the materials that I have used:
- a shoe box of about 30x30cm
- decorative paper
- 1 meter or more of pom pom strap
- decorative tape (about 30cm)
- White glue
- hot glue gun with silicones
- scissors
- ruler
- pencil
- a cutter
First step:
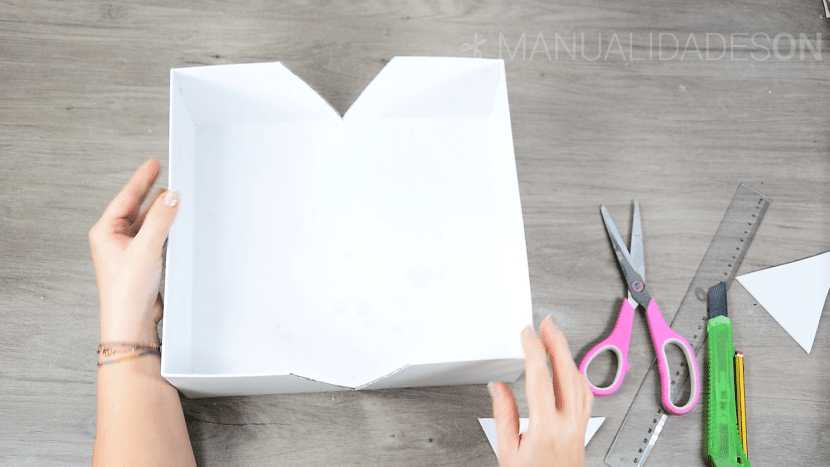
We choose a shoe box In my case, I have chosen a white one because later I will decorate it with paper but I will not cover it completely, therefore I want areas of white to remain. We choose two sides and they are parallel, we are going to do a triangular cutout to fold the box later. We will look for the central part of the side from the box and from there we derive two other points that make a Triangular shape. We left marked with the pencil and cut it out. If the box is too rigid we try with scissors and we help each other later a cutter.

Second step:
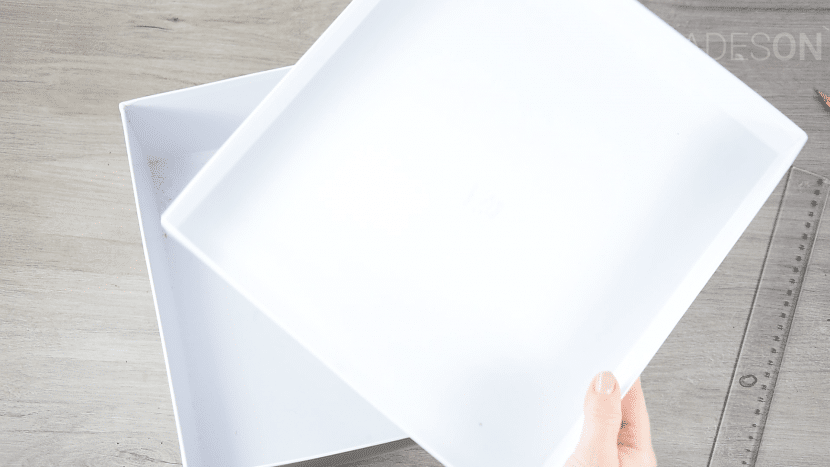
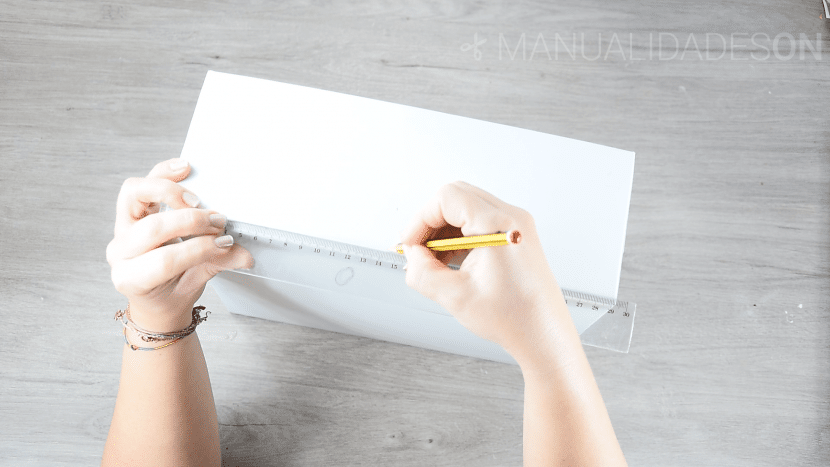
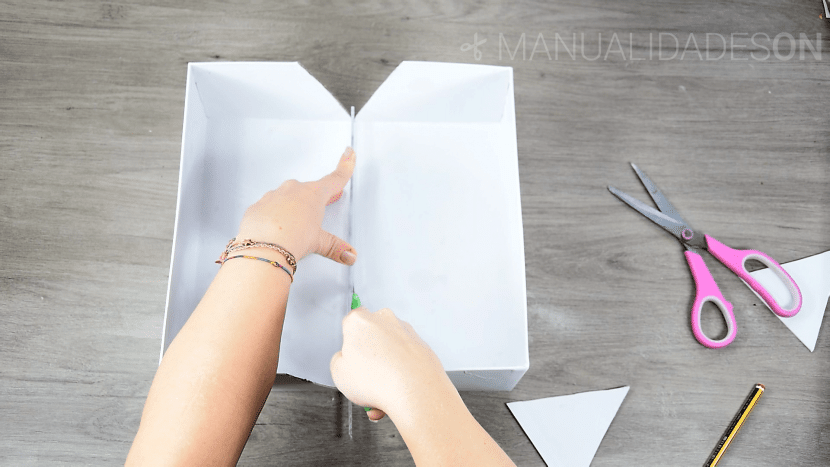
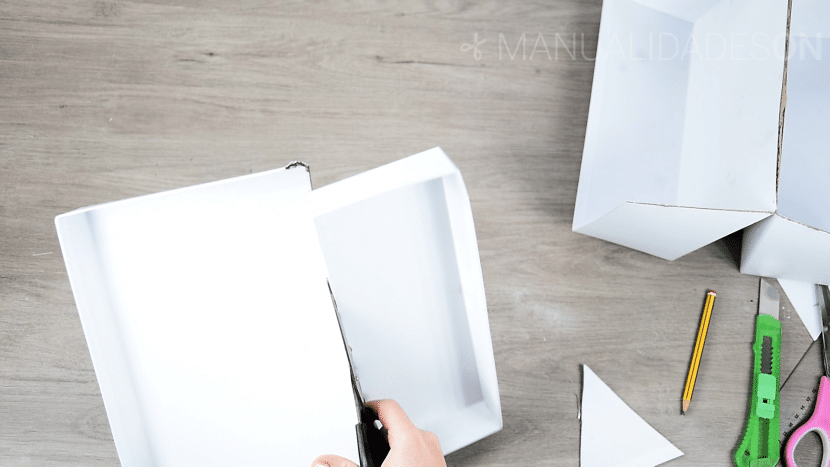
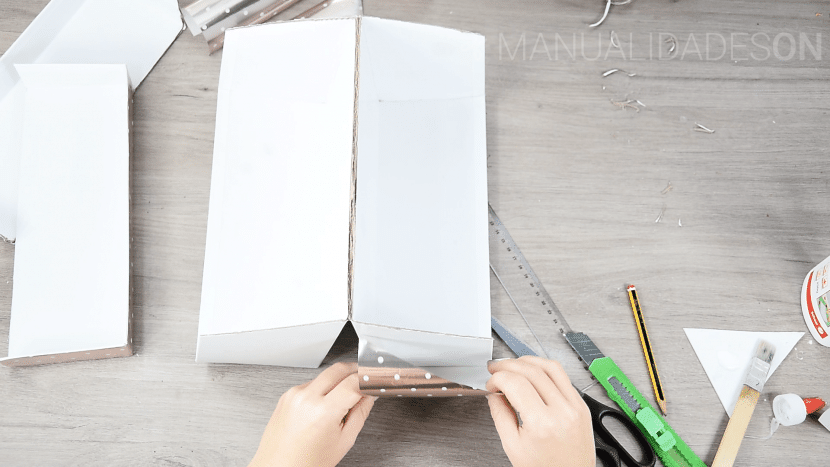
We set a rule in the middle of the box between the two triangles, we are going to mark it with the cutter and we will cut but only superficially so that we can fold the box and not be divided or separated. We fold the box when we have made the shallow cut. We catch the lid of the box and we place it in one of the sides of the box. In this cover we will take measurements with respect to the height that the side of this box may have. We mark with a pencil the necessary height of the side what are we going to do and draw a straight line, later we cut out. We take the other piece of cover from the box and do the same with the other side of the box to later cut it out.

Third step:
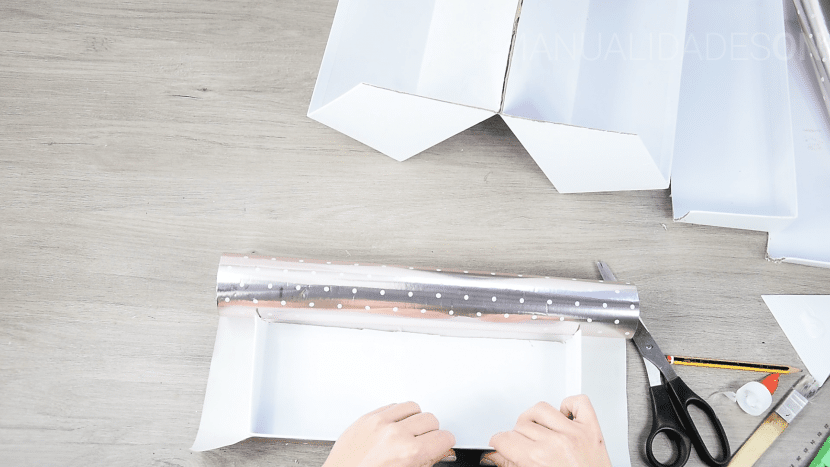
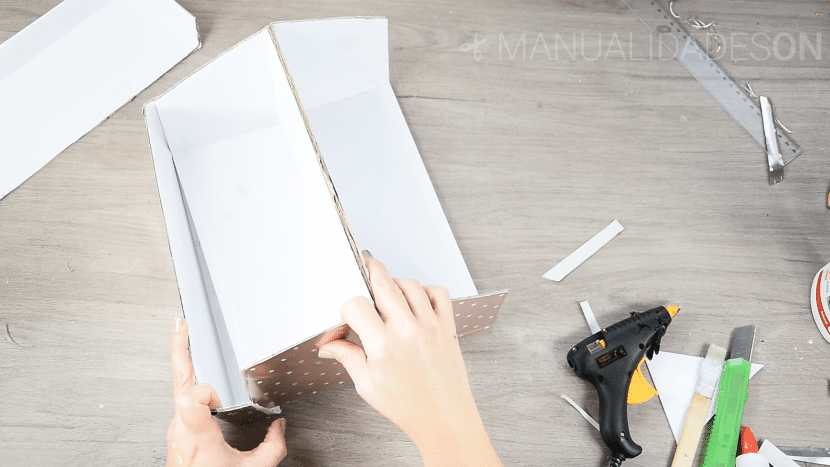
We make custom cuts to decorate the sides of the boxIn my case, I have cut out four that I have placed and glued on. As the excess edges have not been very tailored, I have cut them with the cutter.
Fourth step:
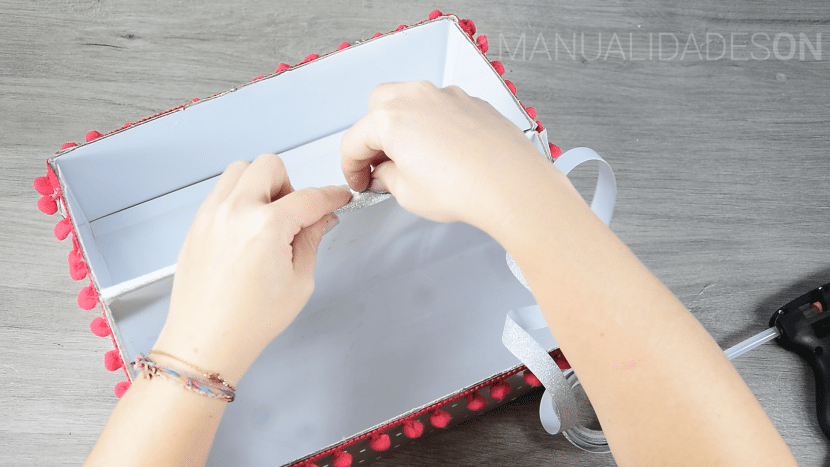
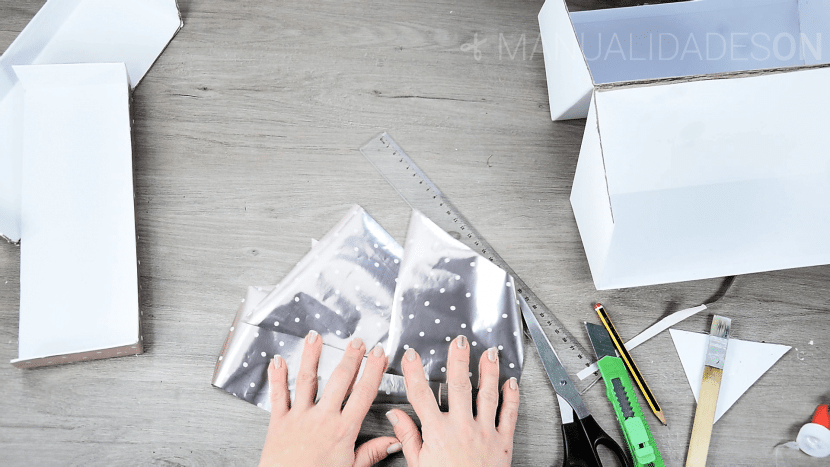
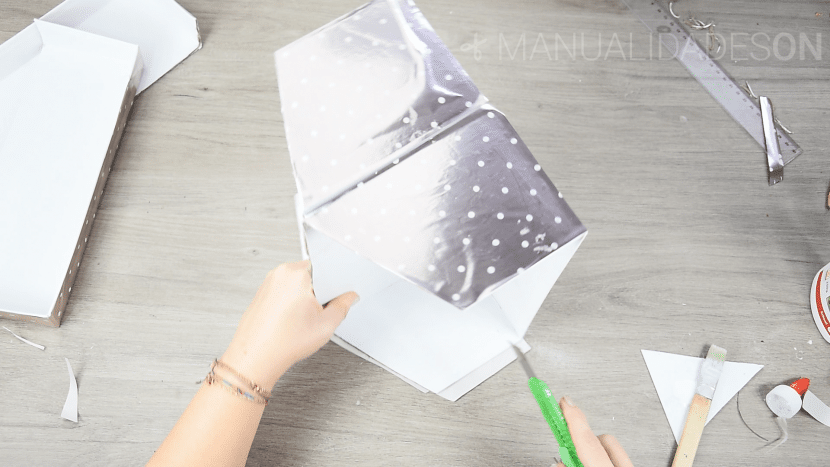
We cover with decorative paper (we glue it on) the trimmed parts of the lid and place them in the sides of the box, in my case I have embedded and pasted them with hot silicone.
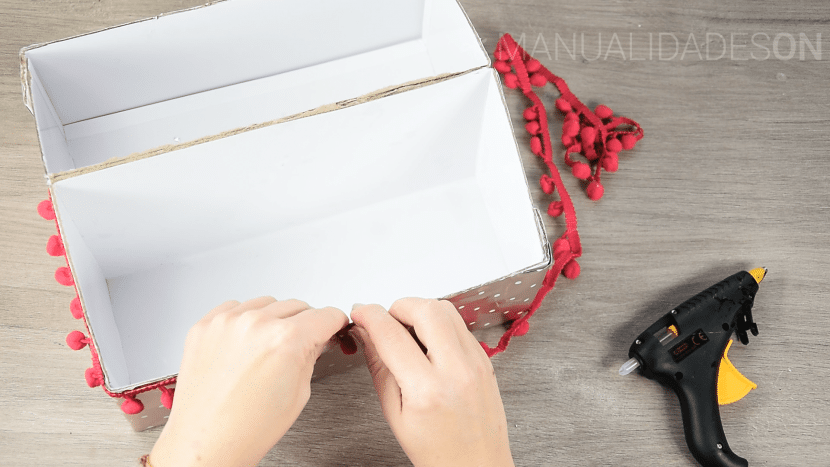
The middle part of the box that has been separated and unfolded we also paste it with the same silicone.
Fifth step:
We decorate the banks of the box around it with a pom pom strip, I have pasted it with hot silicone. The central part of the box where it was folded I have decorated with decorative tape, in my case, as it was adhesive, I glued it directly. With the materials completely dry we can now use our box to fill it with our necessary items.