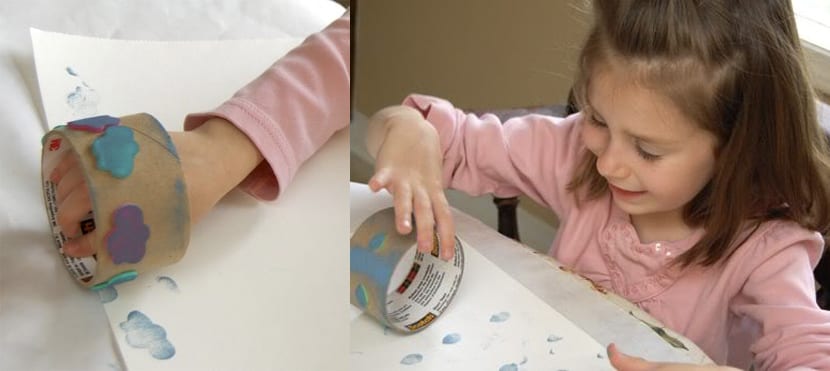
Children who are a little older love it create shapes and drawings with paints either with brushes or with patterns. This ideal form of creation is essential to favor their motor skills and improve their concentration and imagination thanks to the technique of print.
Therefore, today we teach you how to make a stamping wheel by recycling an empty roll of adhesive tape. This is how we teach the little ones that we can make utensils for crafts with things that have already been finished, but can have a second use.
Materials
- Roll of thick adhesive tape.
- Eva rubber or foam.
- Scissors.
- Glue.
- Ink pad.
Our Process
First of all, we we will make sure to remove all the heat from the roll of adhesive tape so that we do not scratch any craft.
Then we will do the desired drawing (clouds) in the eva rubber or foam to make the design of our print.
Then you are figures we will stick them to the roll of adhesive tape with a little glue or silicone so that it adheres well.
Finally, we just have to tint the figures of the stamping with the ink pad and capture it on the surface to be decorated.