If you like to give very original gifts with a very personal packaging, here are three very attractive boxes that you can work on personally. If you look at how they are made, they will not be very difficult to do and if you have the materials at hand they can be prepared quickly.
I have wrapped the box of goodies with gift paper but you can use a much thicker paper so that it is not so wrinkled, like the other boxes, you can always use any material that is rigid, such as crafting paper, how much it takes and that you can find it in any stationery store and bazaar. And also this is just a demonstration of how you can make it, because the colors, the samples and the ribbons can be combined with the materials that you like the most.
You can see the step by step of this tutorial in the following video:
These are the materials that I have used:
- For the candy box:
- cut out kitchen roll cardboard
- Gift Wrap
- glue to stick
- scissors
- transparent tape
- clear cellophane type plastic for wrapping
- gift ribbons
- For the red box:
- A4 size cardstock
- silk paper
- glue to stick
- scissors
- a pencil to mark
- a rule
- a ribbon or cord of any material to decorate
- For the pyramidal box:
- A4 size cardstock
- glue to stick
- scissors
- a pencil to mark
- a rule
- a ribbon or cord of any material to decorate
- stickers to close the box
To make the candy box:
First step:
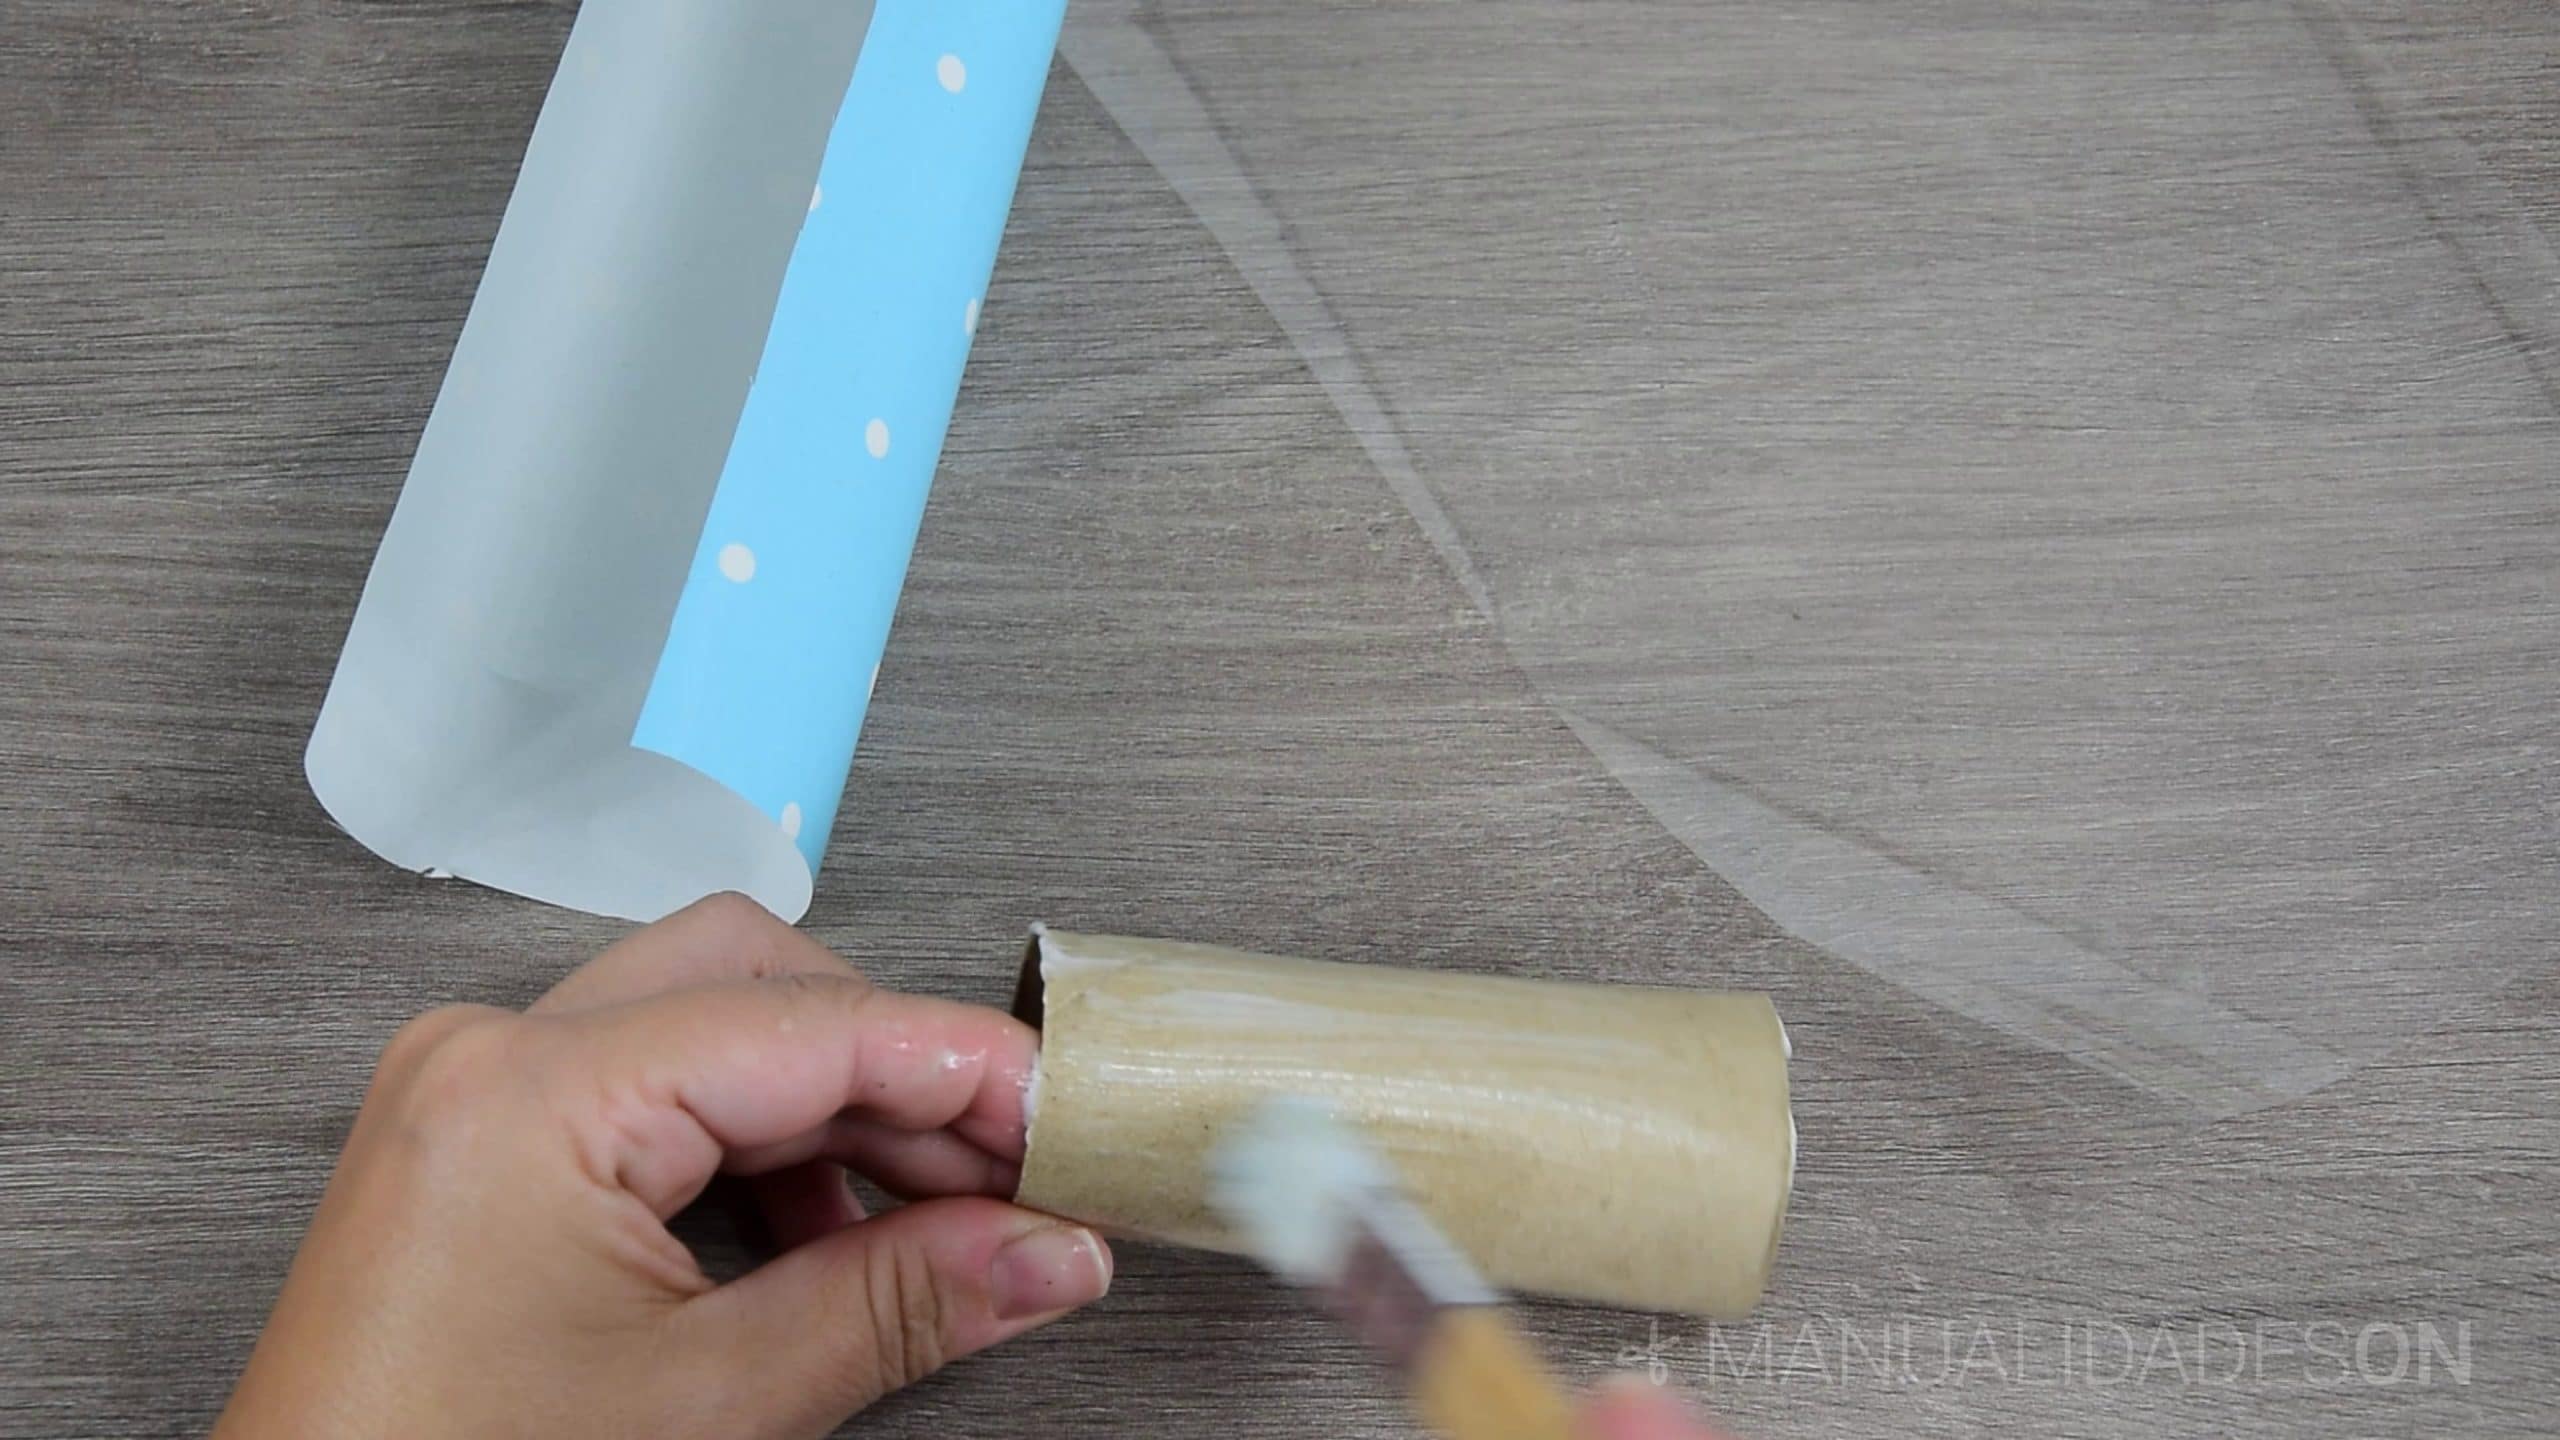
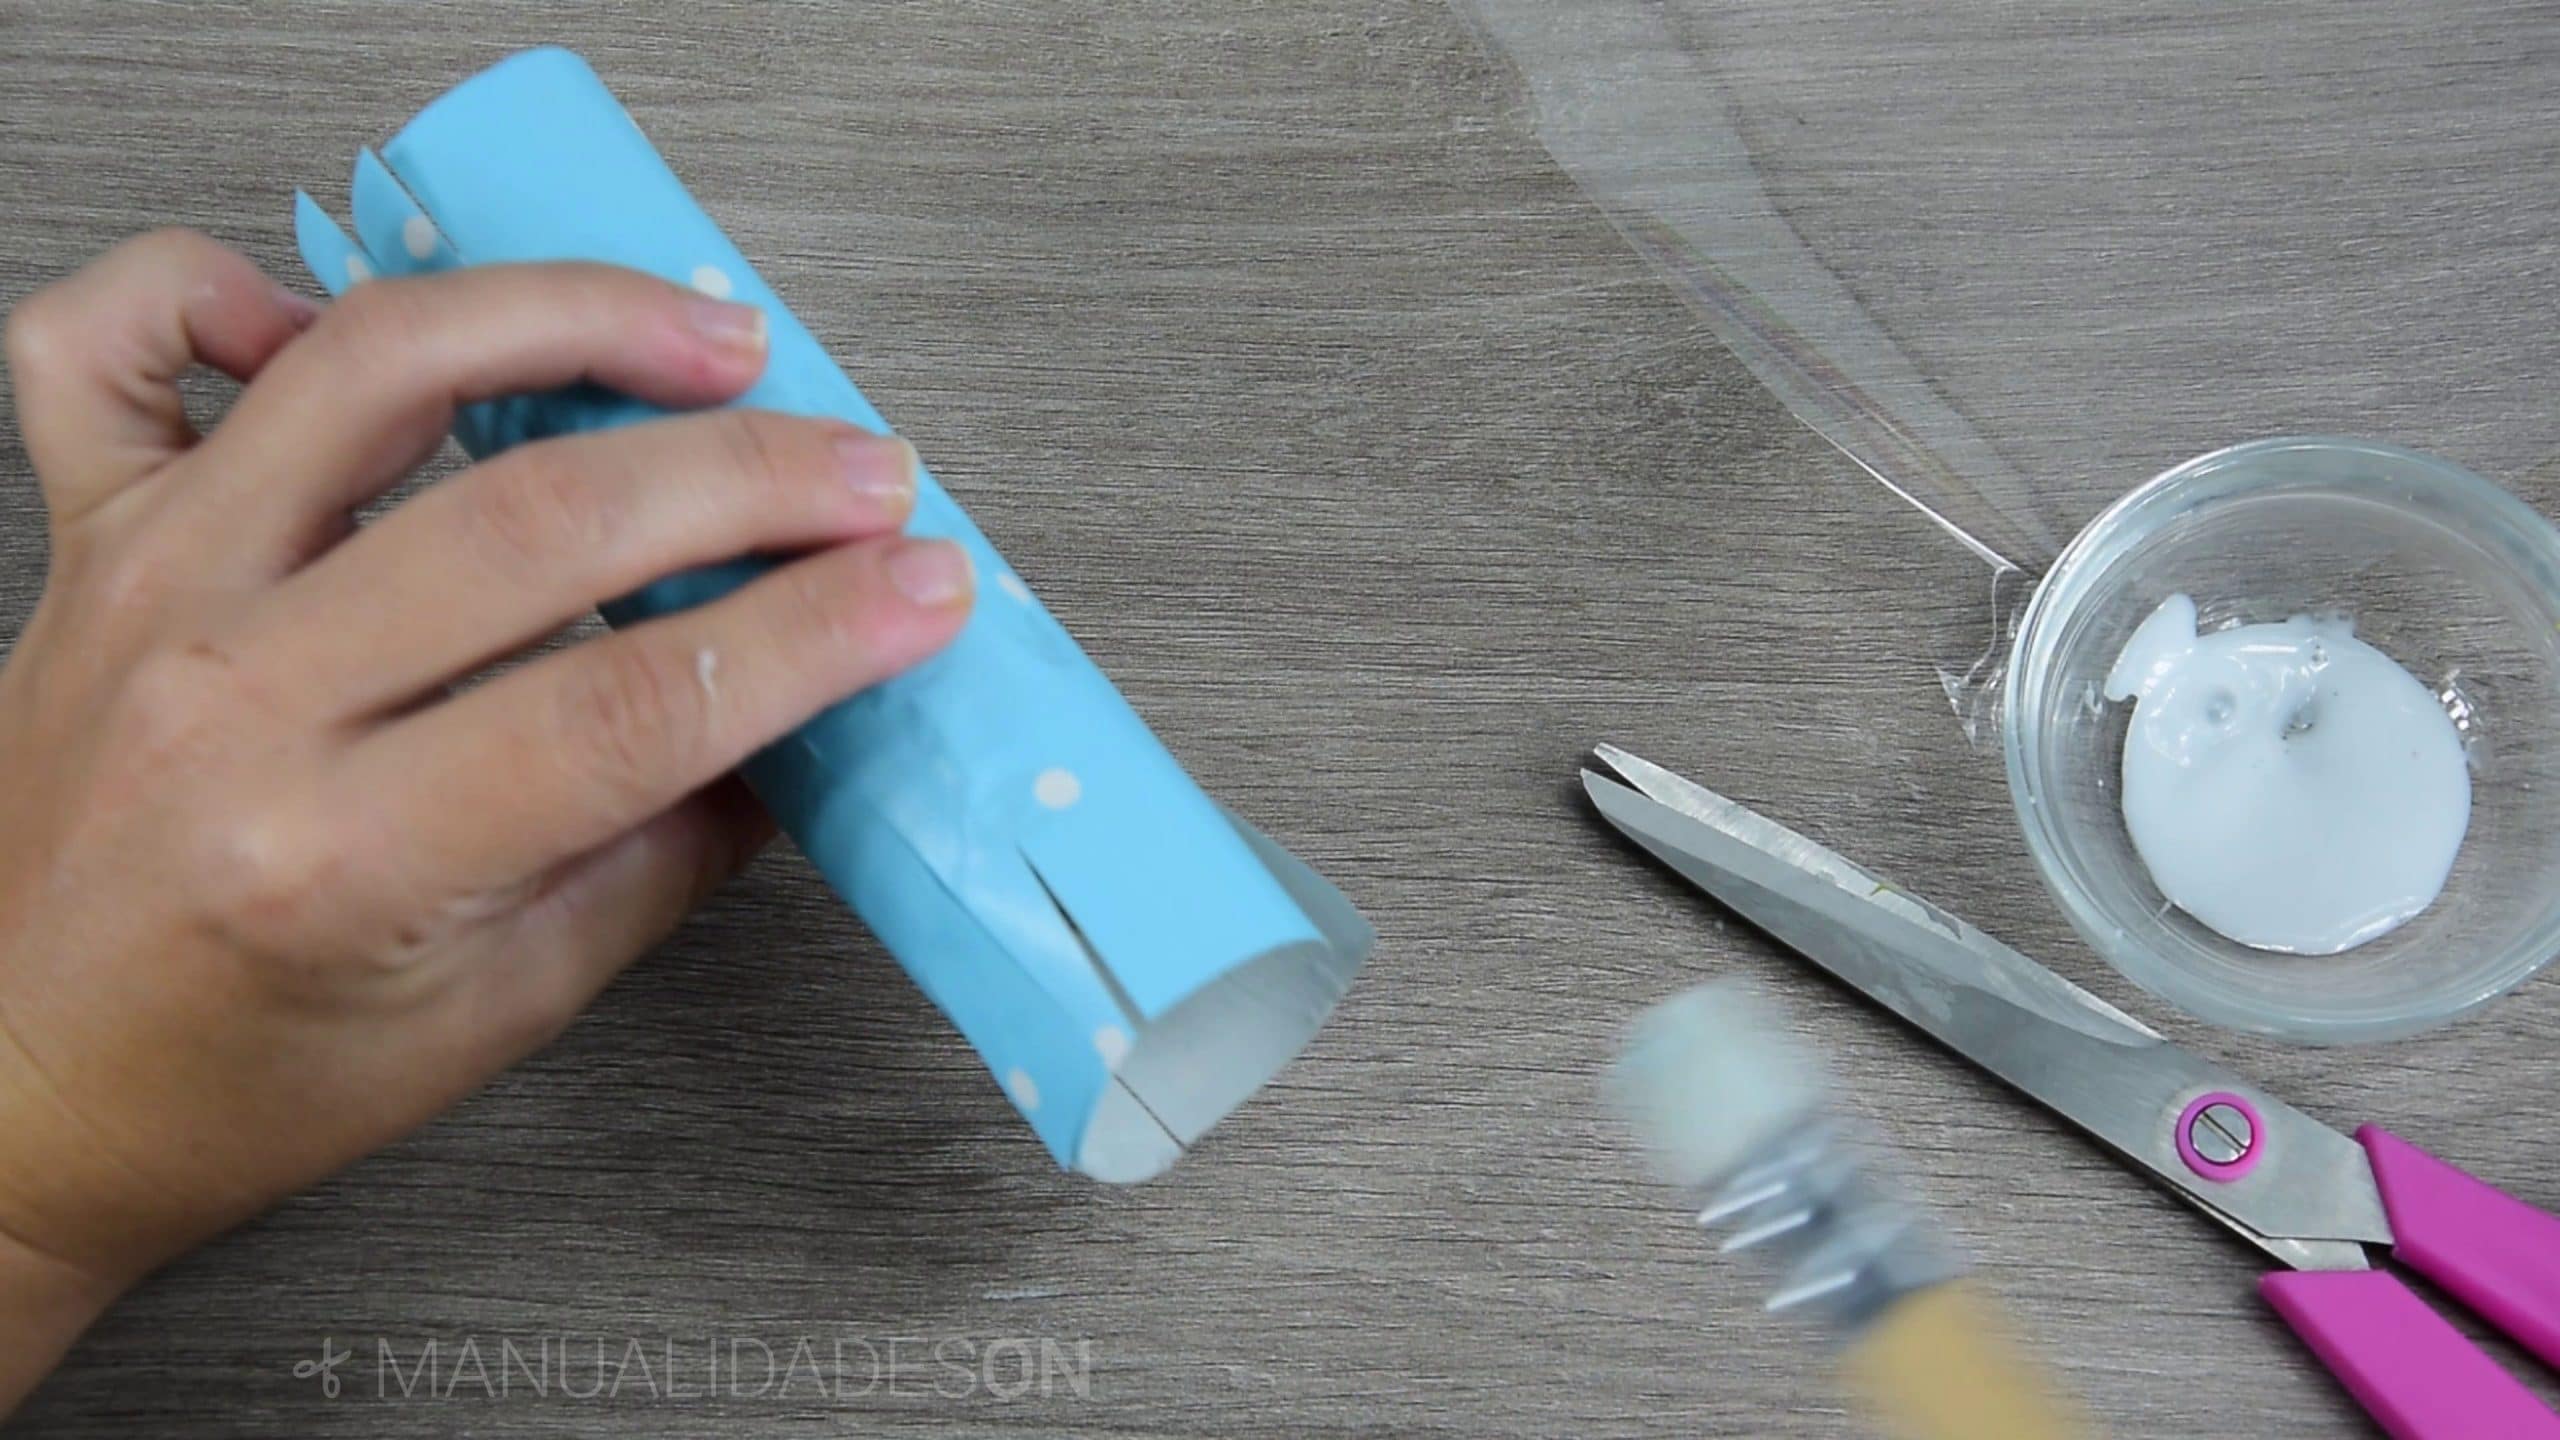
We choose cardboard tube and we miss him tail around to stick the wrapping paper, let the paper stick out at both ends.
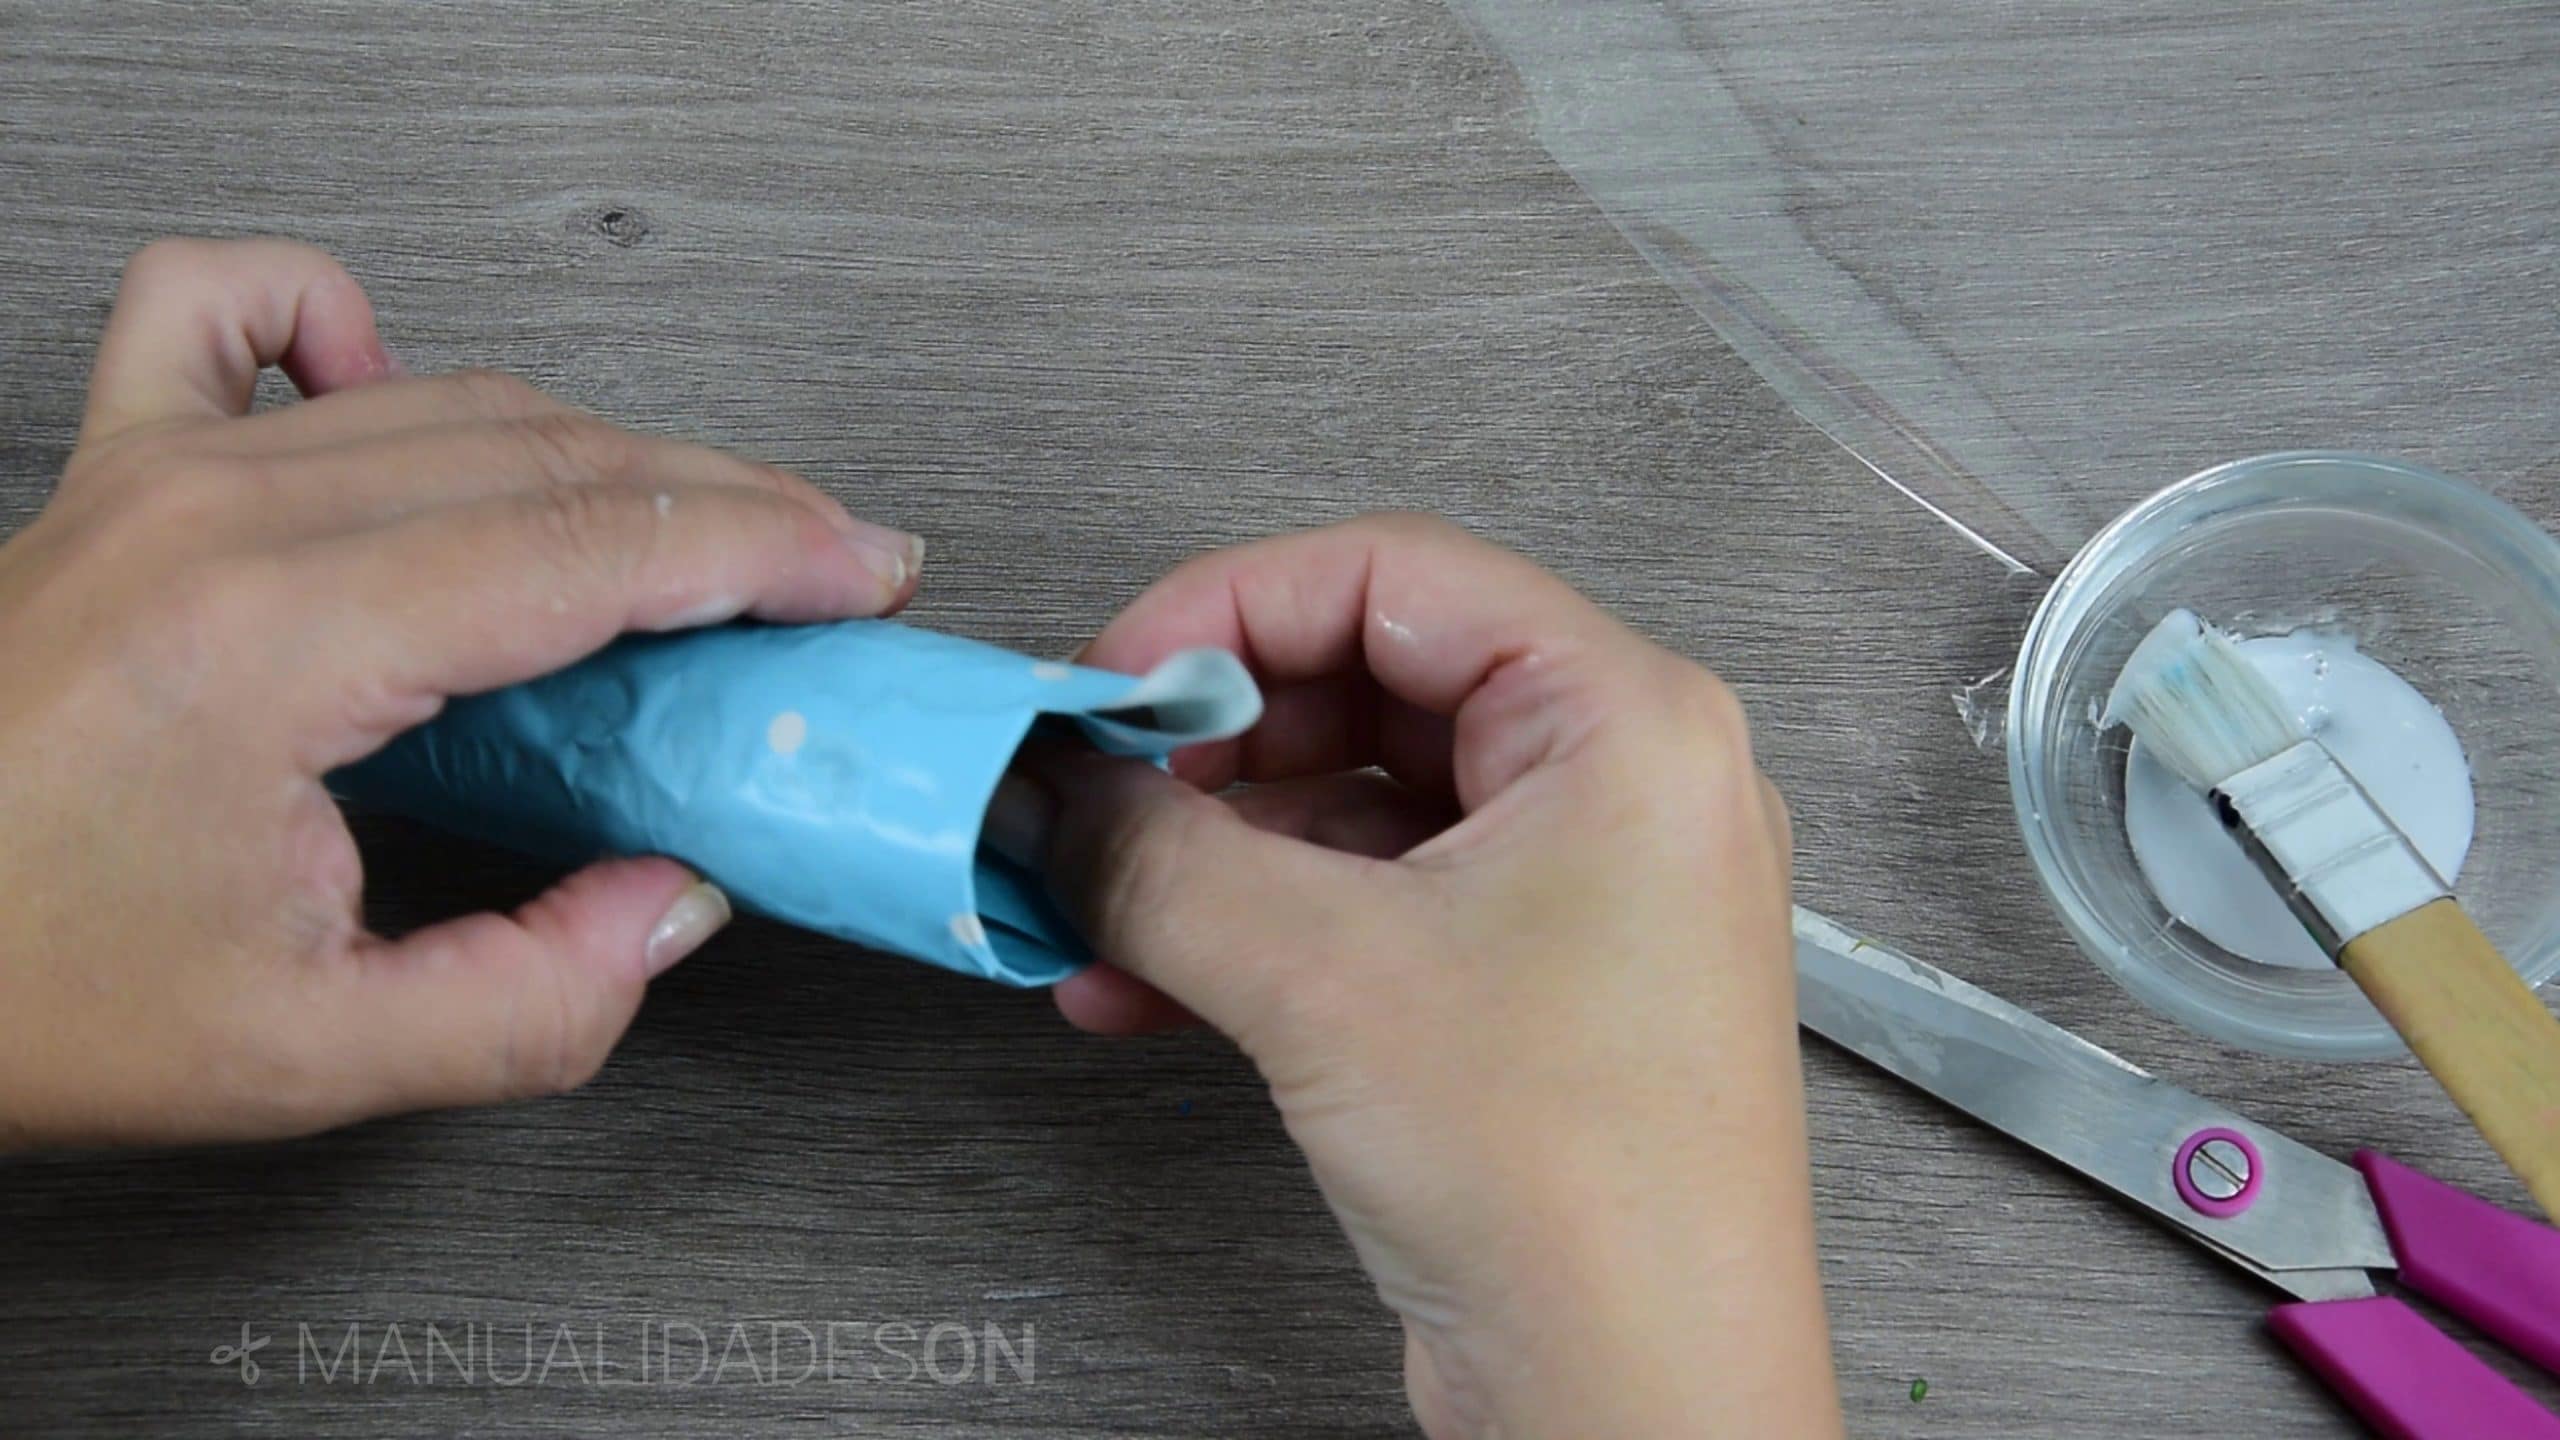
Second step:
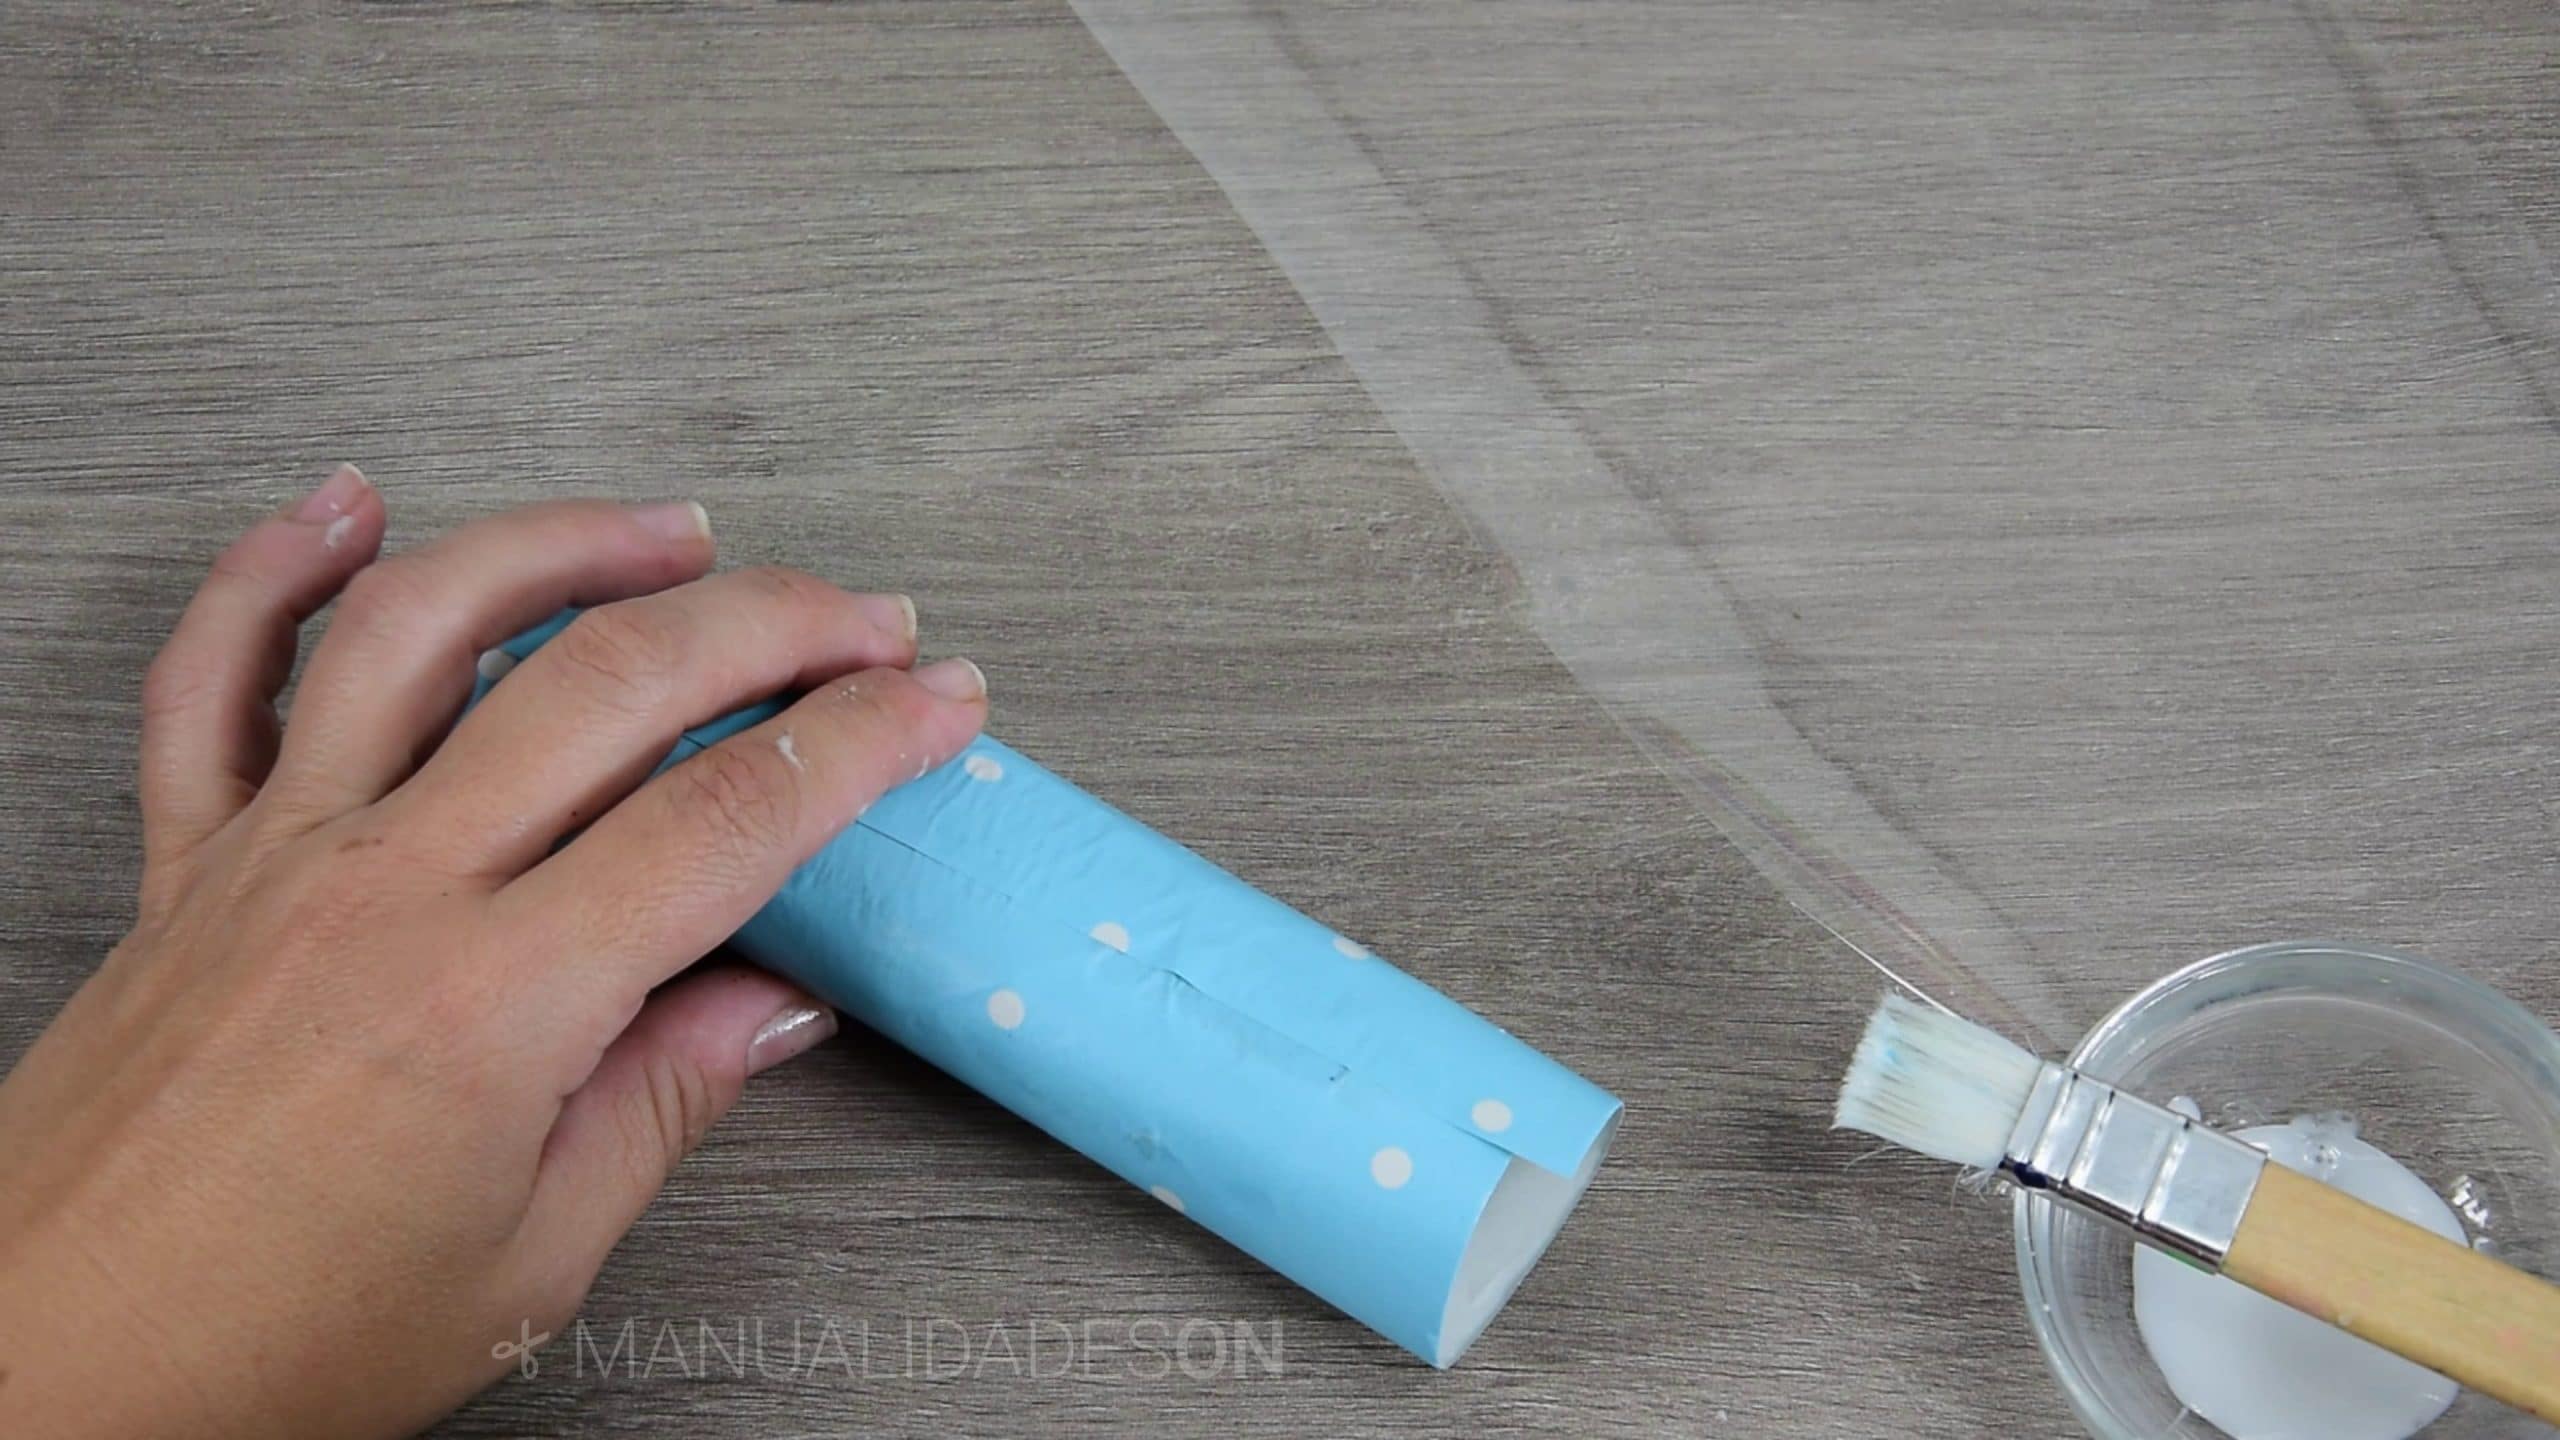
We make cuts in the excess parts of the ends of the paper that we have glued. These excess parts will be glued back to the inside of the tube so that it is well finished. We let it dry.
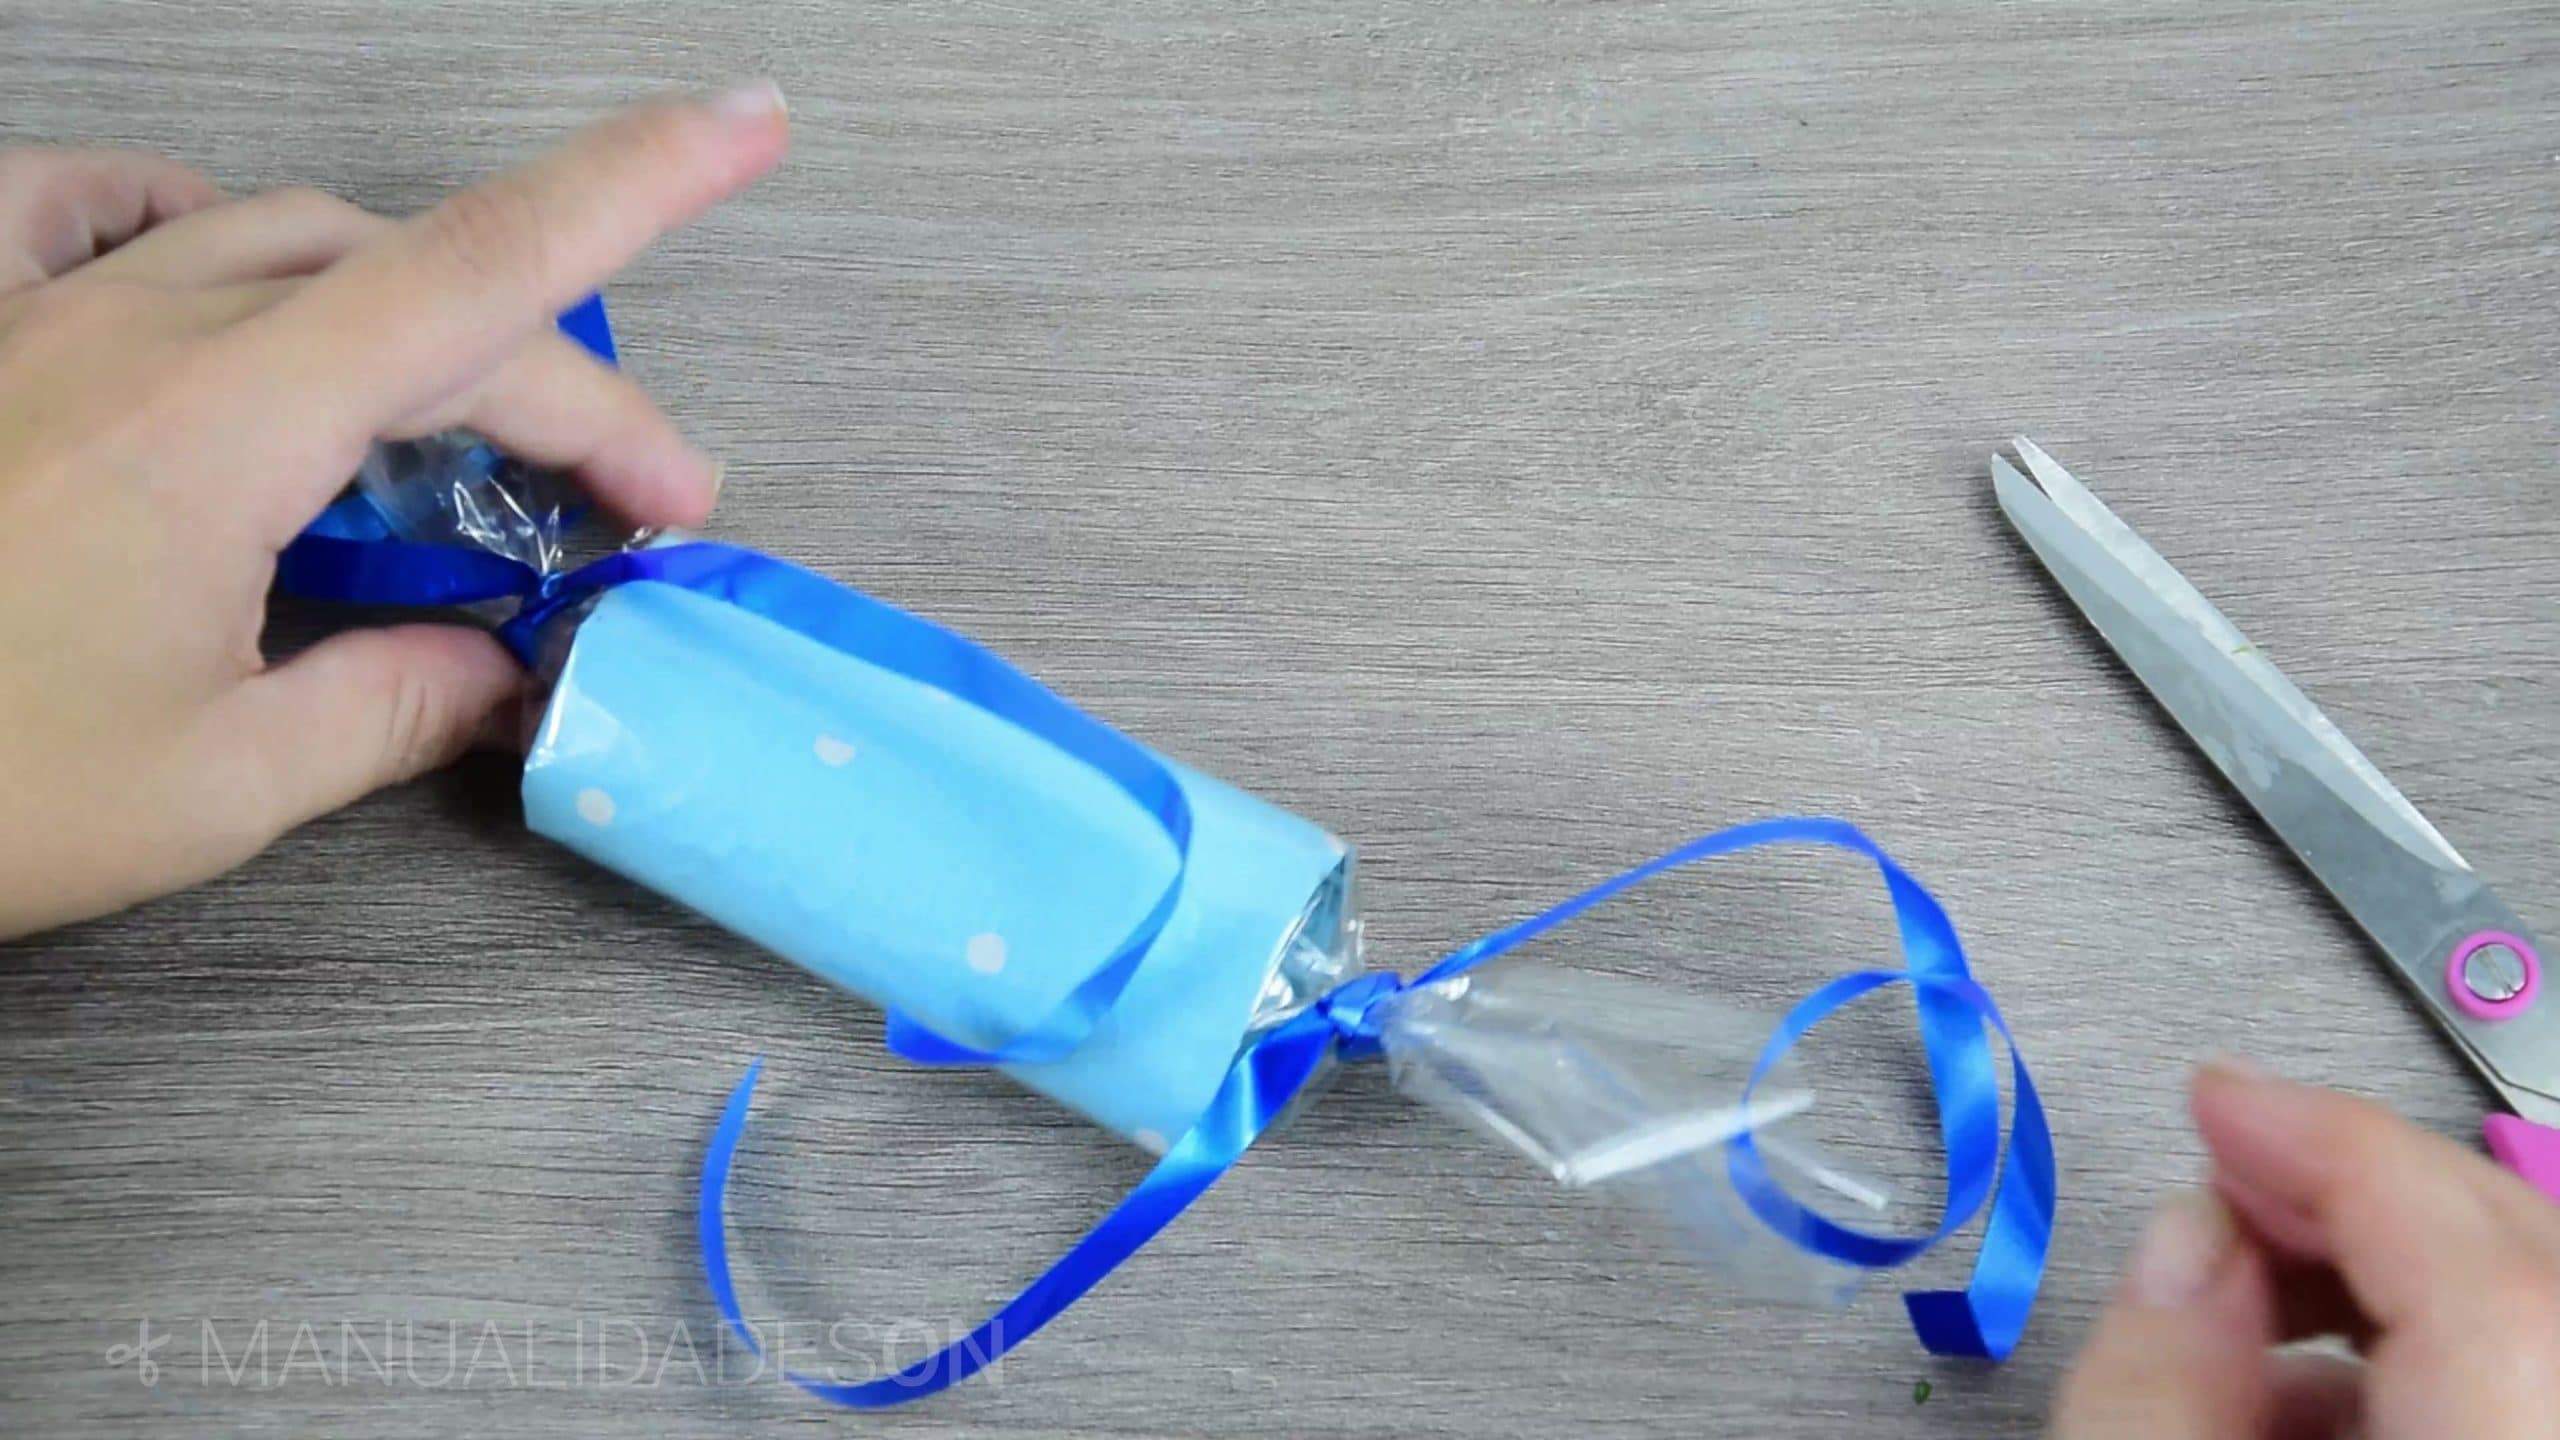
Third step:
We cut a piece of celofan paper large enough to wrap around the tube and also protrude towards the ends. Once wrapped we will hold it with a little Scotch tape. We take both ends that were protruding and we roll them to be able to tie them with gift tape, but before closing one of the ends we will fill the tube with candies. To finish we will curl the ribbons so that they are more decorative, for this we scrape the scissors with said ribbon from top to bottom quickly.

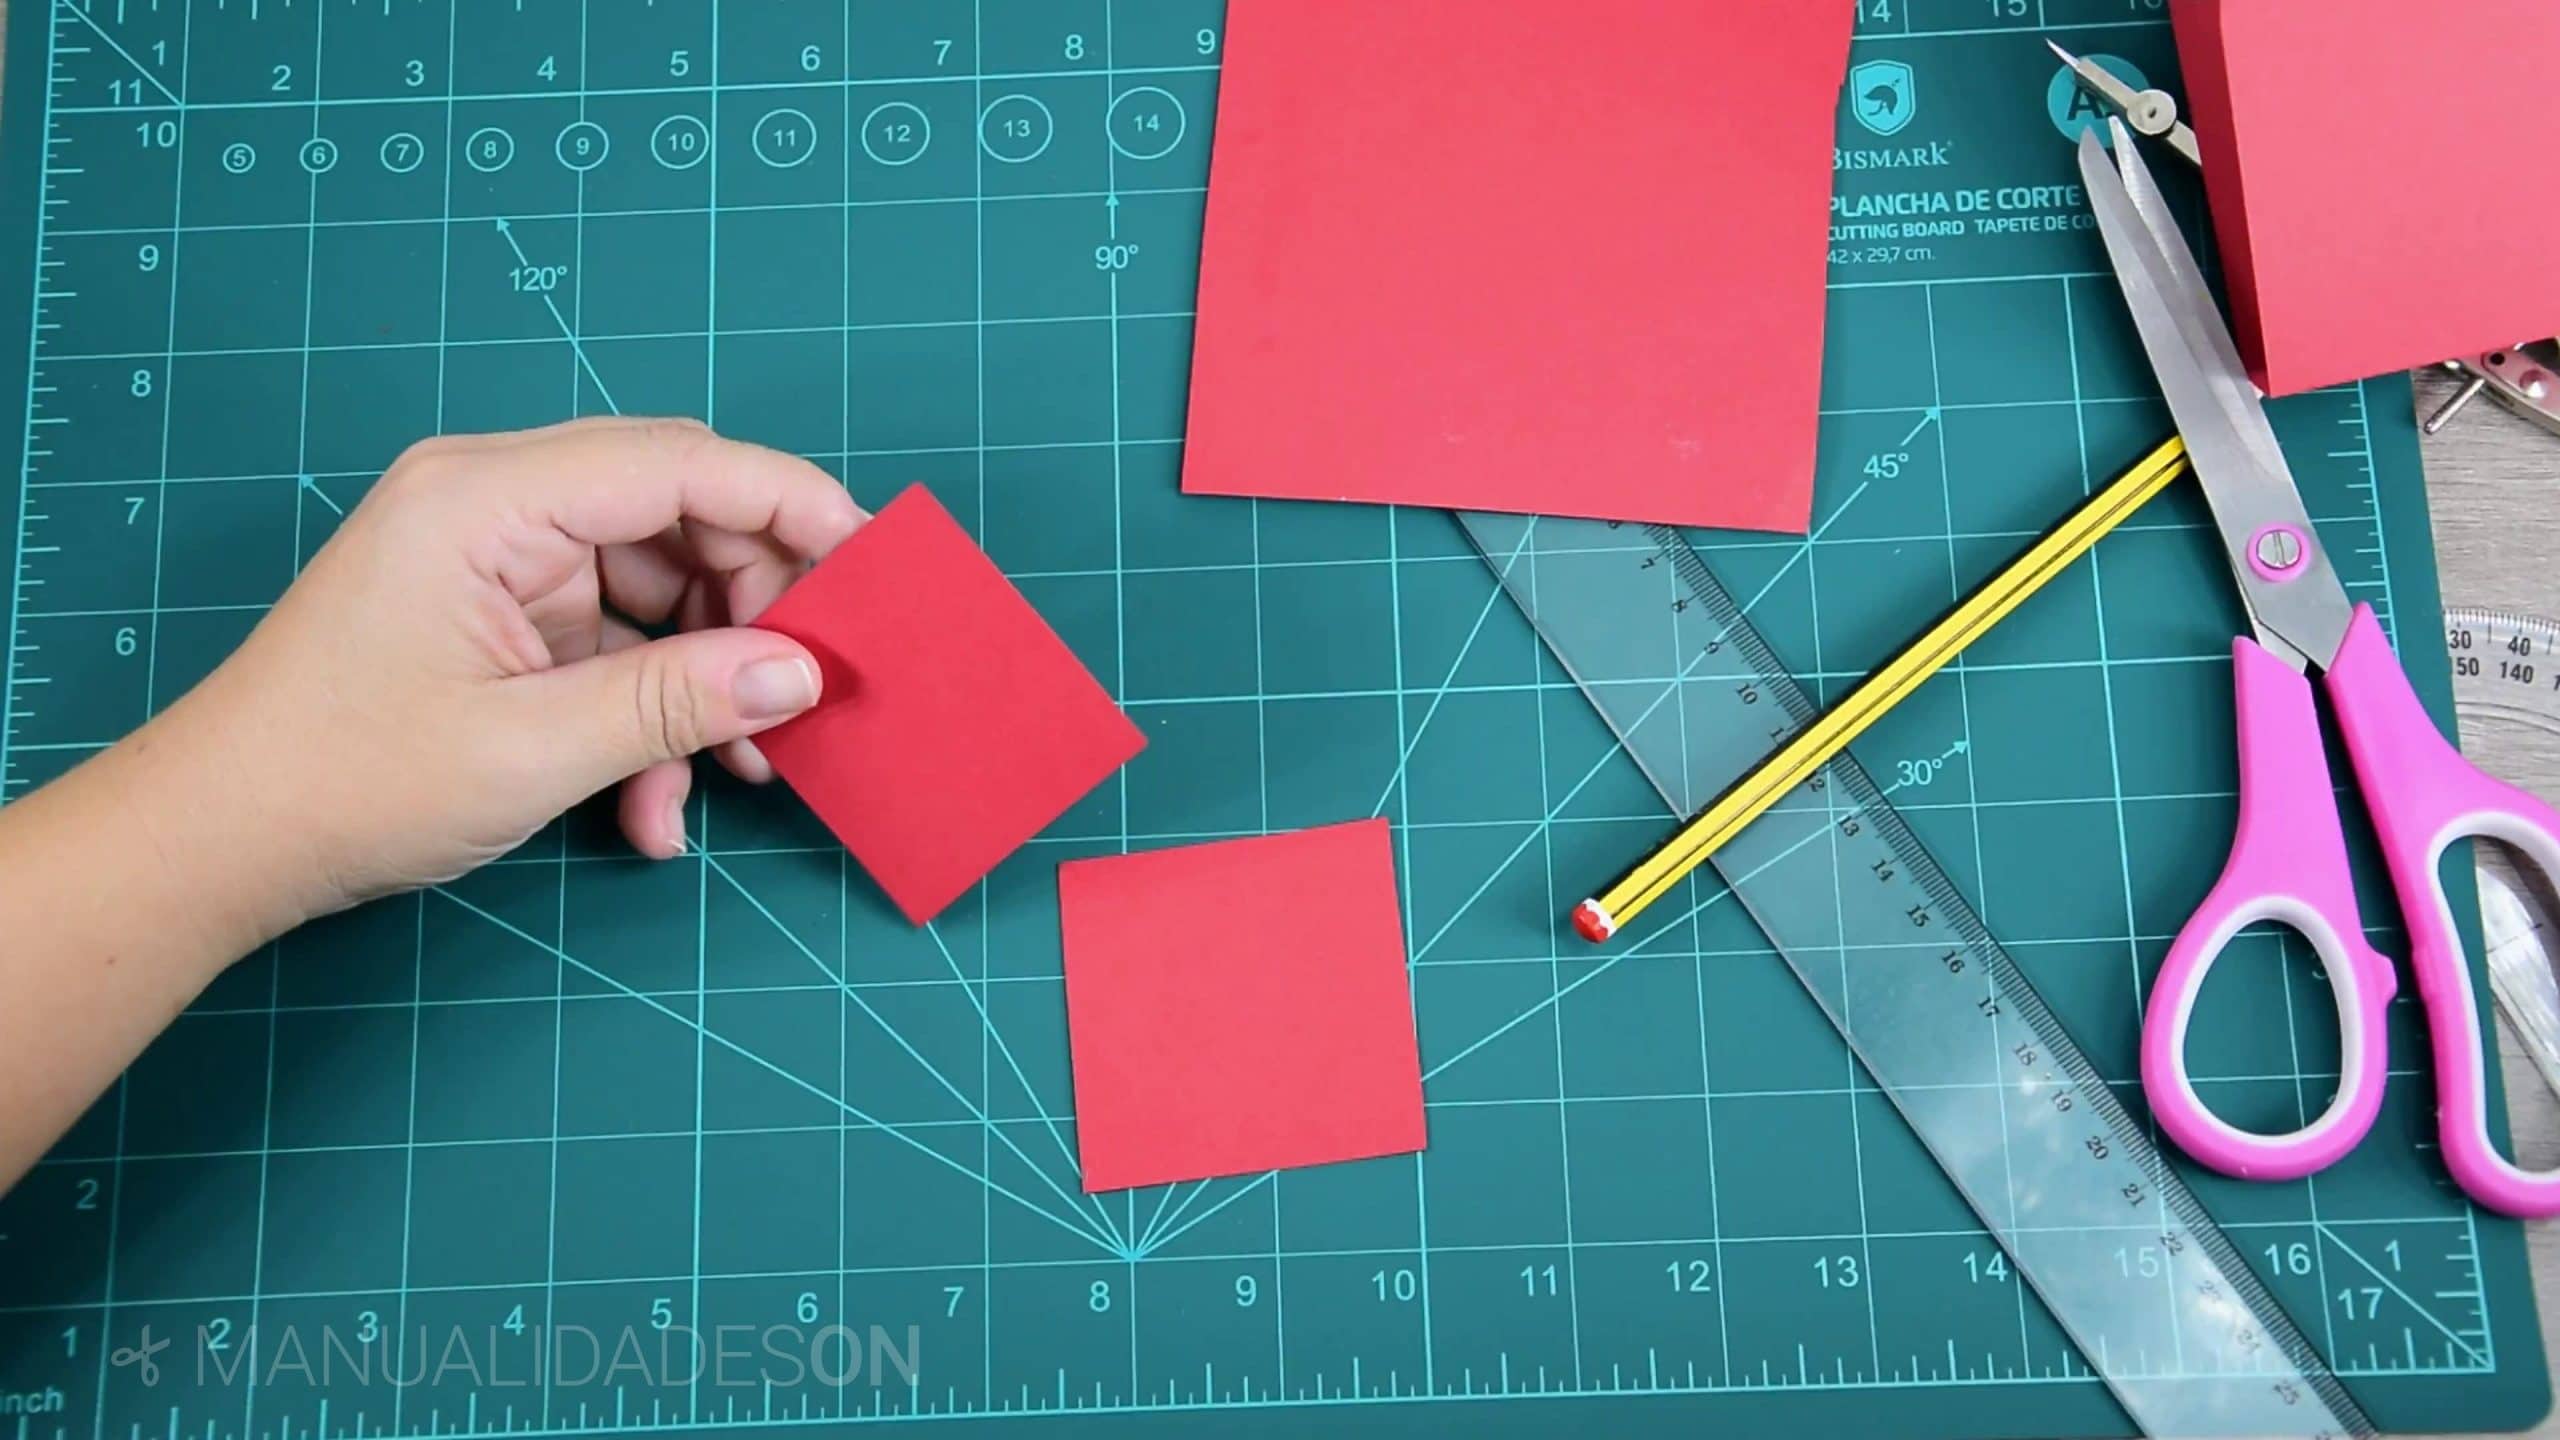
To make the red box:
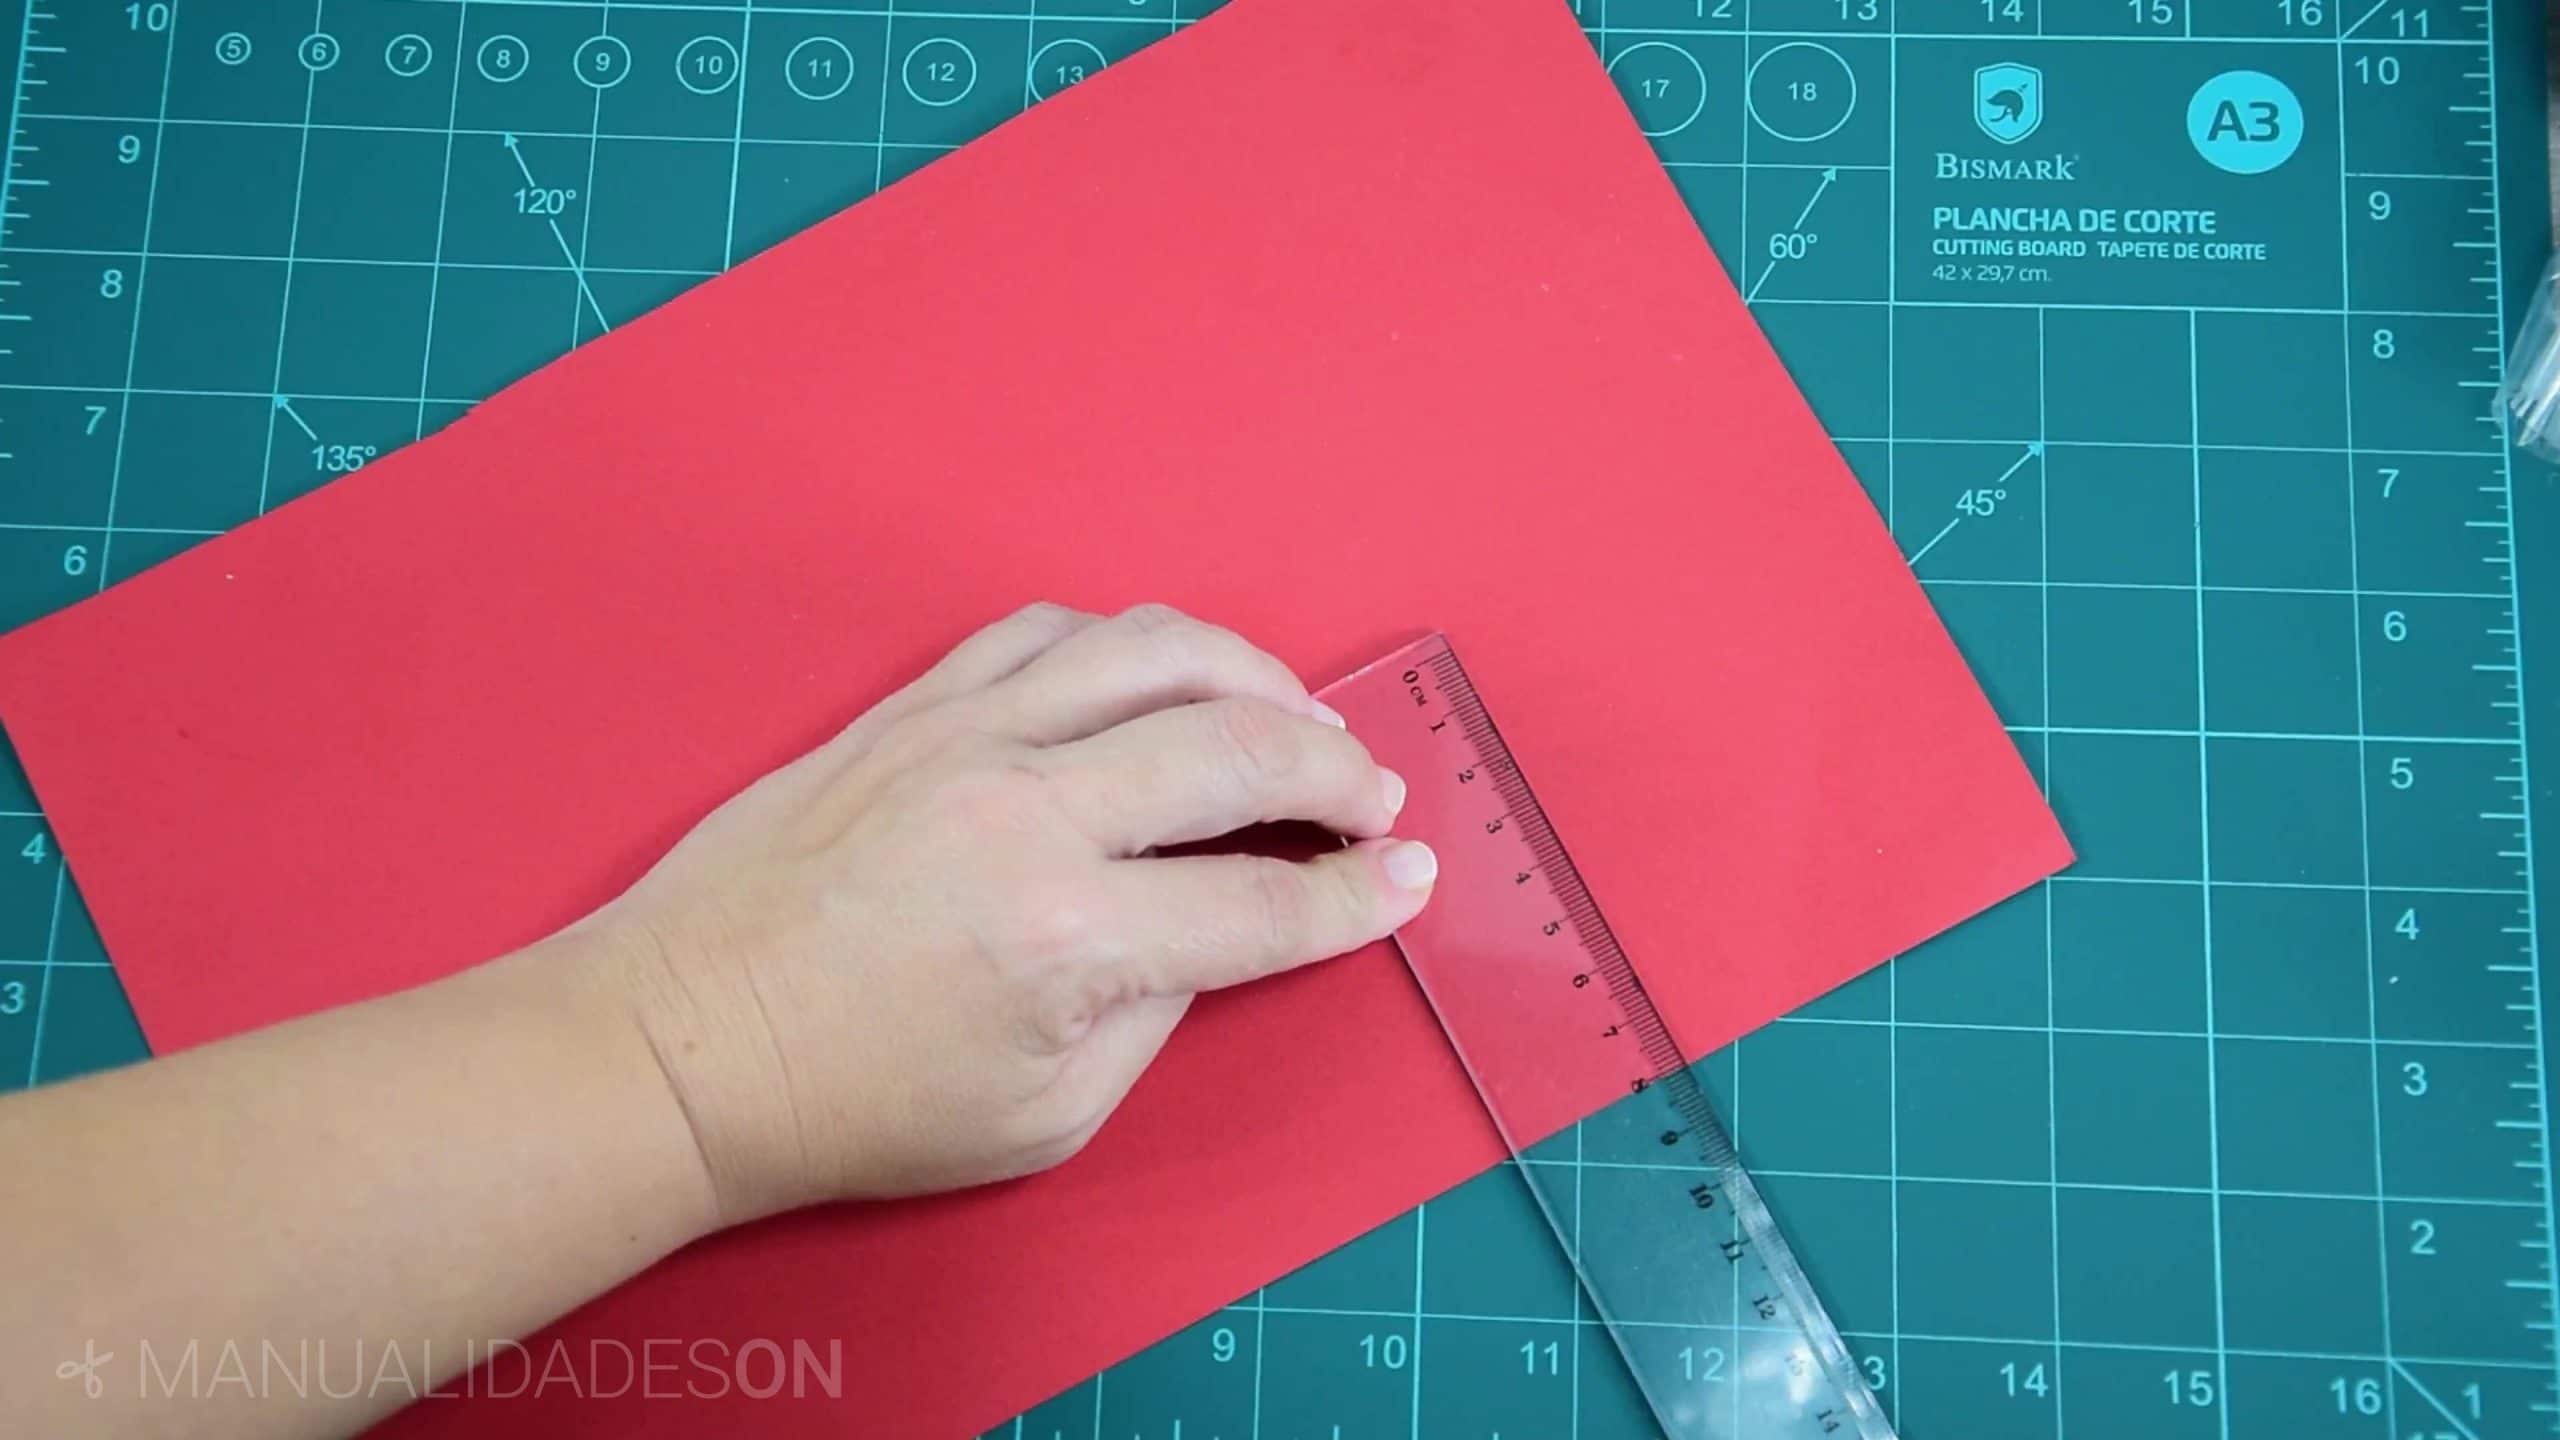
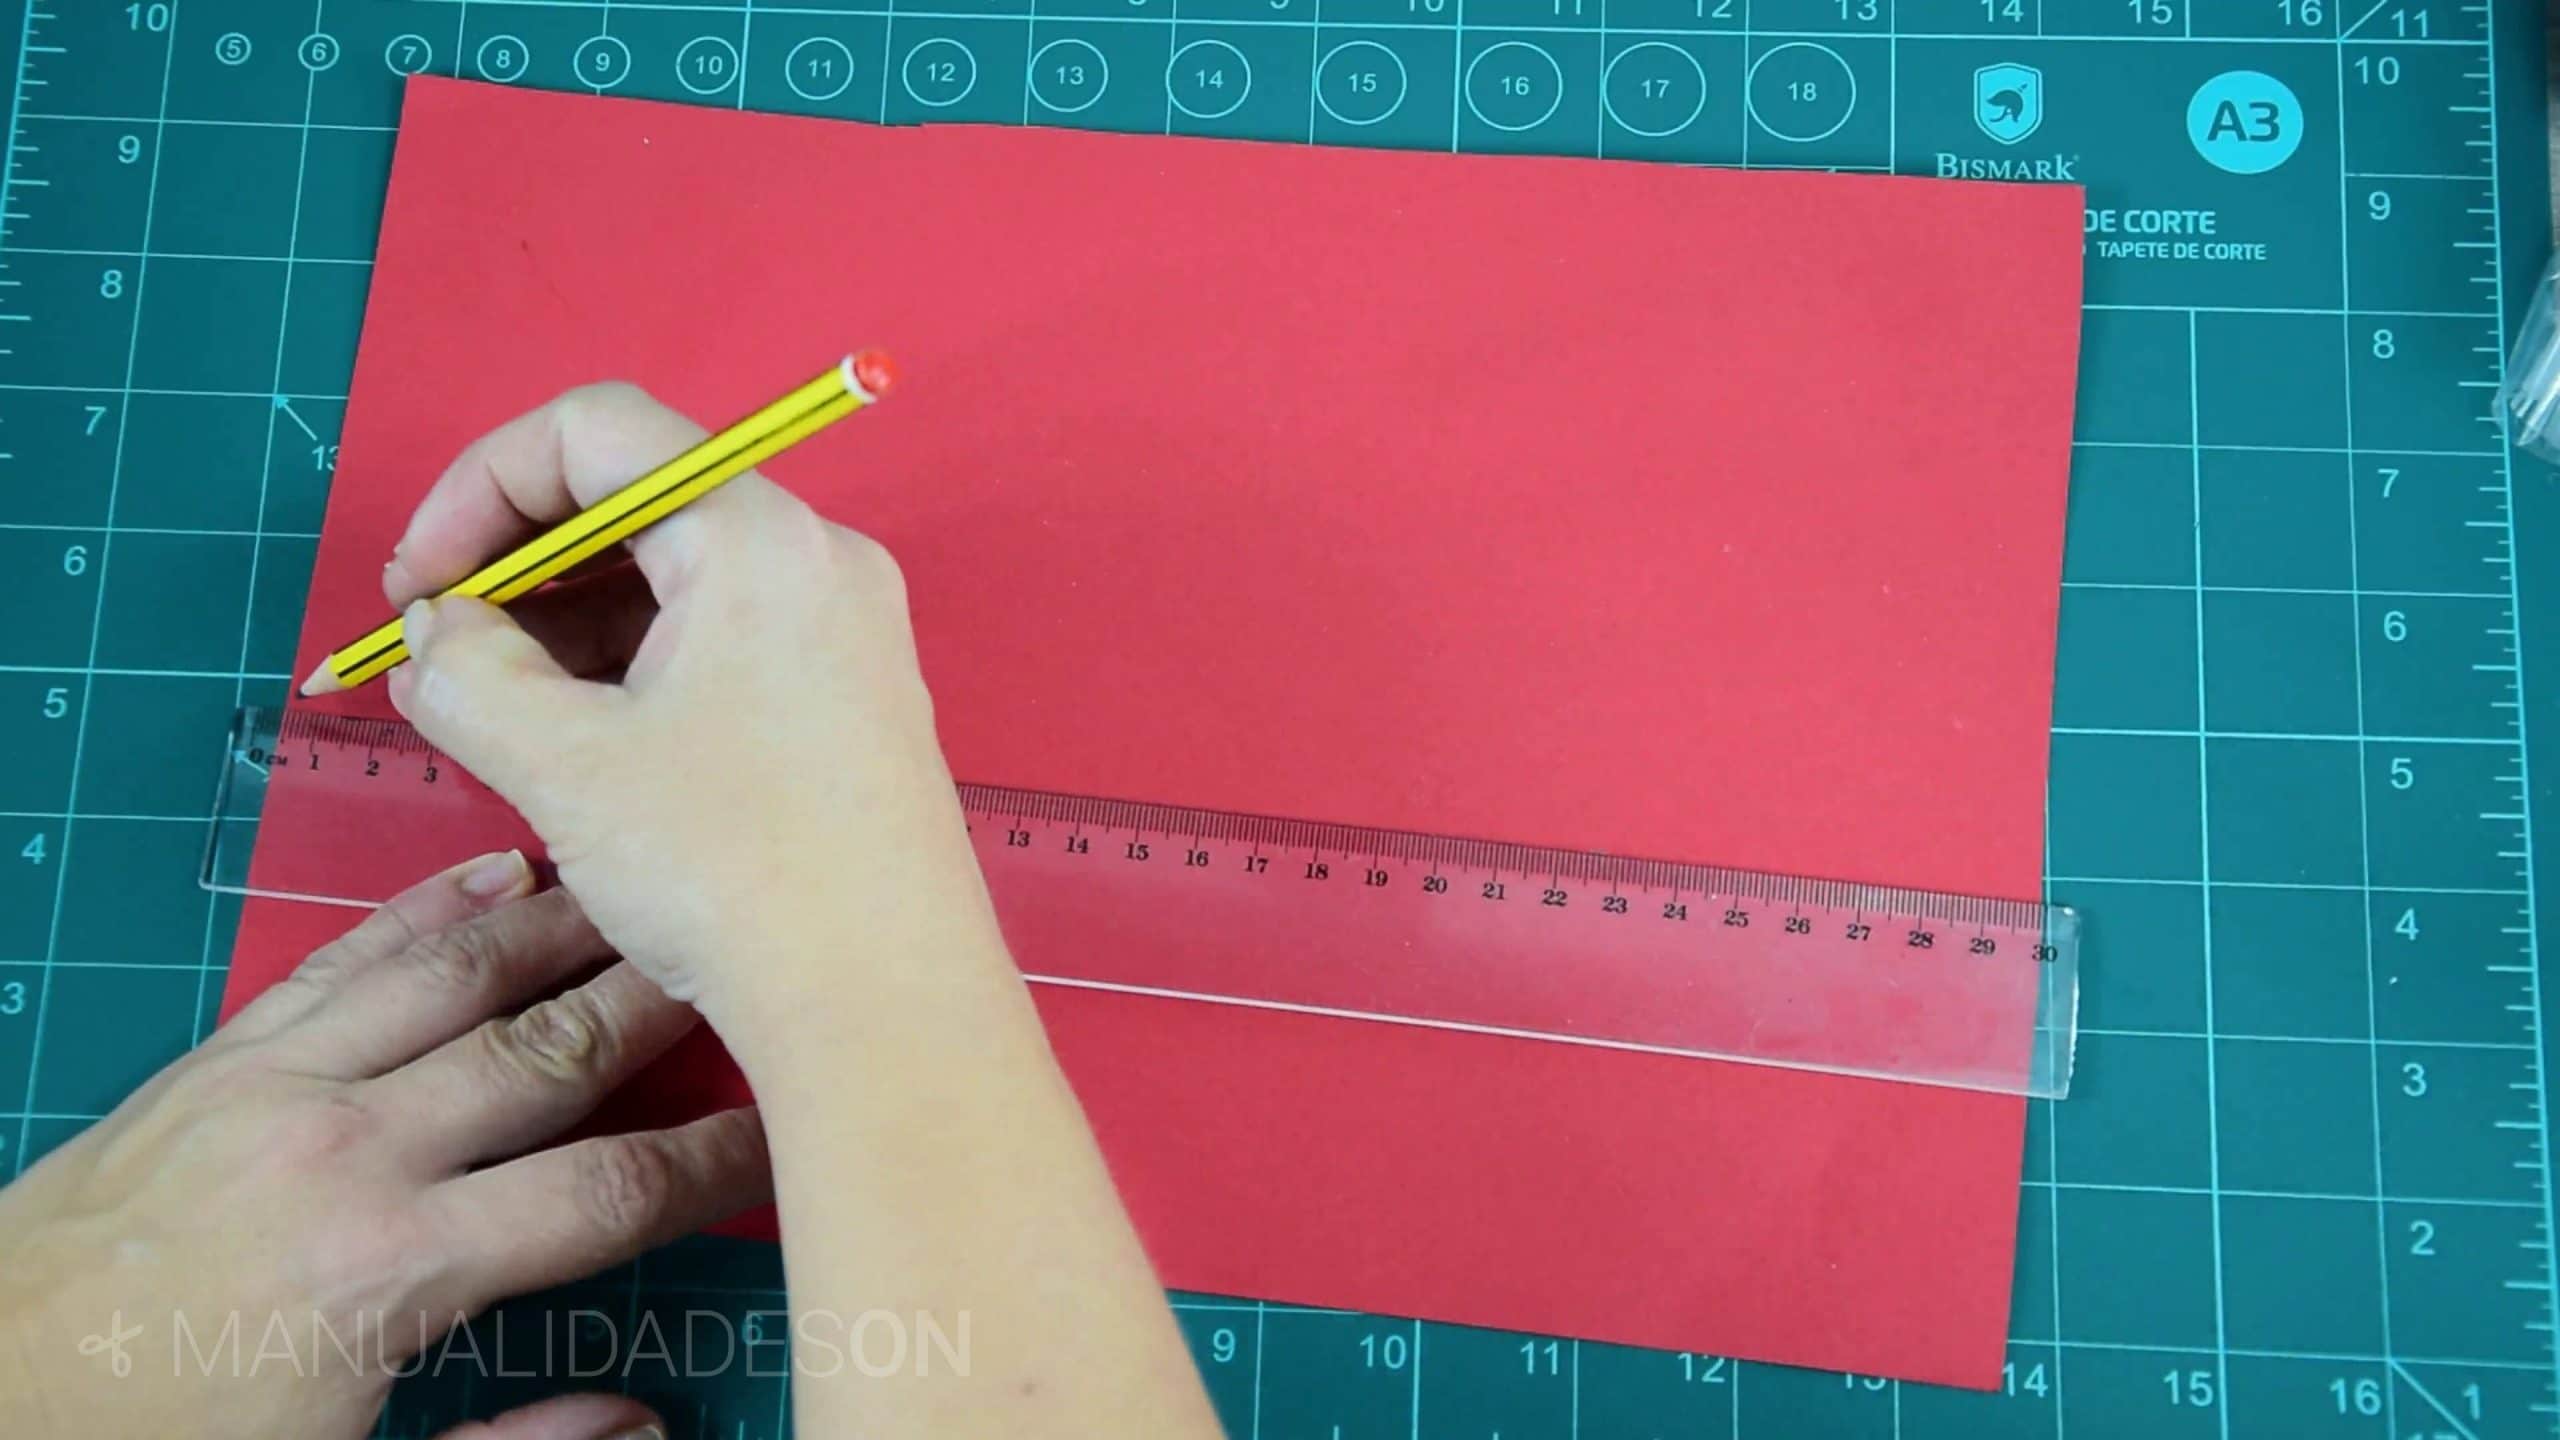
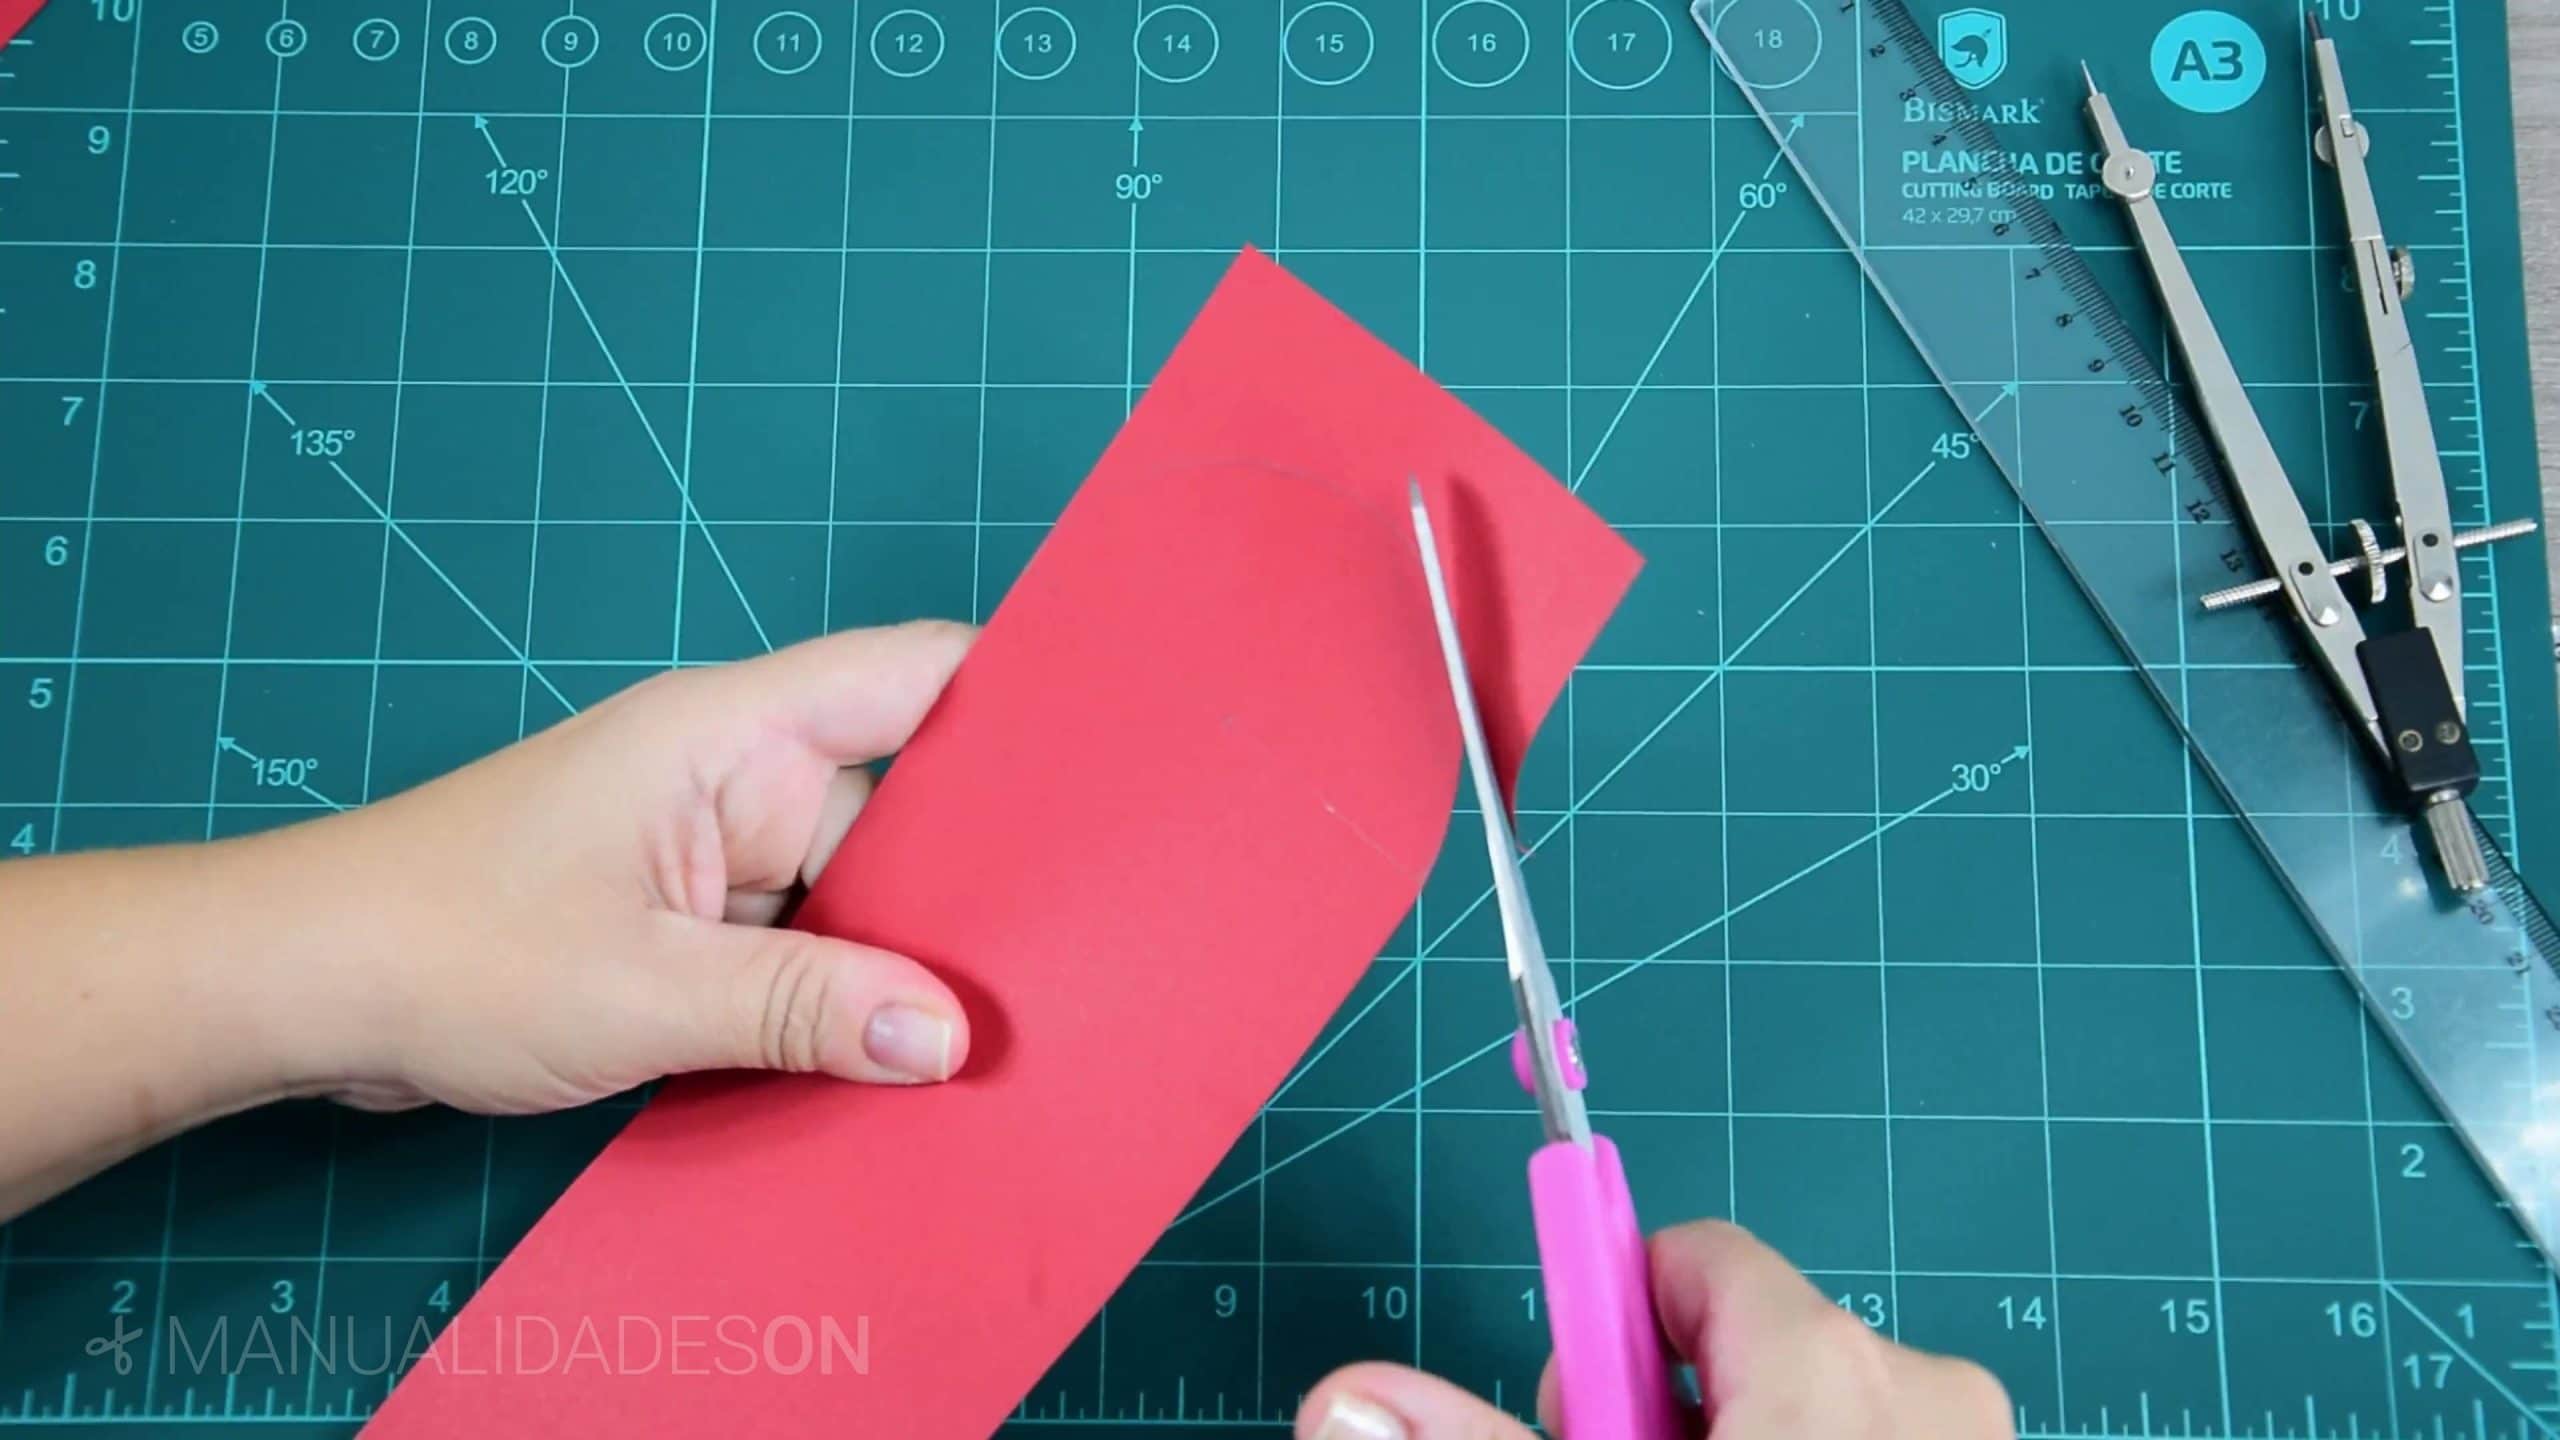
First step:
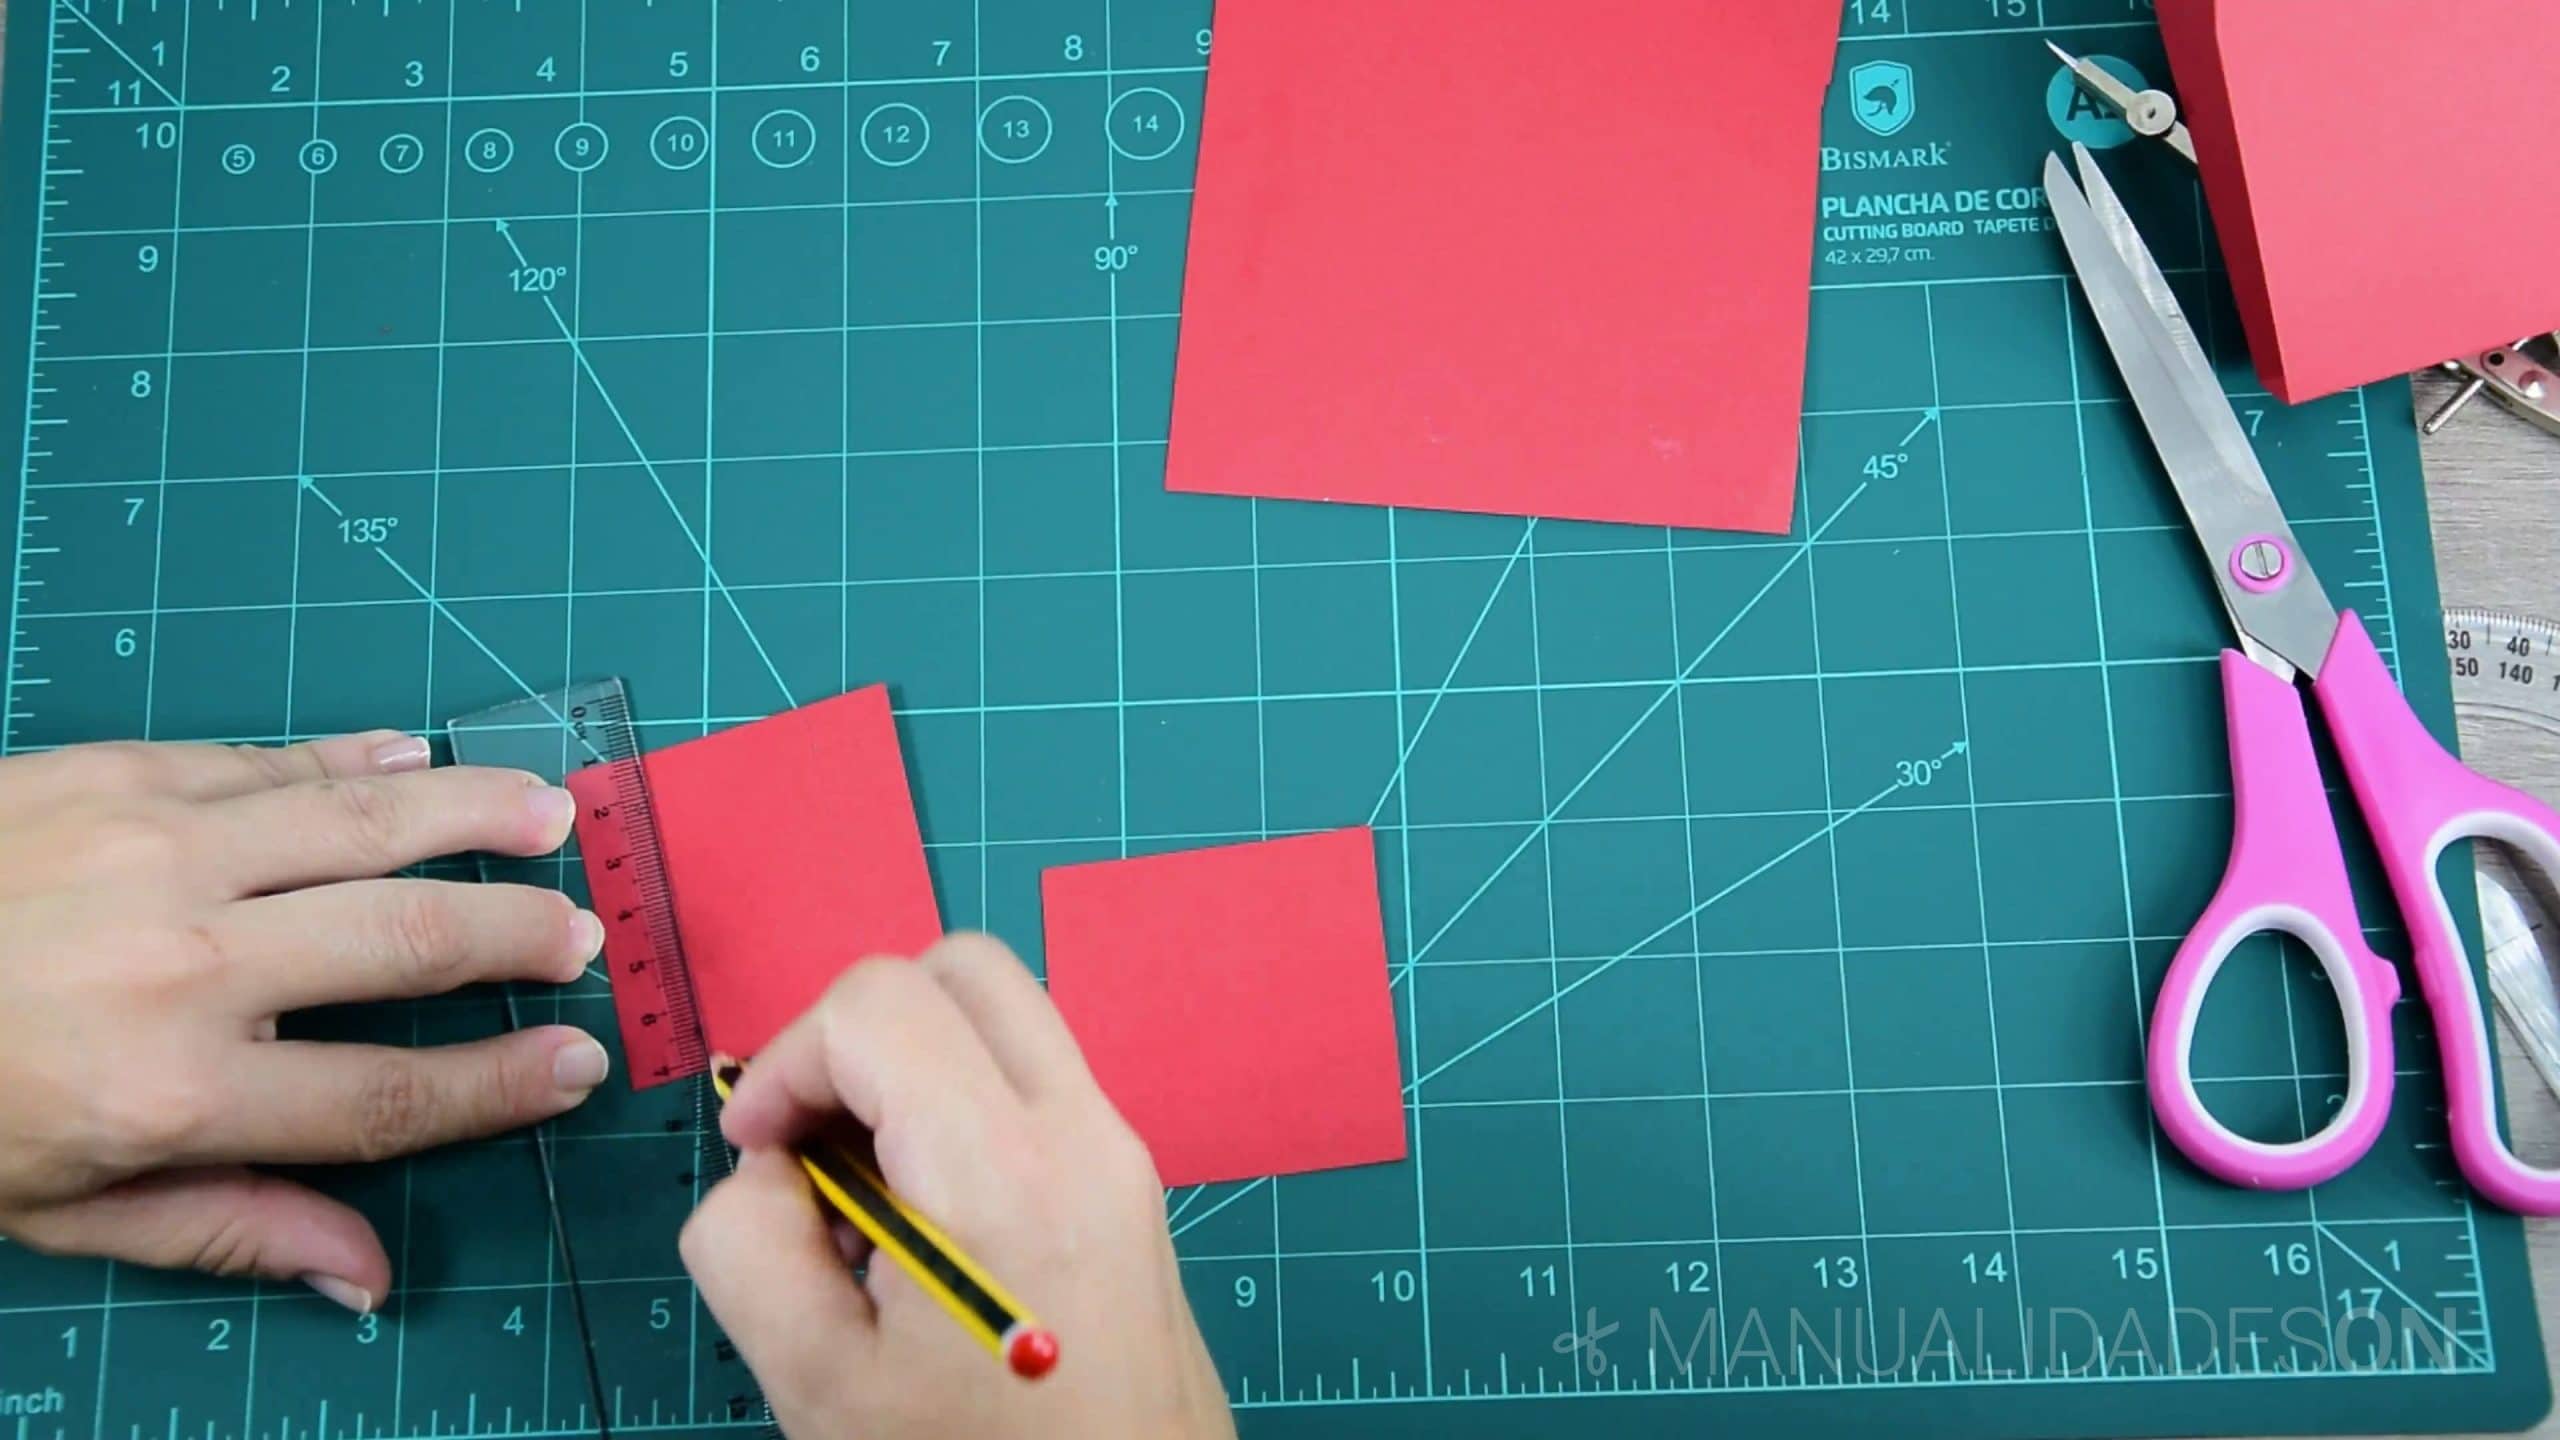
We take a piece of cardboard. At one of its ends that is totally straight we will mark a distance of 8cm to be able to make a parallel line. We cut the entire length of the cardboard. We cut out what we have marked with the pencil.
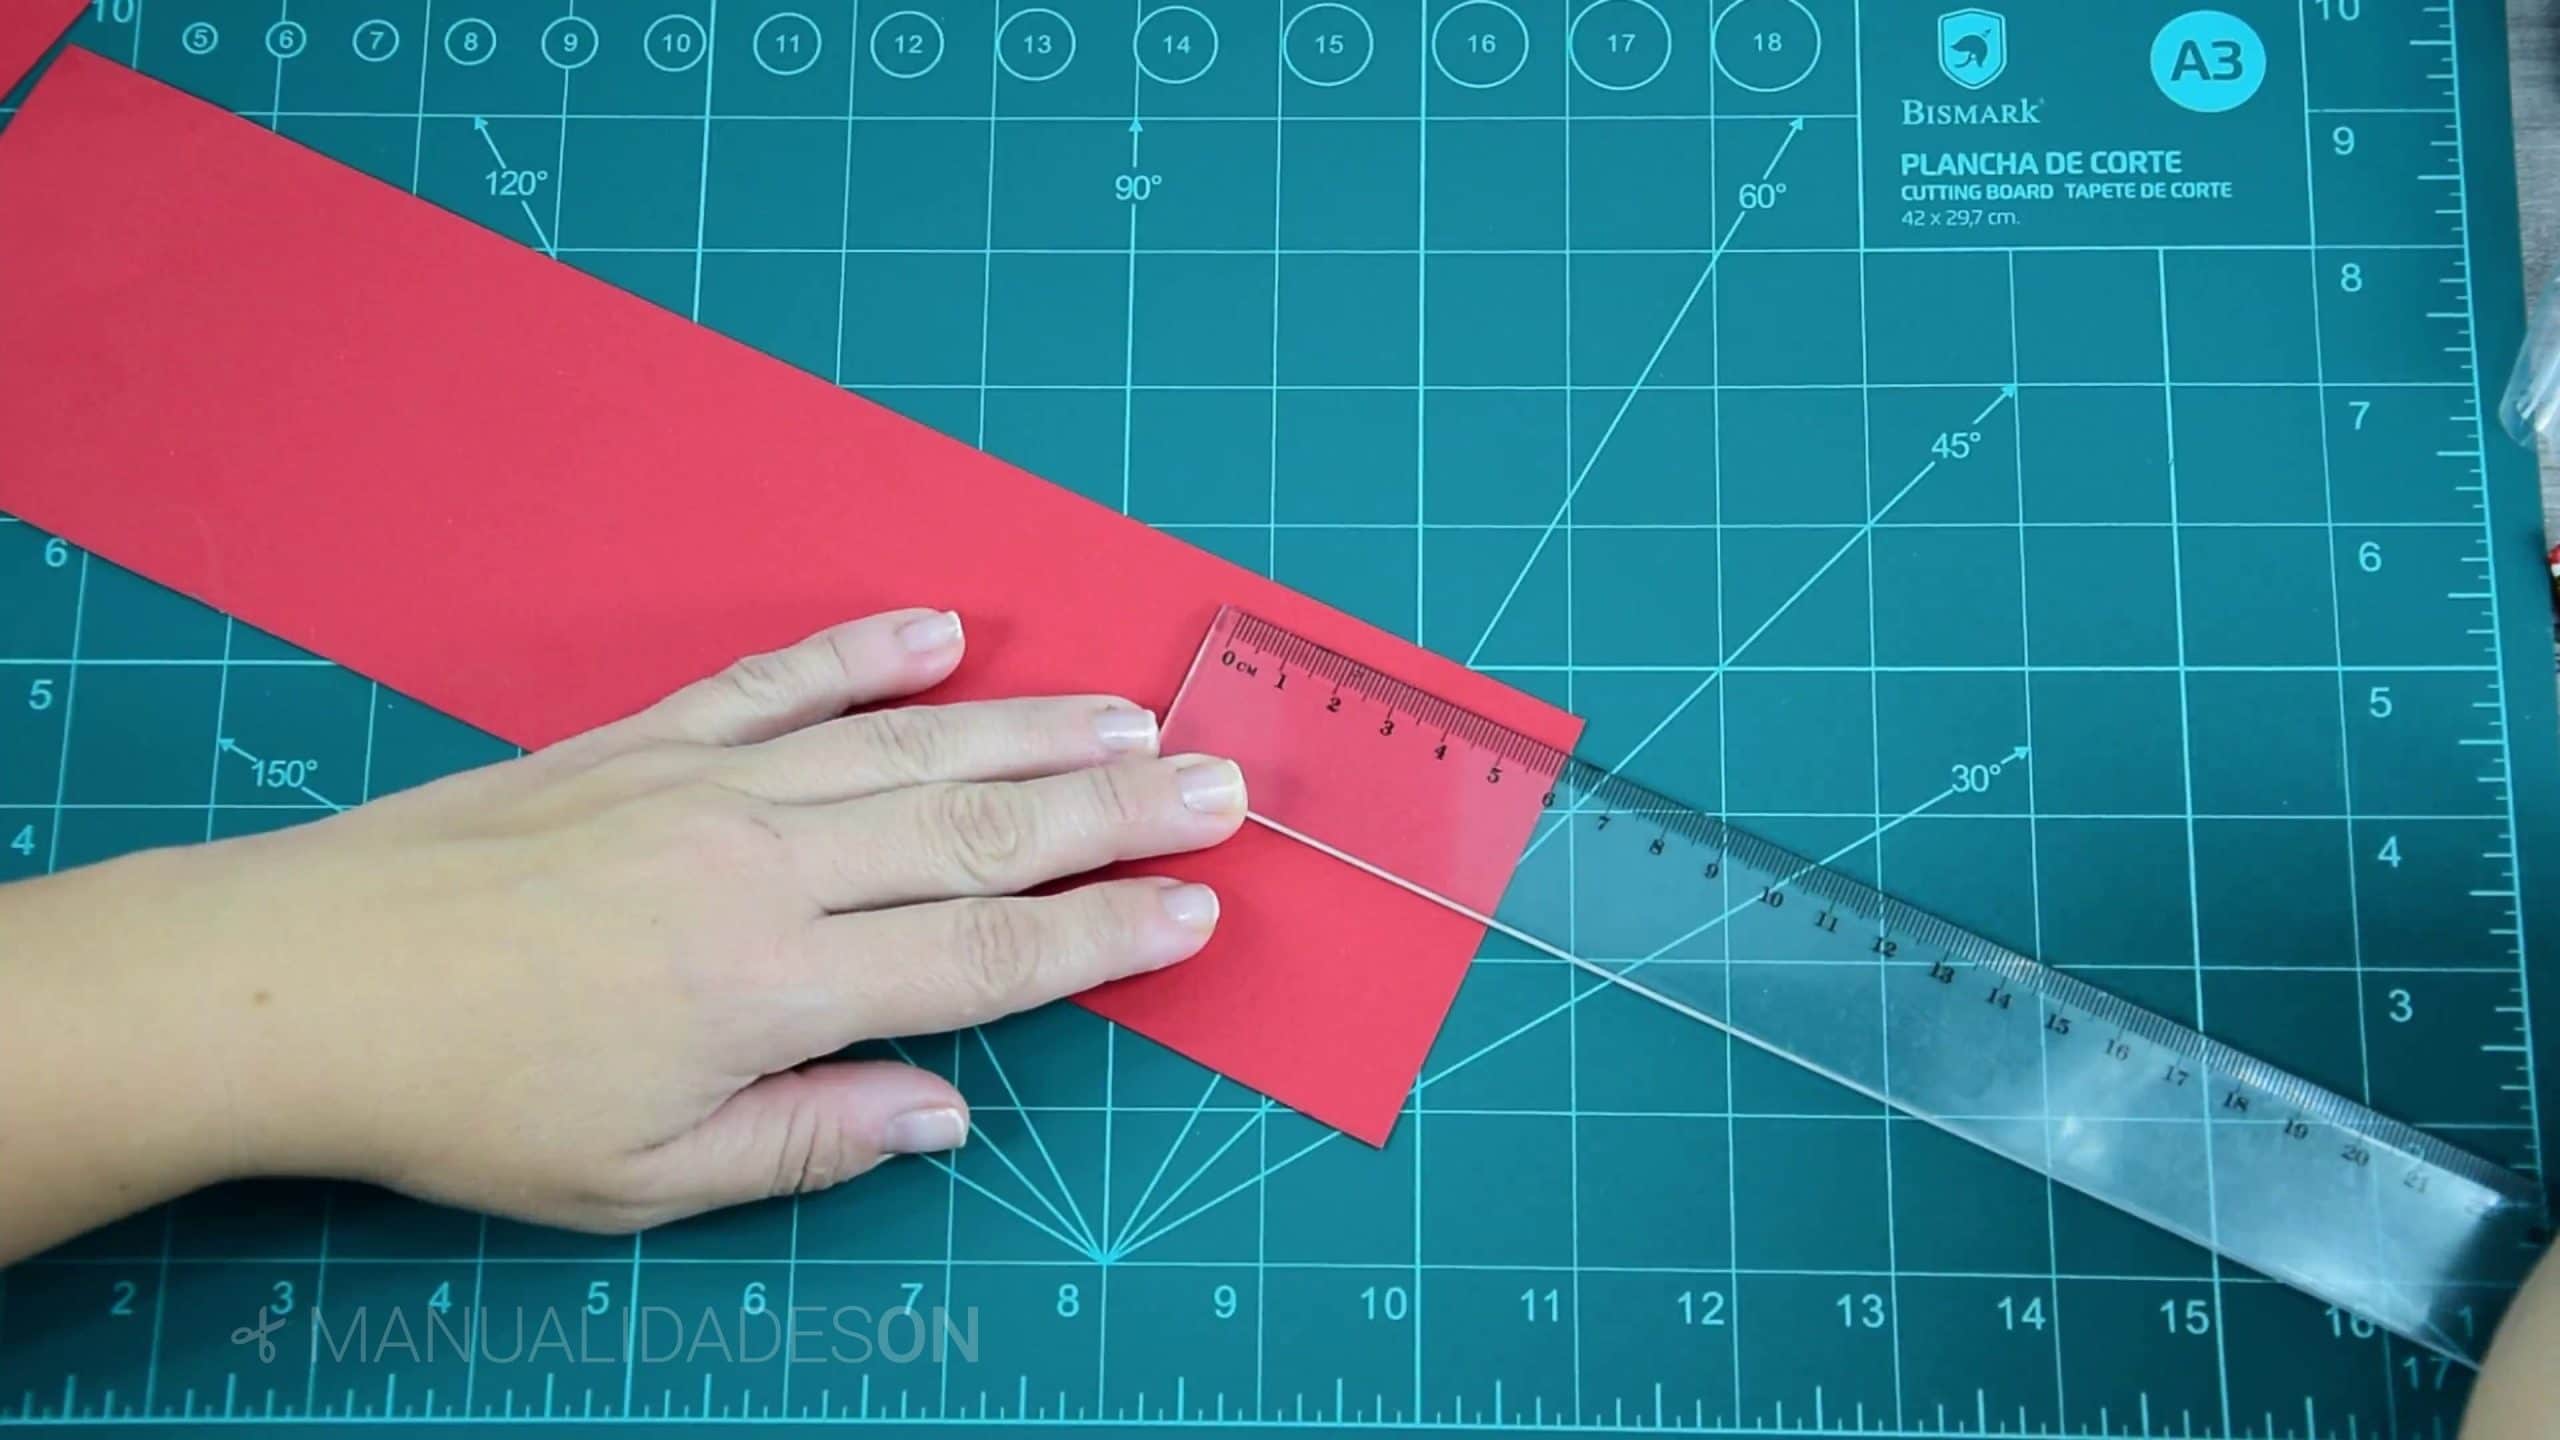
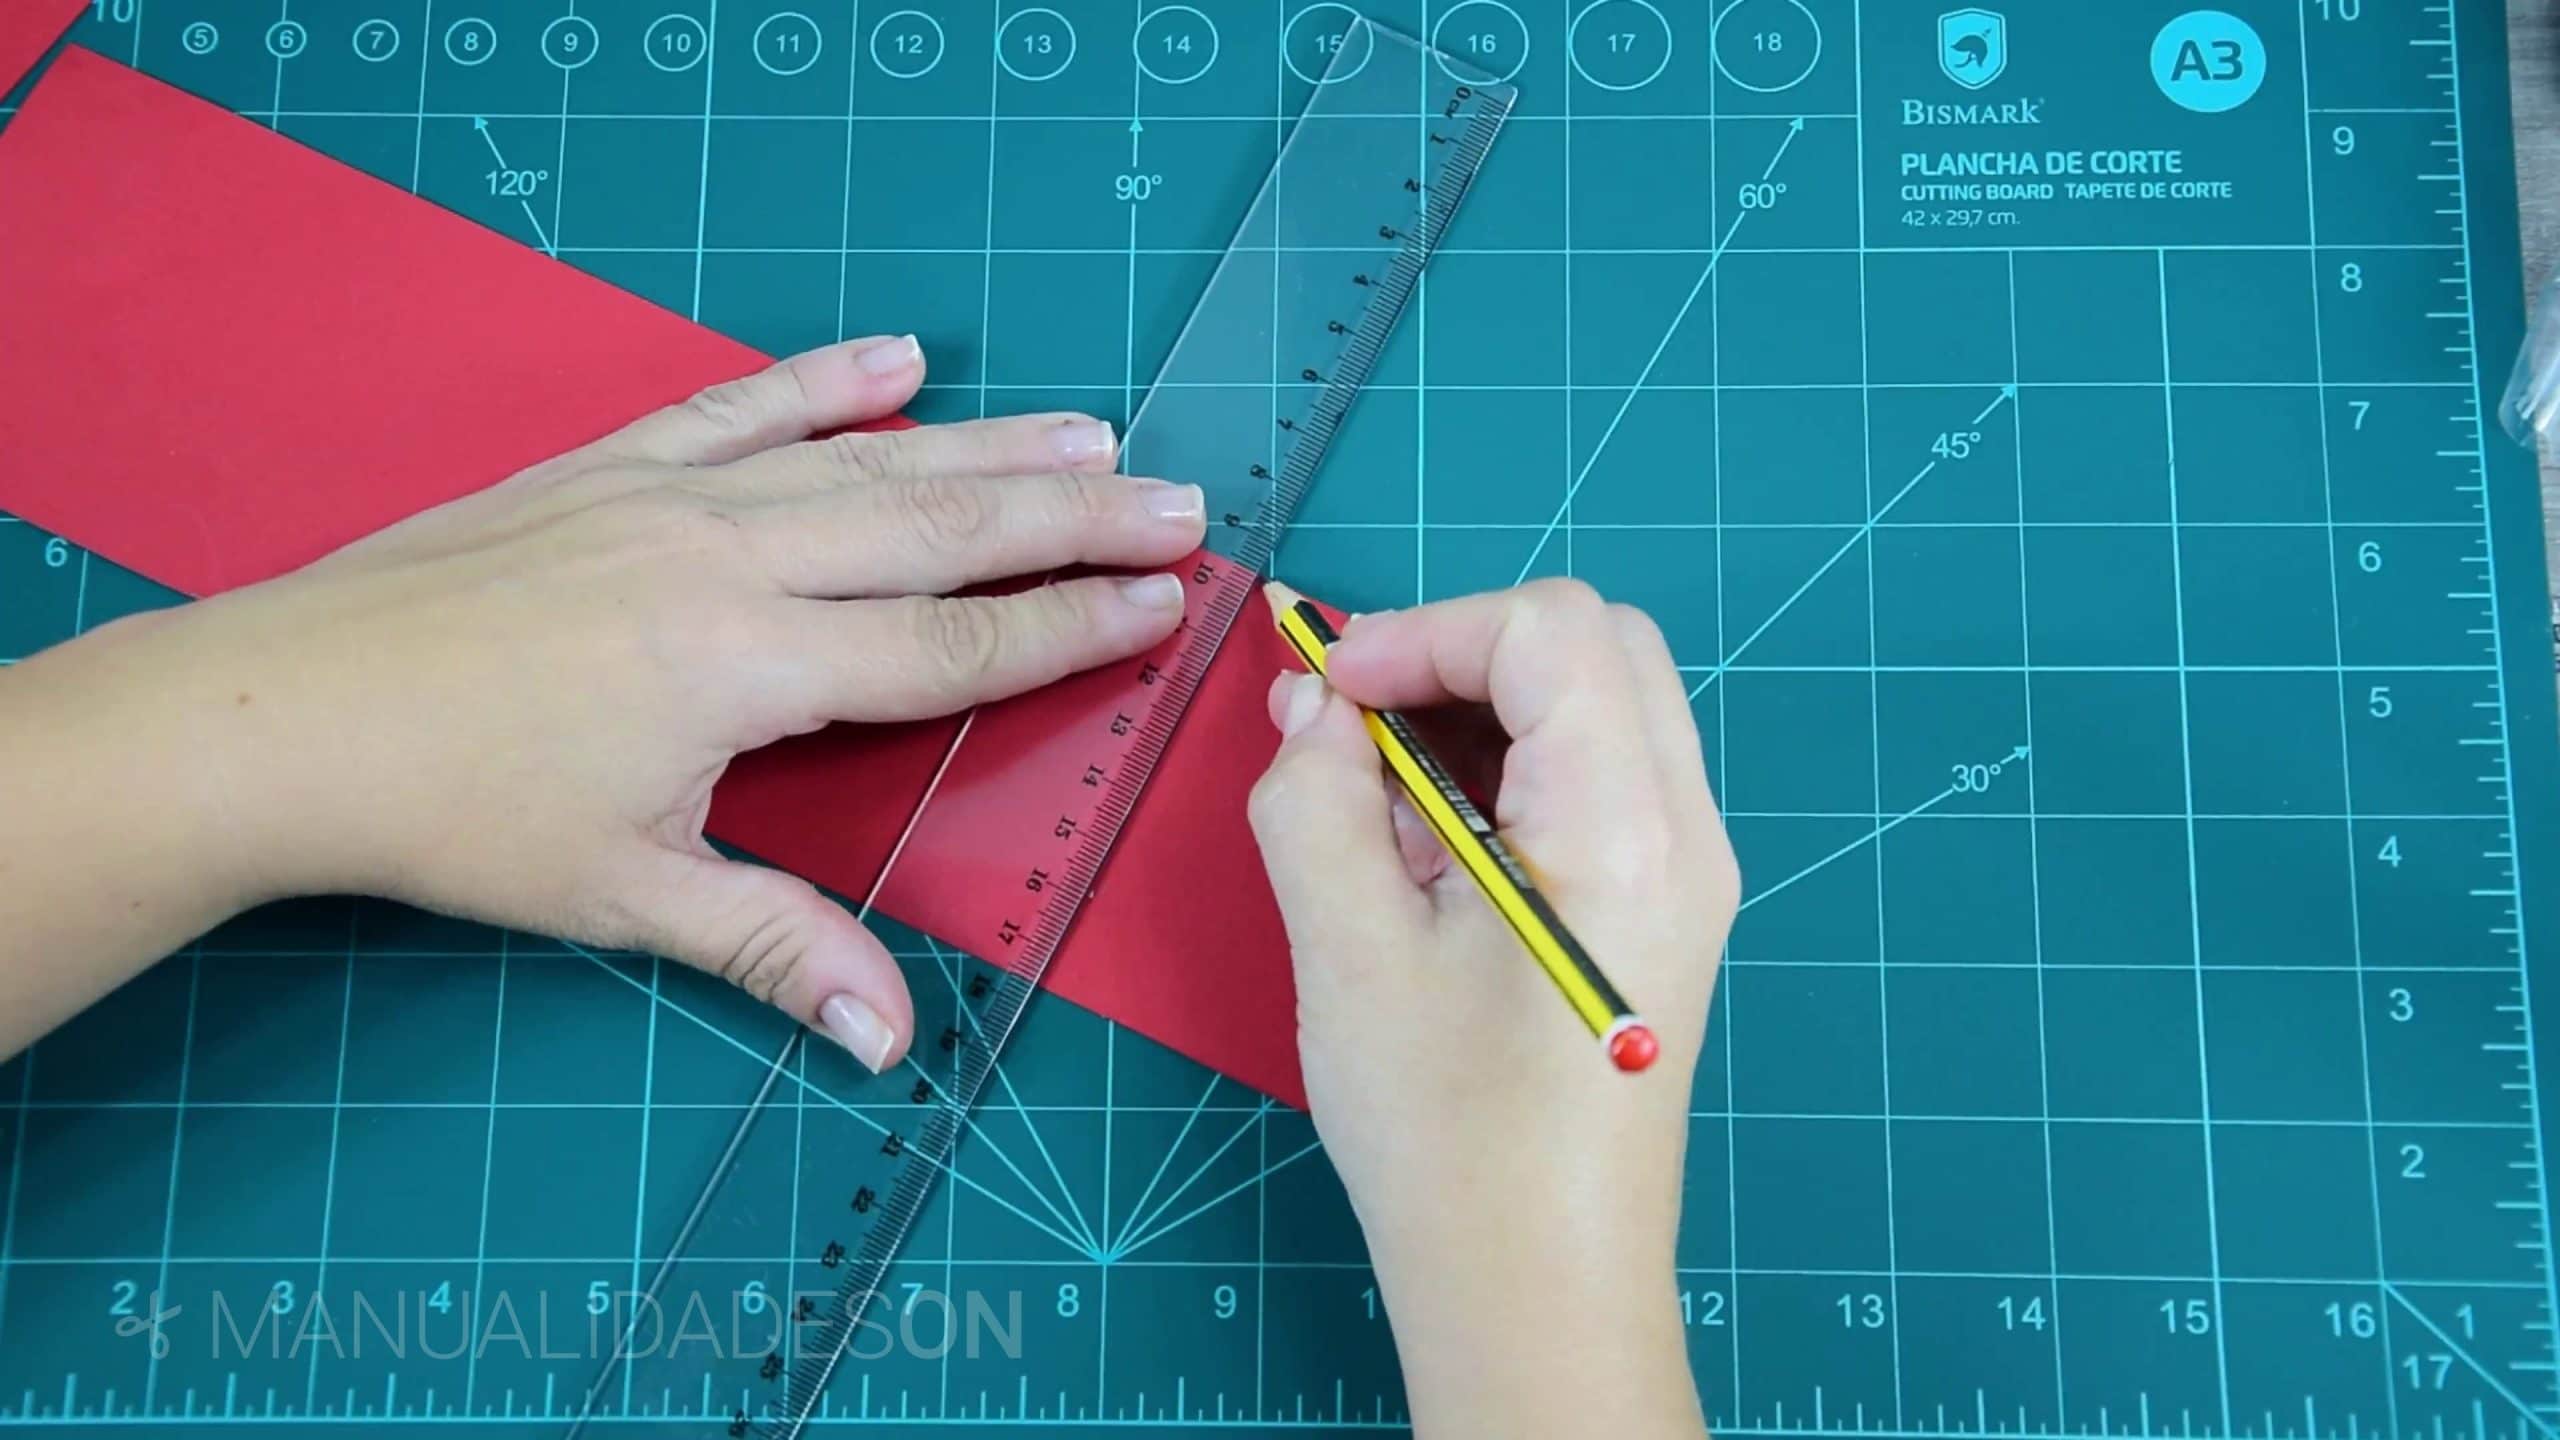
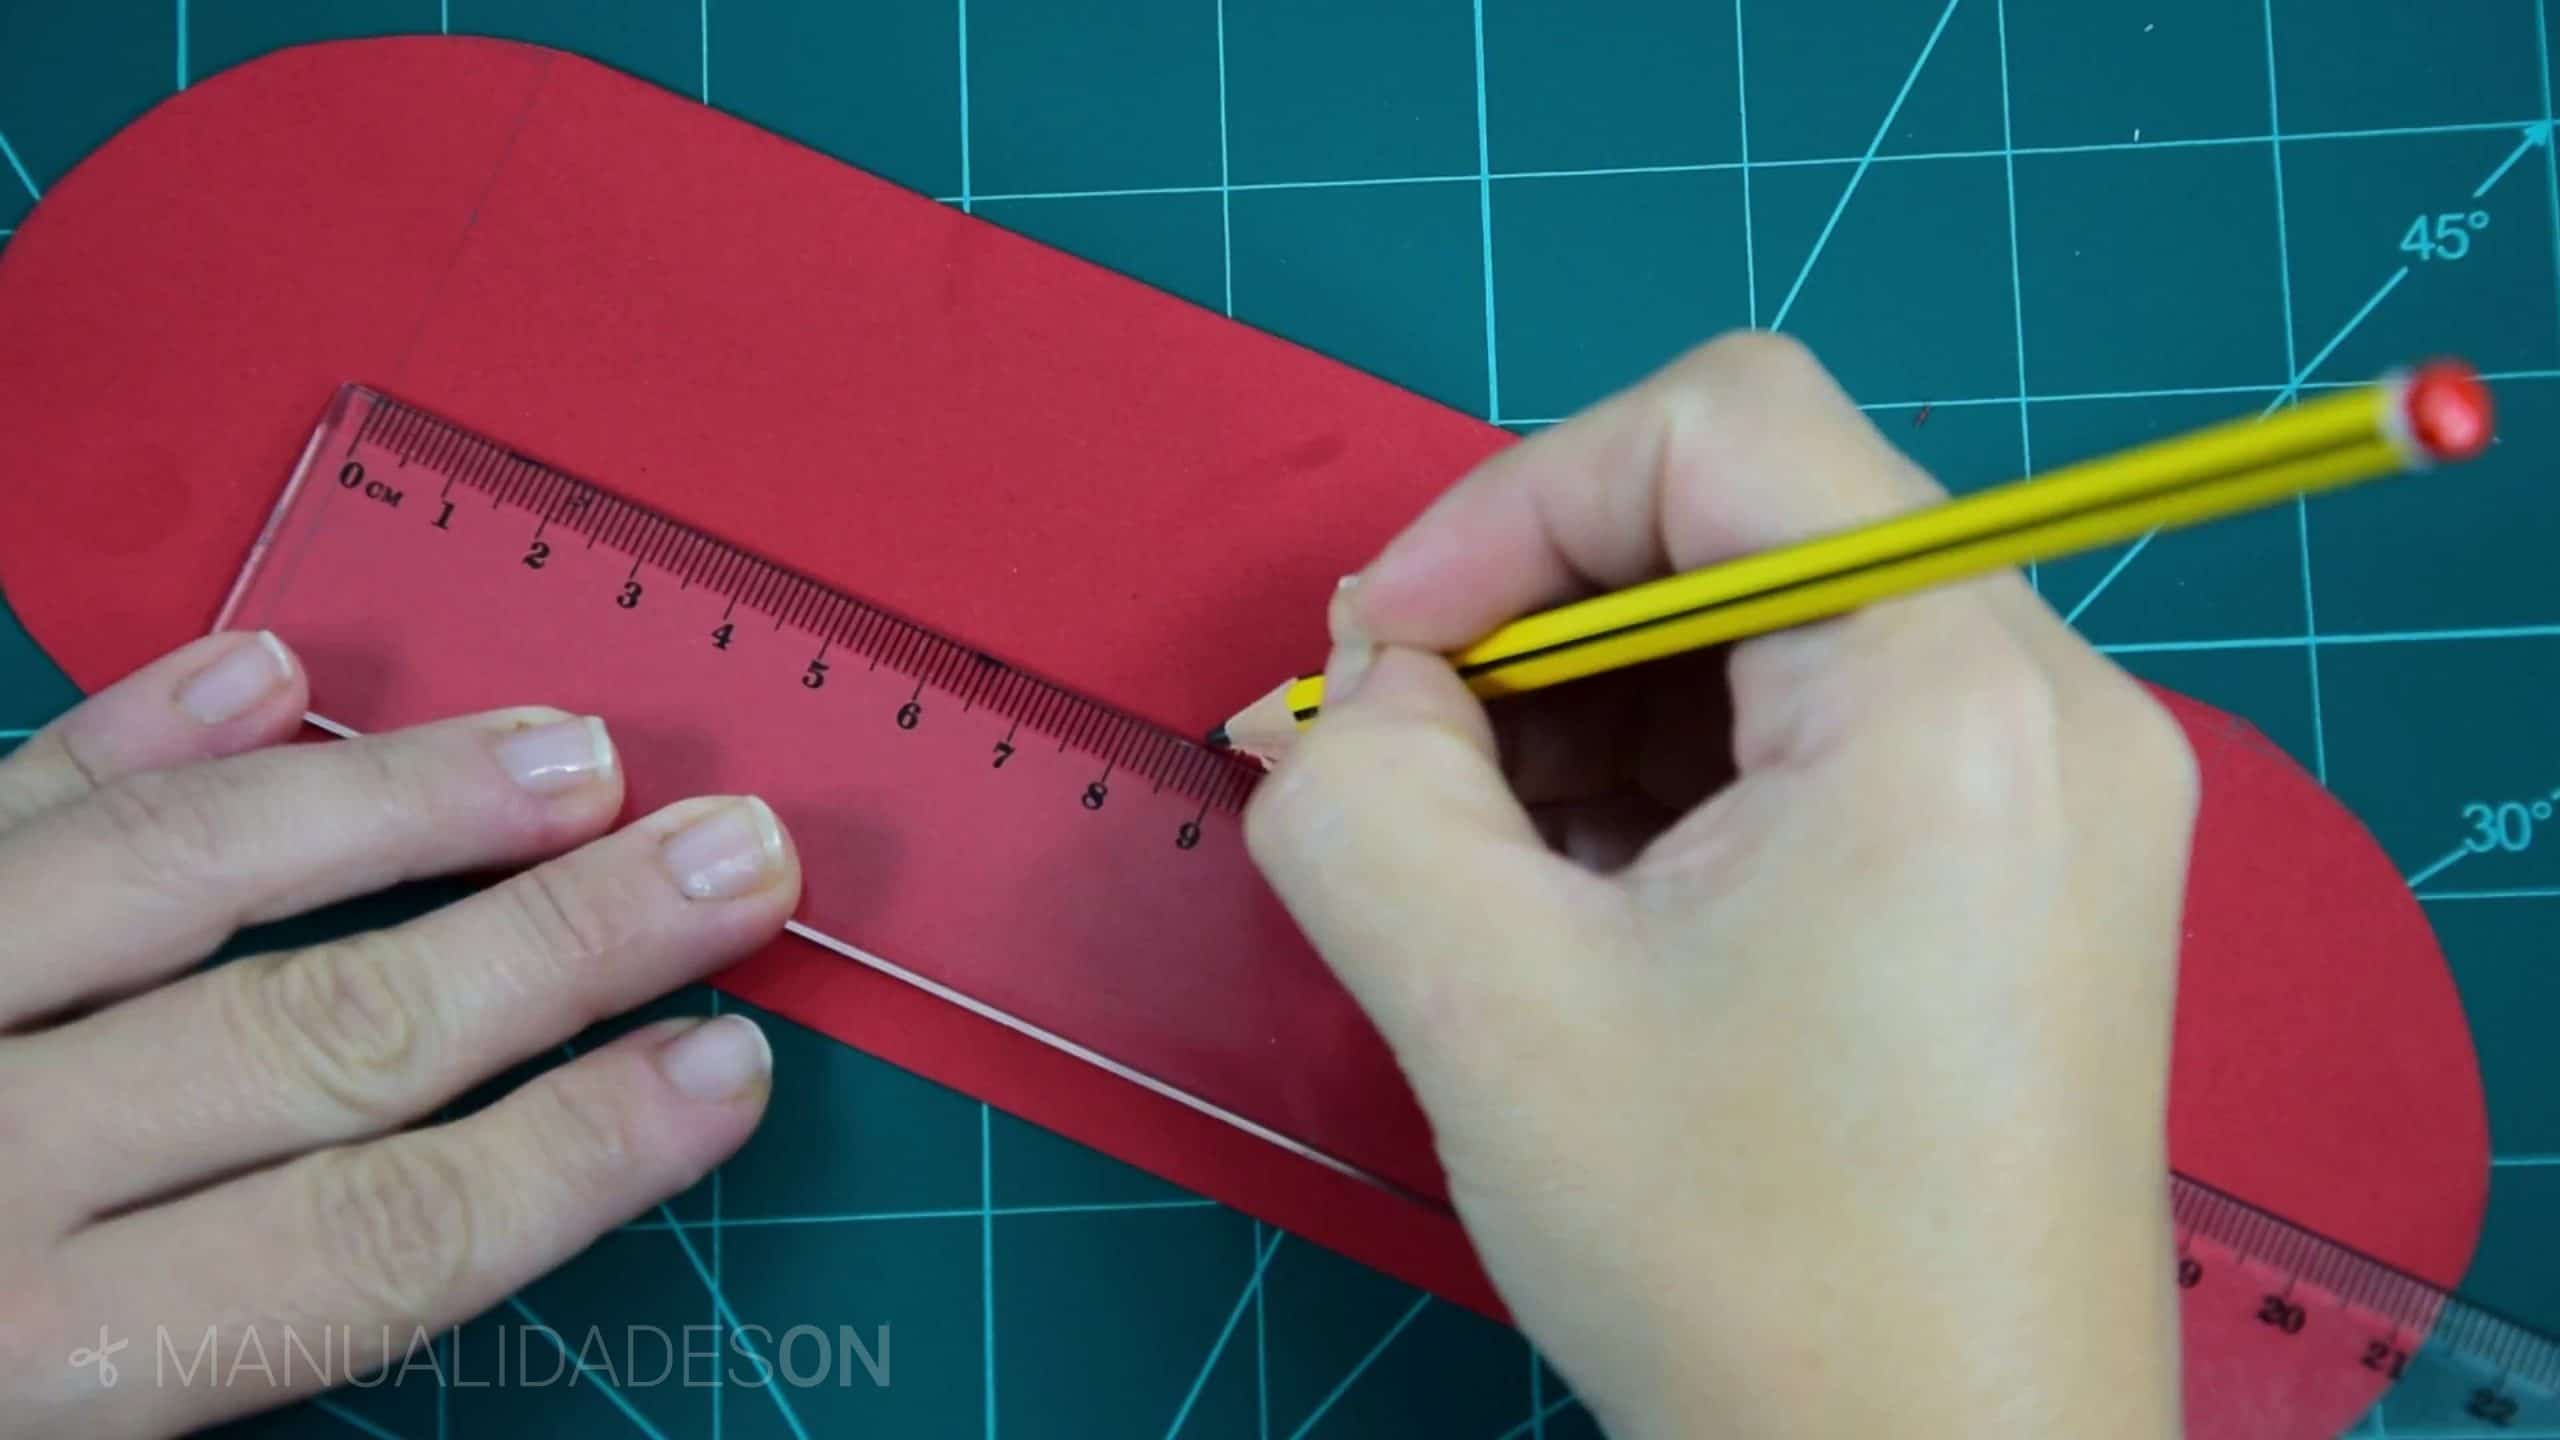
Second step:
At the two ends of the trimmed piece, we mark a 6cm line away from the edge.
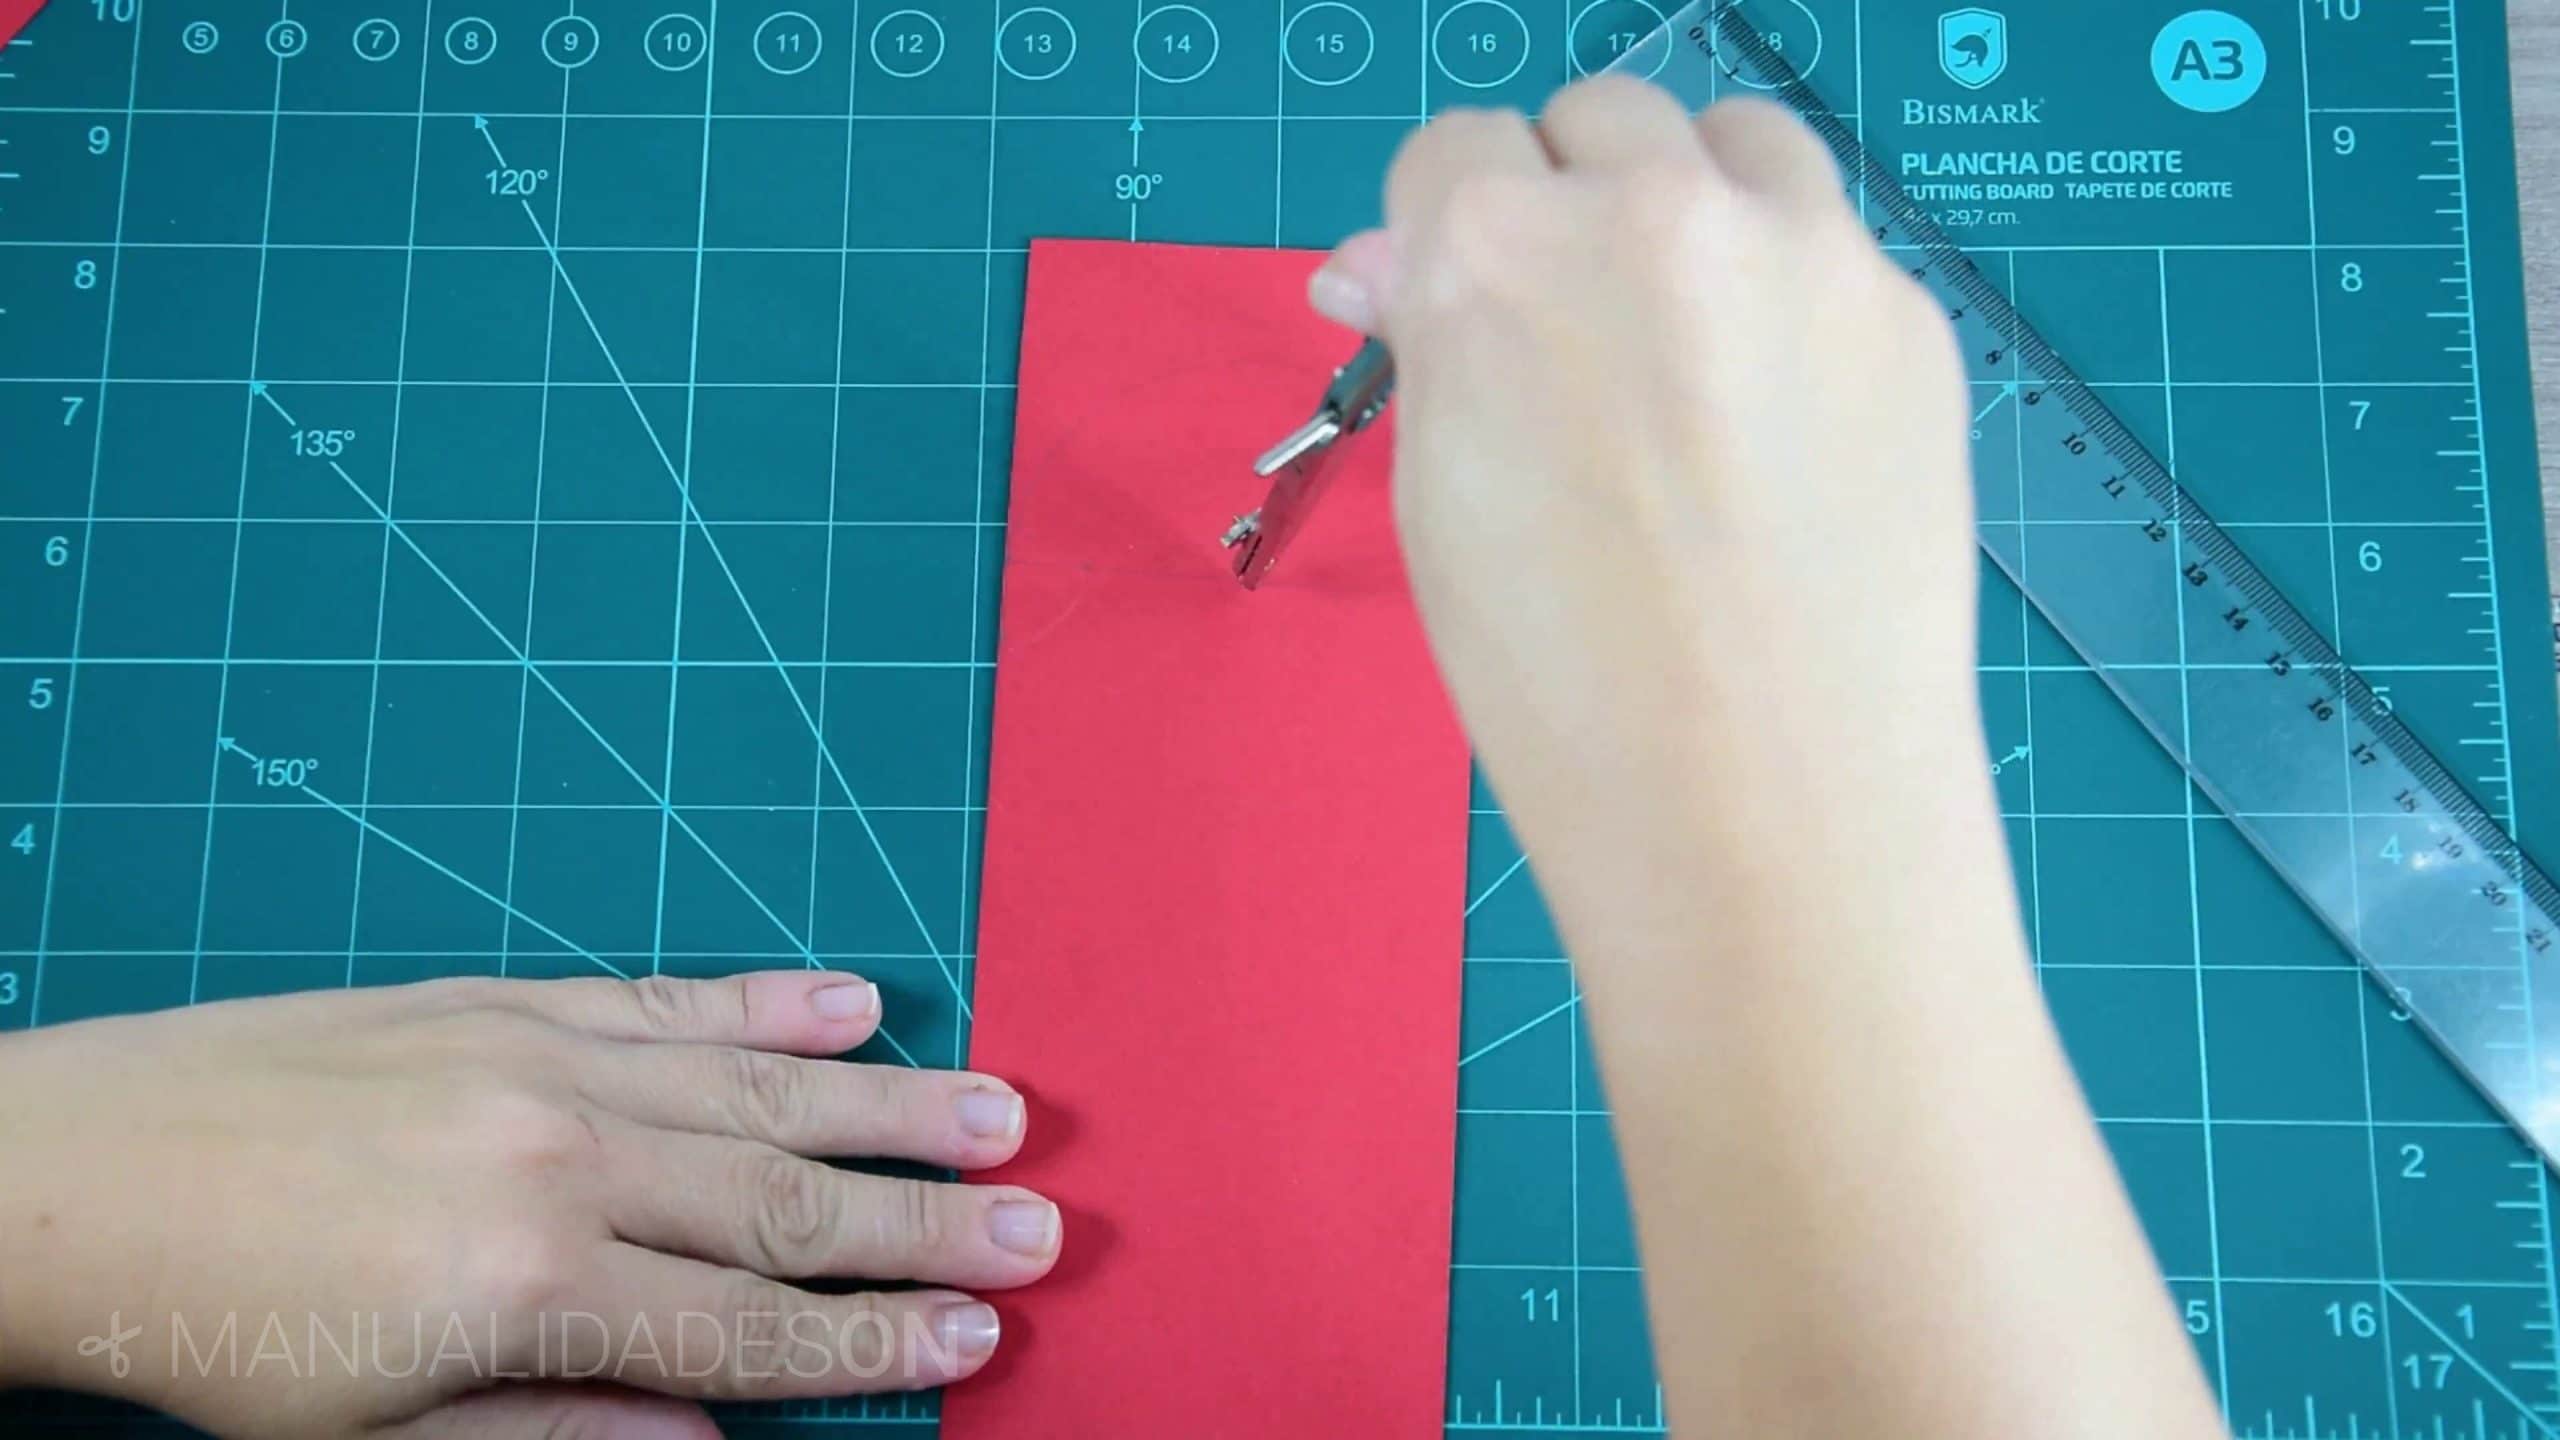
Third step:
We find the middle of the line that we have marked to place a compass and mark a semicircumference. We cut.

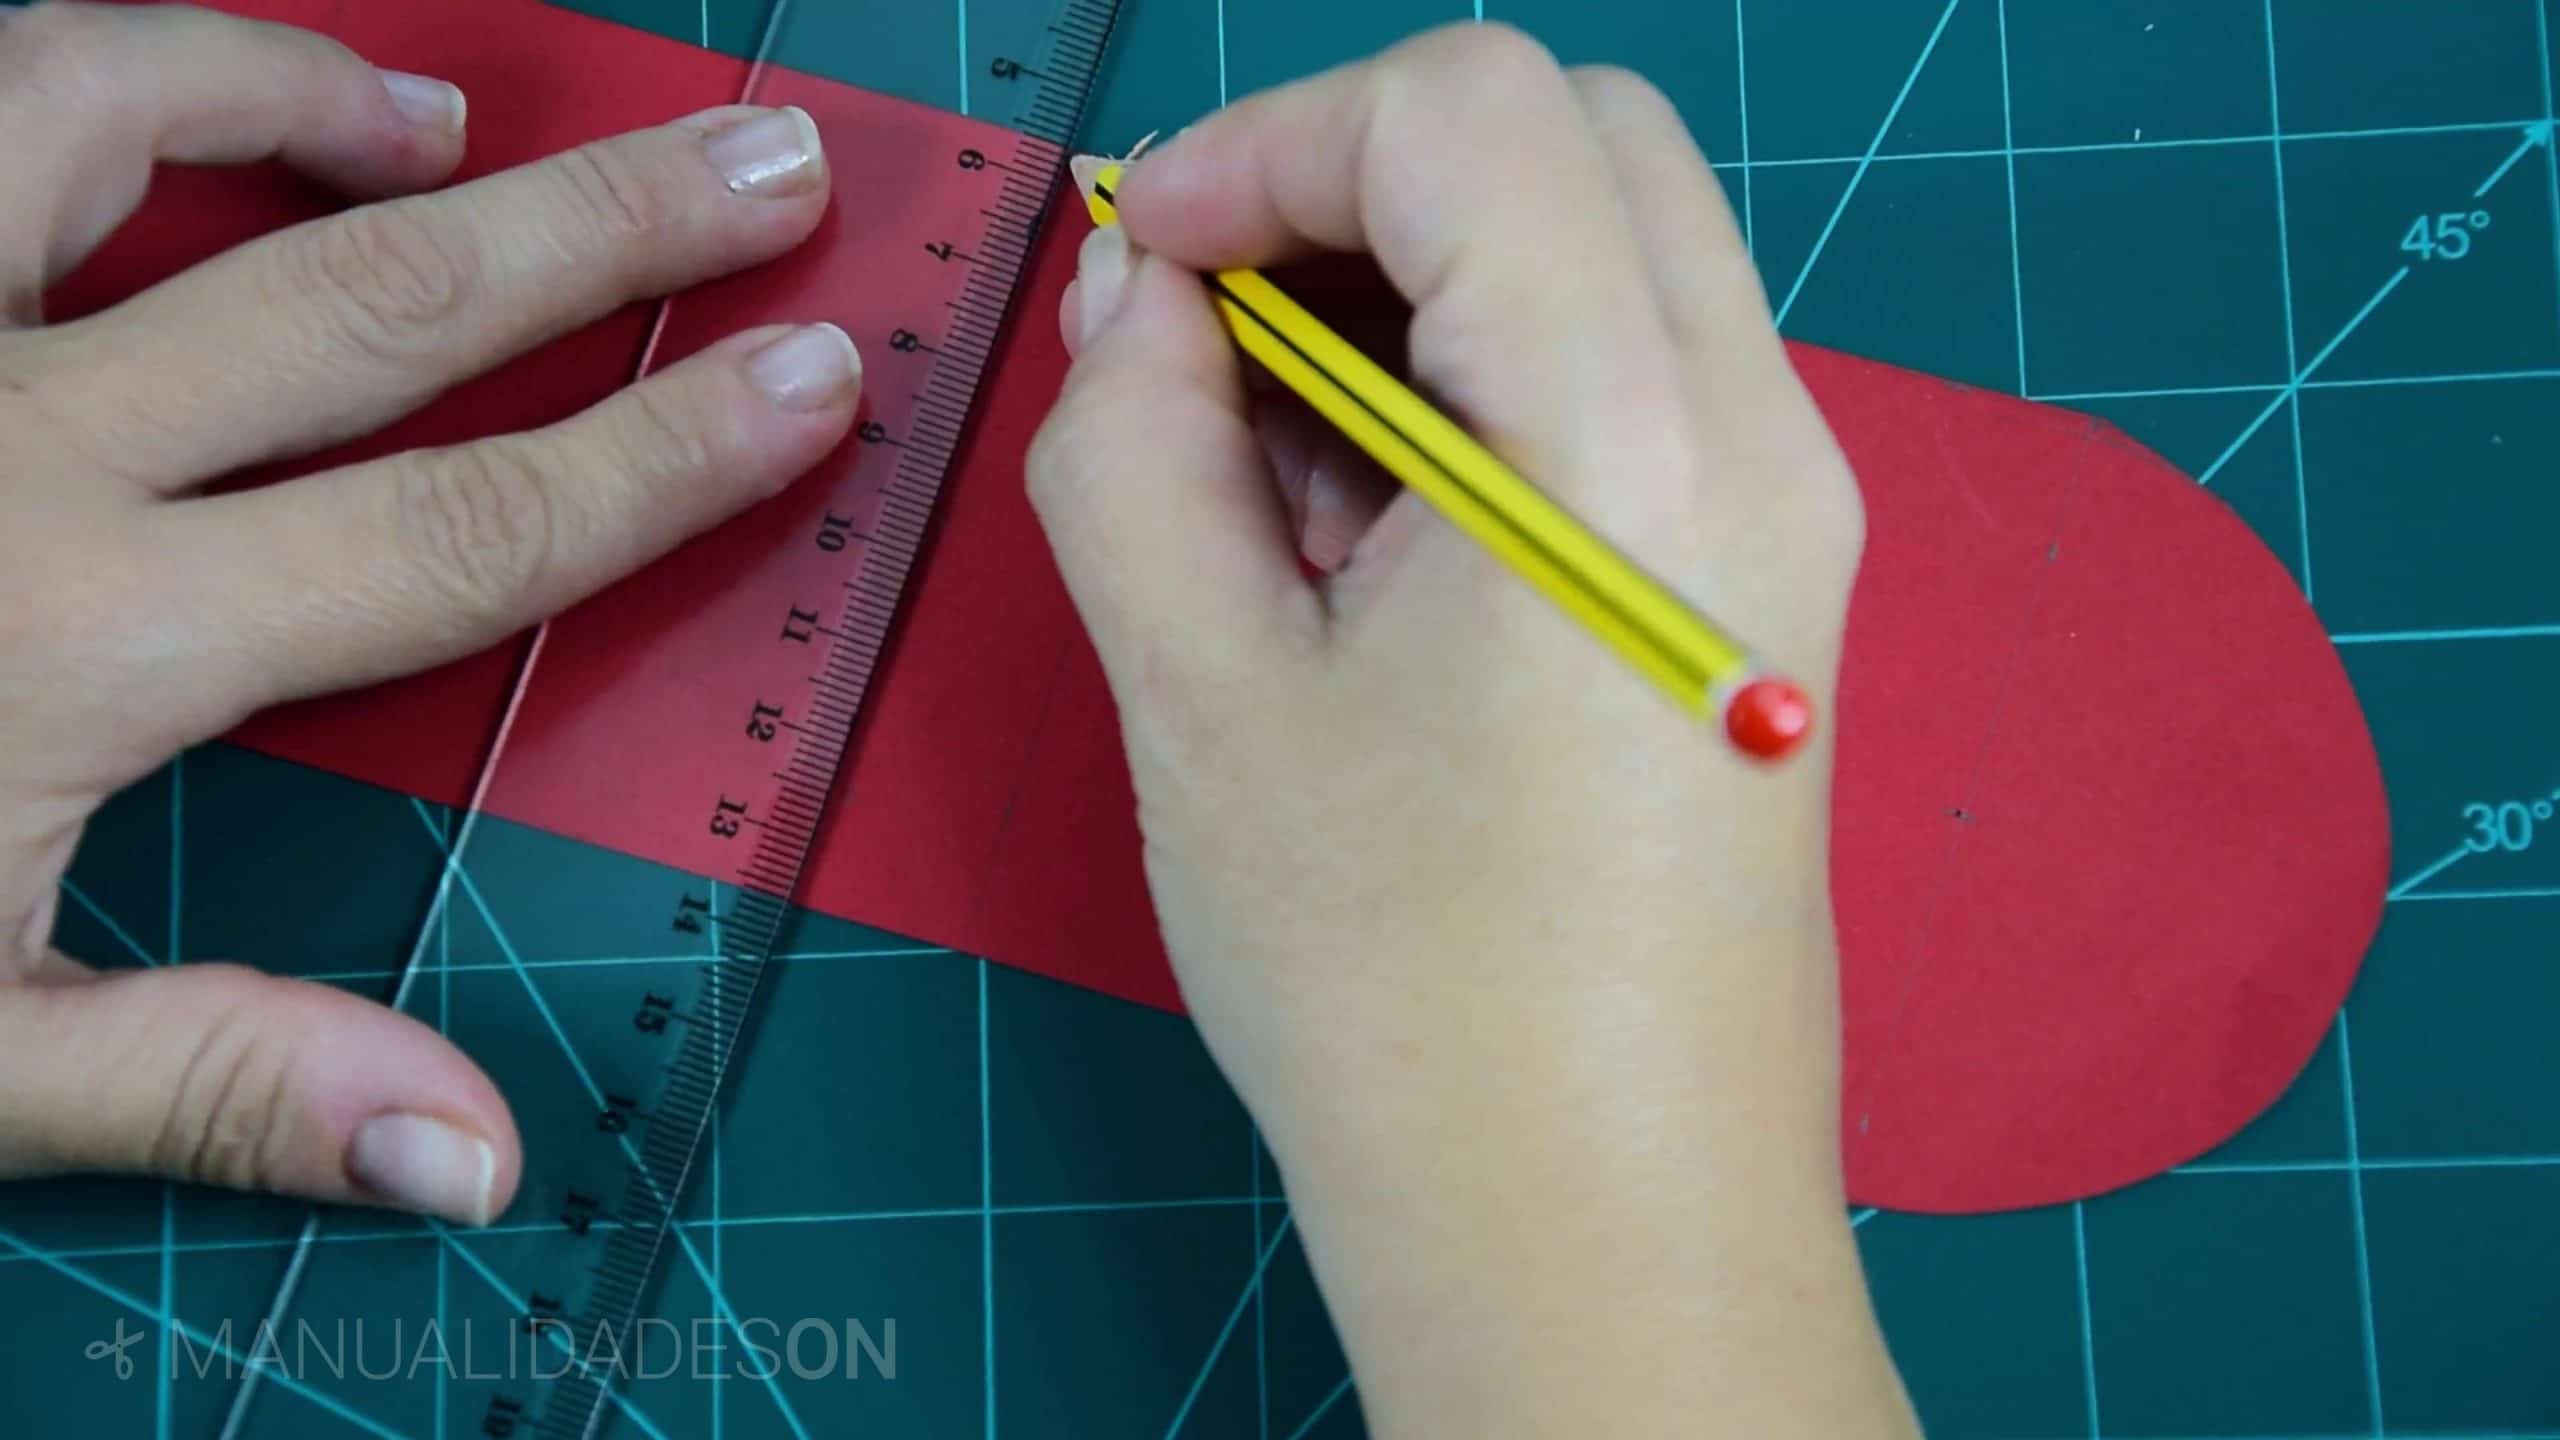
Fourth step:
We find the center part of the entire carton. It gives me 8,75cm measuring from one of the marked lines towards the center. We mark with a line that central part.

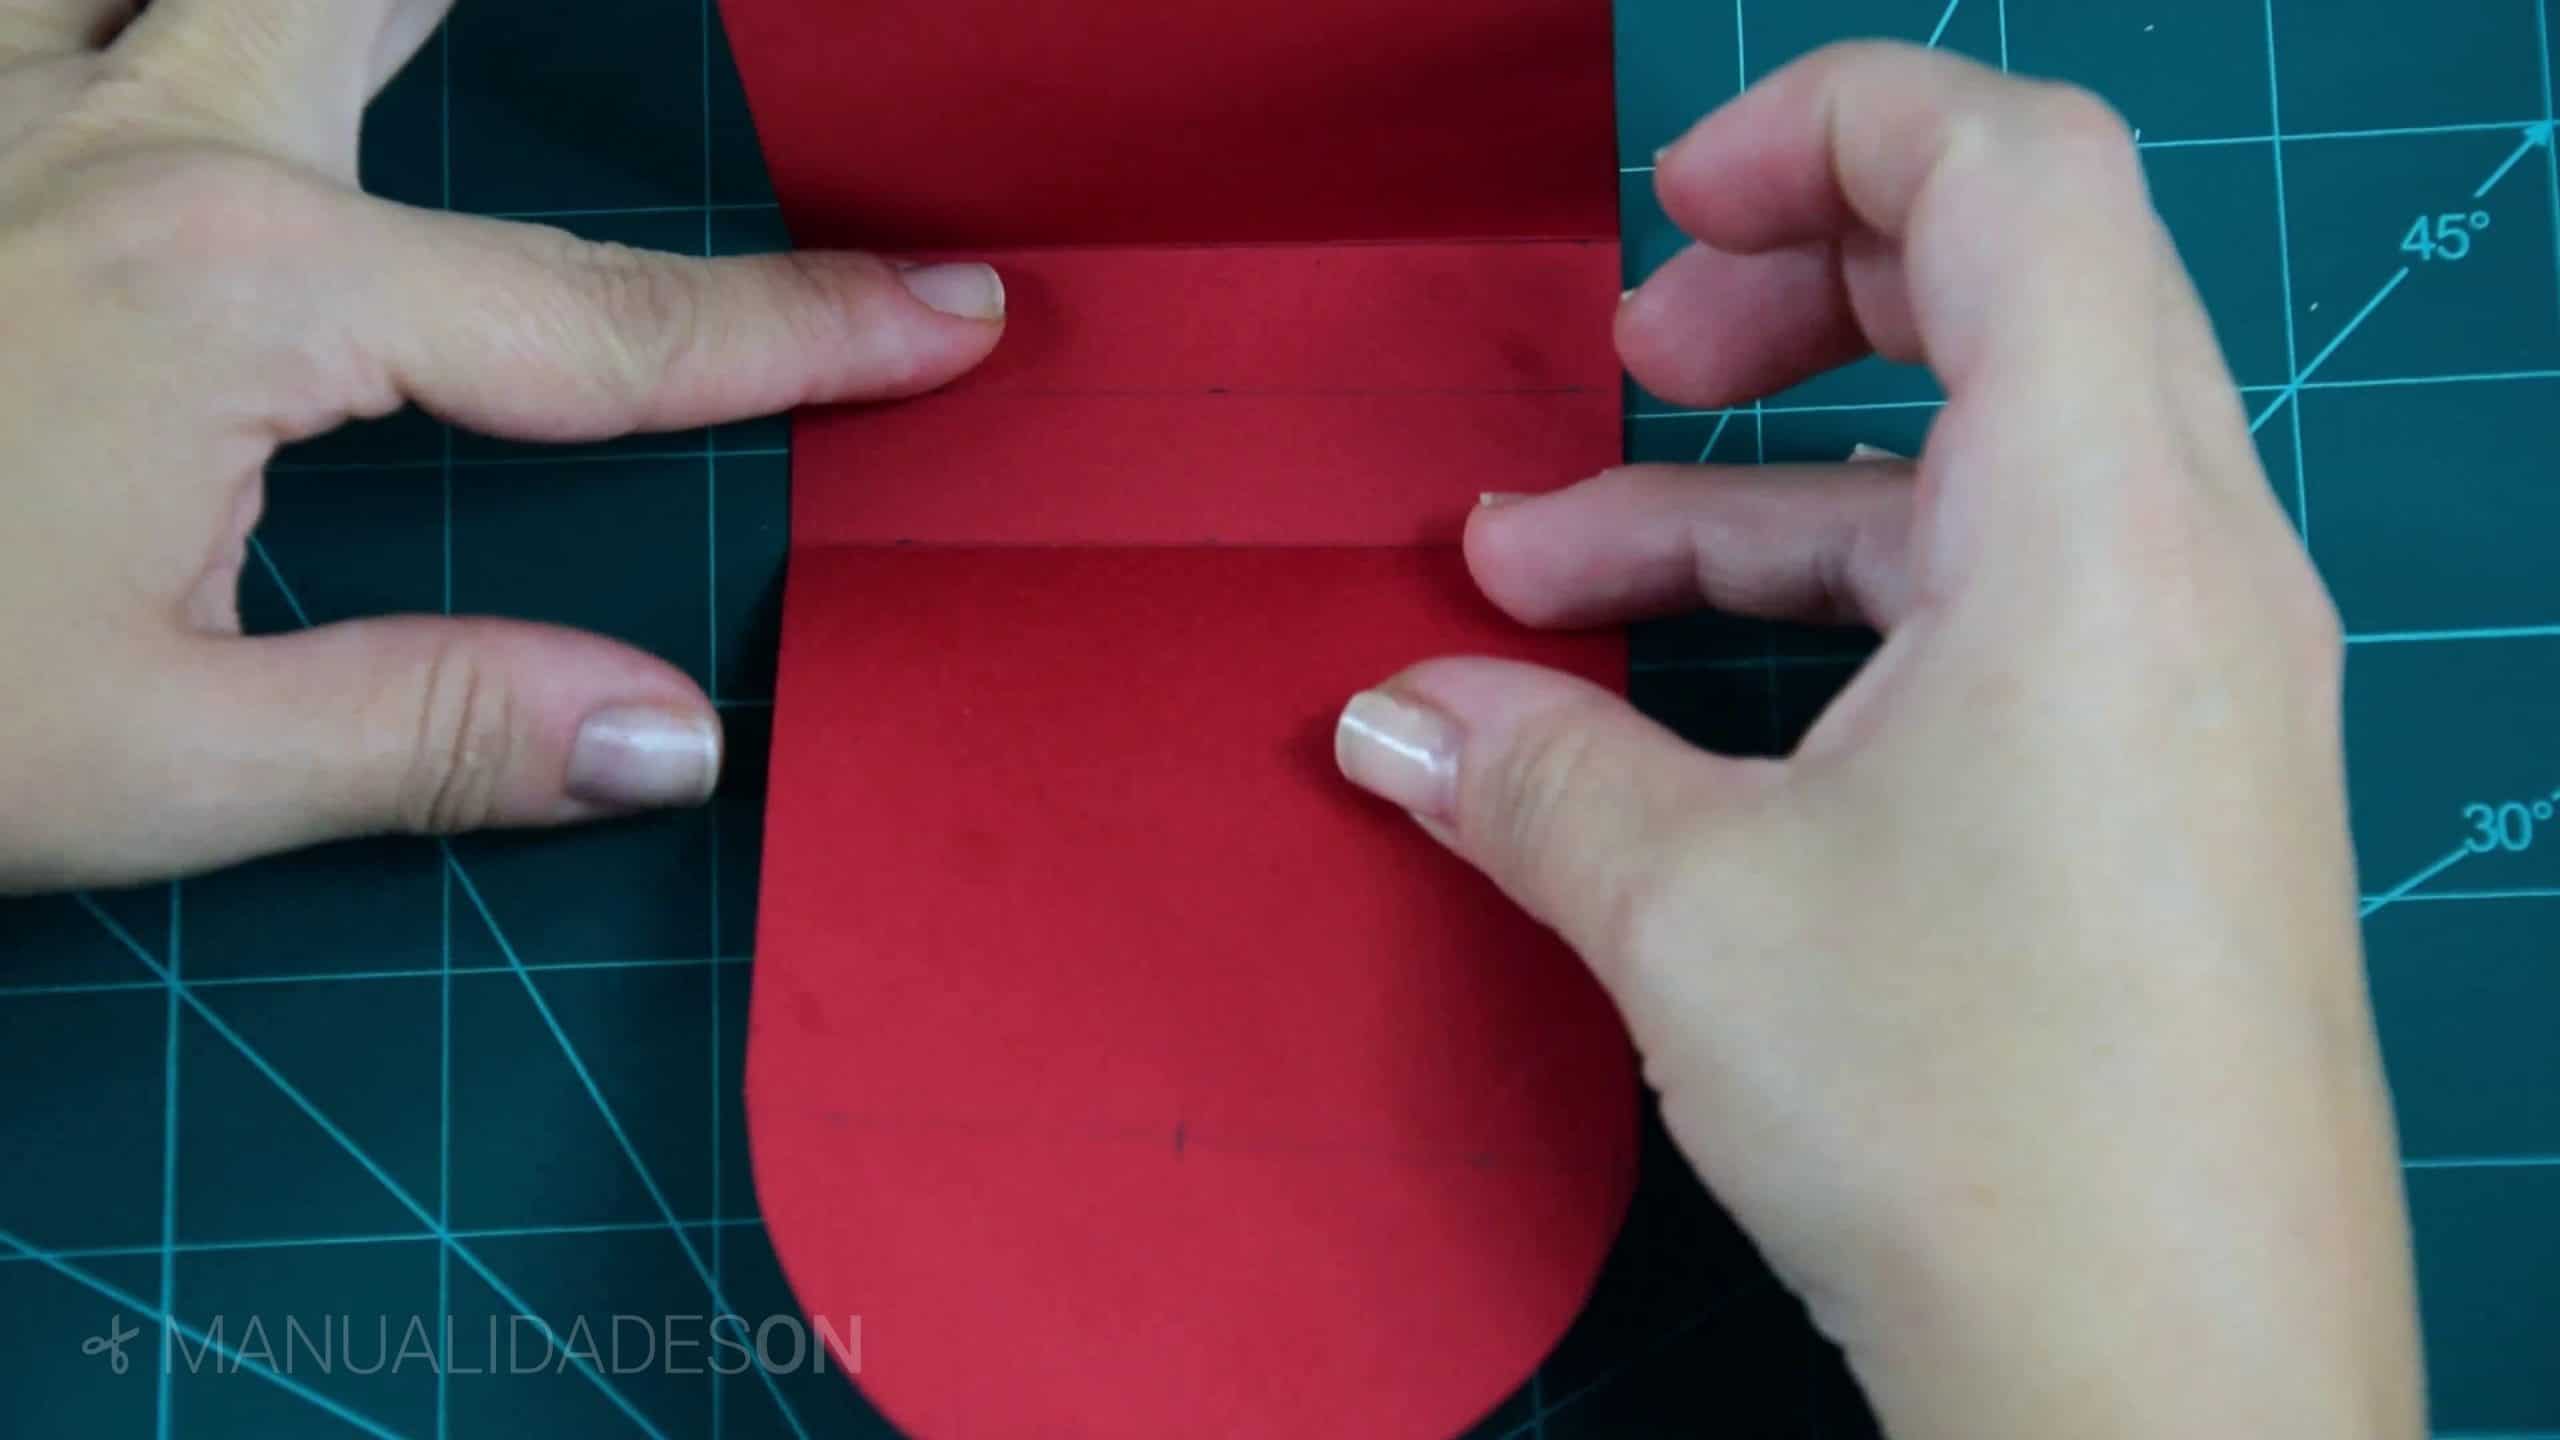
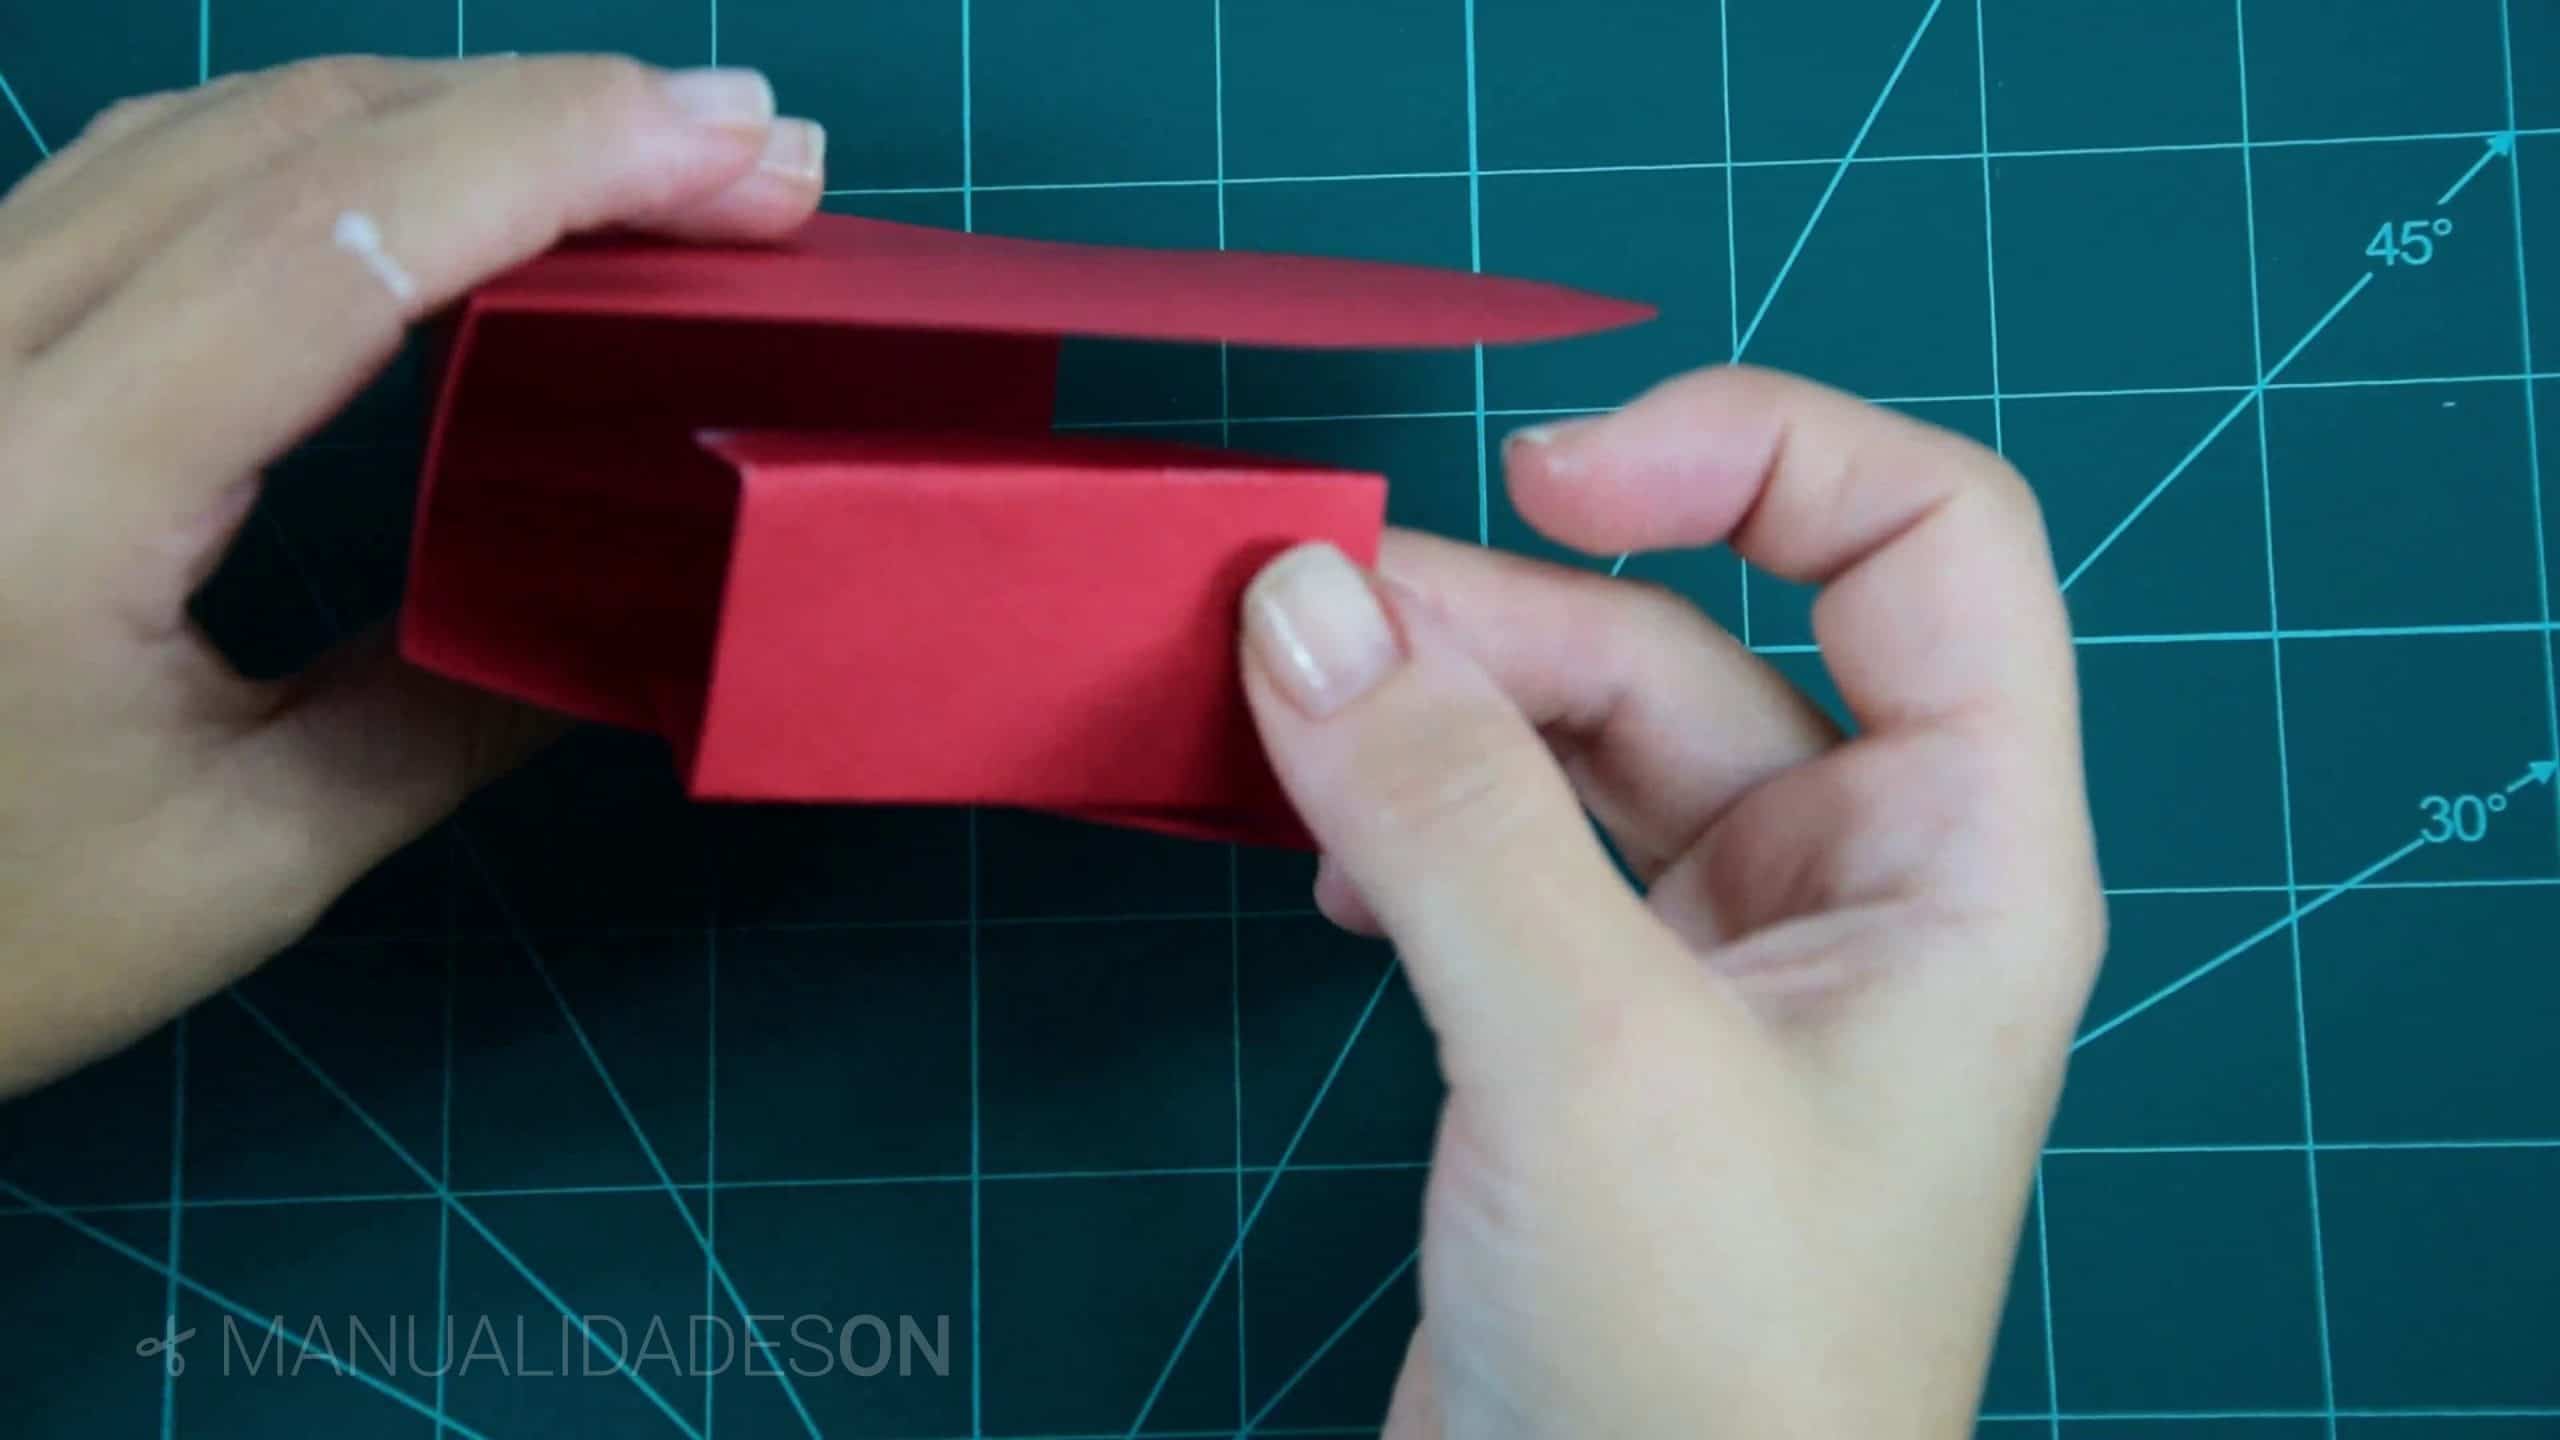
Fifth step:
We mark others two parallel lines (one on the right and one on the left) to that center line that we have made. They will have a distance of 1,5cm away from that line. These lines we will fold them to go forming the box. To facilitate folding I have marked with a clip said lines and helping me with the rule.
Step Six:
We do two 6x6cm square each. They will be the sides of the box. We will mark two parallel lines inside the square to make some folds that will make flaps to glue them to the box. The lines will be done at a distance of 1cm from the sides. We will fold the flaps that we have drawn.

Seventh step:
We will spread tail on the lapels to stick it on the box.
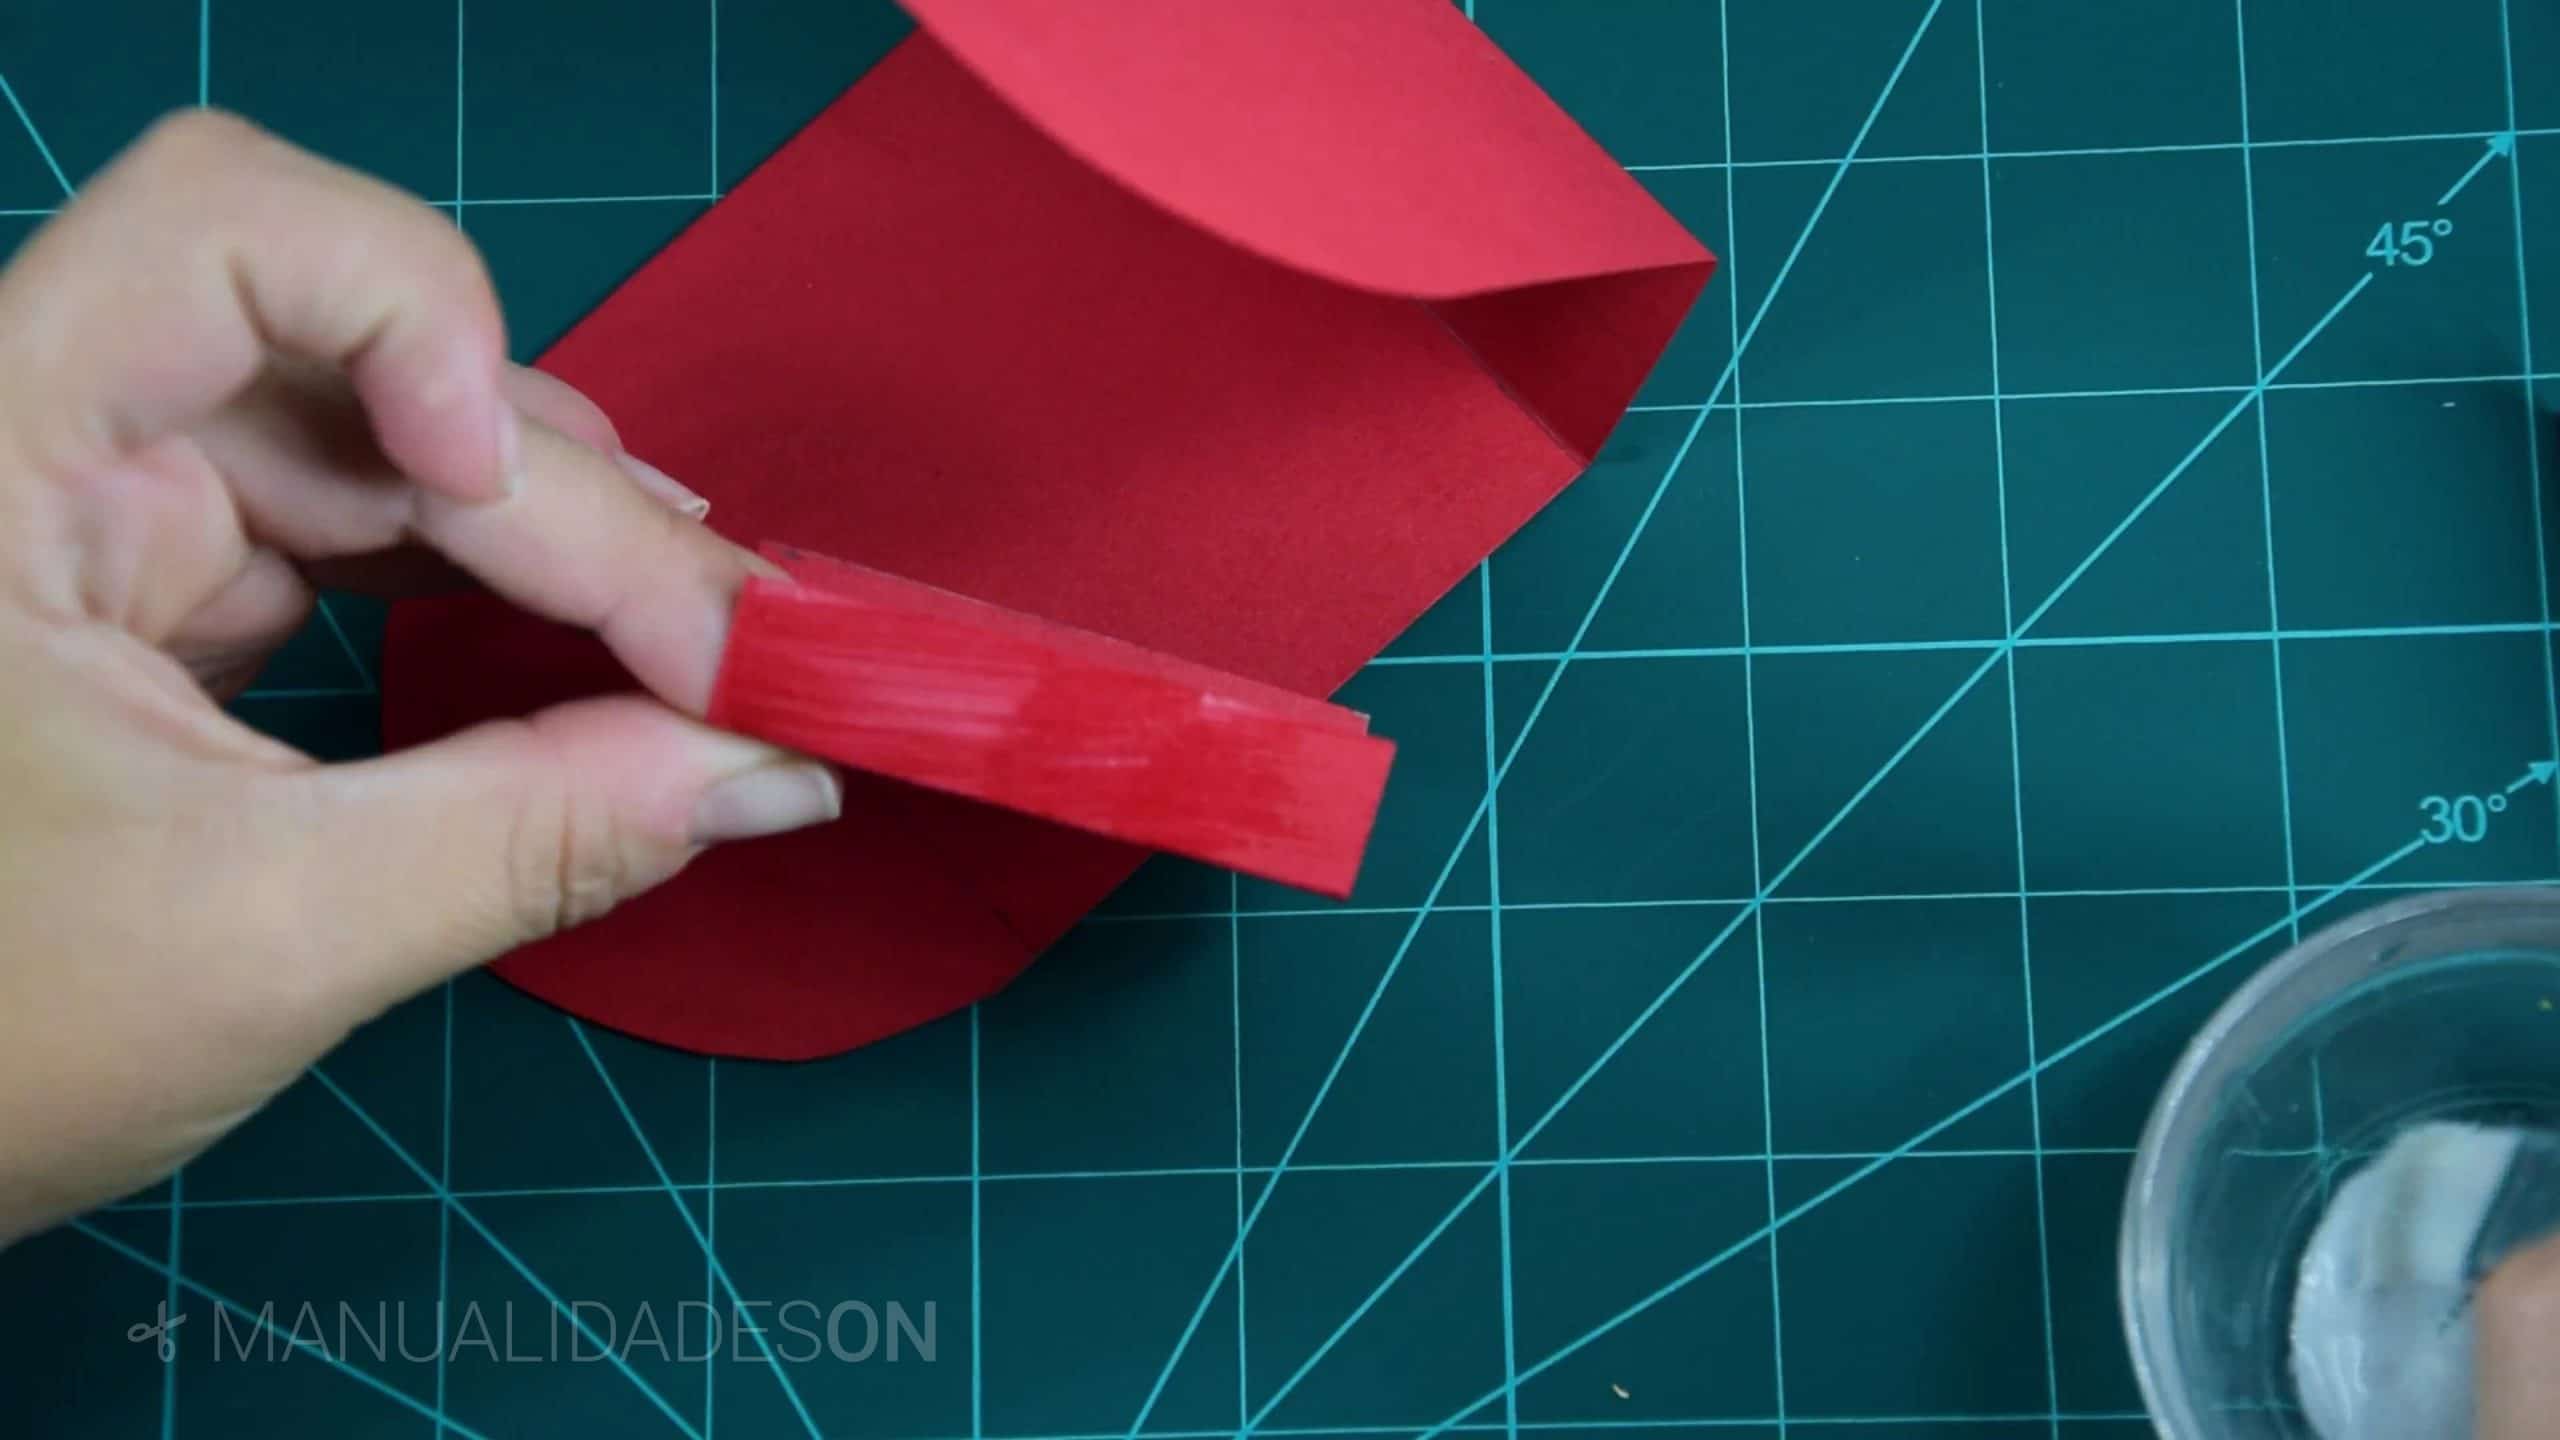
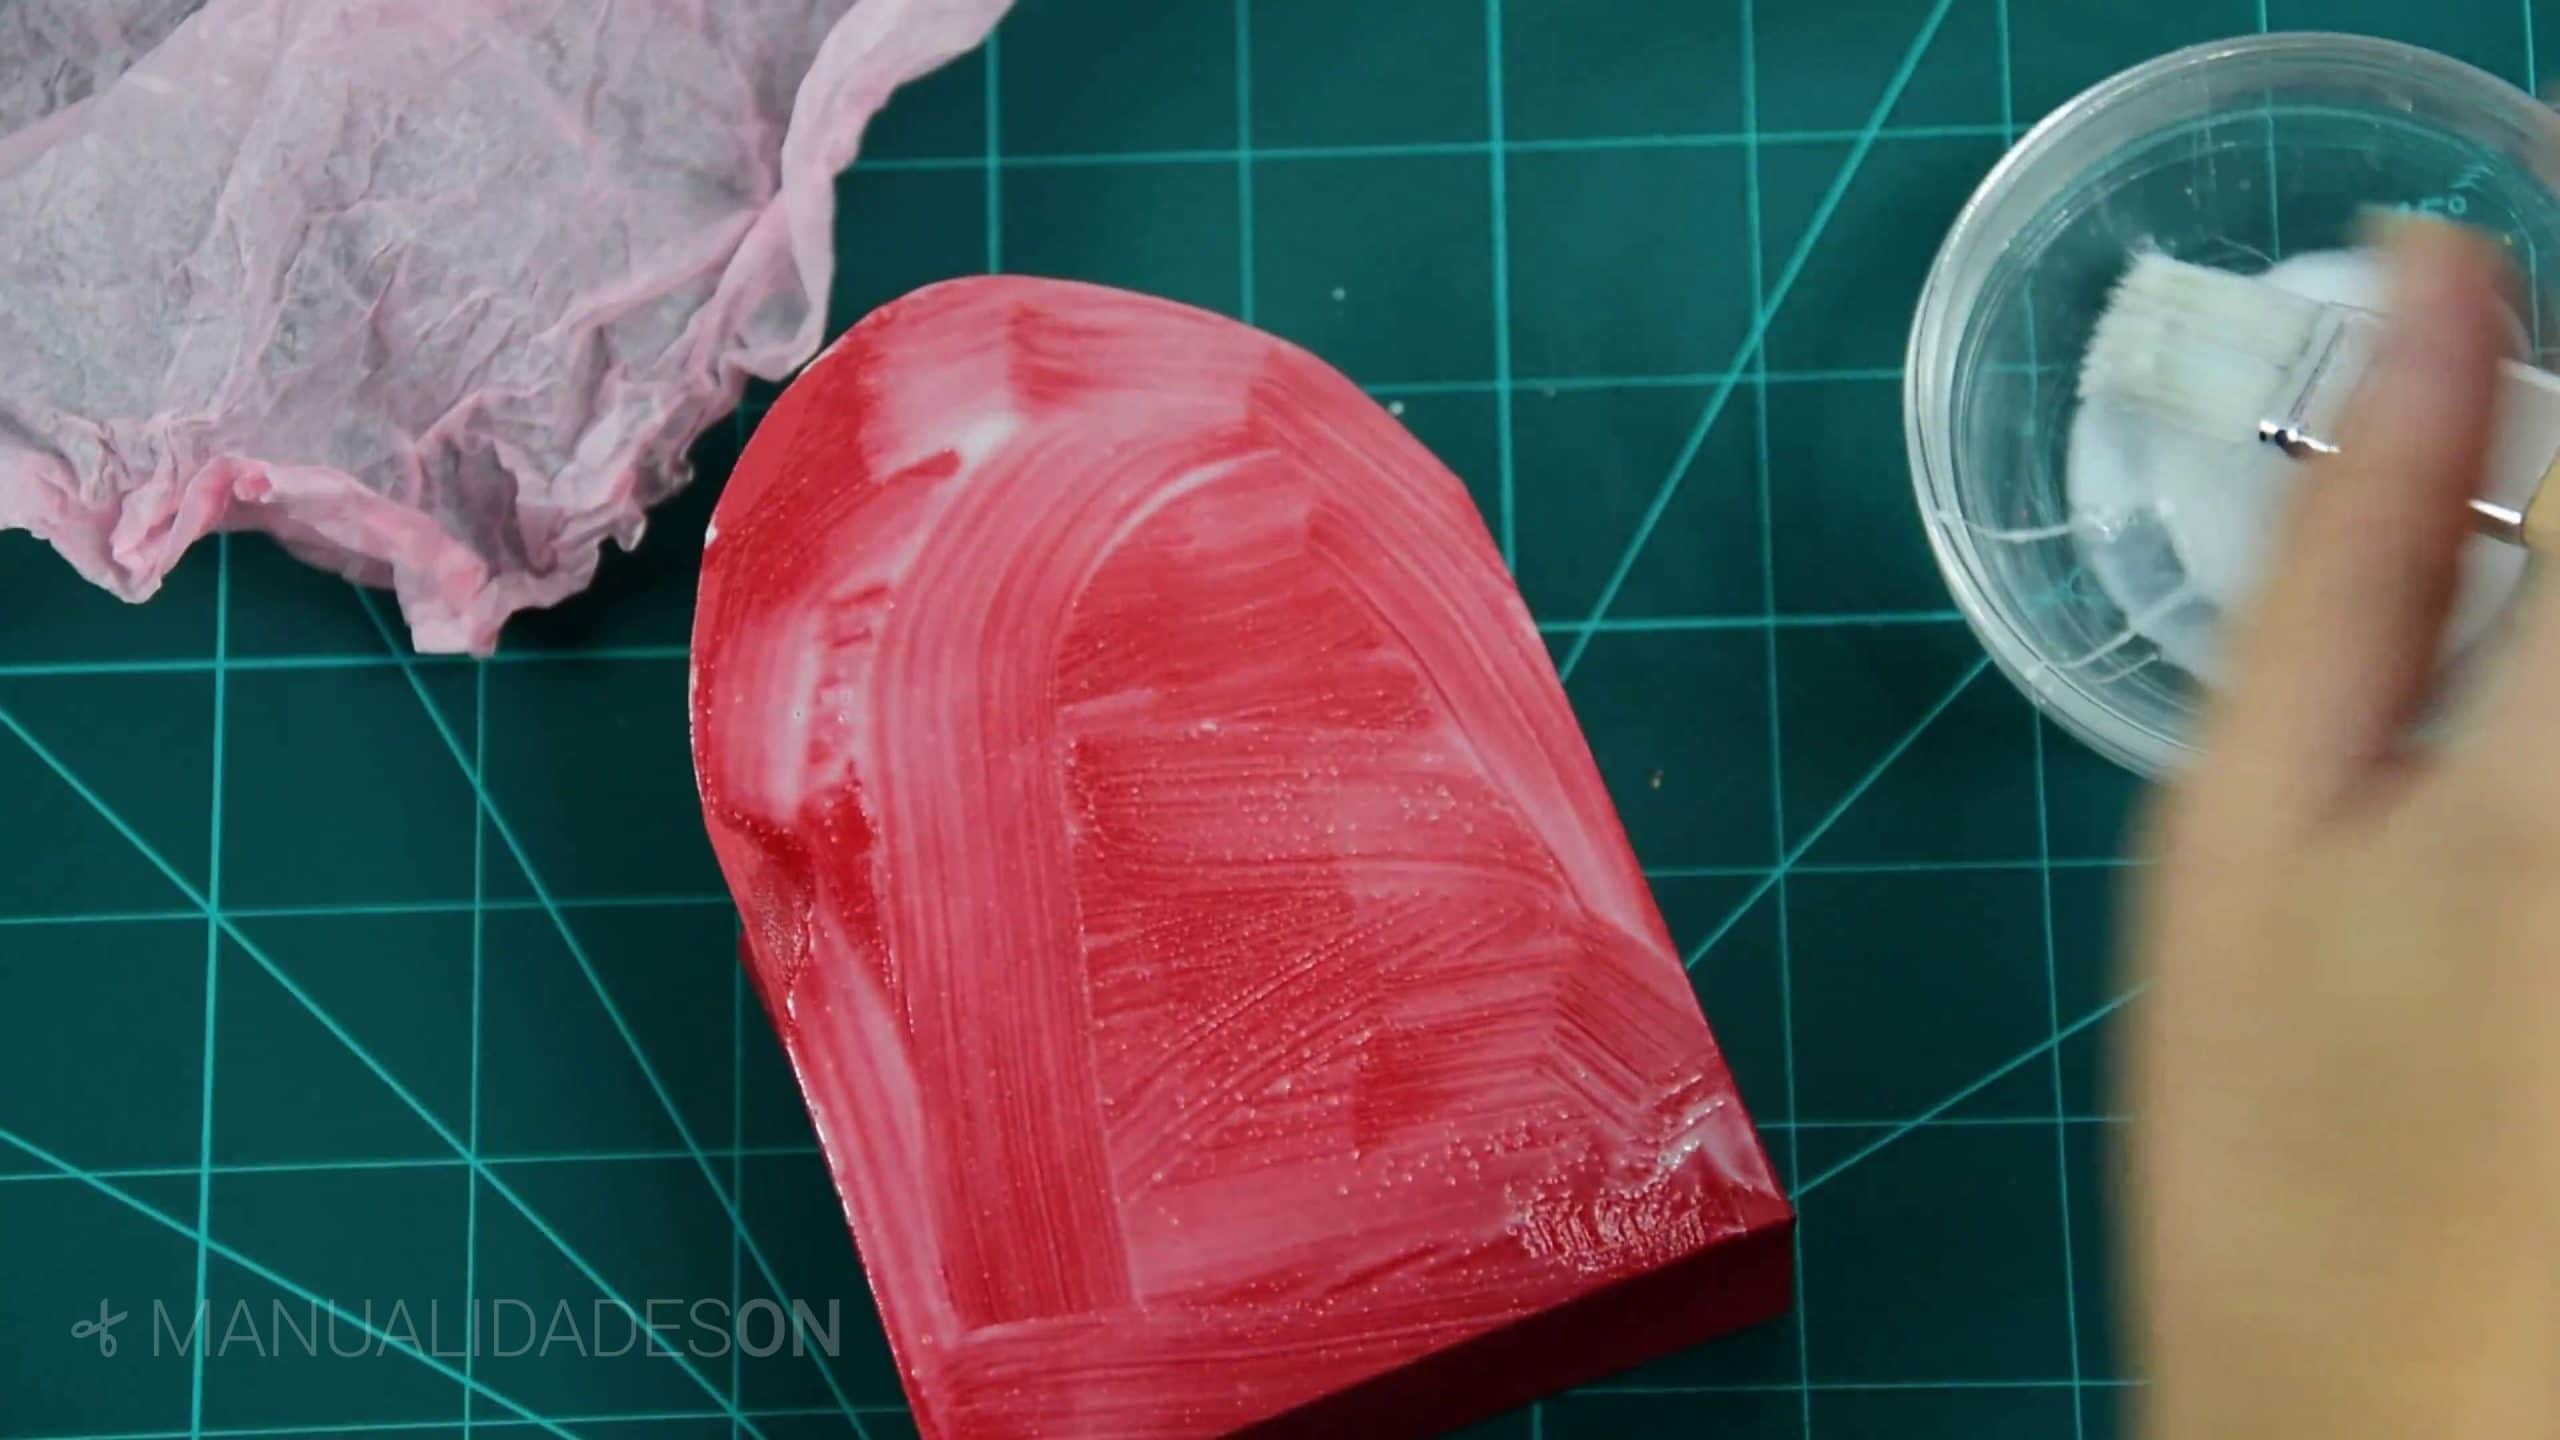
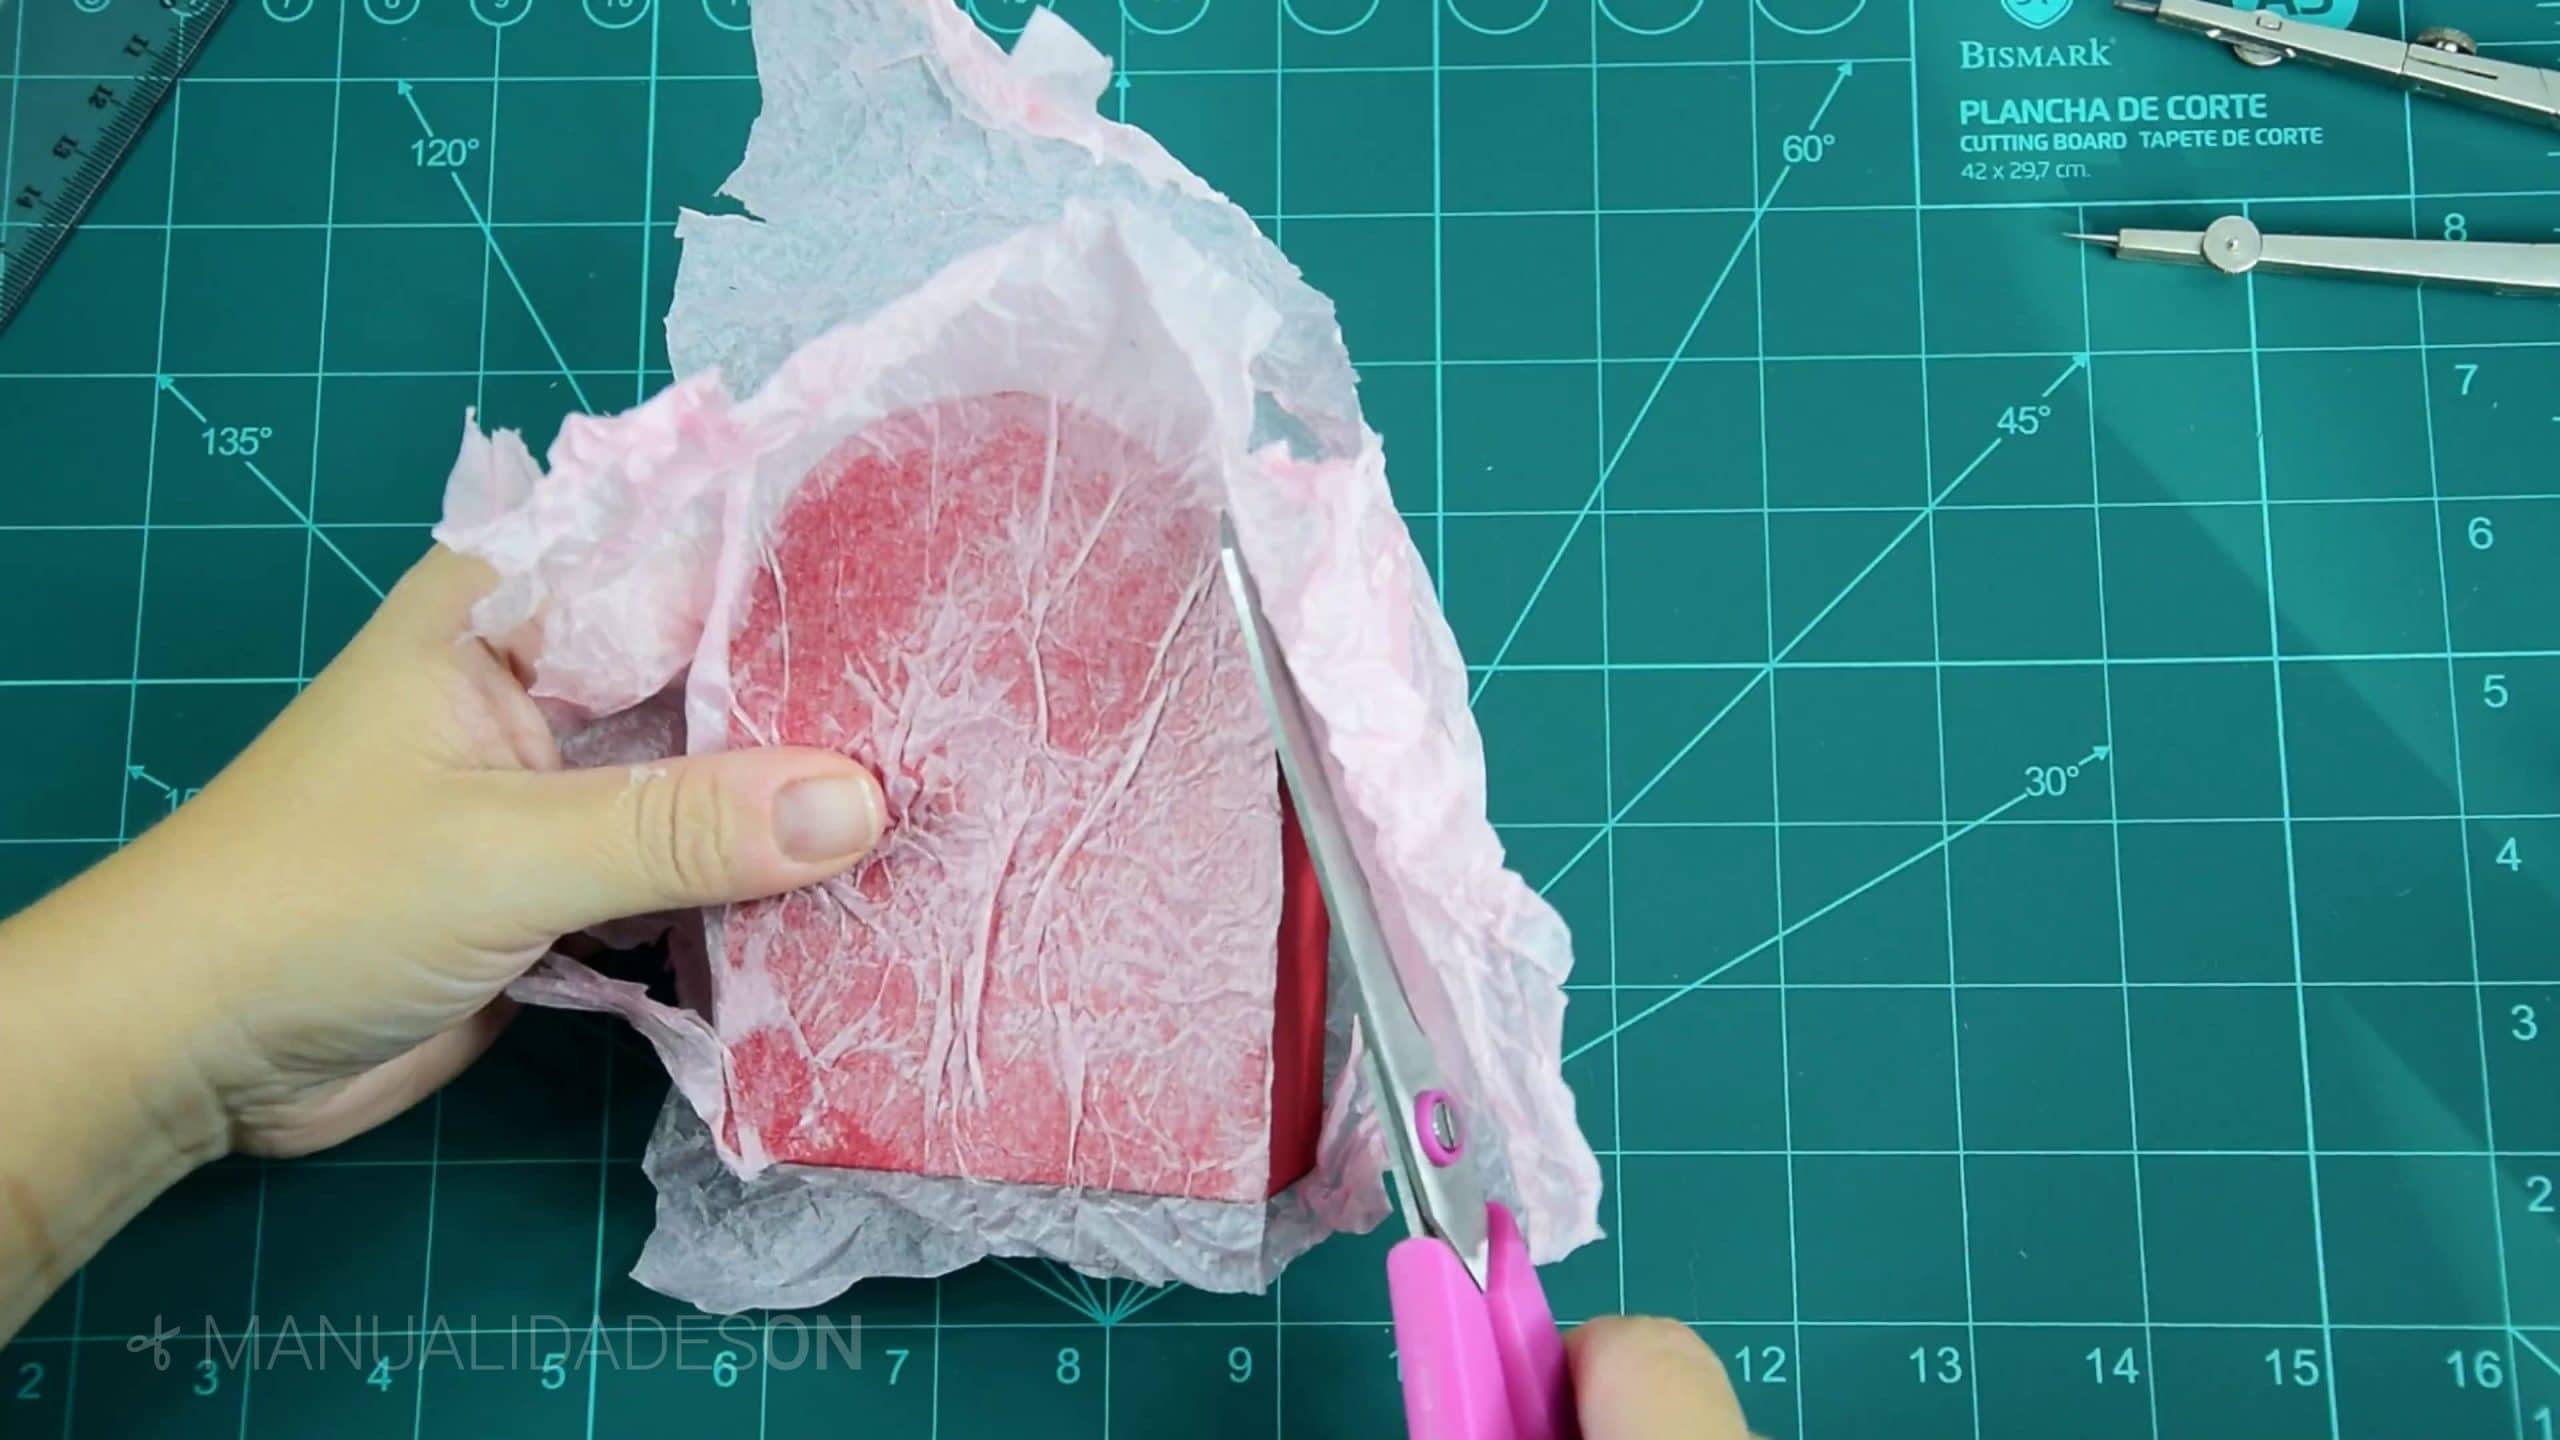
Eighth step:
We catch tissue paper and we wrinkle it all we can with our hands, we divide it into two parts. We cast tail on both sides of the box to be able catch the tissue paper. It will be very decorative. We let dry and we cut the paper excess from the sides.
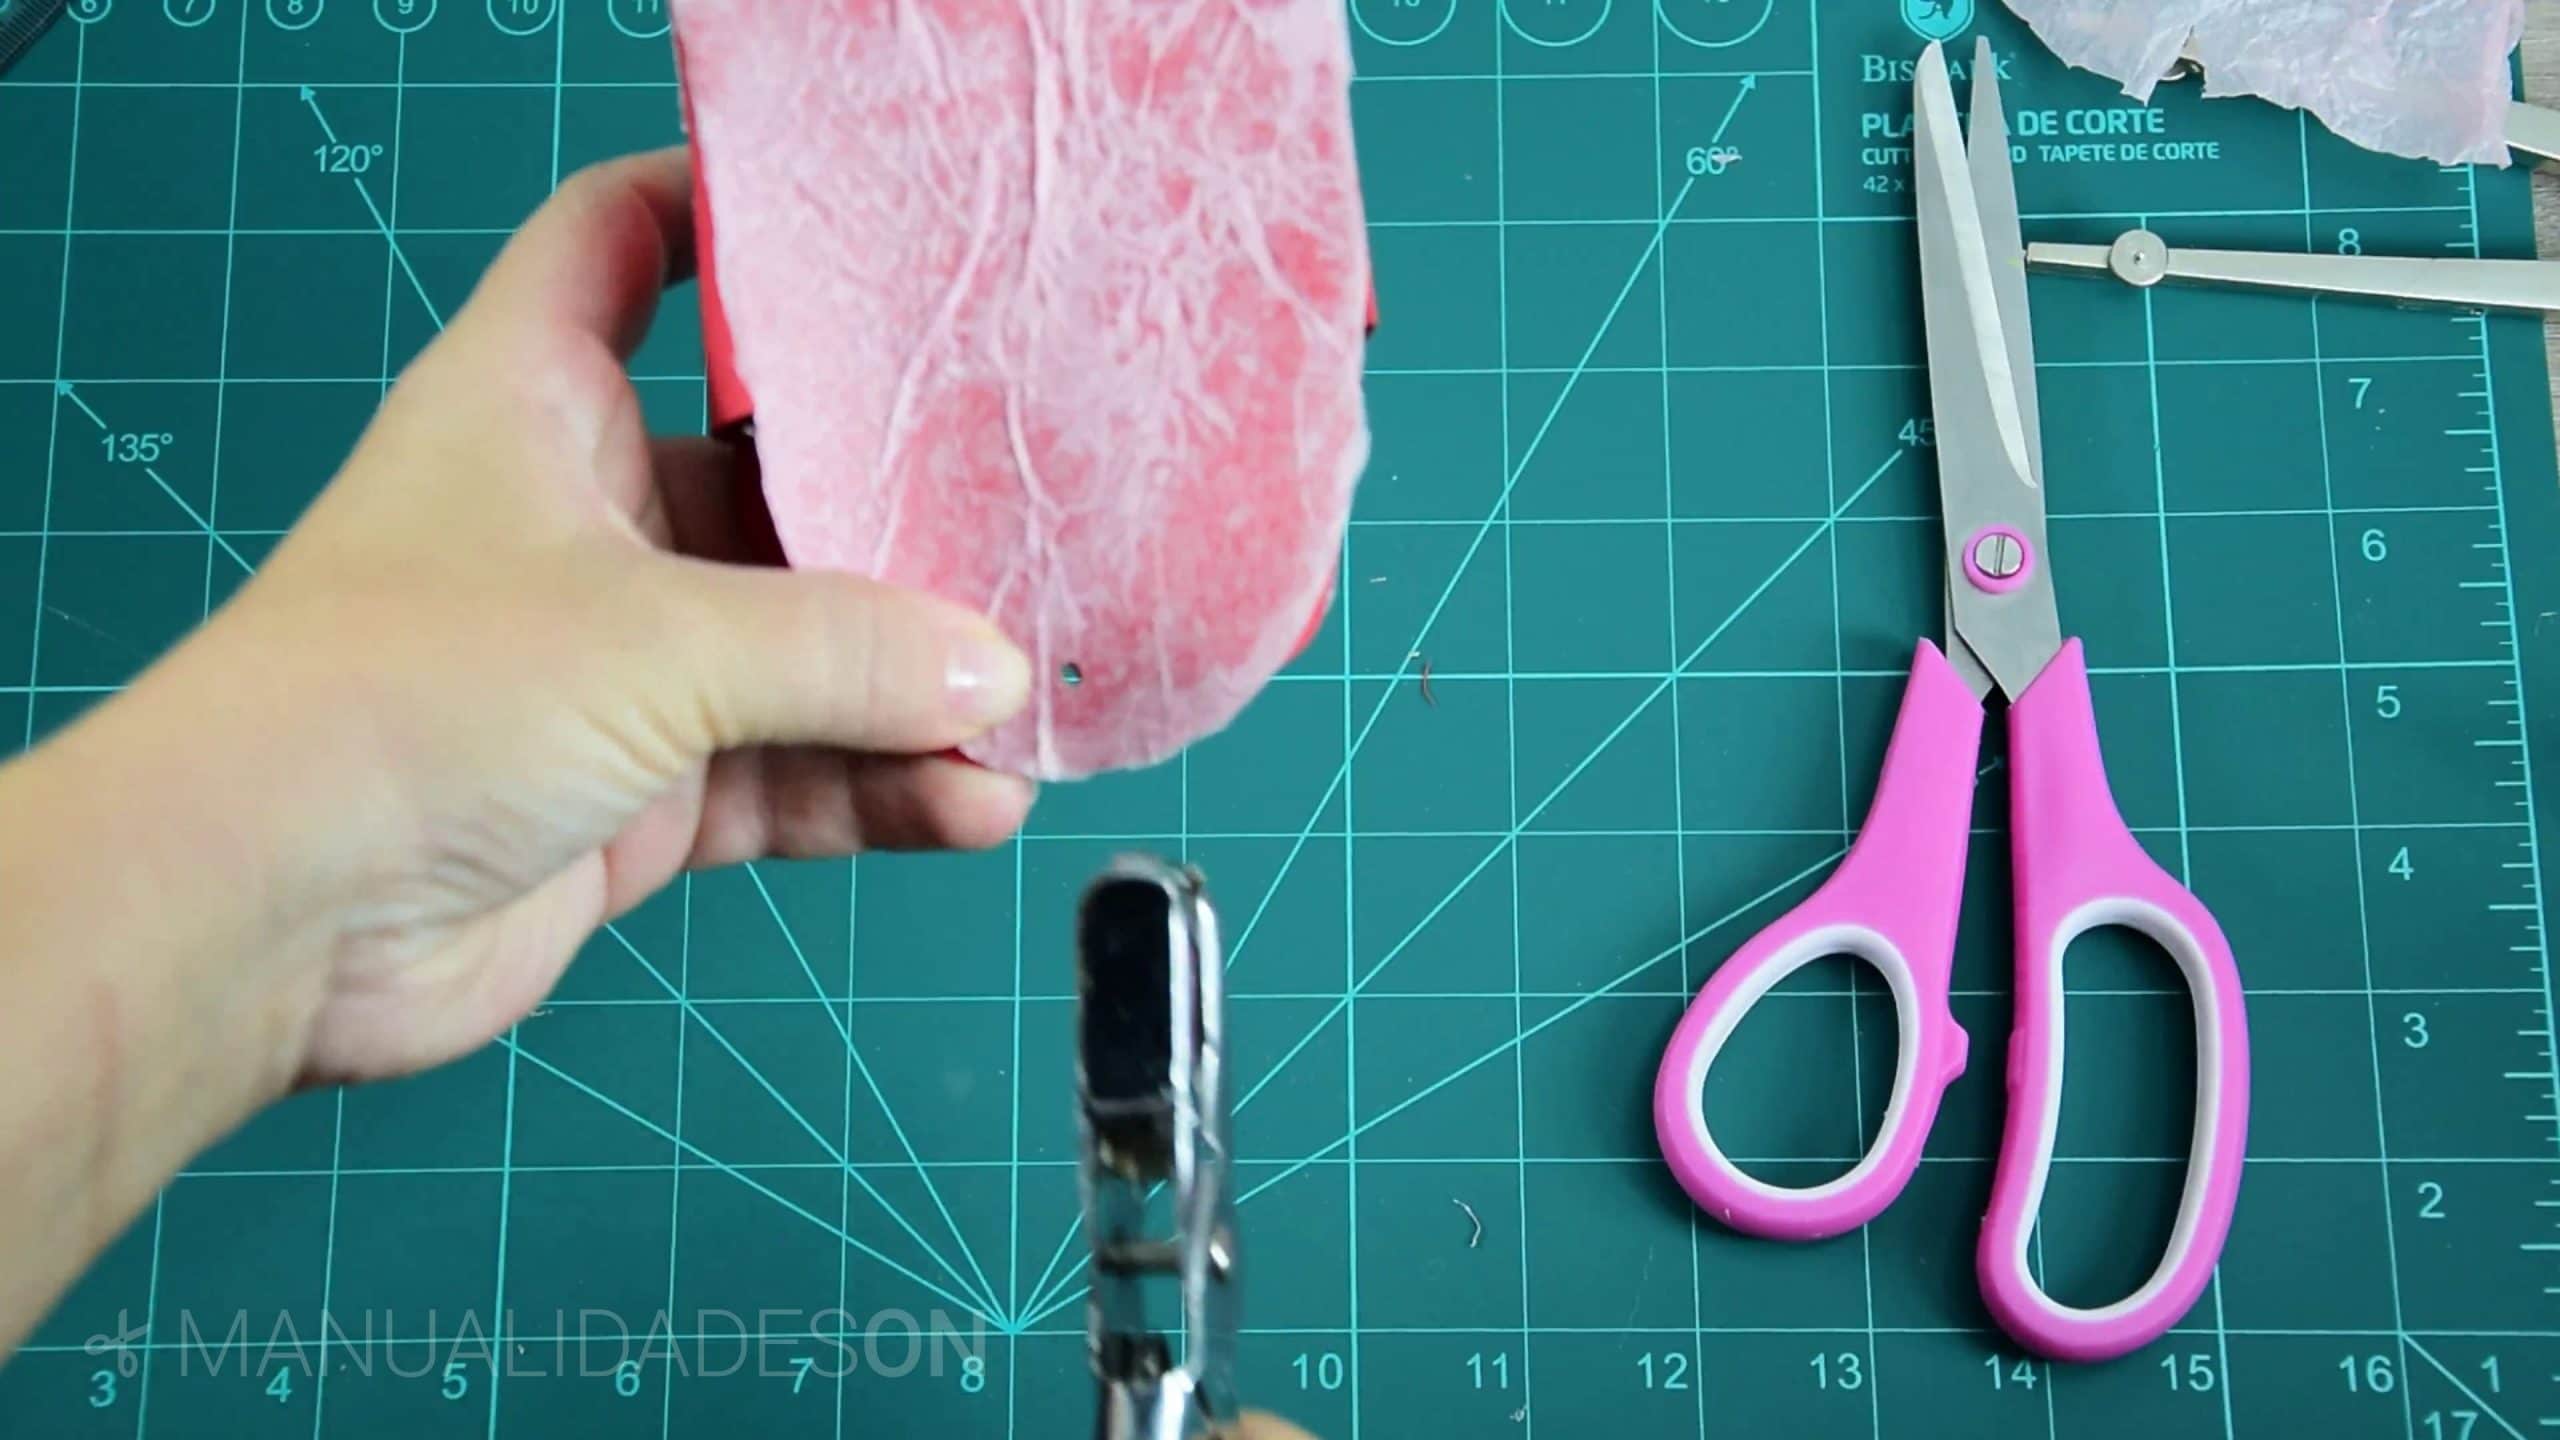
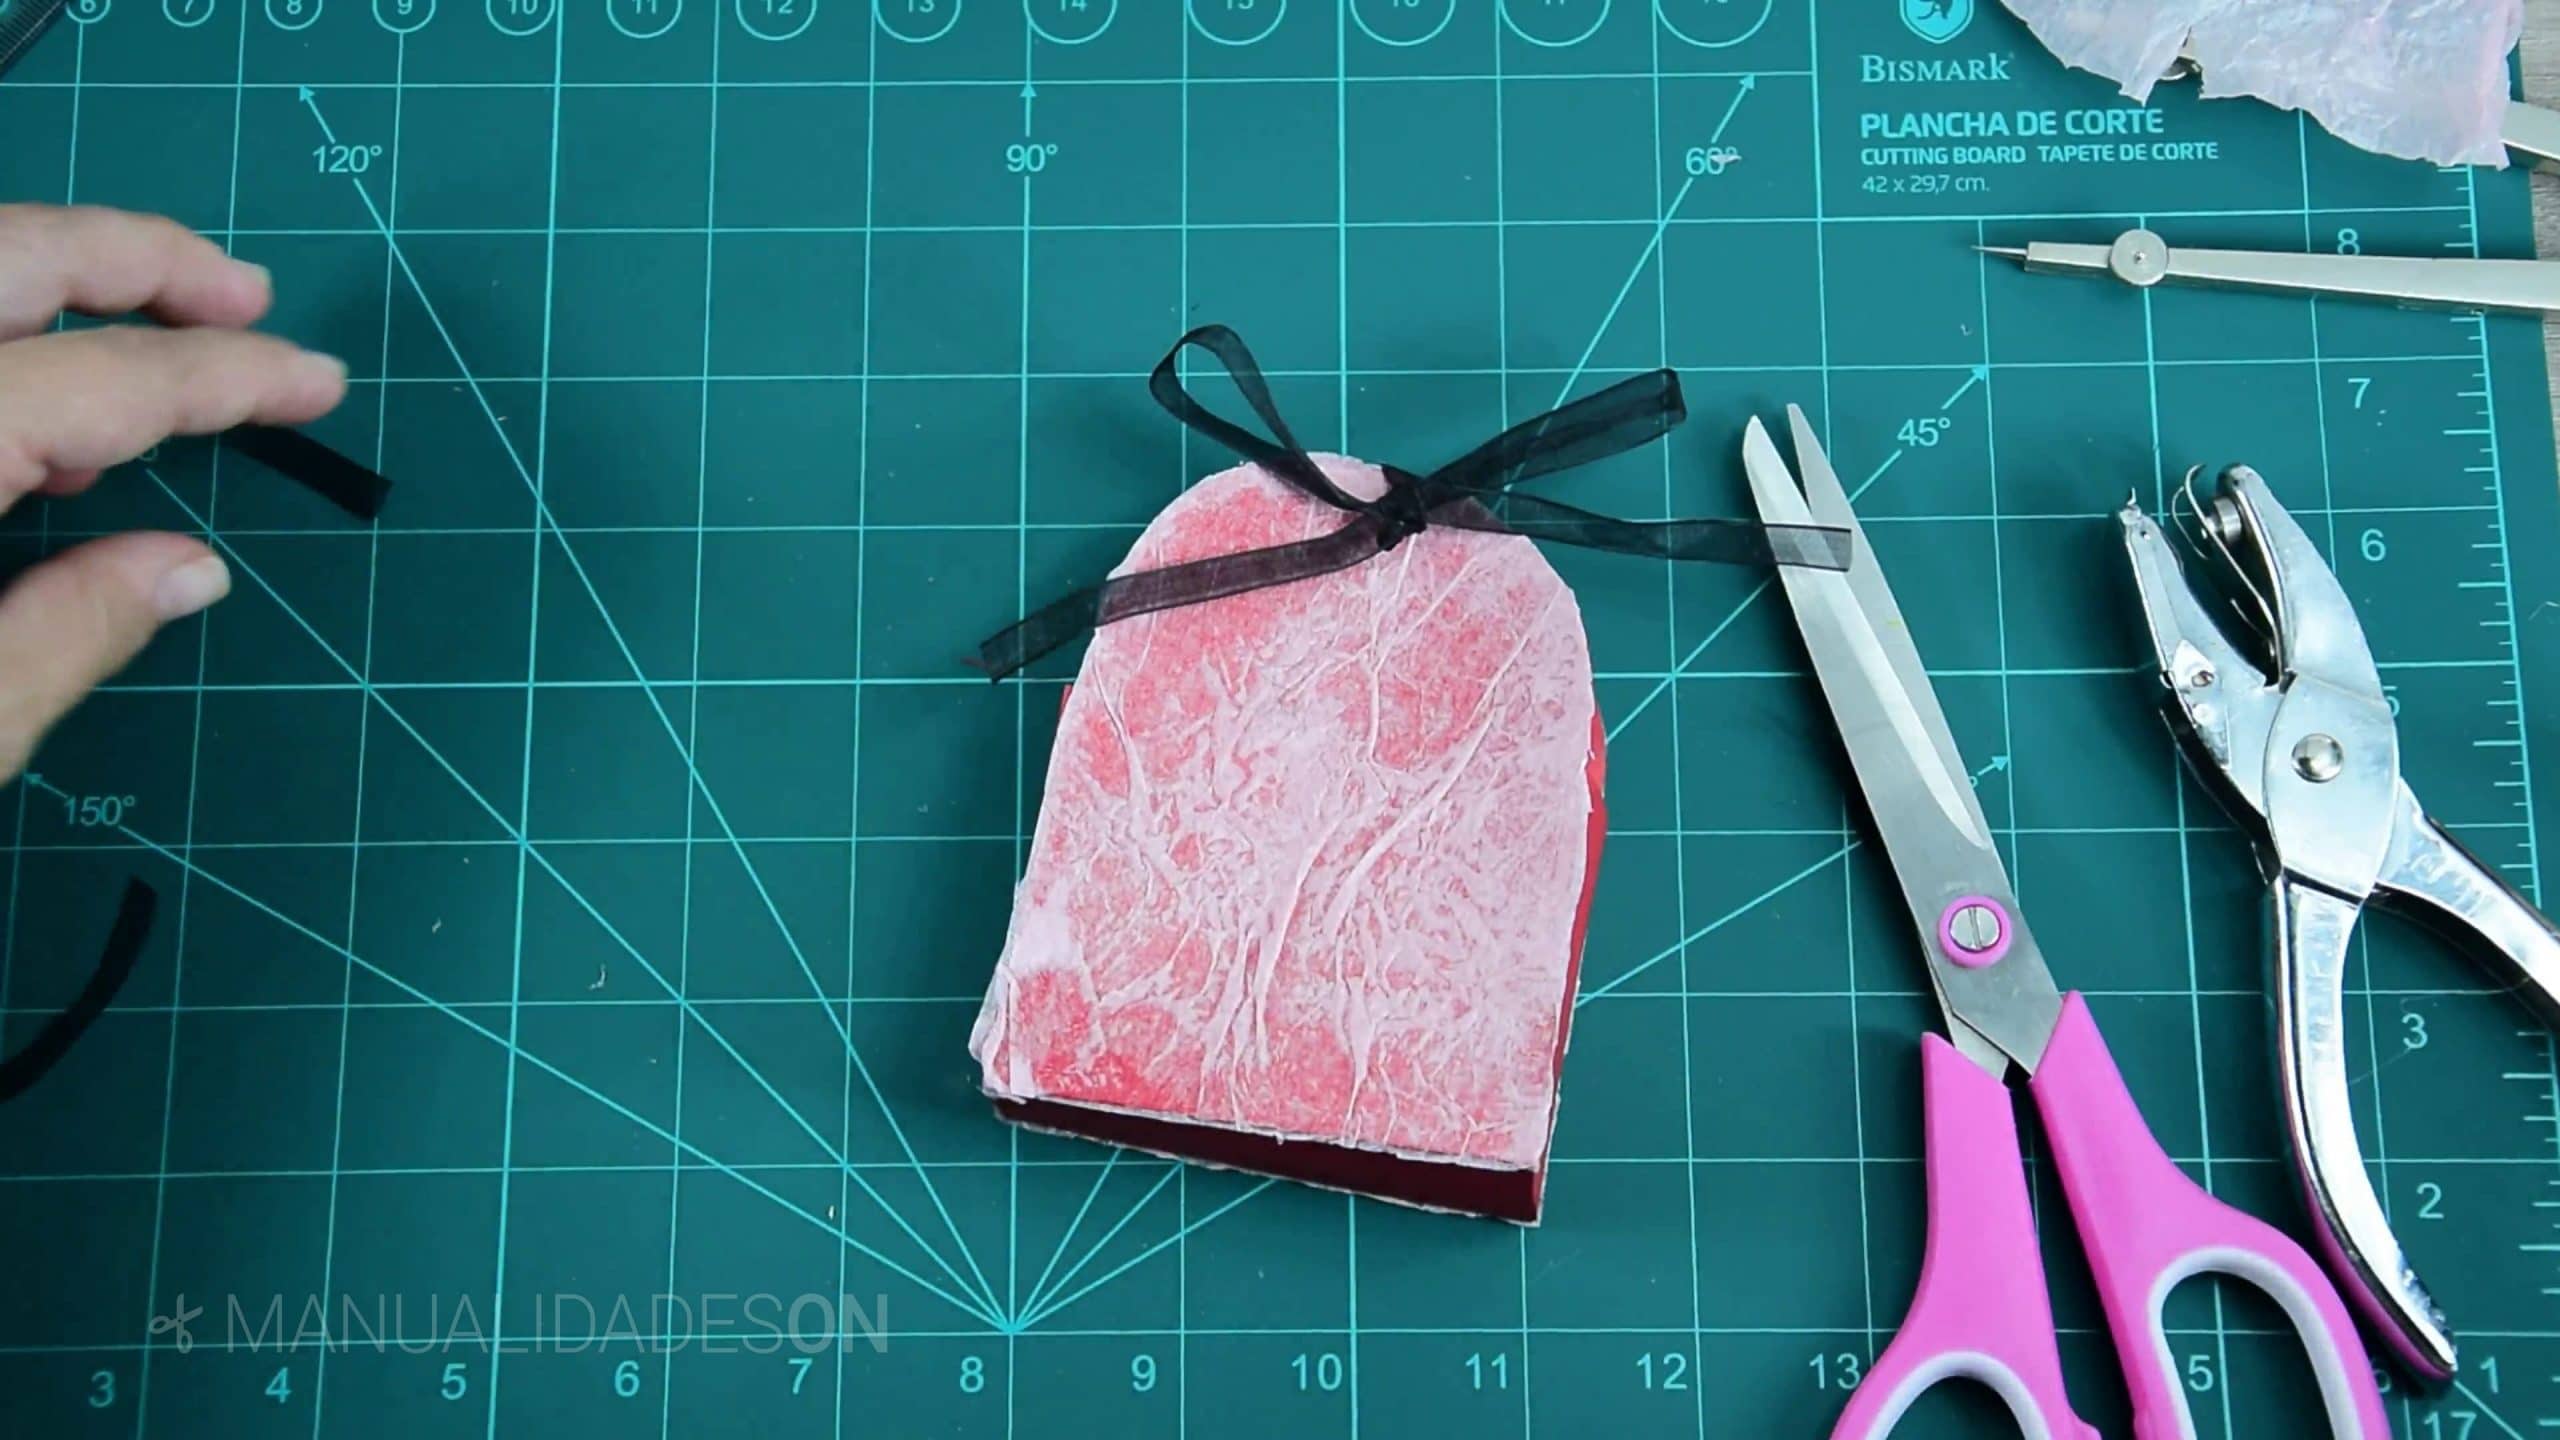
Nineth step:
We make a hole central at the top of the box to be able to pass a ribbon or cord. We knot the cord and make it a loop.
To make the pyramidal box:
First step:
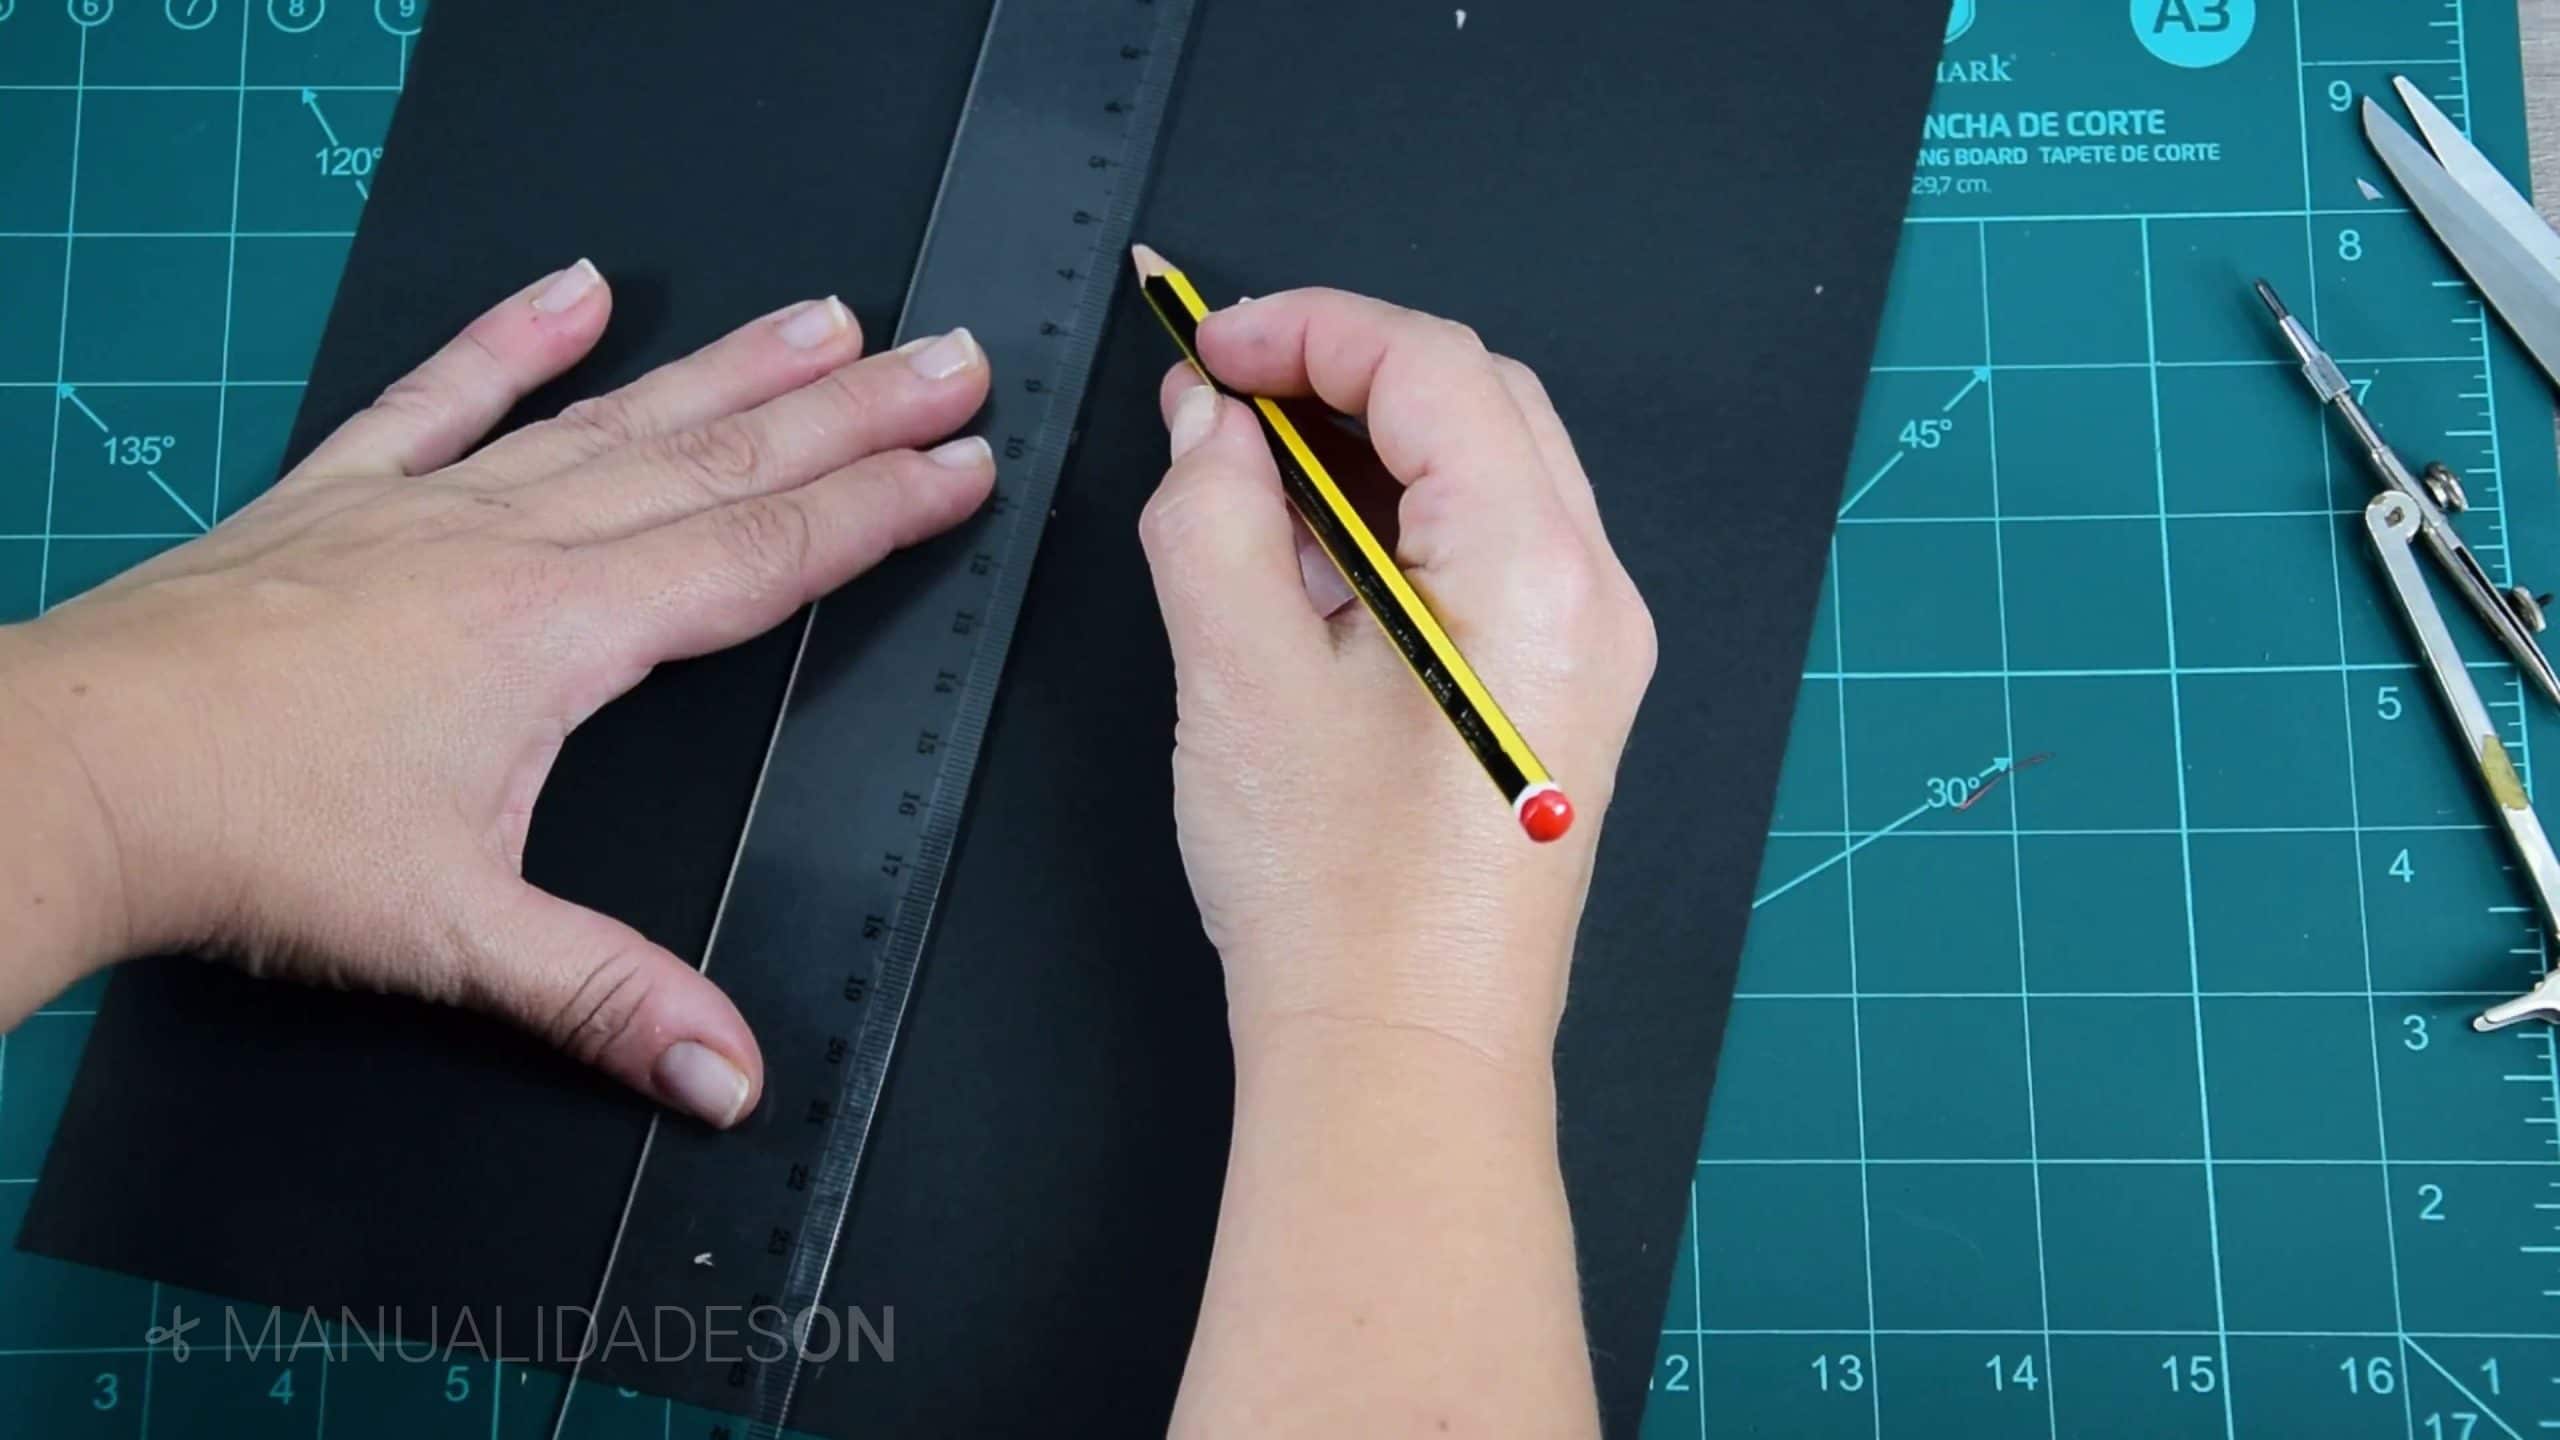
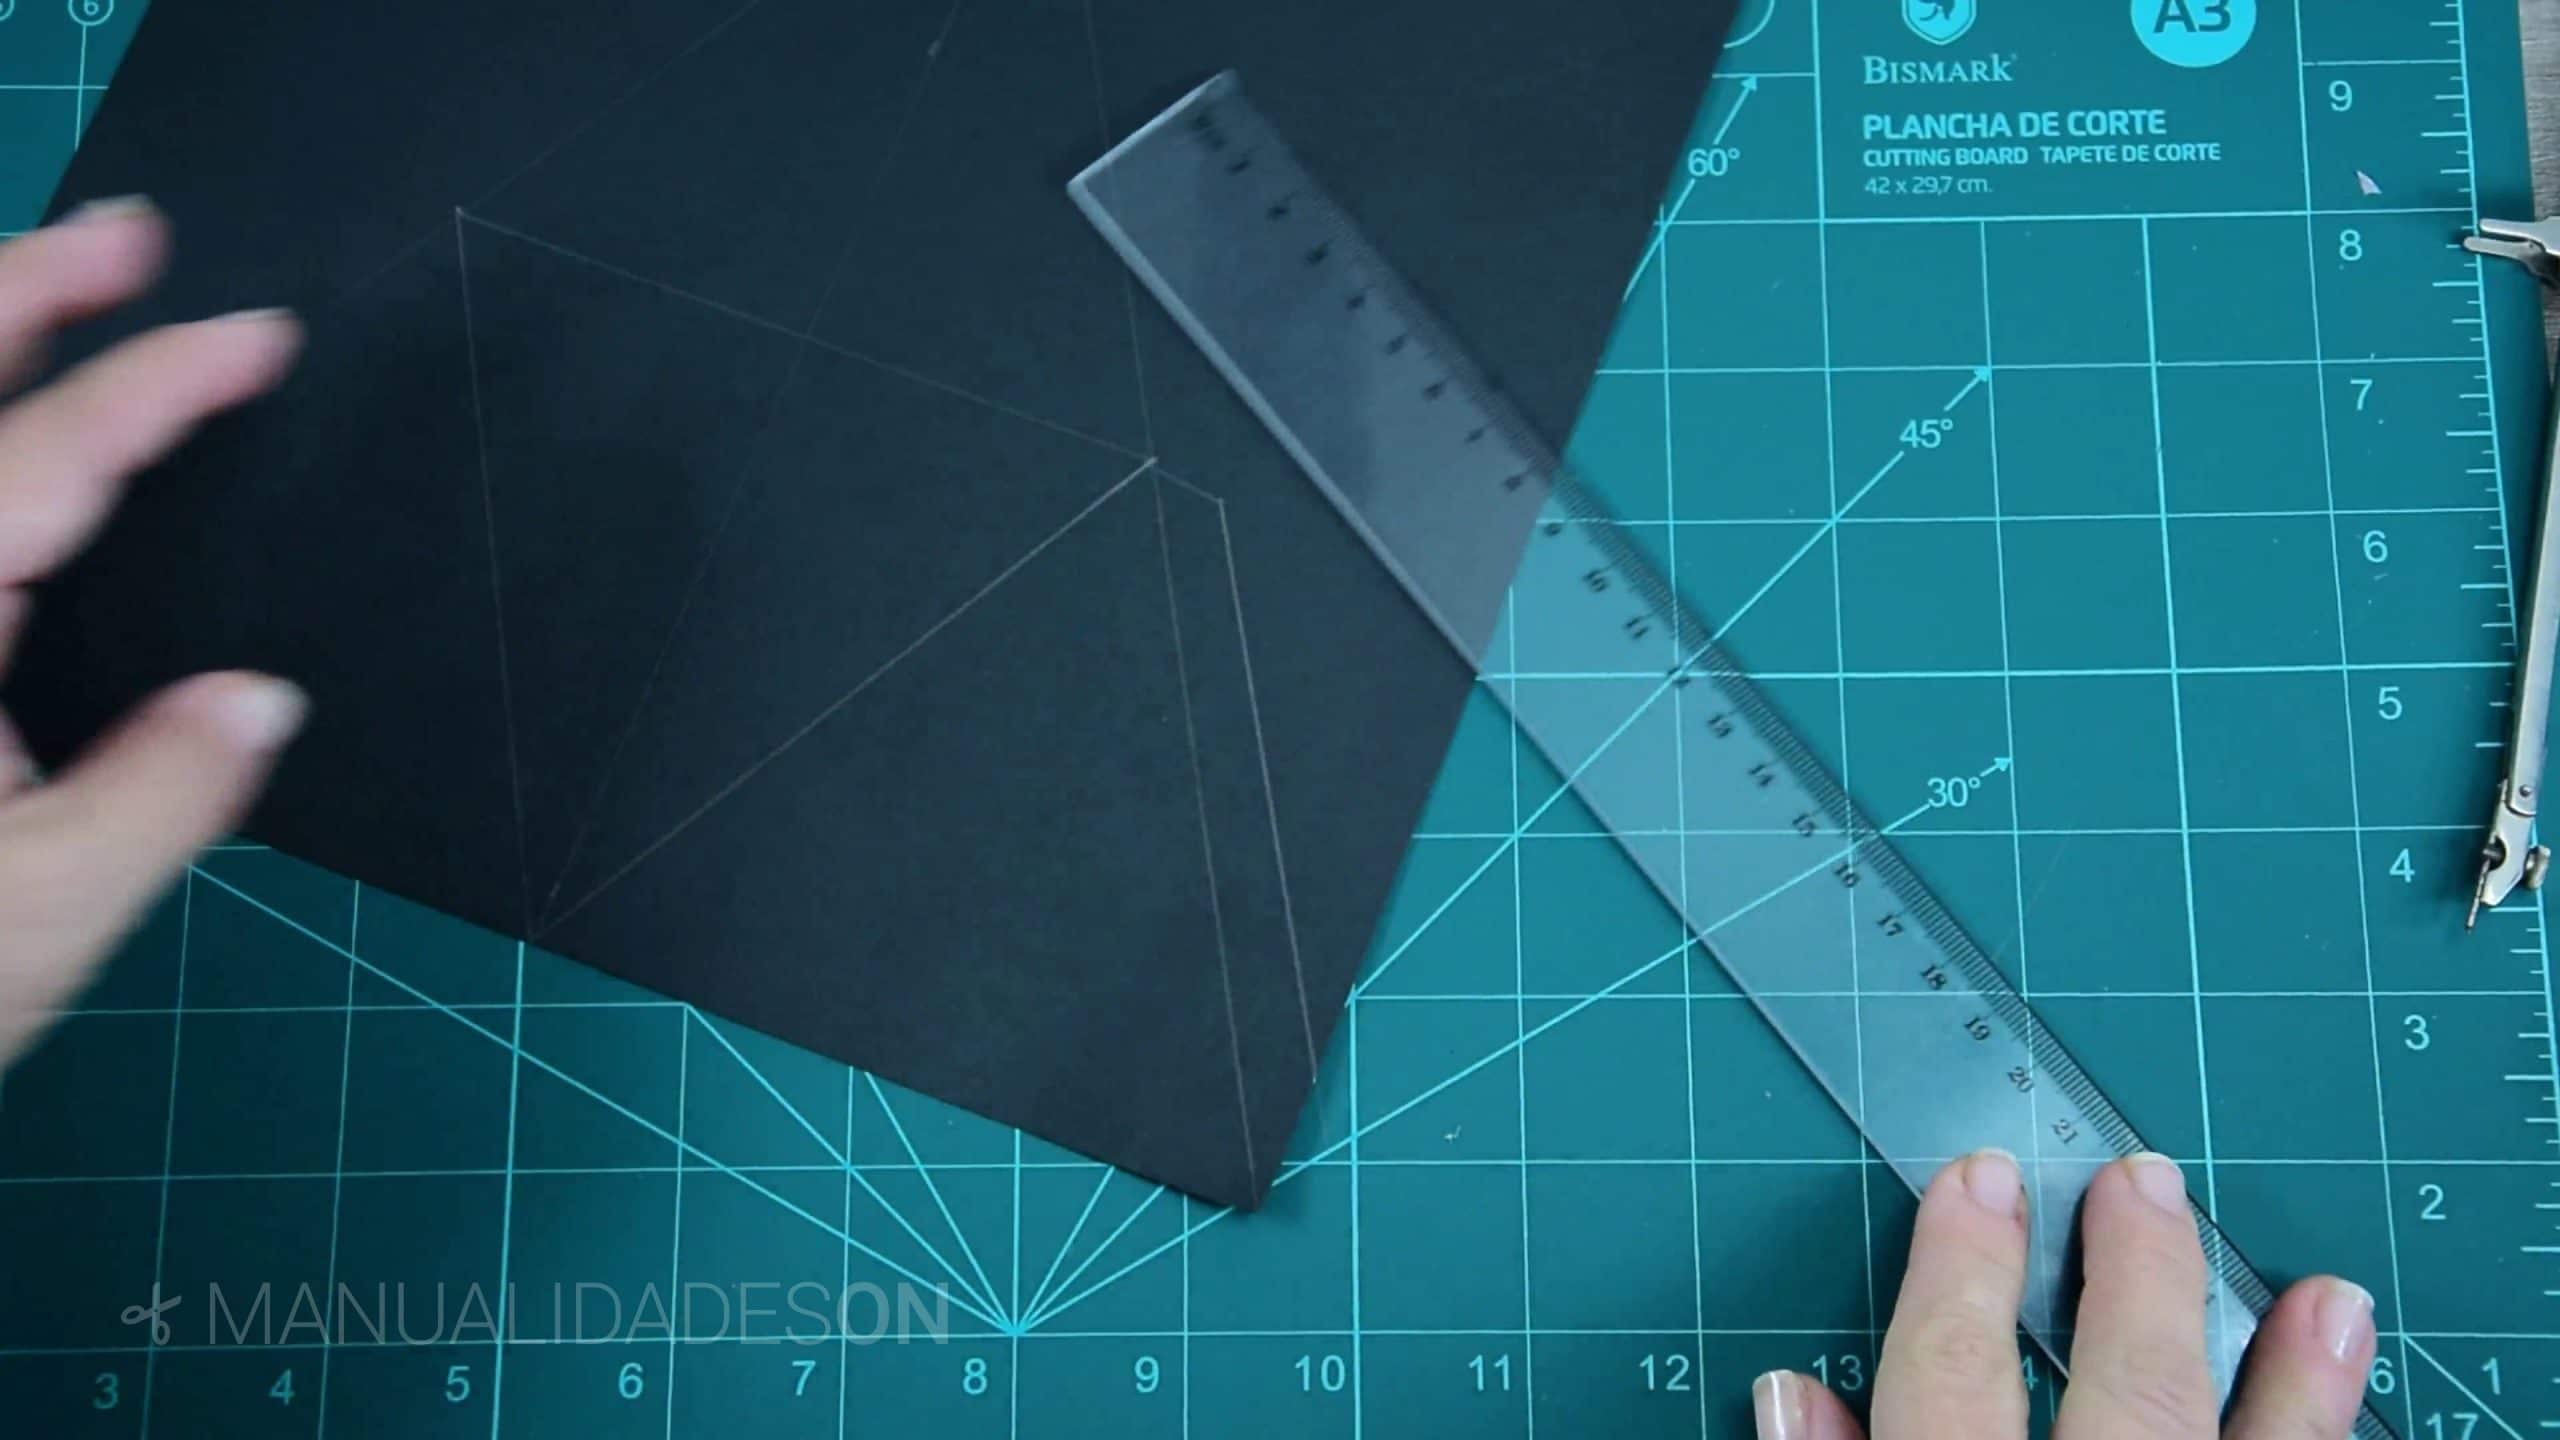
We choose a cardboard folio A4 size, let's draw a line in the center and along it.
Second step:
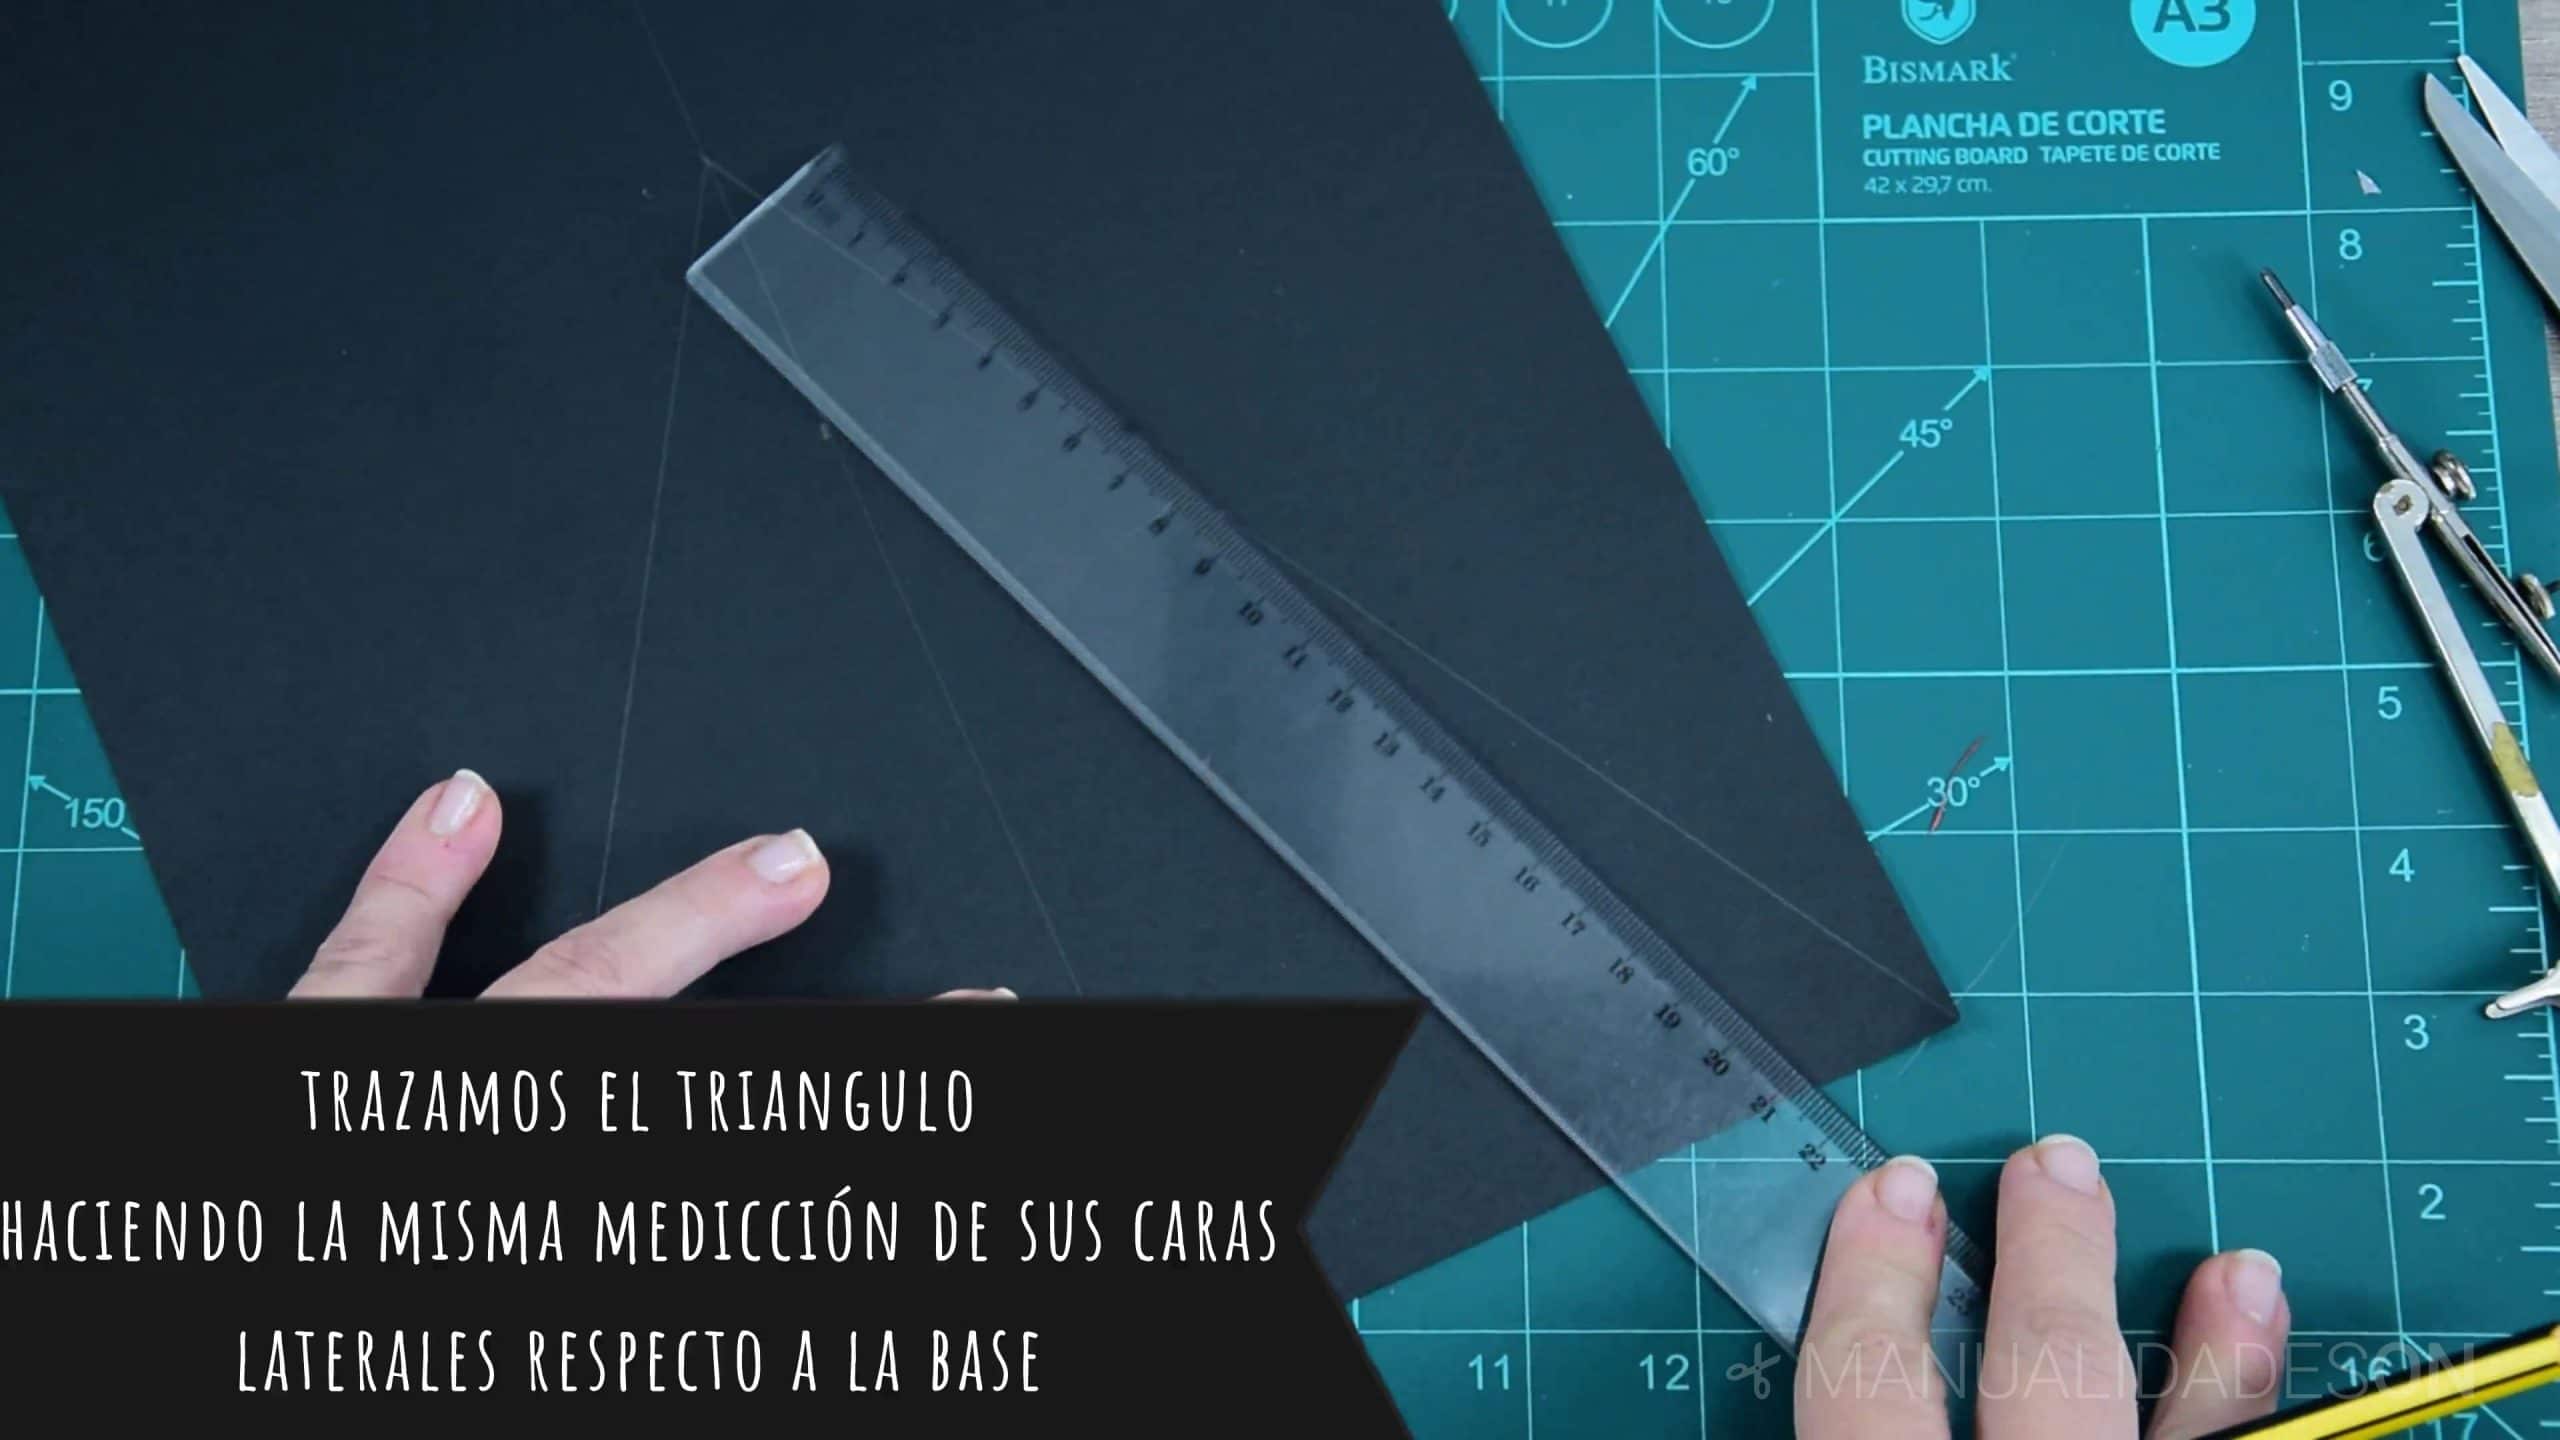
We measure the narrowest side of the cardboard folio. In my case it measures 24cm. We choose one of the corners of the narrow side and we will mark a line 24cm towards the center line that we marked earlier. We do the same with the other opposite corner. In this way we will form our equilateral triangle.

Third step:
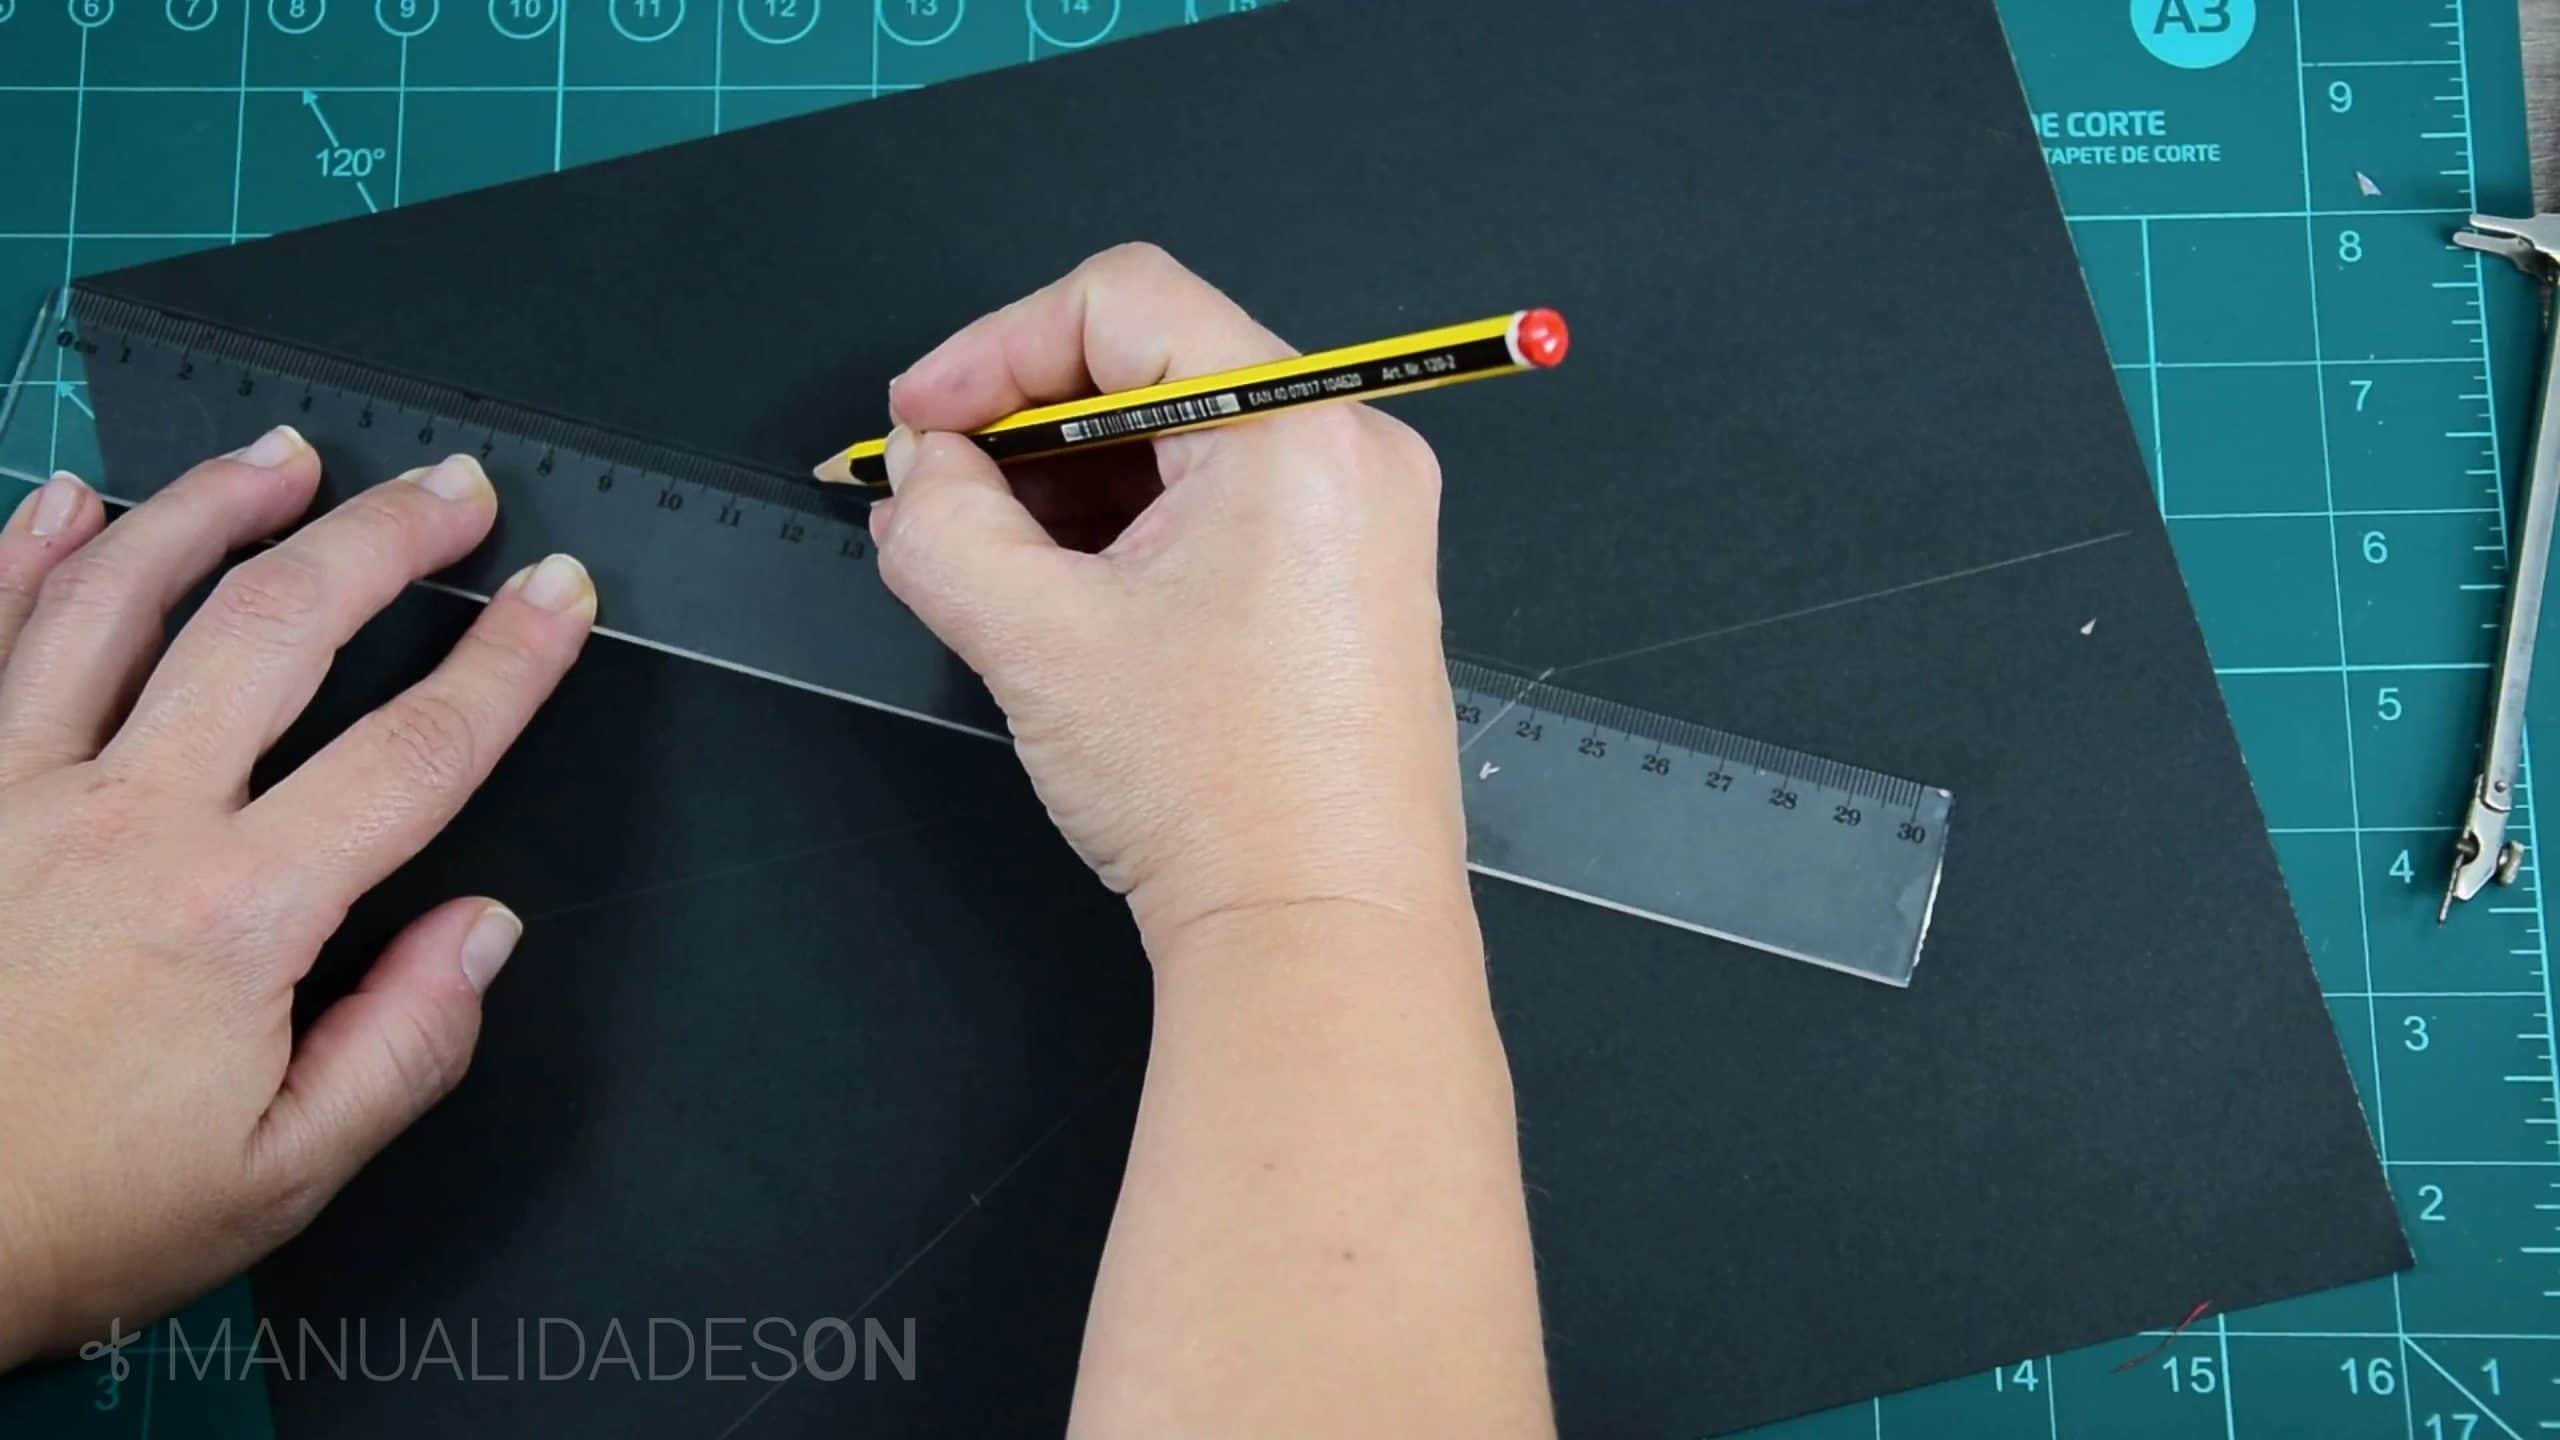
We mark the central part of the sides of the triangle that we had marked. We mark again a straight line. In this way we re-form another triangle.

Fourth step:
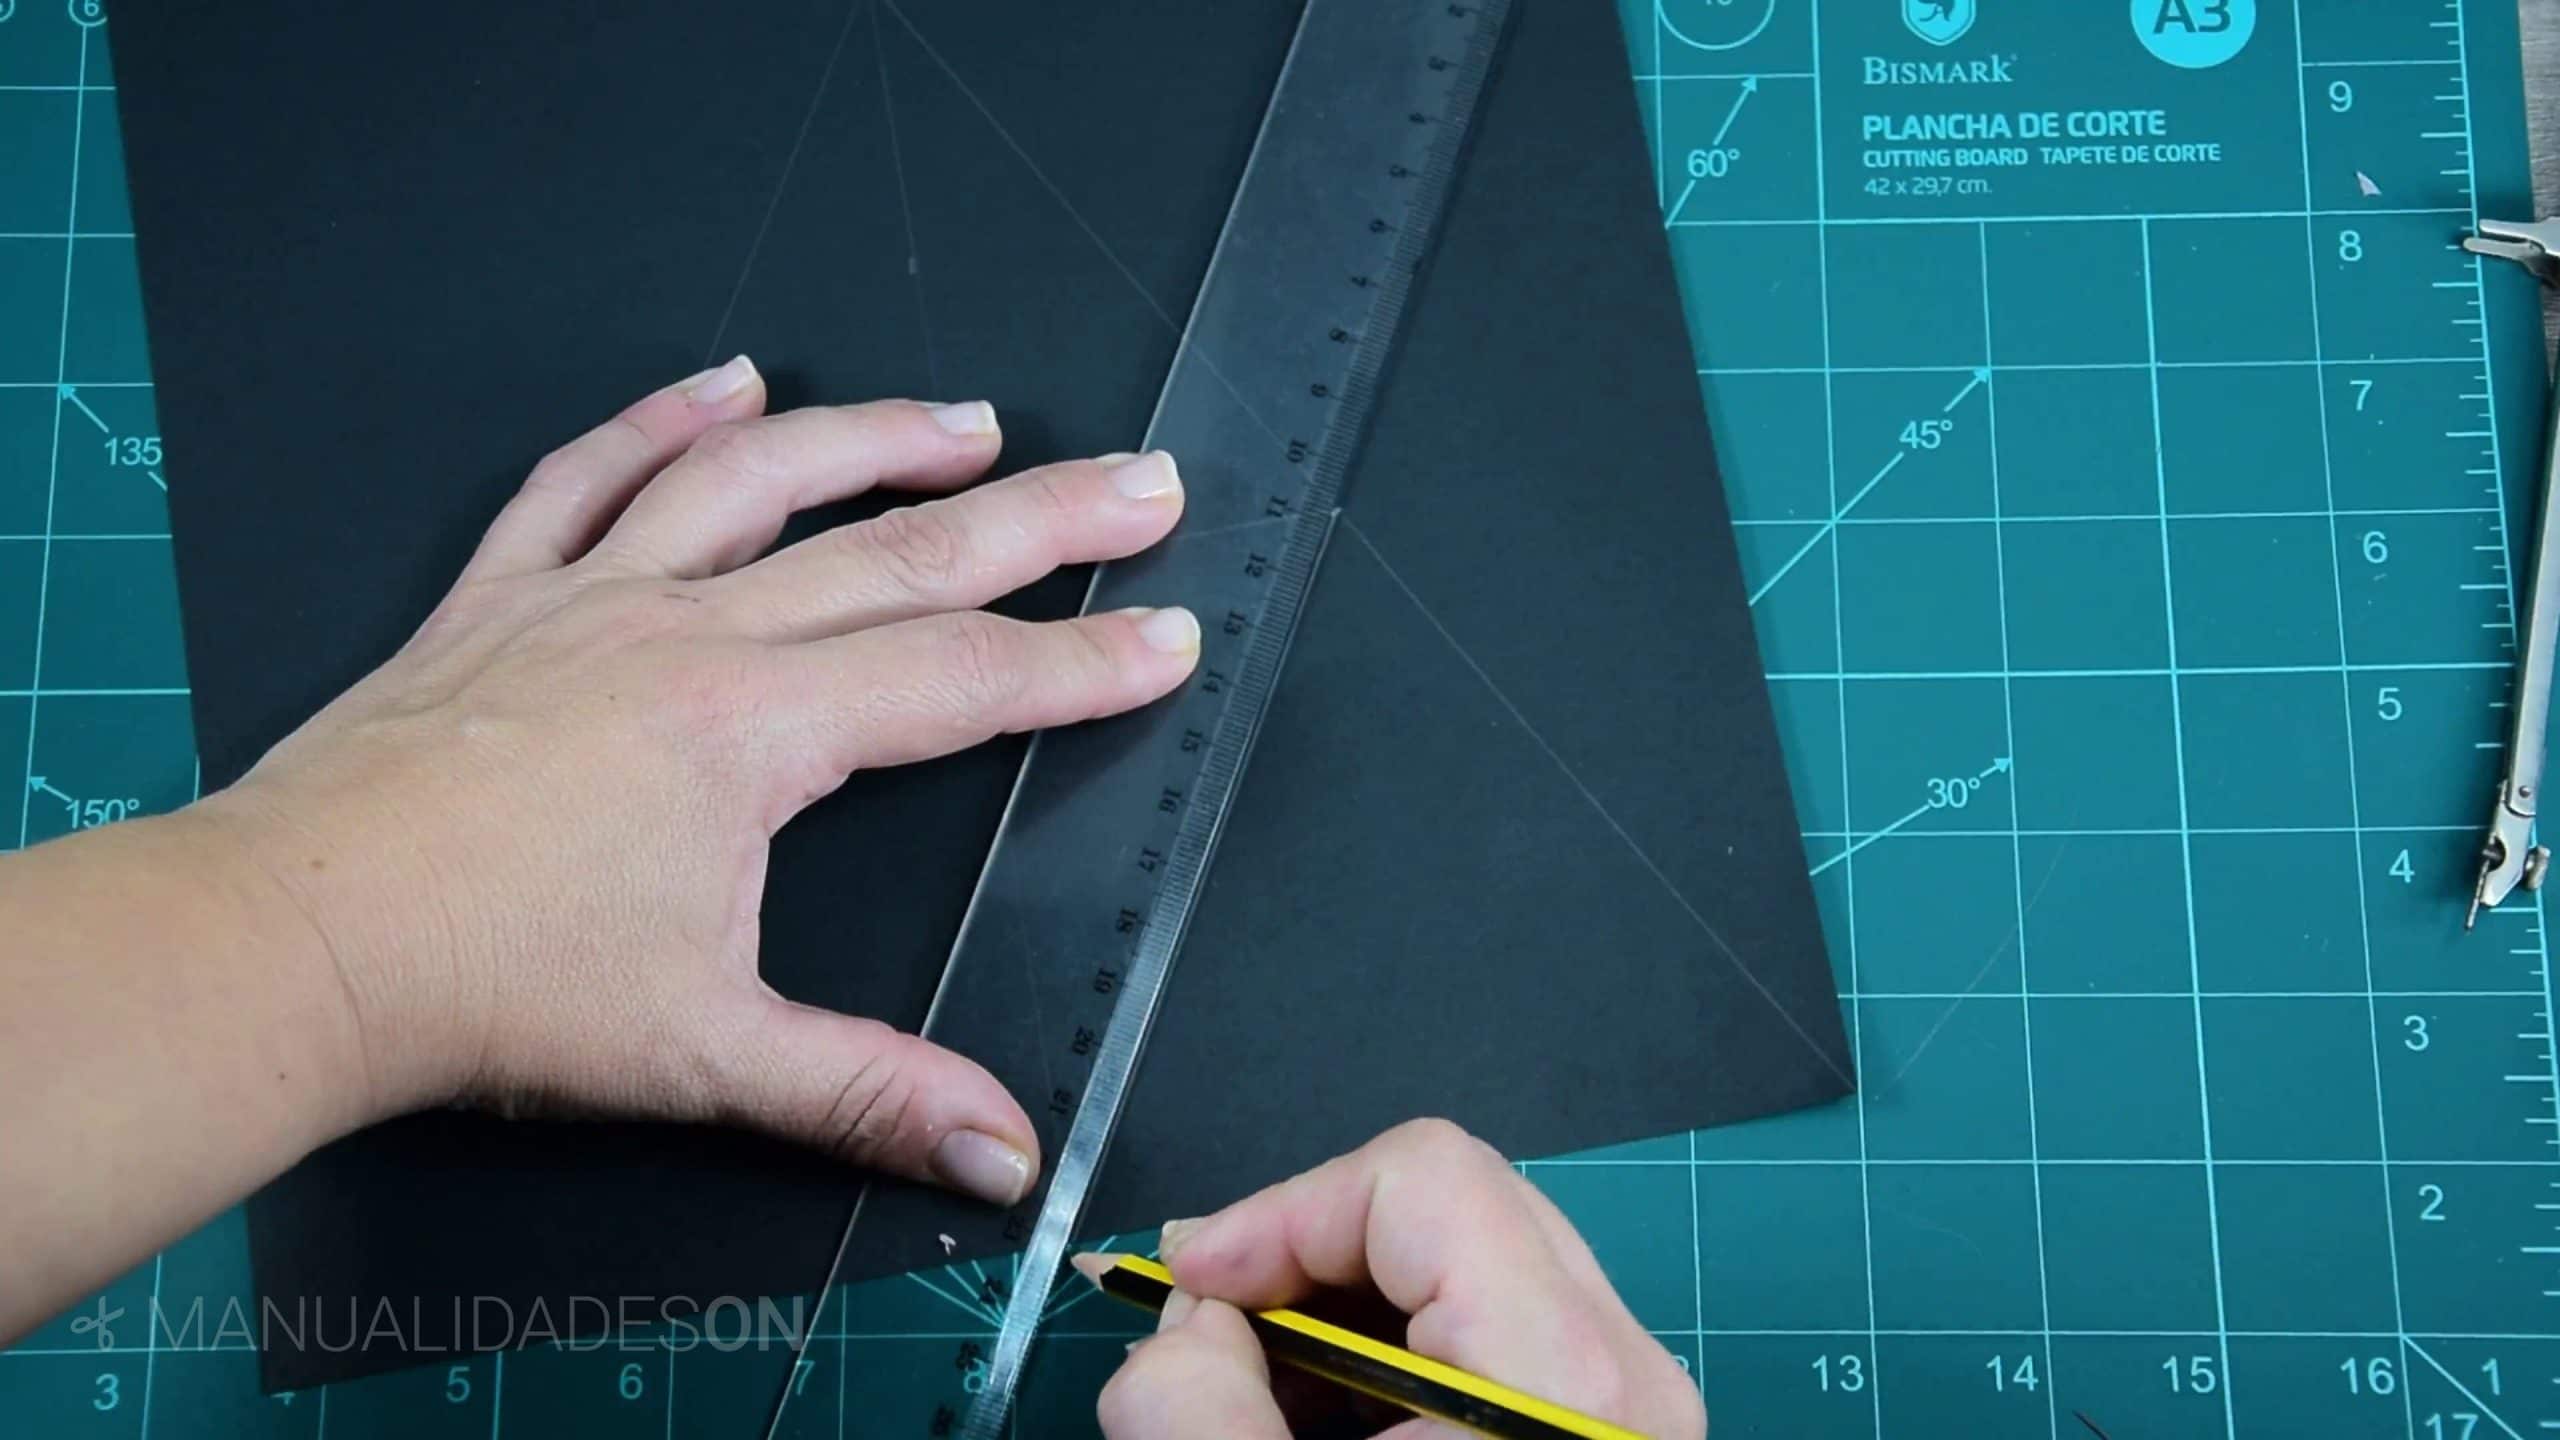
We make the two triangles that we have left. We look at the photos.

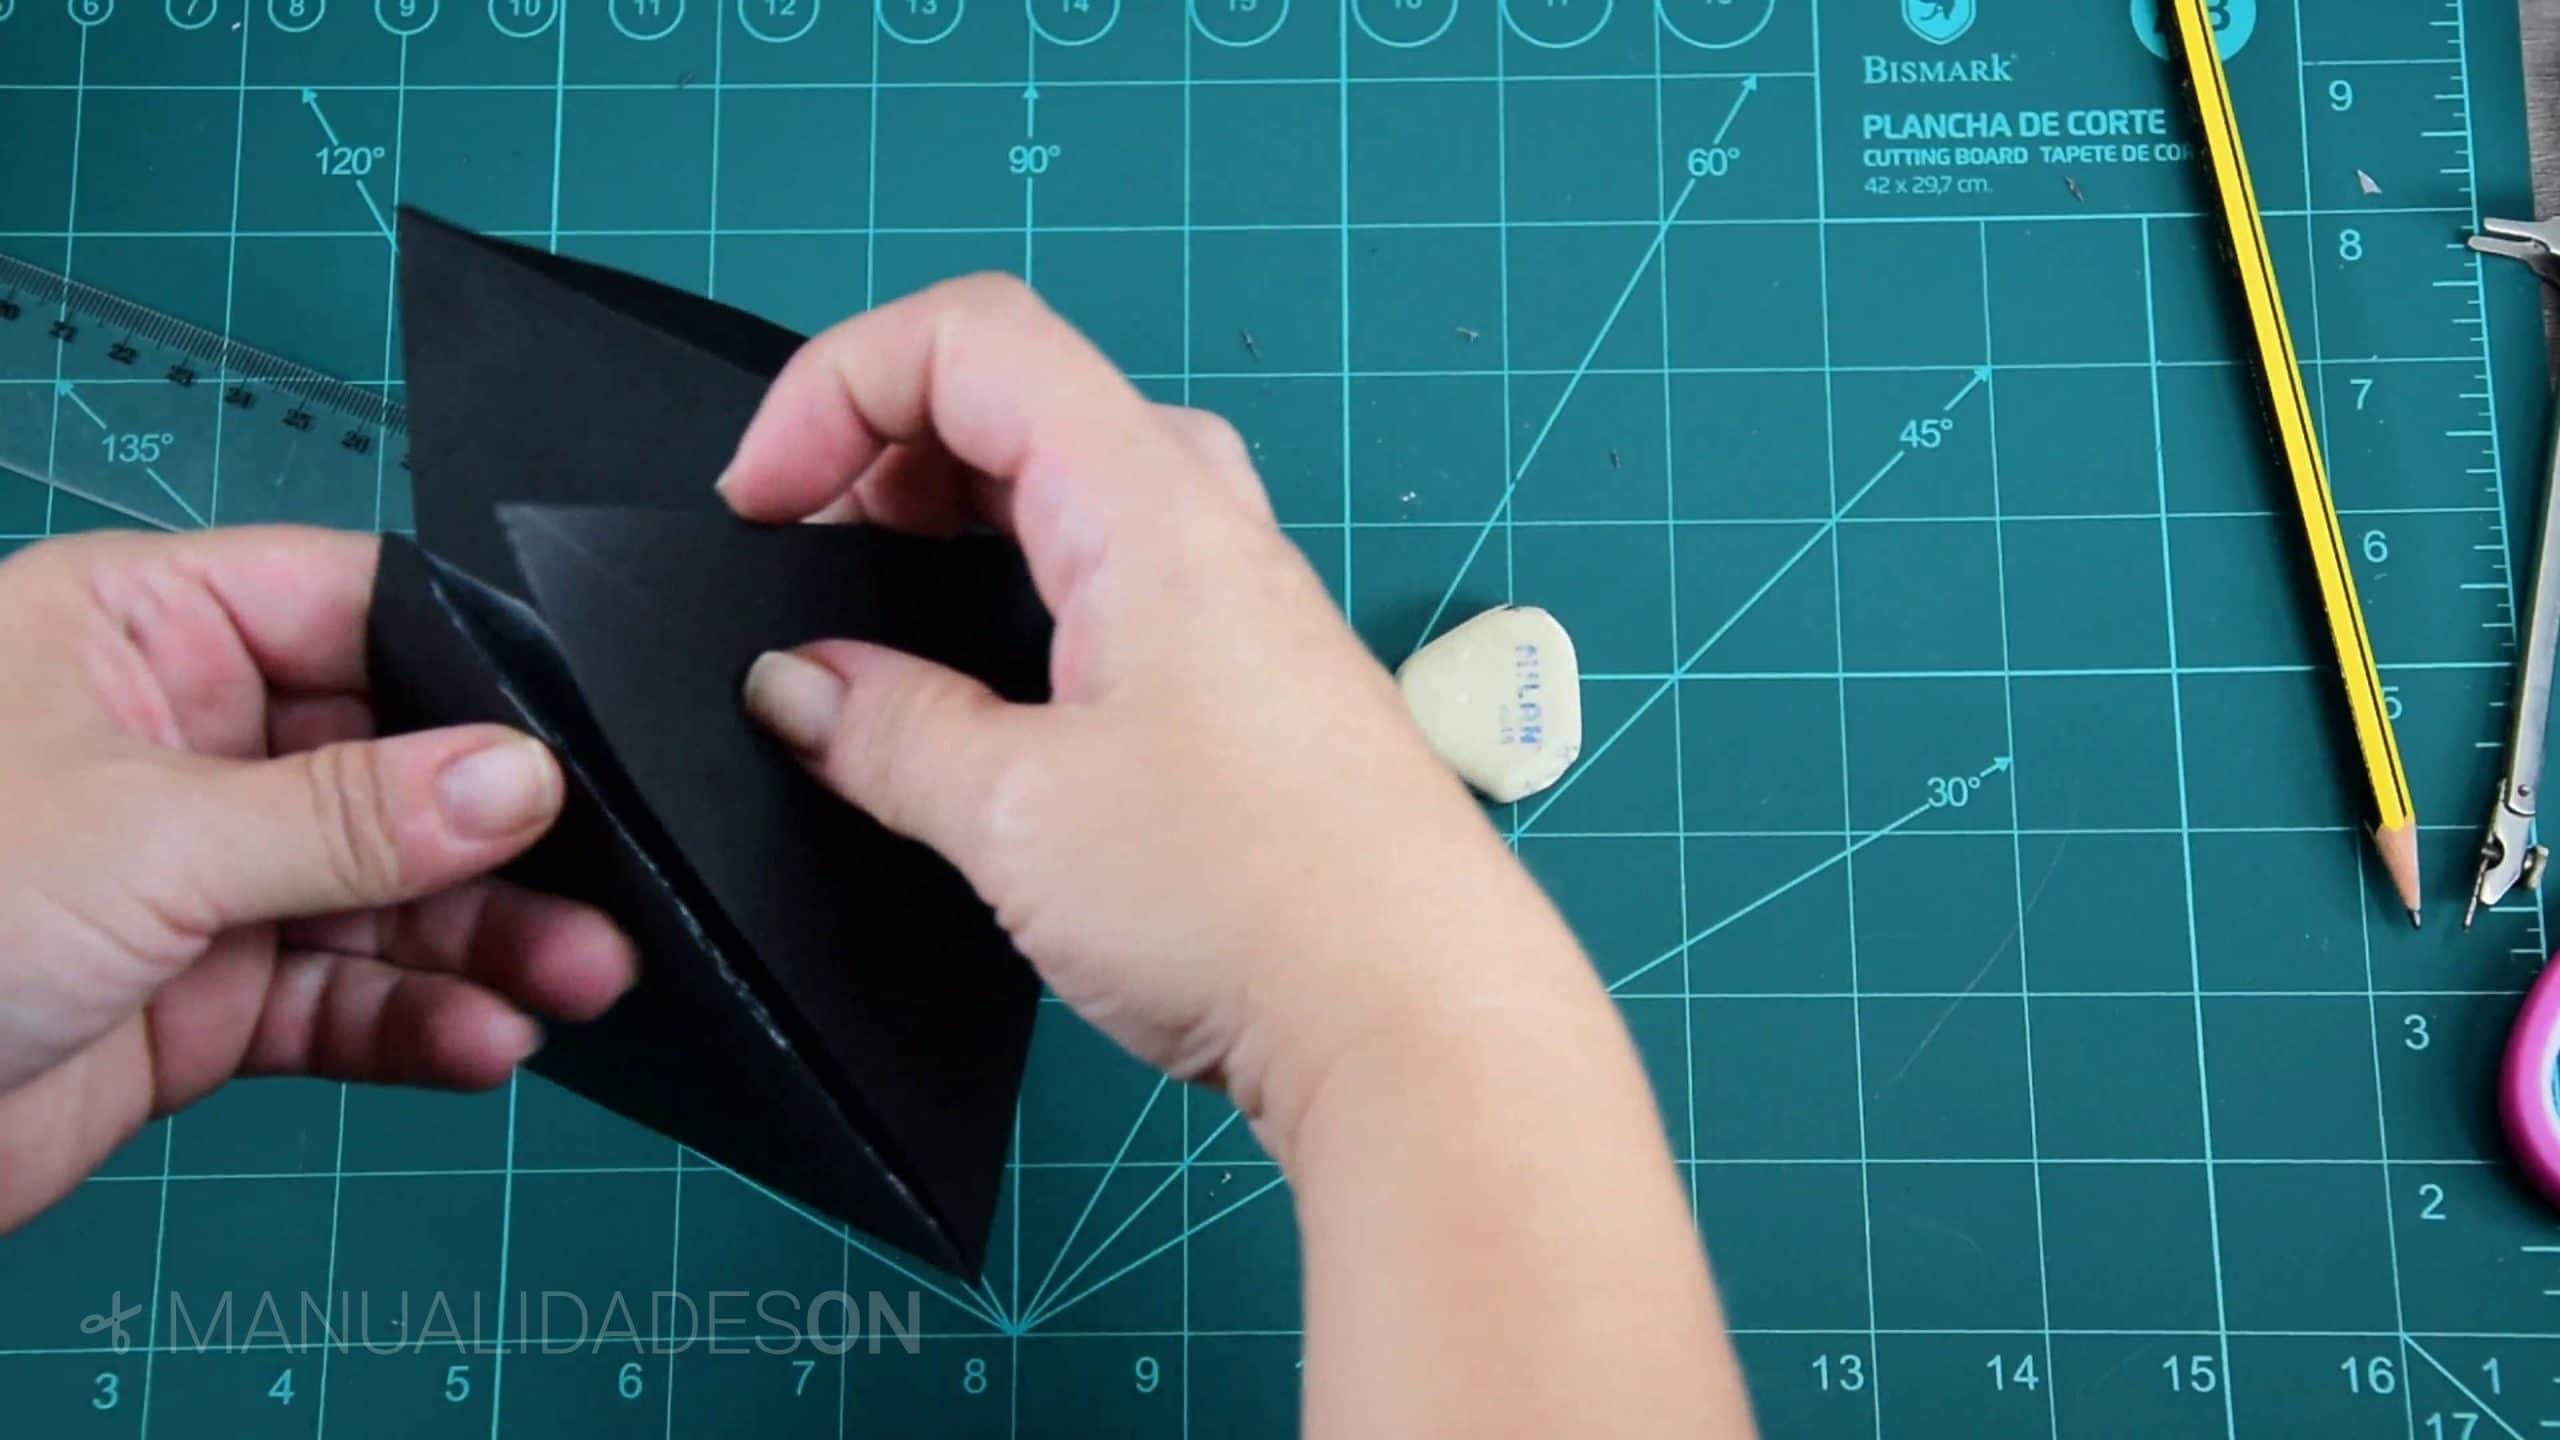
Fifth step:
We draw the lapels to the sides of the triangles so that you can to fit in the pyramid when we build it. We fold the drawn lines.

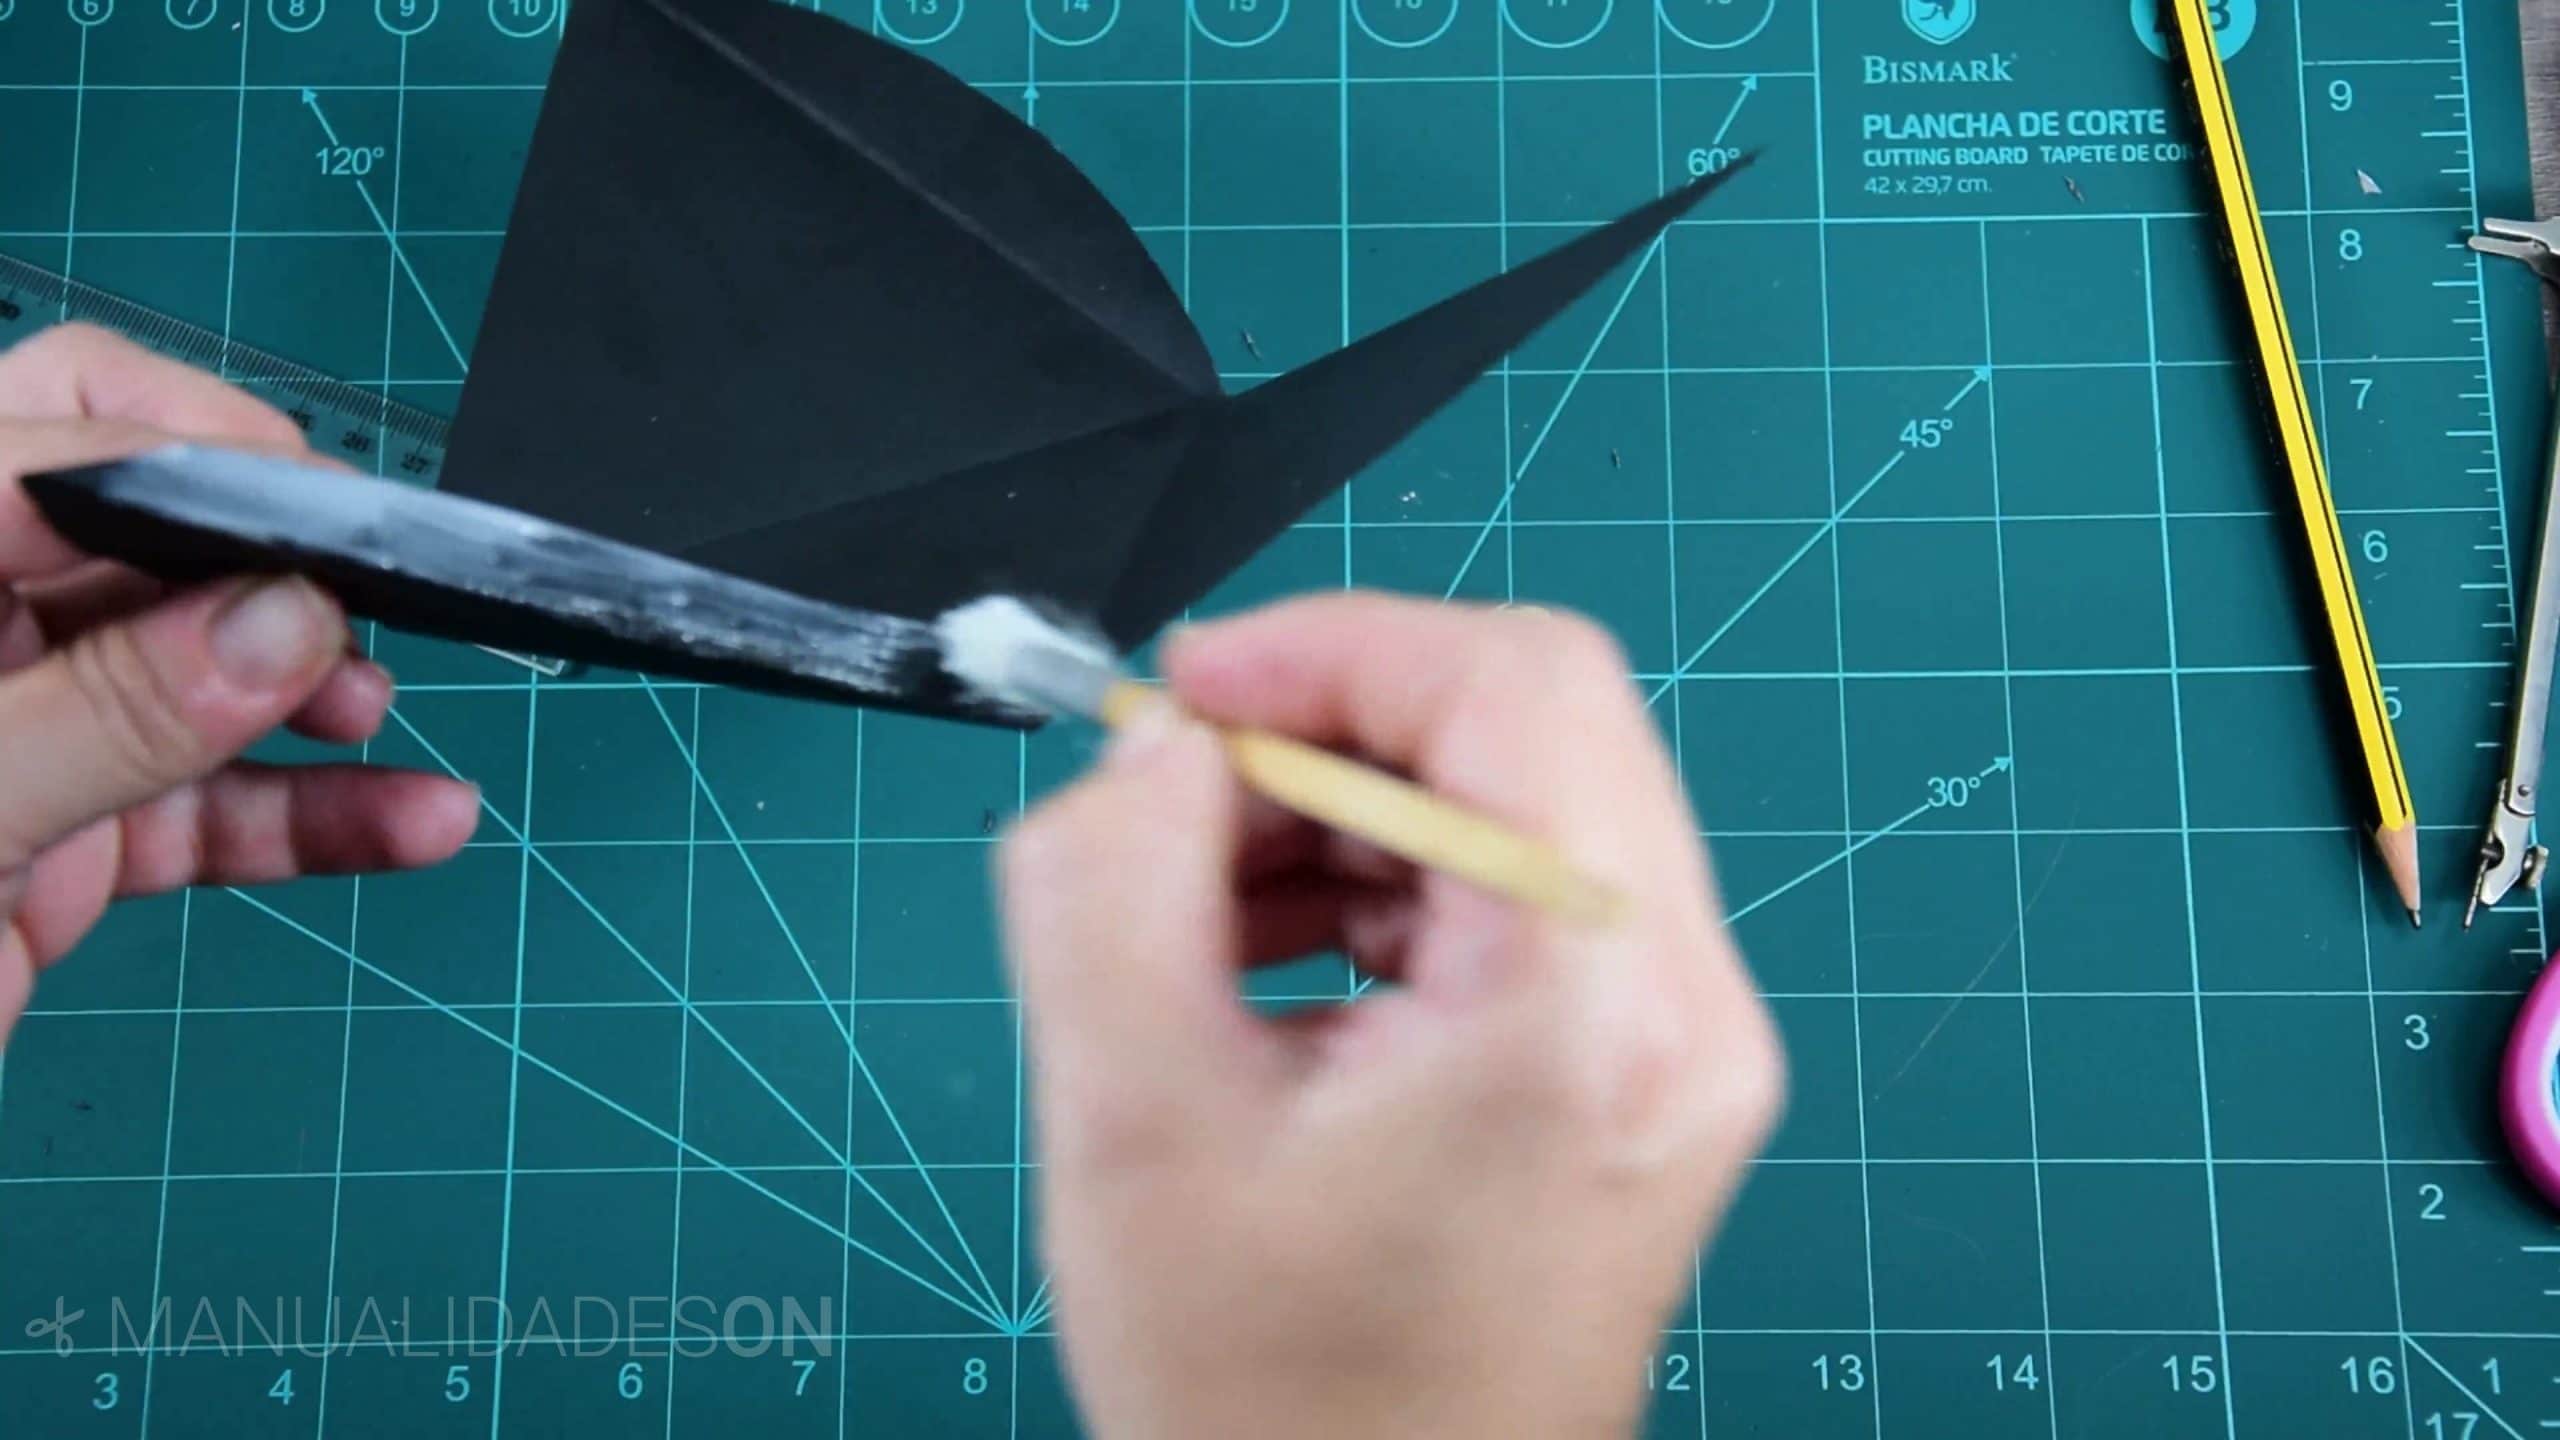
Step Six:
In the square flap that we draw we throw tail to be able to join it with one of the lateral.
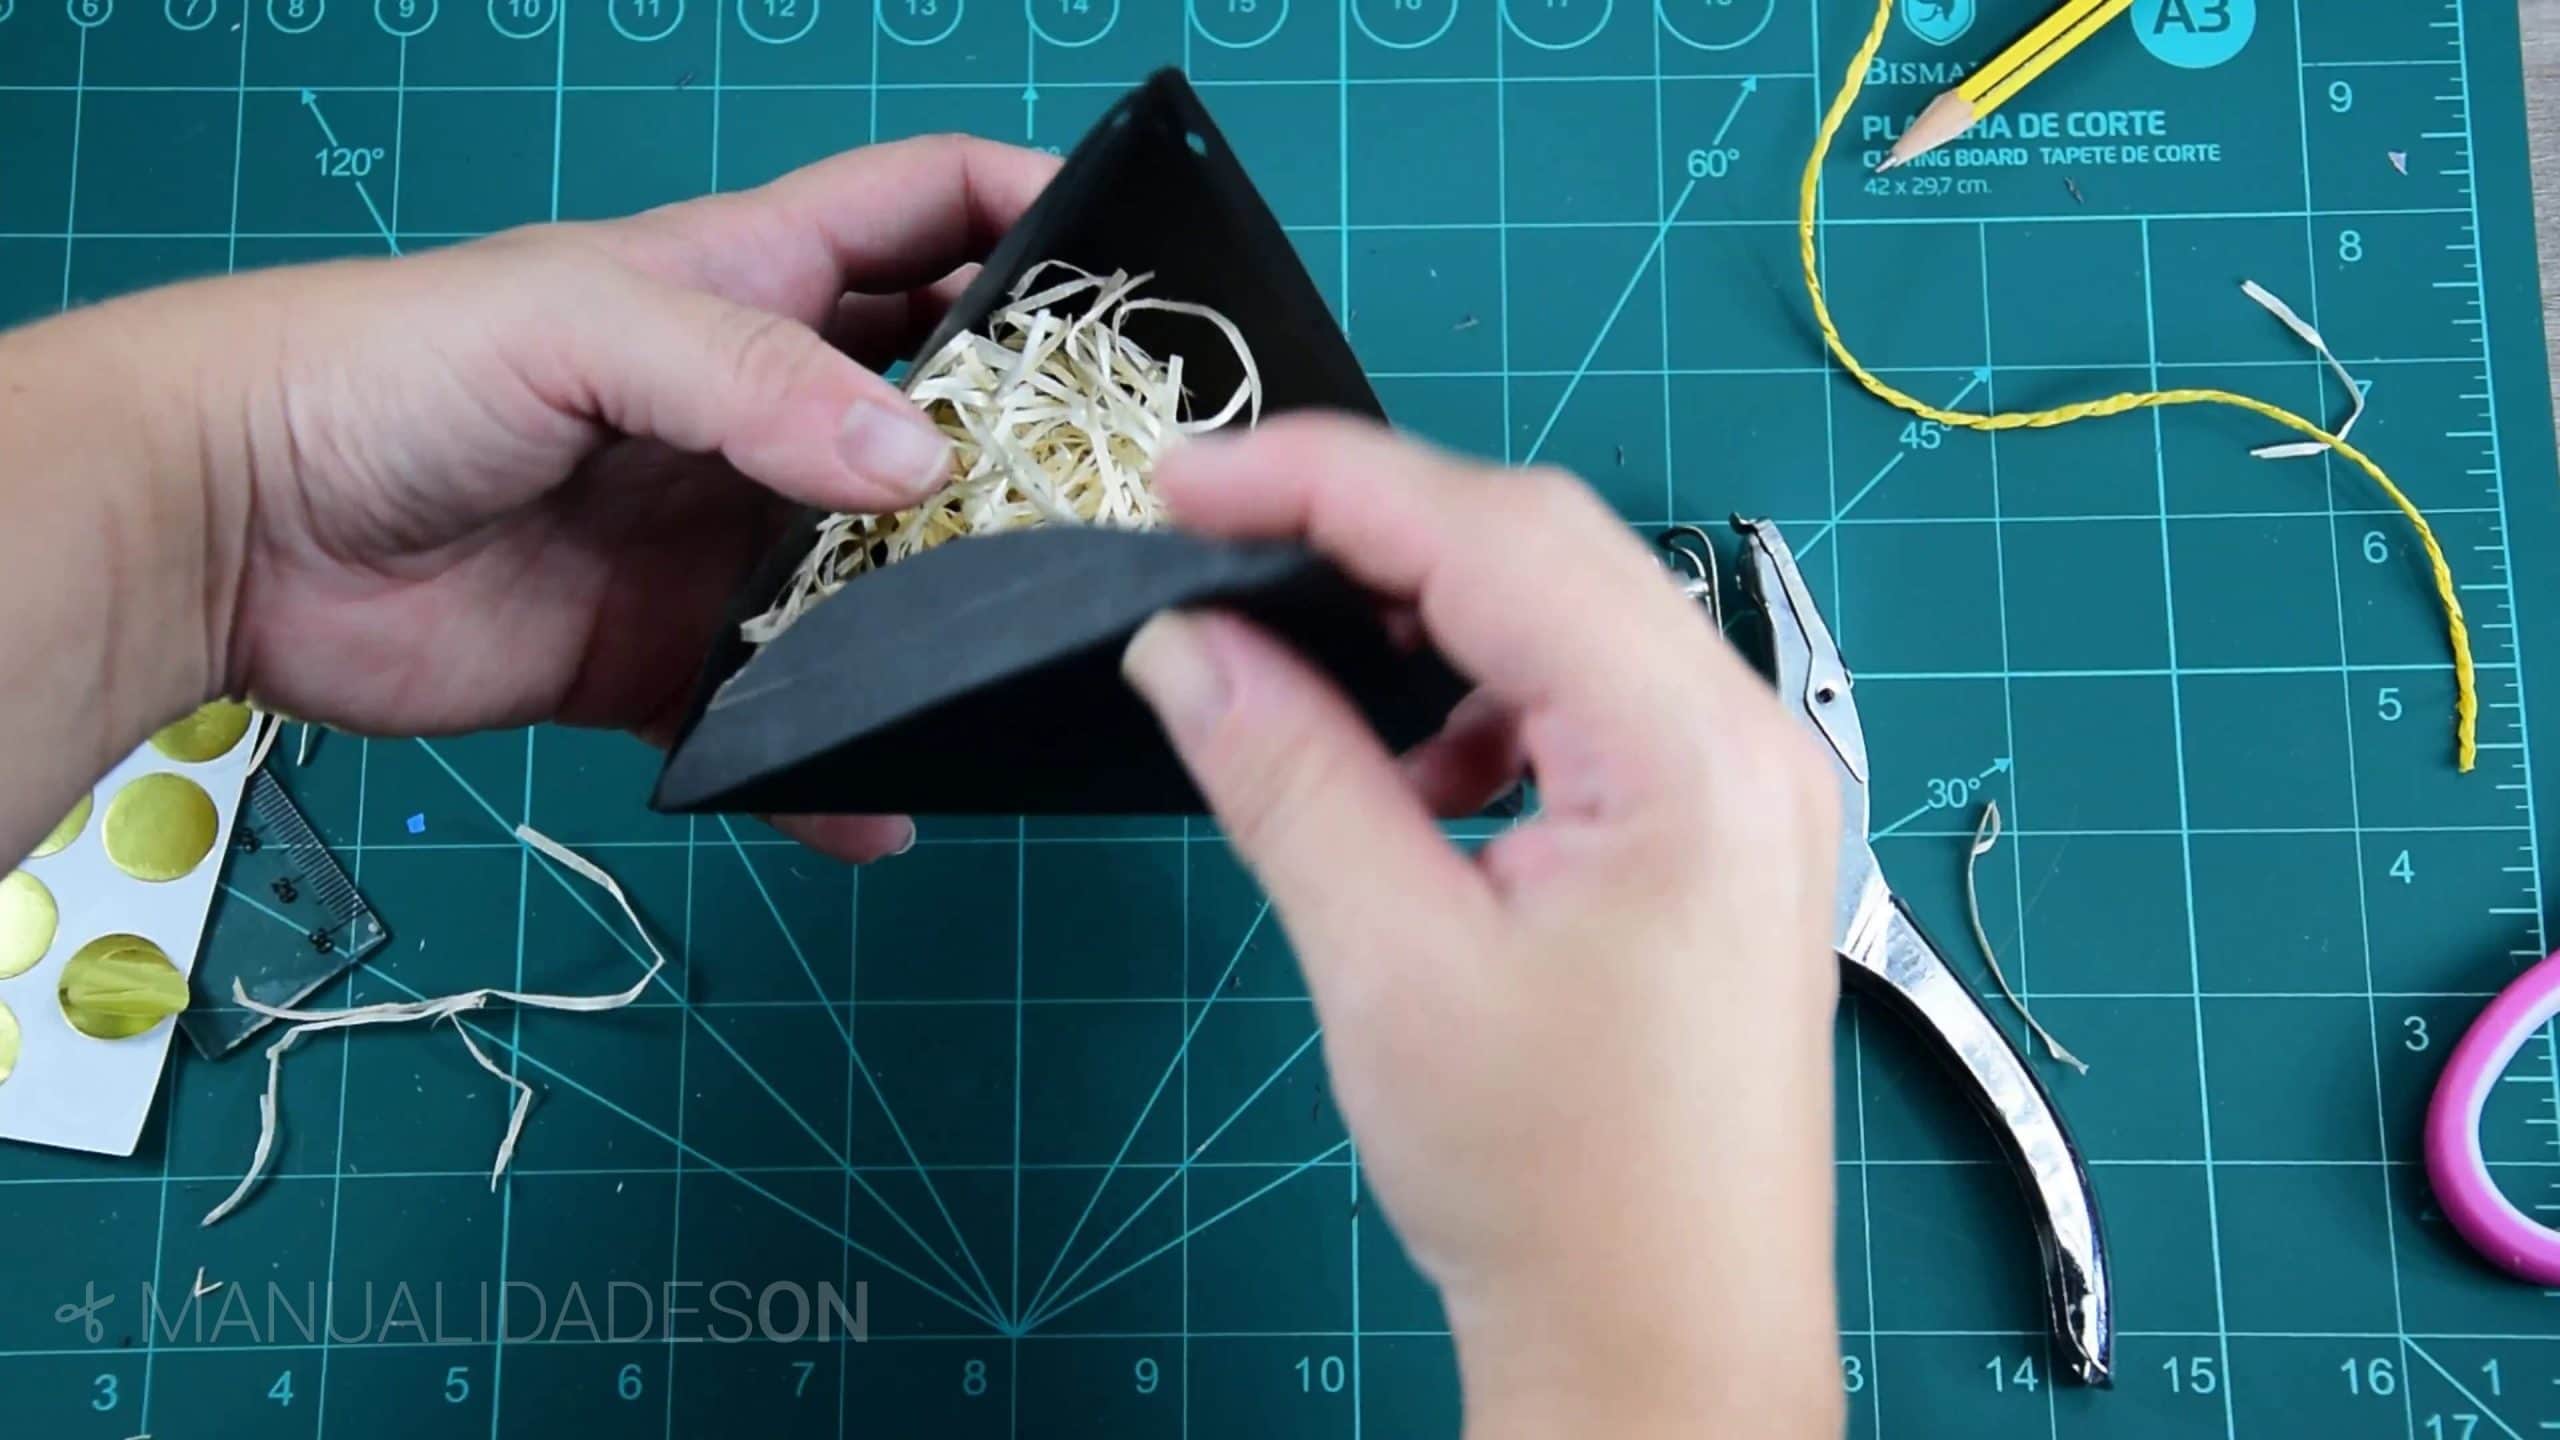
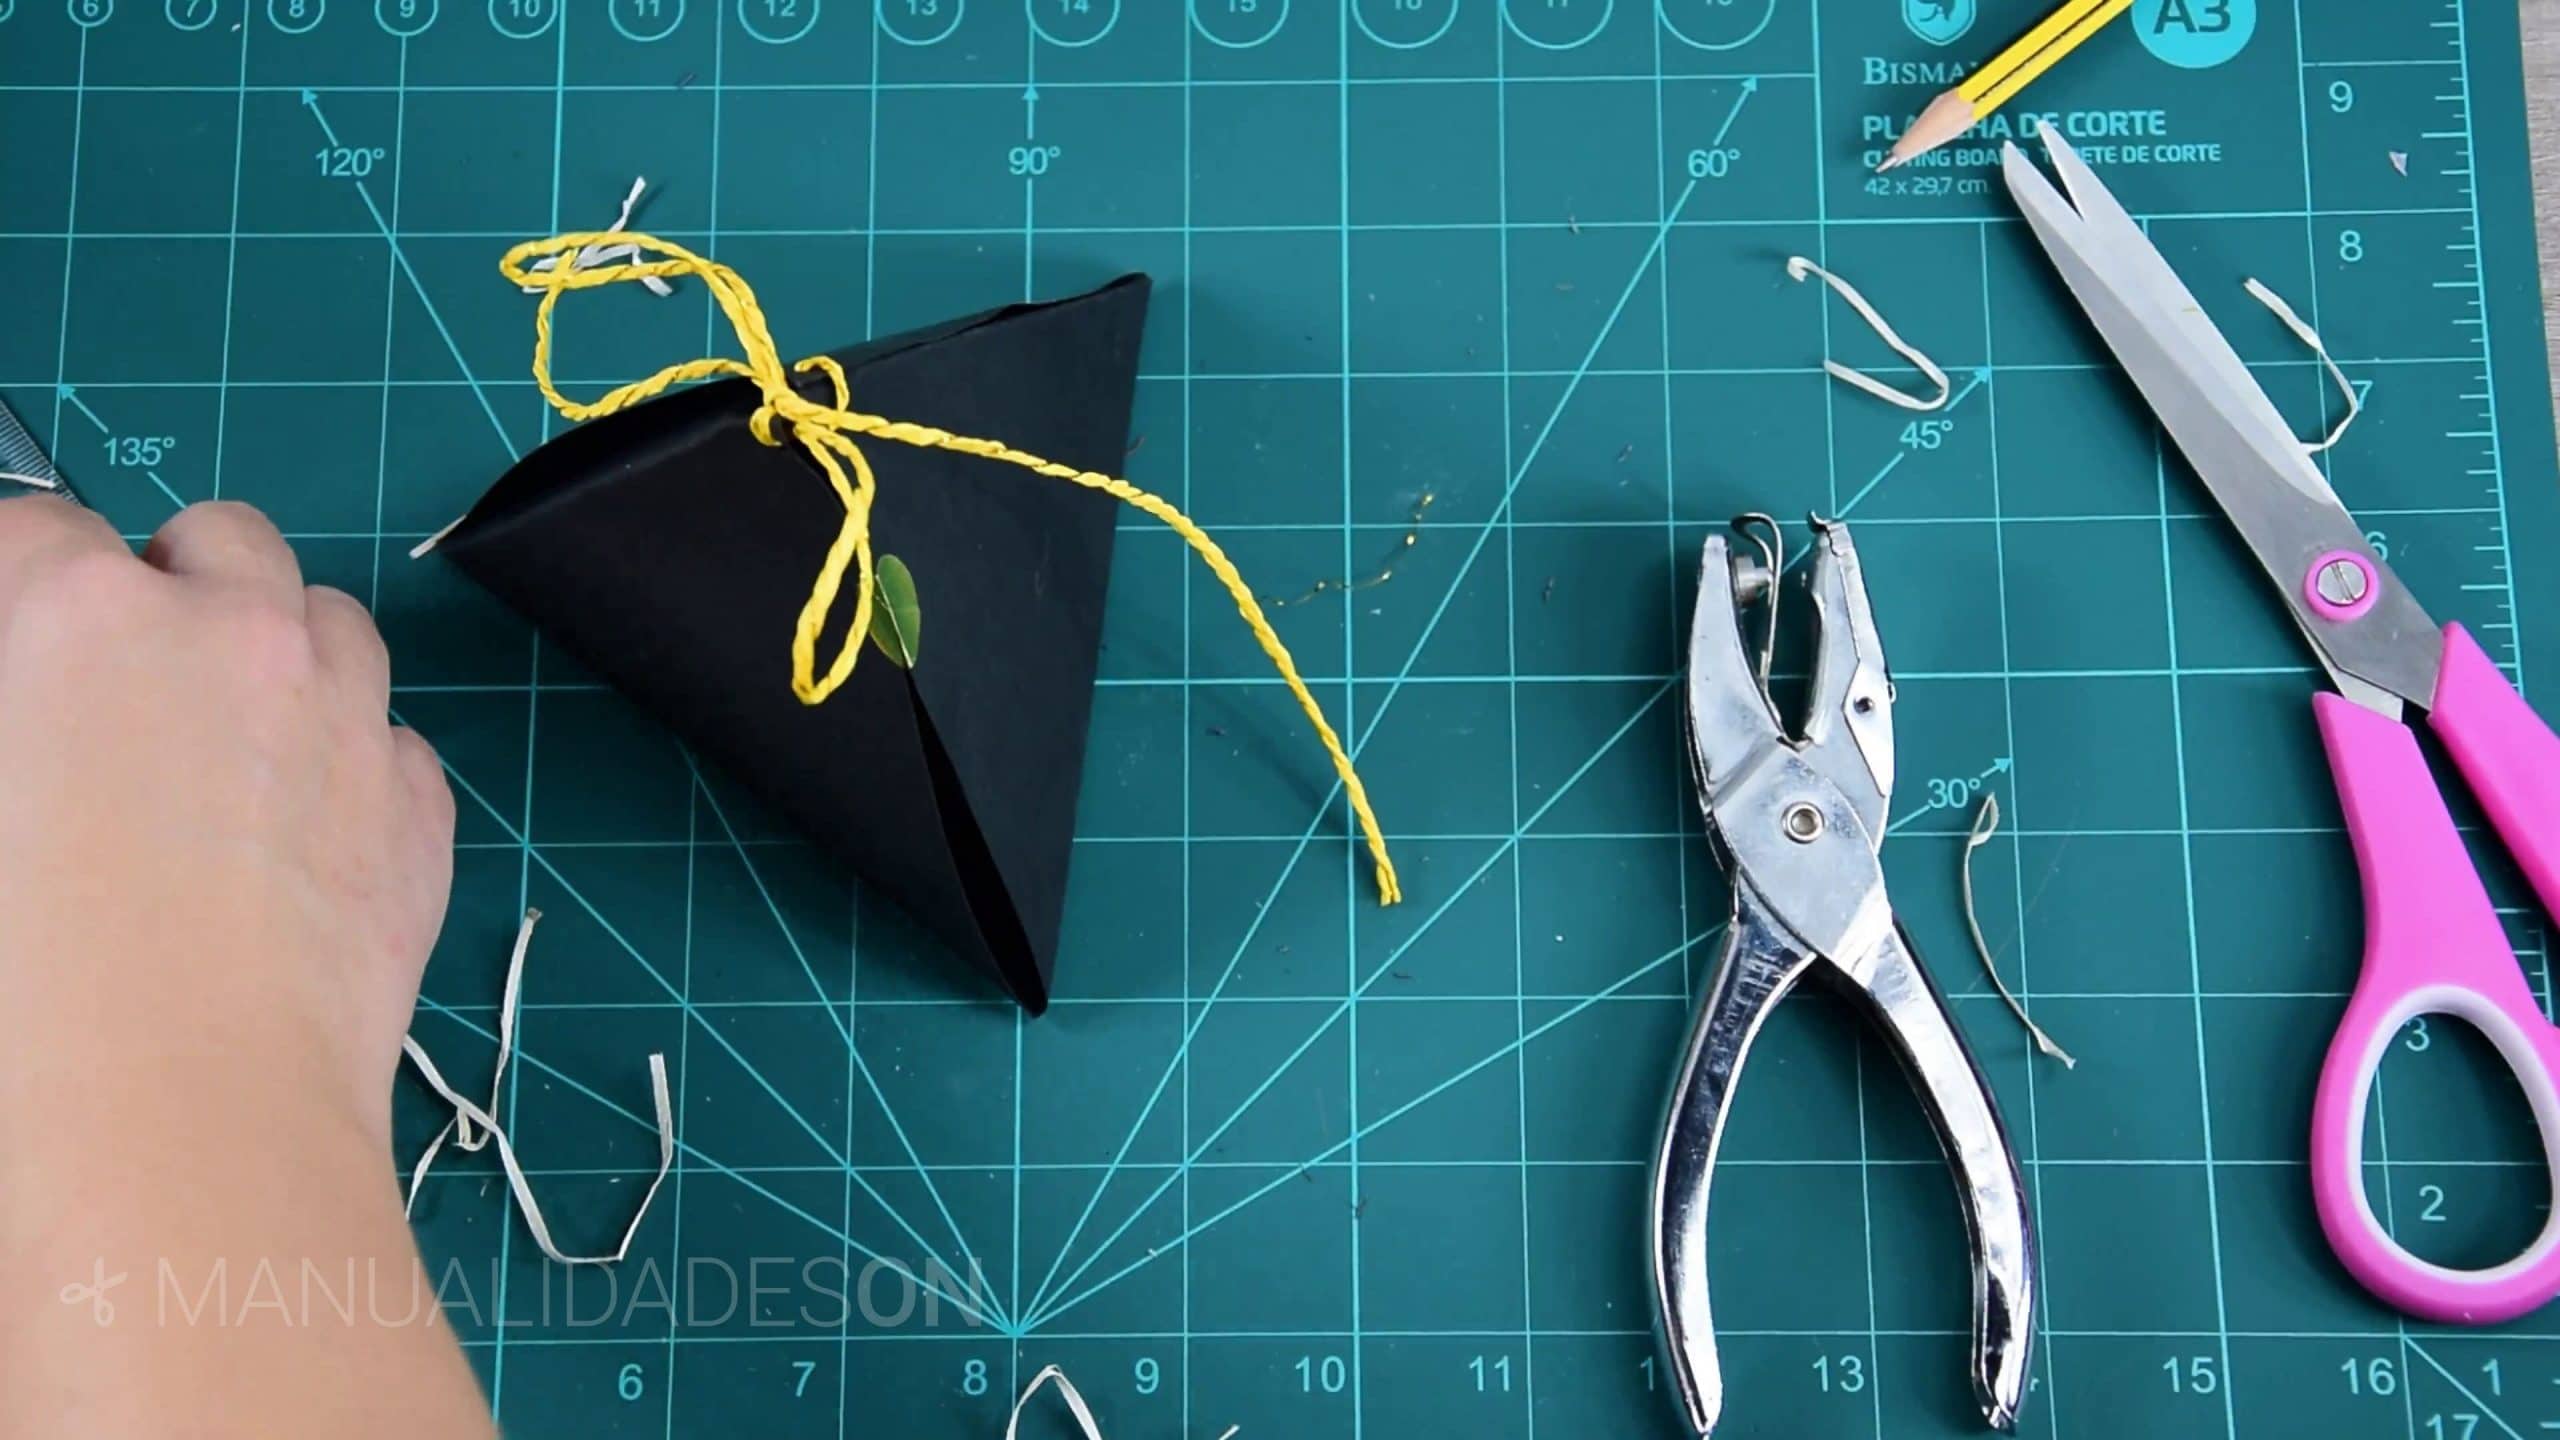
Seventh step:
We fill the box to our liking and we make some holes on the cusps of the pyramid, with these holes we can pass a cord that will make the union of the box better. We will have one side unclosed, we can help its closure by placing some stickers decorative.