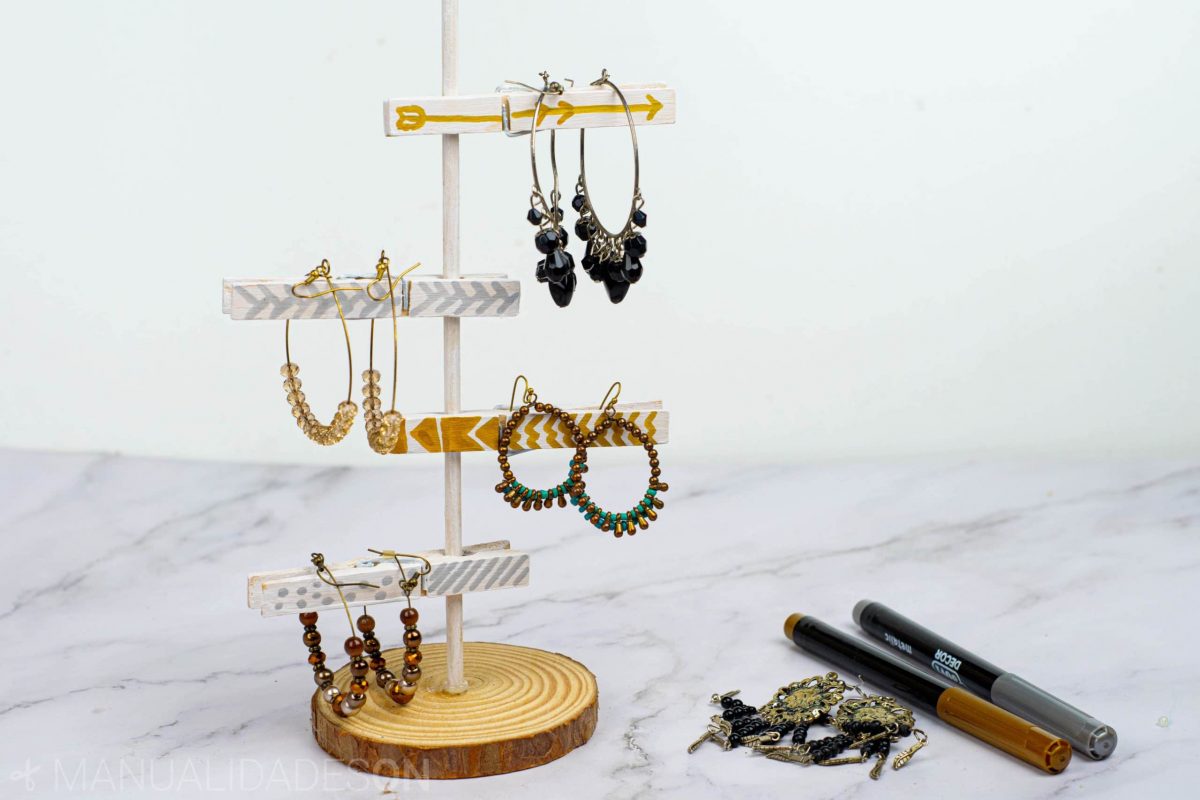
With a little ingenuity we can create this wonderful stand for hanging earrings. We needed a wooden stand, a stick and some wooden clothespins to which we can give a creative touch. We will paint the stick and the tweezers white to give it a vintage touch and then with some metallic markers you can make very simple and original drawings. You can see our video where we explain step by step how to make this craft.
The materials that I have used are:
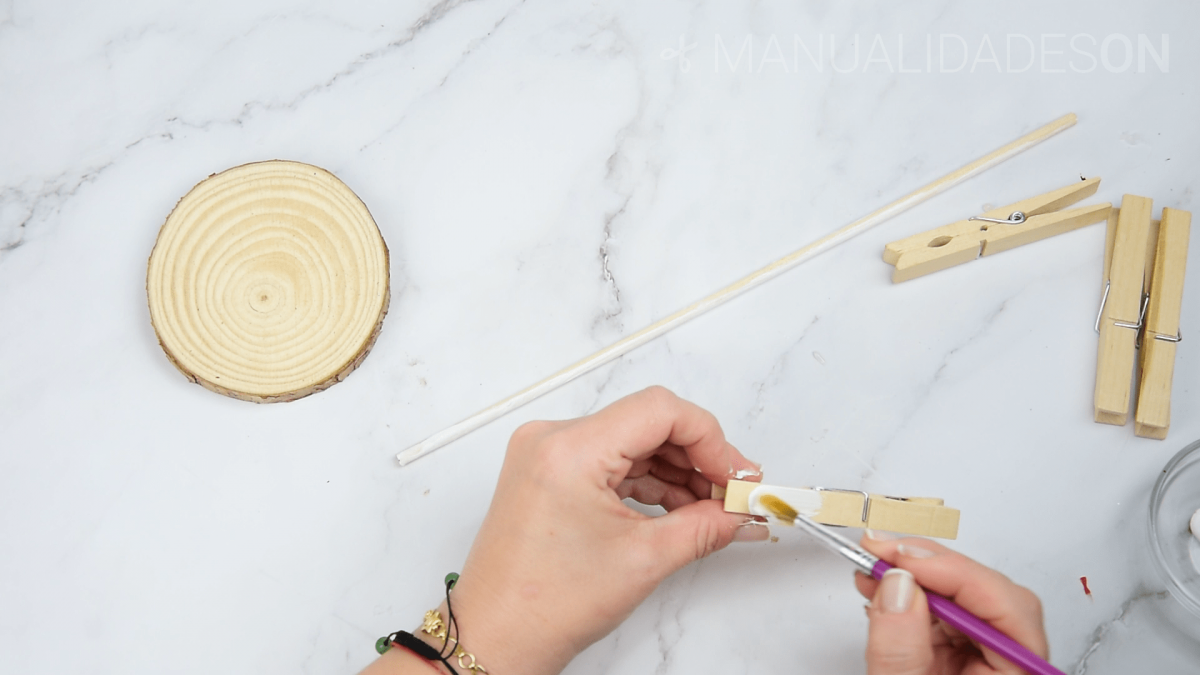
- A round wooden support about 10-12 cm (in my case I found it in a bazaar)
- A wooden stick about 30 cm long
- 4-6 wooden clothespins
- White acrylic paint
- A brush
- Gold and silver colored markers
- Hot silicone and gun
- A round-tip screwdriver that matches the thickness of the stick
- A hammer
You can see this craft step by step in the following video:
First step:
We take the stick and the tweezers and we started to paint them with our acrylic paint. We will paint in parts, we can paint the stick on one side and then lay it down to dry. With the tweezers we do the same, we paint a part and let it rest. When all the pieces have dried, we turn them over and repaint the missing parts. We let it dry.
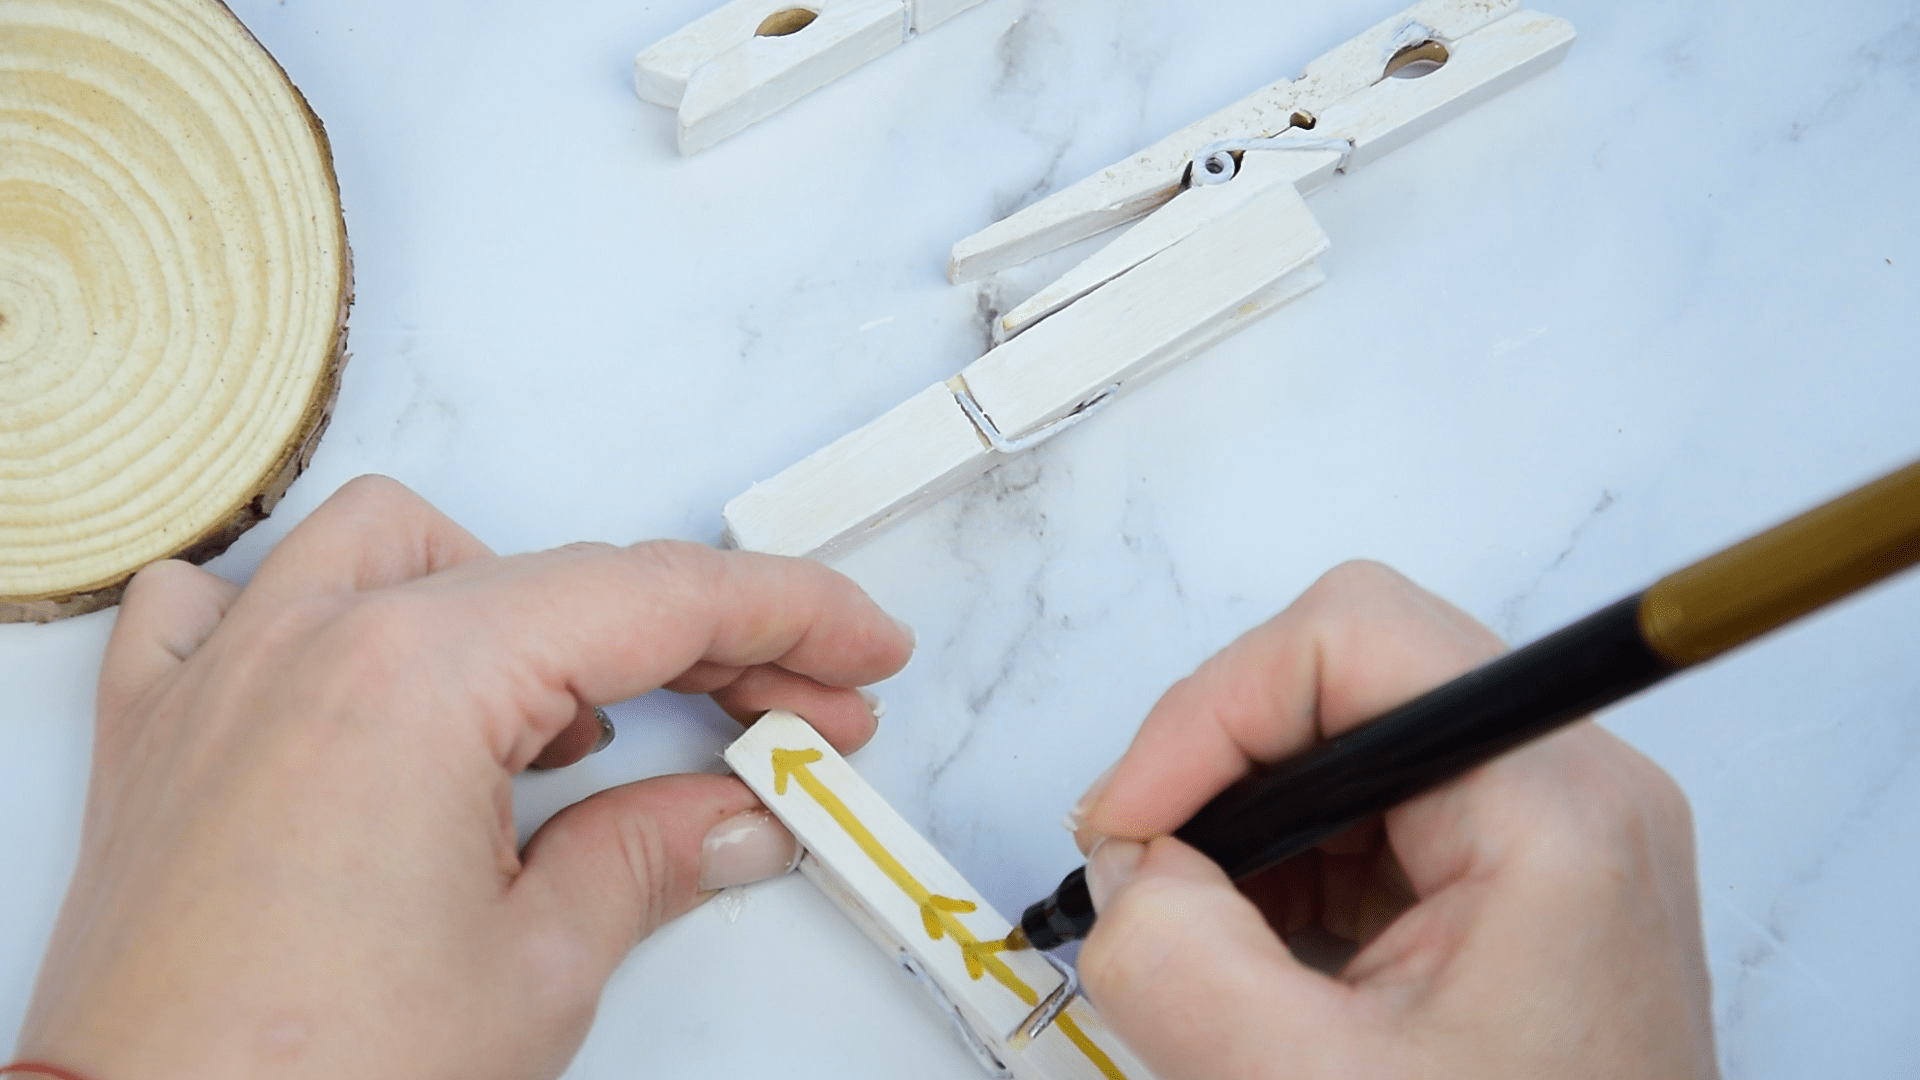
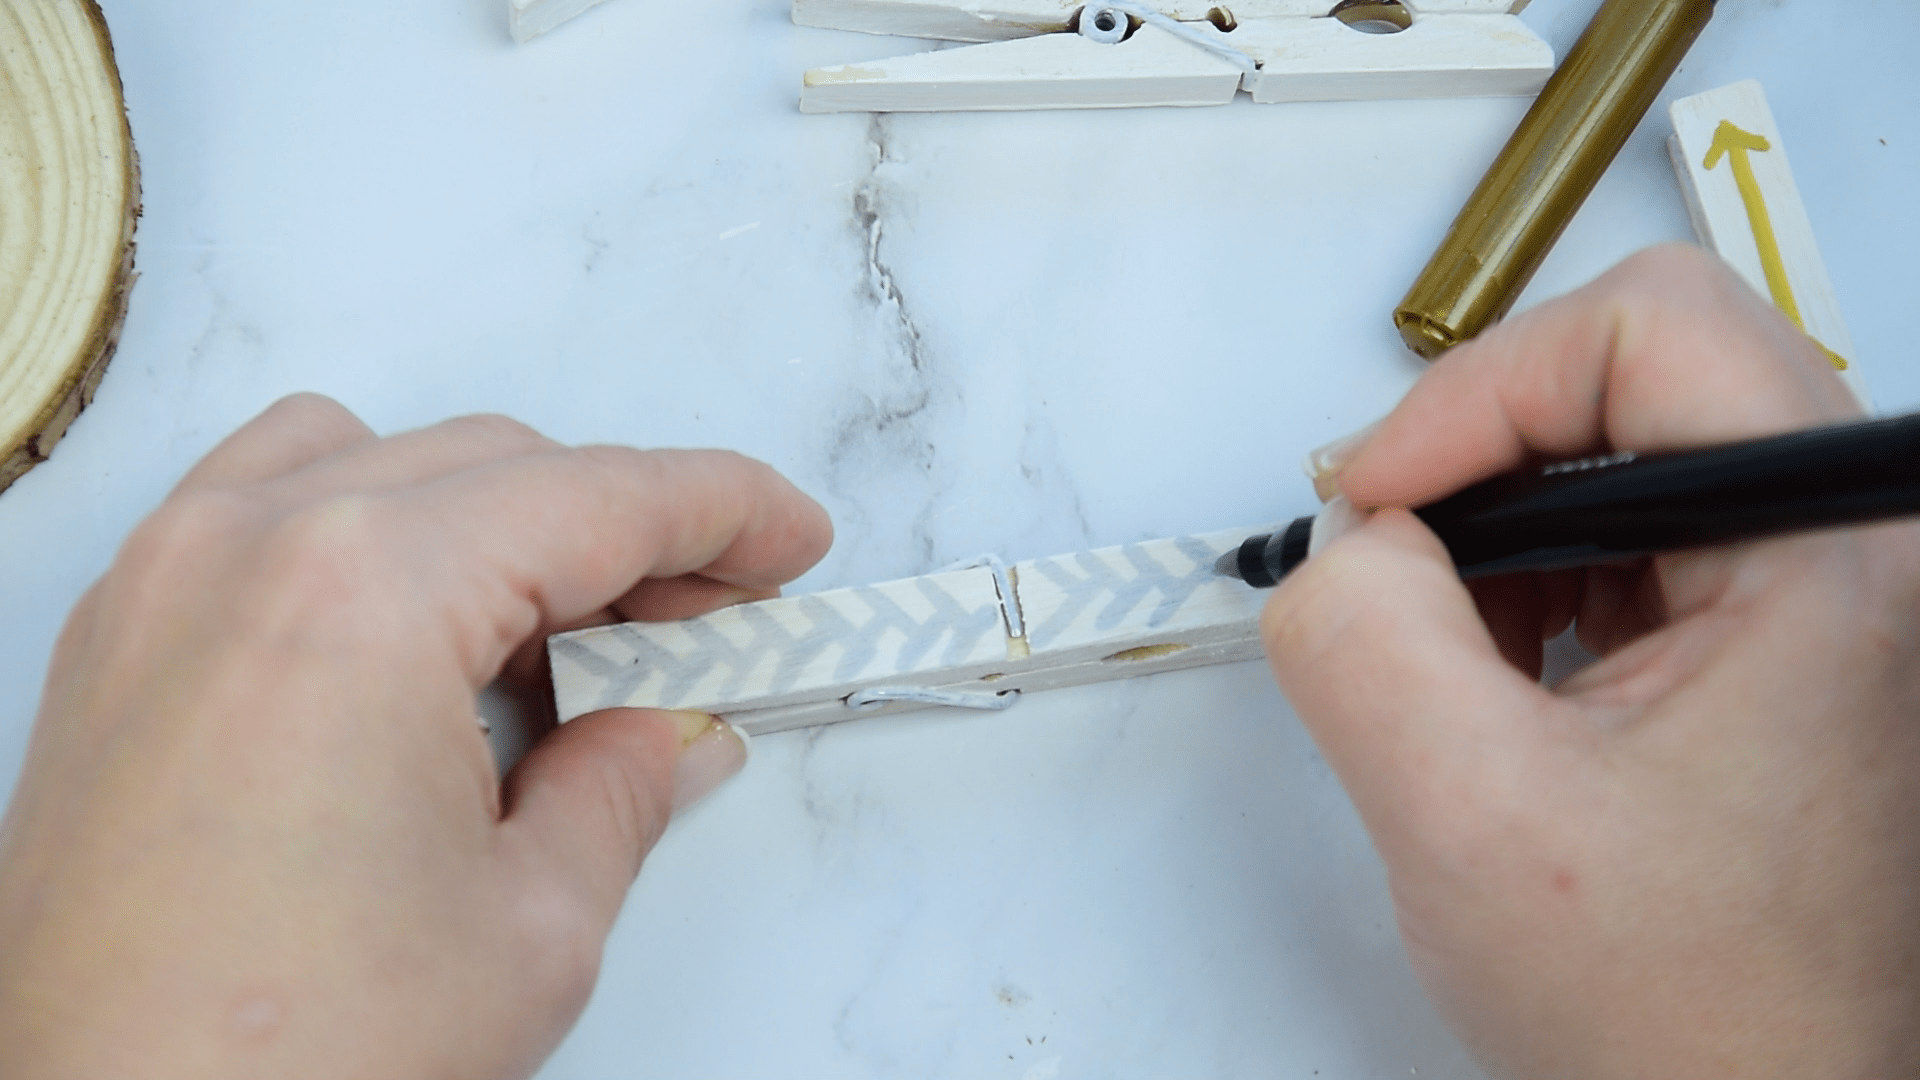
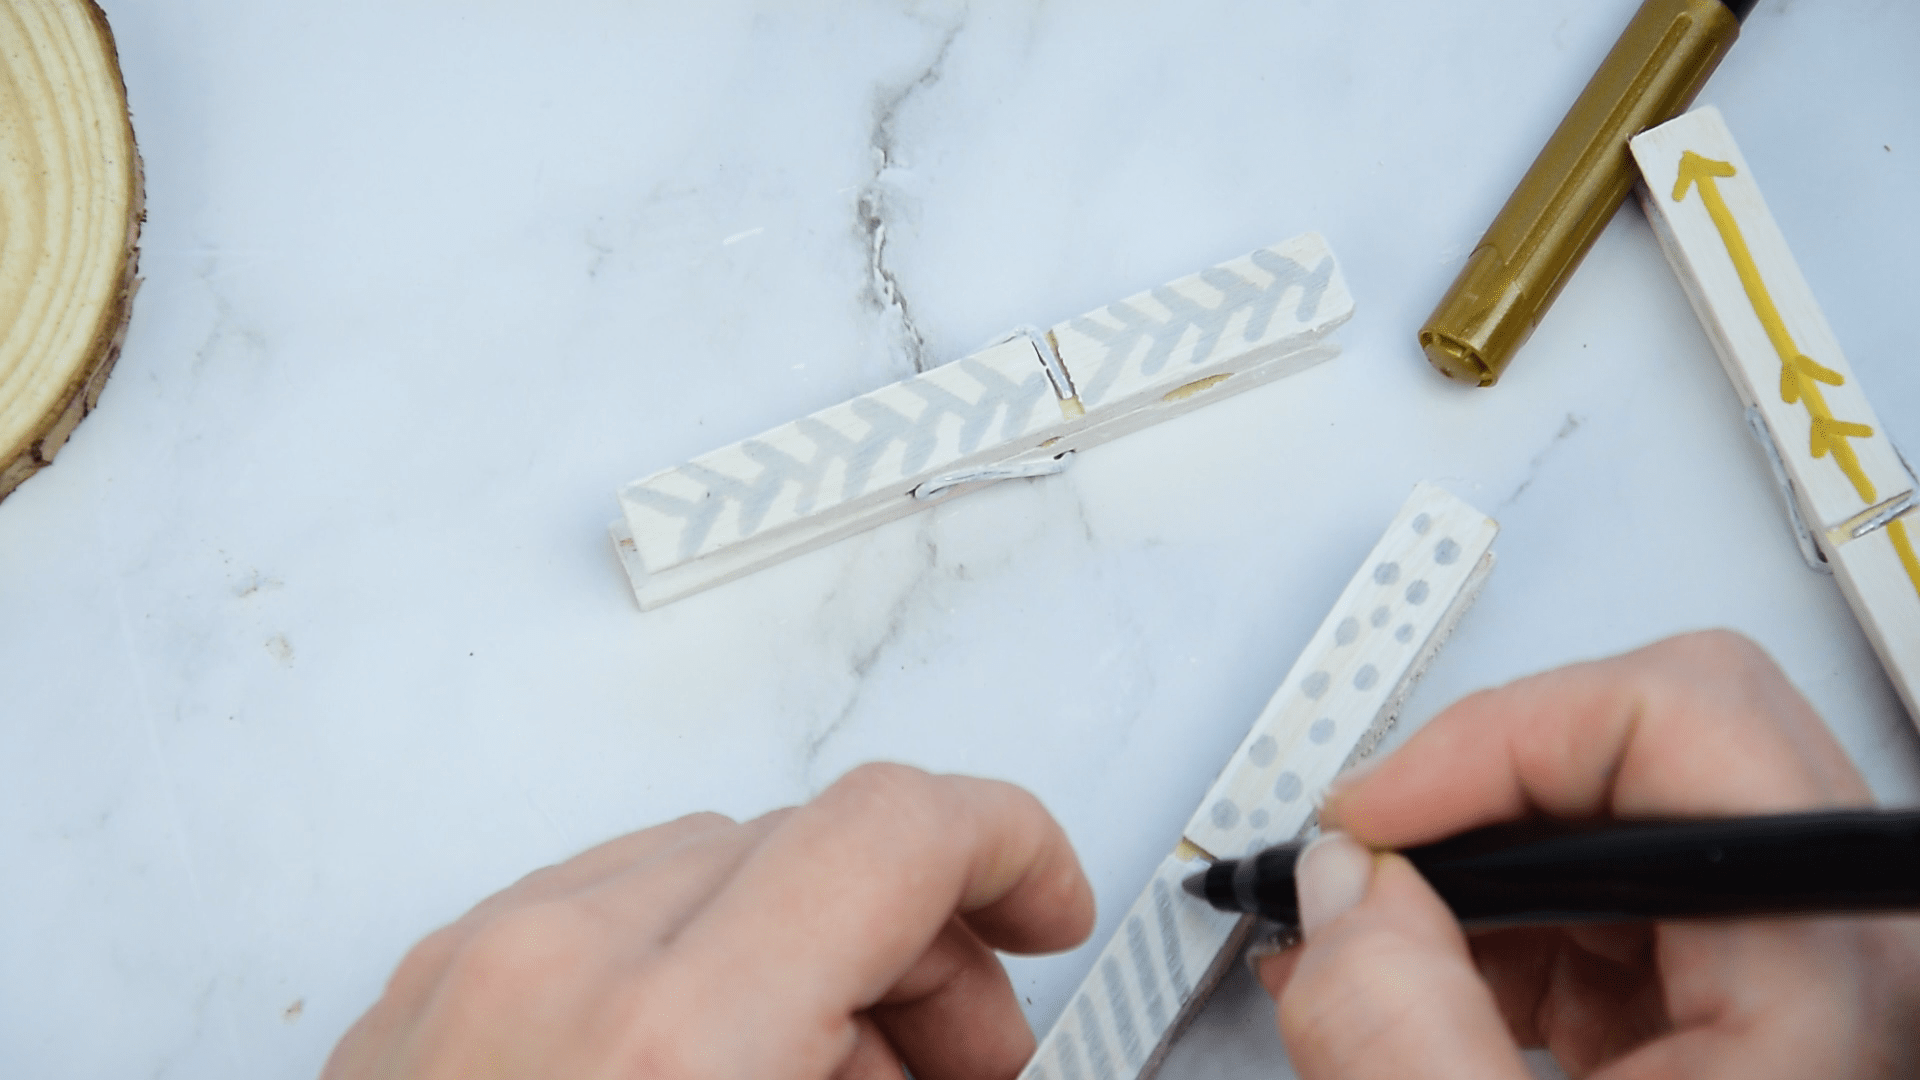
Second step:
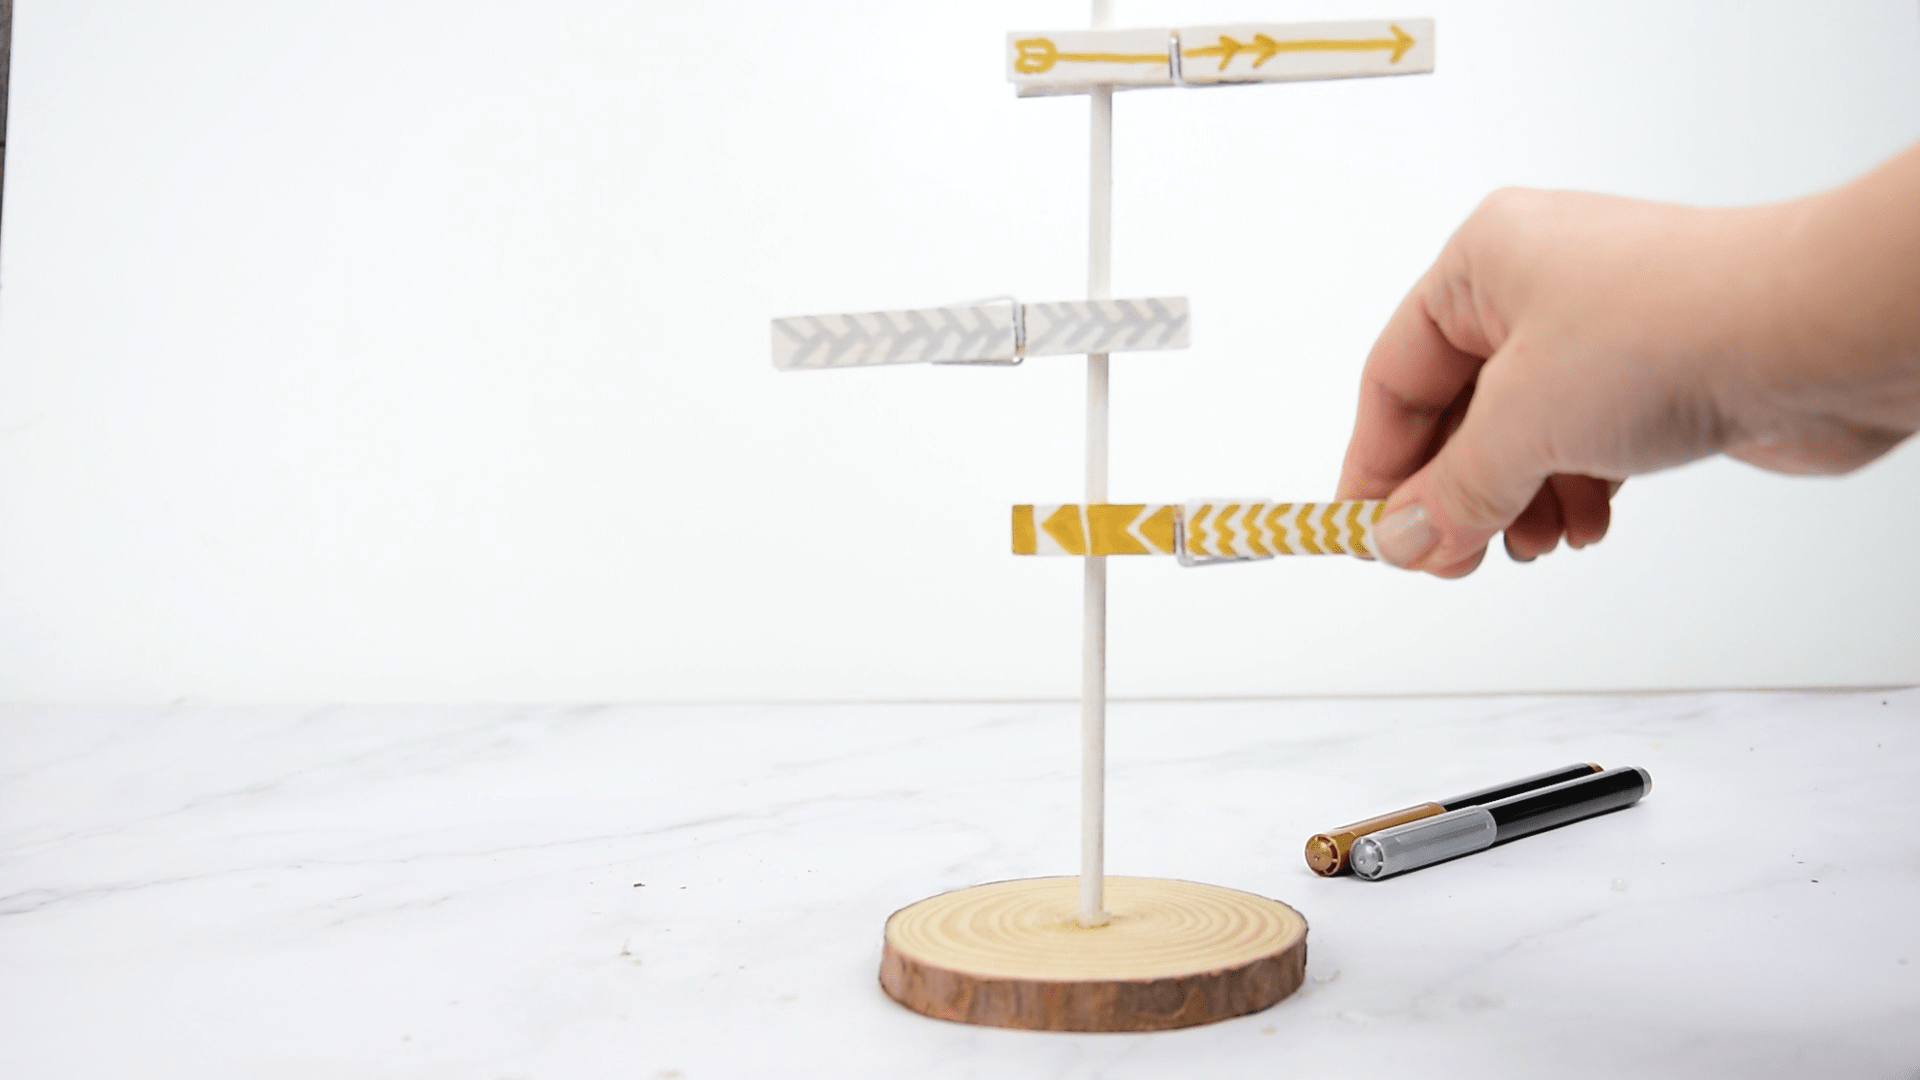
With the tweezers very dry we begin to make our drawings with the gold and silver marker. We can make drawings as we want and to our liking. In my case I have made the shapes of an arrow, shapes of spikes, points, stripes ...

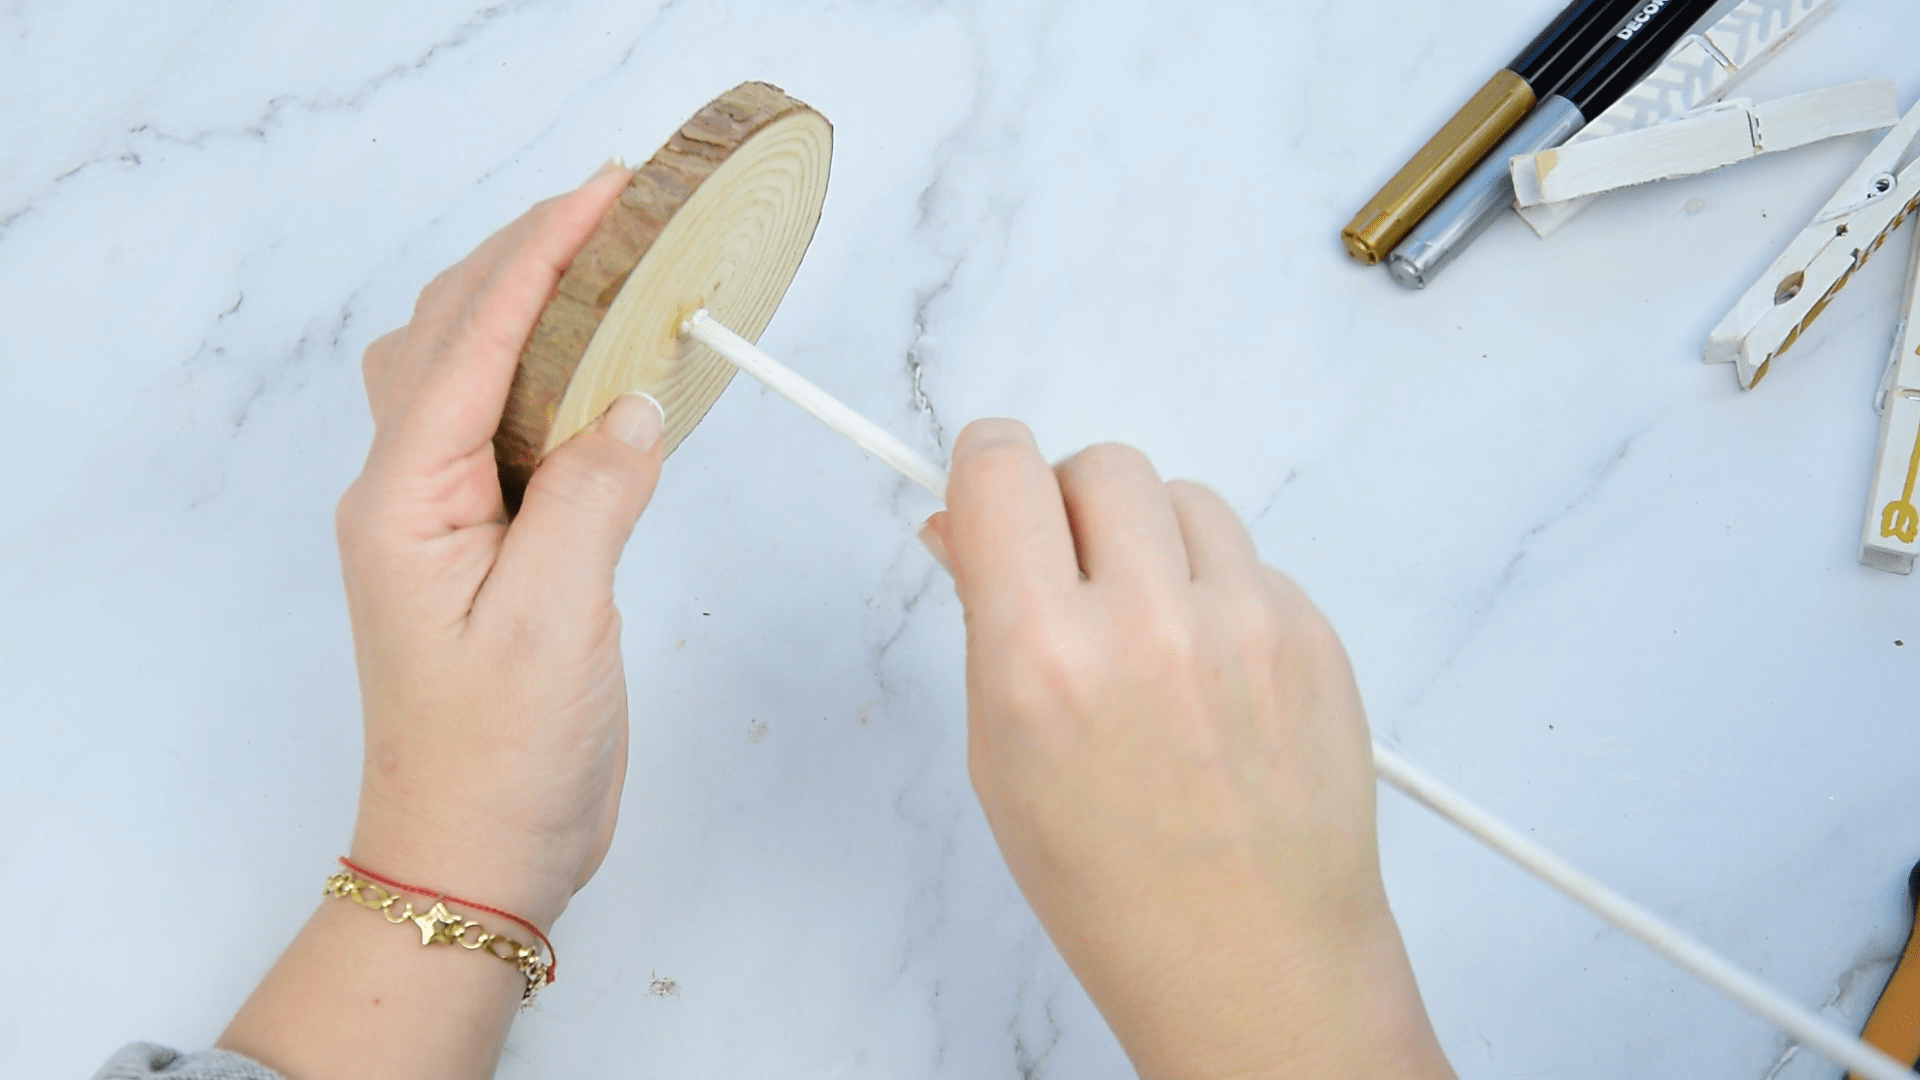
Third step:
On our wooden base we make the hole to put the stick. I have done it with homemade tools that have been useful to do so, which are a hammer and a round tip screwdriver. If you have something more practical to do it, you can do without these tools. I have placed the tip of the screwdriver in the center of the holder and hit it with the hammer so that the hole is formed. You can give a couple of turns so that the hole is formed well and we check that the stick enters the hole. If it has matched us, we can put a drop of silicone into the hole and stick the stick. We let it dry before placing our tweezers.

Fourth step:
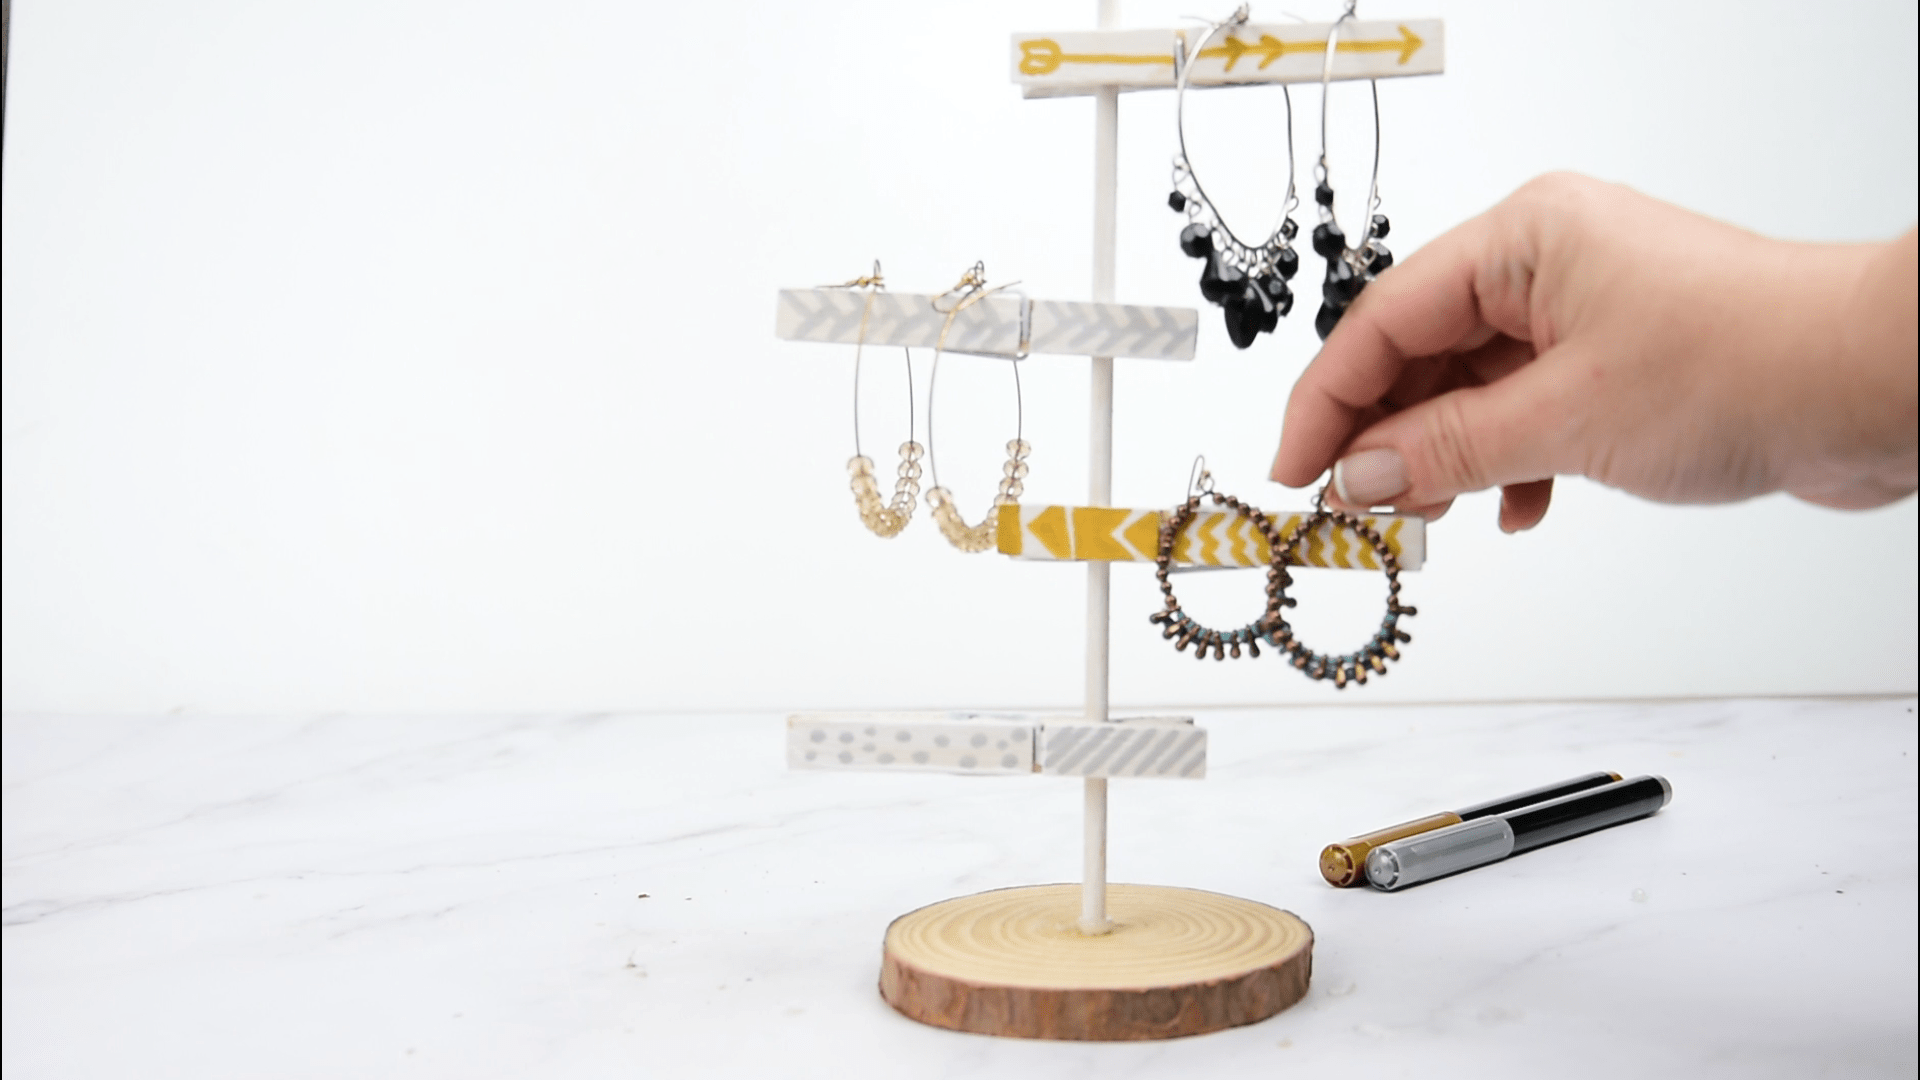
We can now place our clamps. In my case they have been able to hold themselves, but if in your case they do not hold, you can fix them with a little hot silicone. With the structure already made you can place your earrings.