
Forget about buying the gift for Mother's Day at the last minute, why don't you do it yourself? Today i show you how to decorate and personalize a notebook To give away that day, in a simple way you will go from a conventional notebook to a totally personalized one and best of all, made with your own hands.
Materials for the notebook:
- Conventional notebook.
- Cardboard.
- Decorated paper.
- Double-sided tape or glue.
- Scissors.
- Corner die
Realization process:

- Part of a conventional notebook, it can be of the measurements you want.
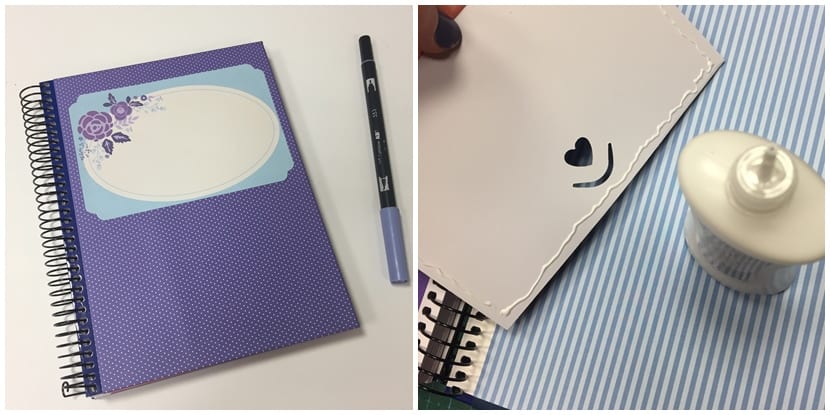
- Put double-sided tape or glue on one of the caps.

- Then place the decorated paper, leaving a few millimeters to the spring and two centimeters from the sides. Cut the rest of the paper if necessary.
- Paste a cut at 45 degrees at the two corners and attach double-sided tape or glue.

- Next fold those two centimeters inwards With the help of a folder or the tip of the scissors it will be twice as smooth.
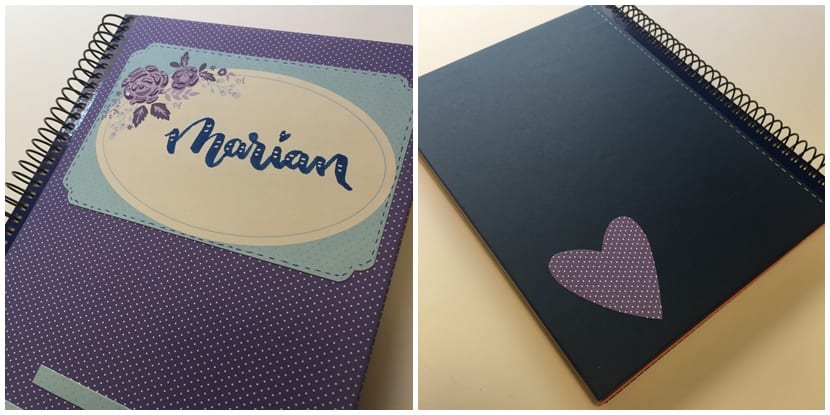
- To close the back cover, take measurements and cut another decorated paper, paste a decorated paper leaving half a centimeter on each side. Repeat the same with the back cover, you can use colored card as well.

- The time has come for the decor. You can take a card and with the corner die give it another look.
- Glue on the lid to your liking. You can place flowers, bright, or any detail that you think can fit him well.
- In this case I have written the name freehand with lettering.
- You can also place a pocket inside can with liquid glue.
Use the colors you like the most and it will be a sure hit.
I hope you like it and that it inspires you. You know that you can share and hit the lique if you liked it. See you at the next.