We have two cards for valentine very original so that you can give away on this very endearing day. One with a very funny ladybug shape with its red colors and its message of love. And the other card with two hearts so that it turns out to be more atypical and original than the rest of the gifts. It will be within that special moment another way to give a message, this time in a very personal way.
The materials that I have used for this craft are:
- For the two cards:
- cards of different colors, I have chosen white, red and black
- a white sheet
- glue
- a spike hook
- a hole punch
- a hole punch with some original drawing
- a compass
- scissors
- ruler
- pencil
You can see this craft step by step in the following video:
For the ladybug card:
First step:
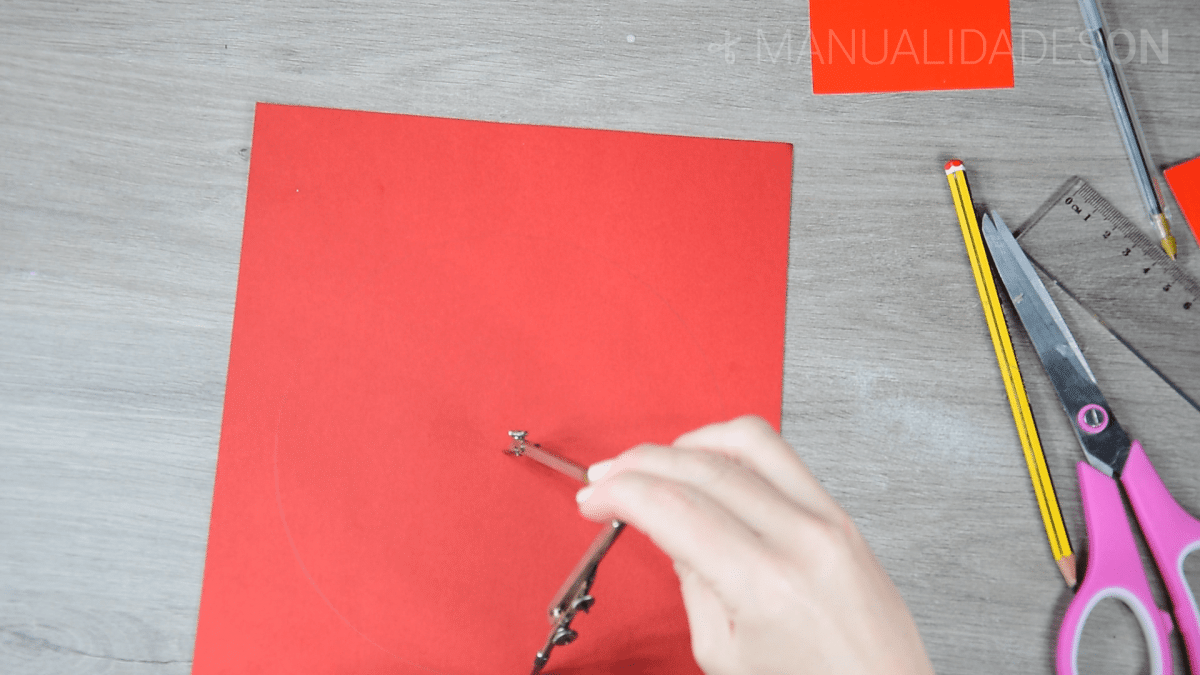
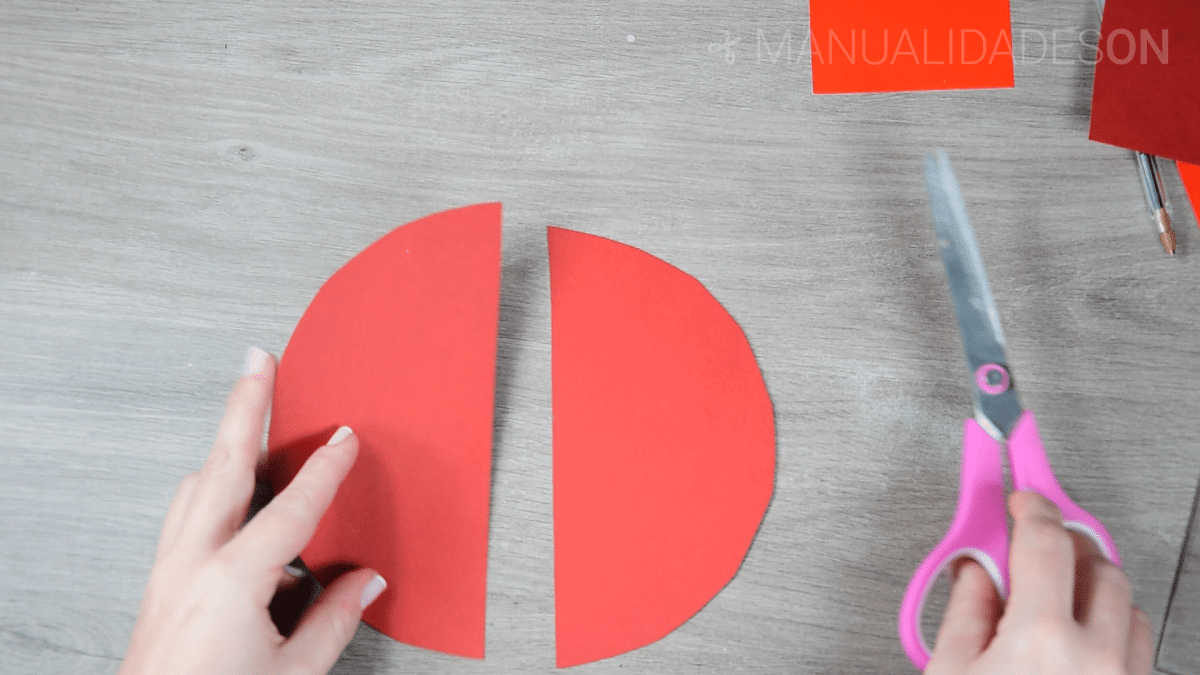
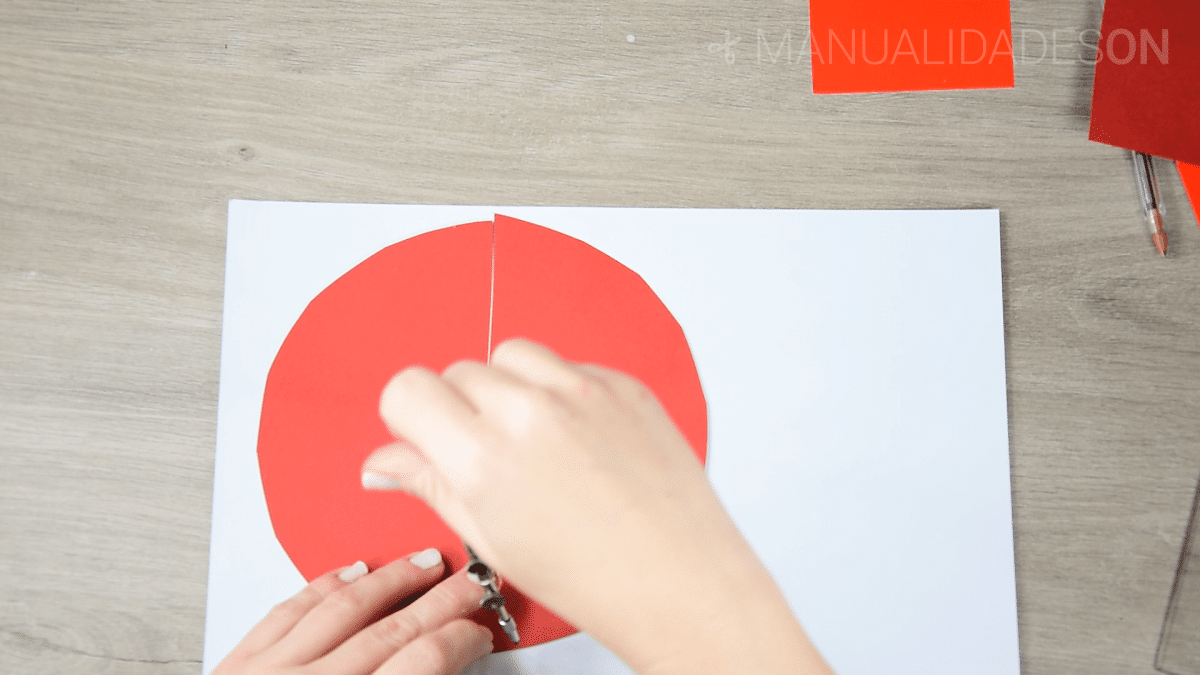
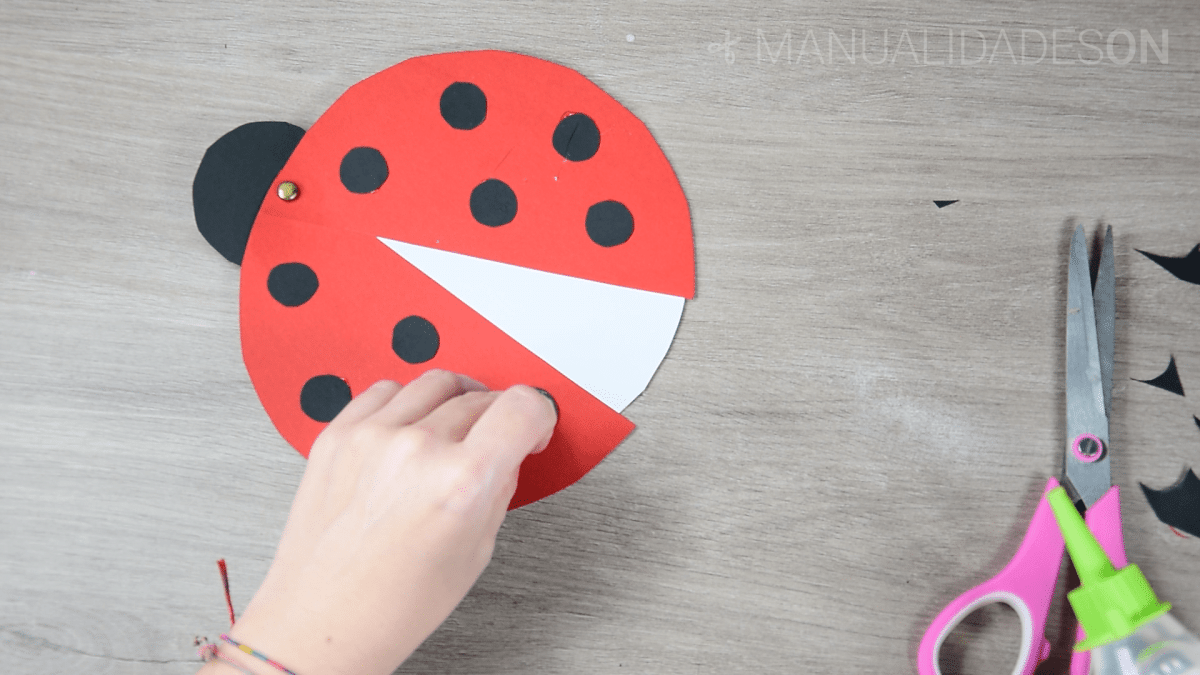
We choose the red cardboard and draw a circle with a compass, it will be about 16cms in diameter. We cut out the circle. We are going to cut the circle in half, for this we find its central part, mark and cut it. We draw another white circle of the same size and cut it out.
Second step:
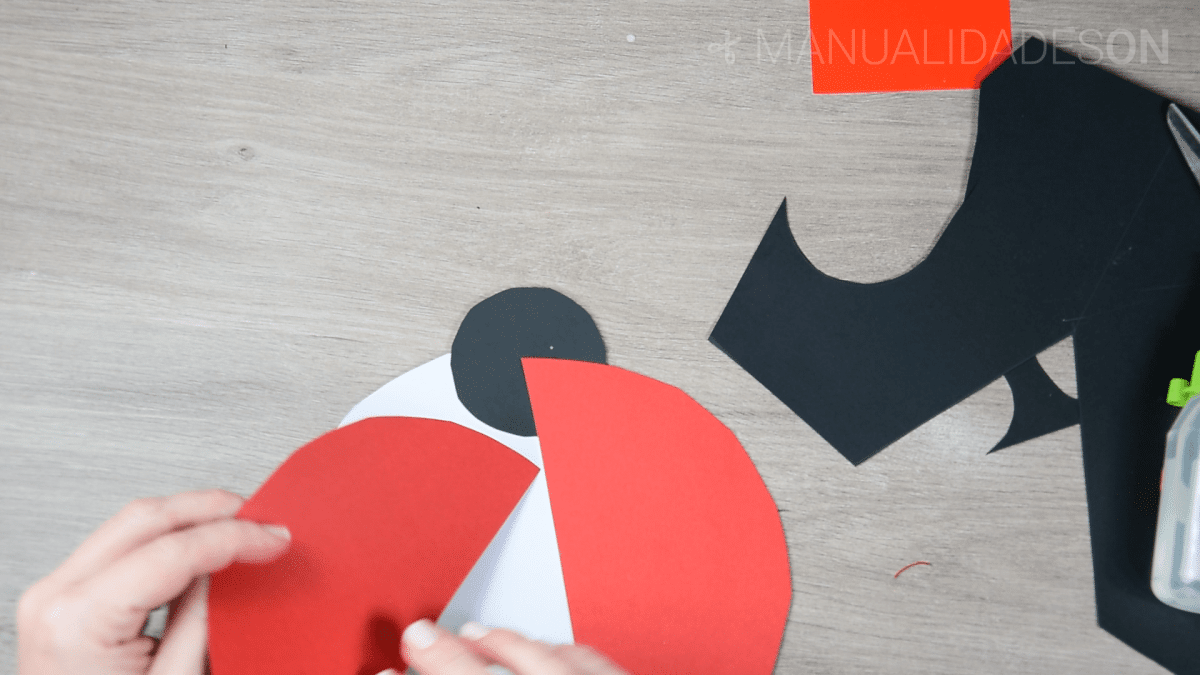
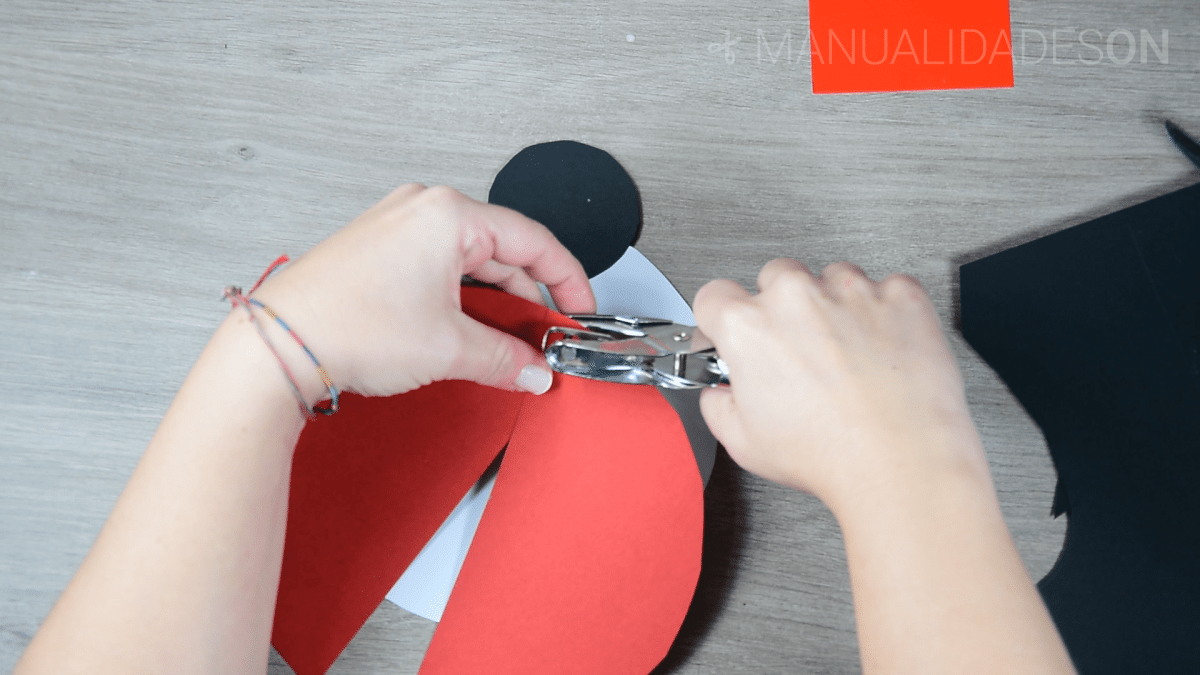
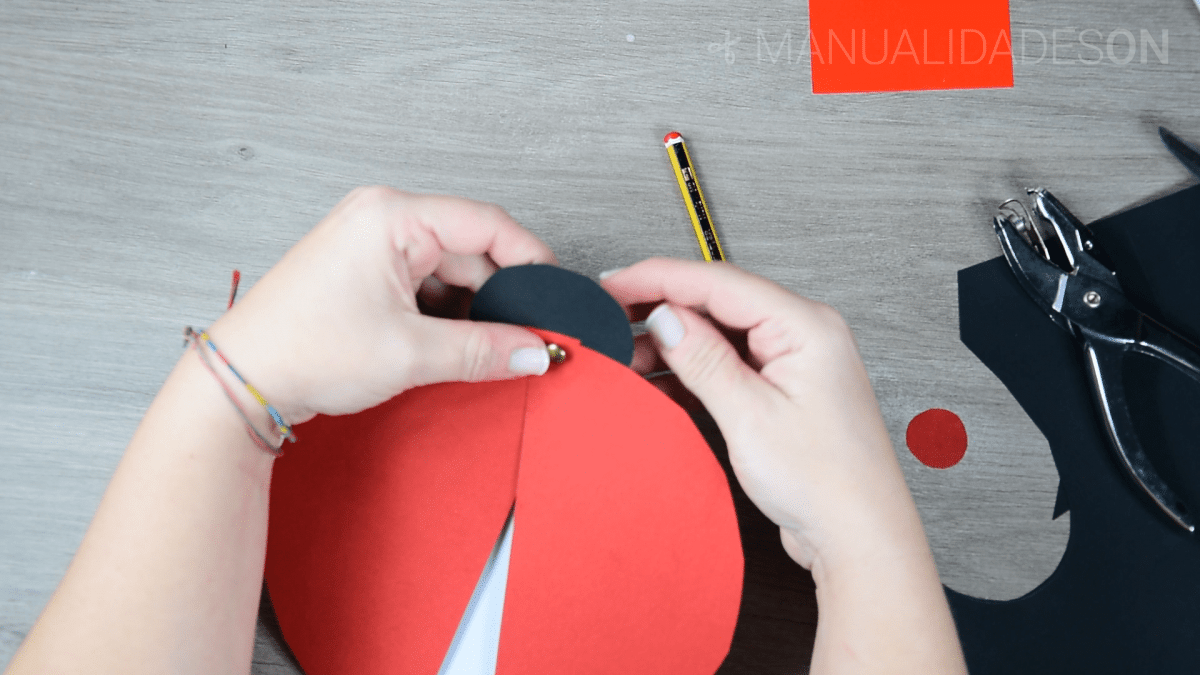
We draw, with the compass, another black circle of about 6cm in diameter. It will be the head of the ladybug. We place all the cutouts forming the card and look for the central part to drill a hole. We will place a spike hook inside the hole so that it can hold the whole set. This hook does not leave the structure attached, but rather allows its parts to move.
Third step:
We take on a piece of black cardboard and we draw small circles to make the ladybug specks. We make about 10 units, cut them out and glue them together. And we would only have to put our Valentine's message.

For the hearts card:
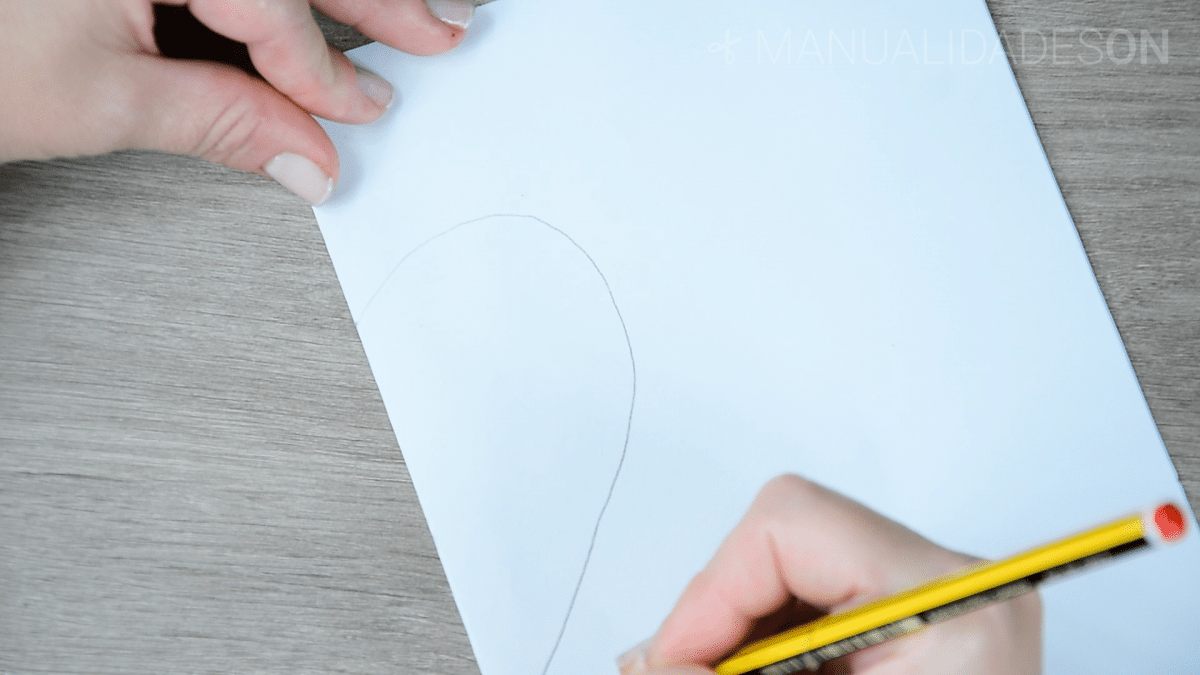
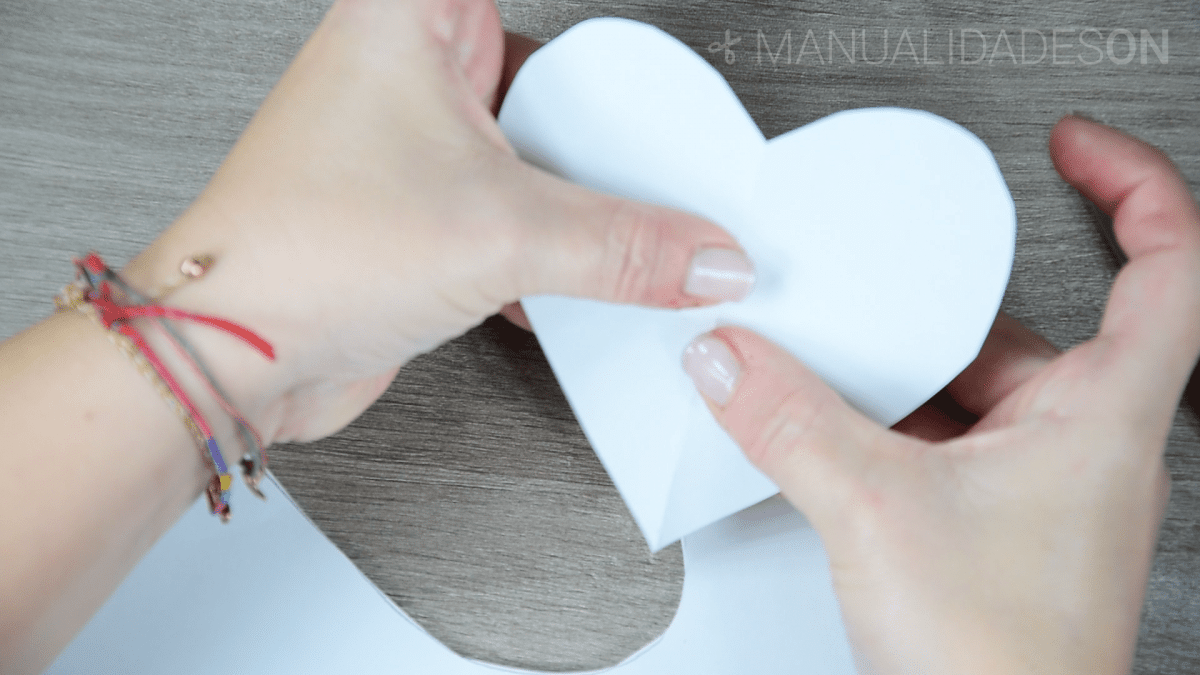
First step:
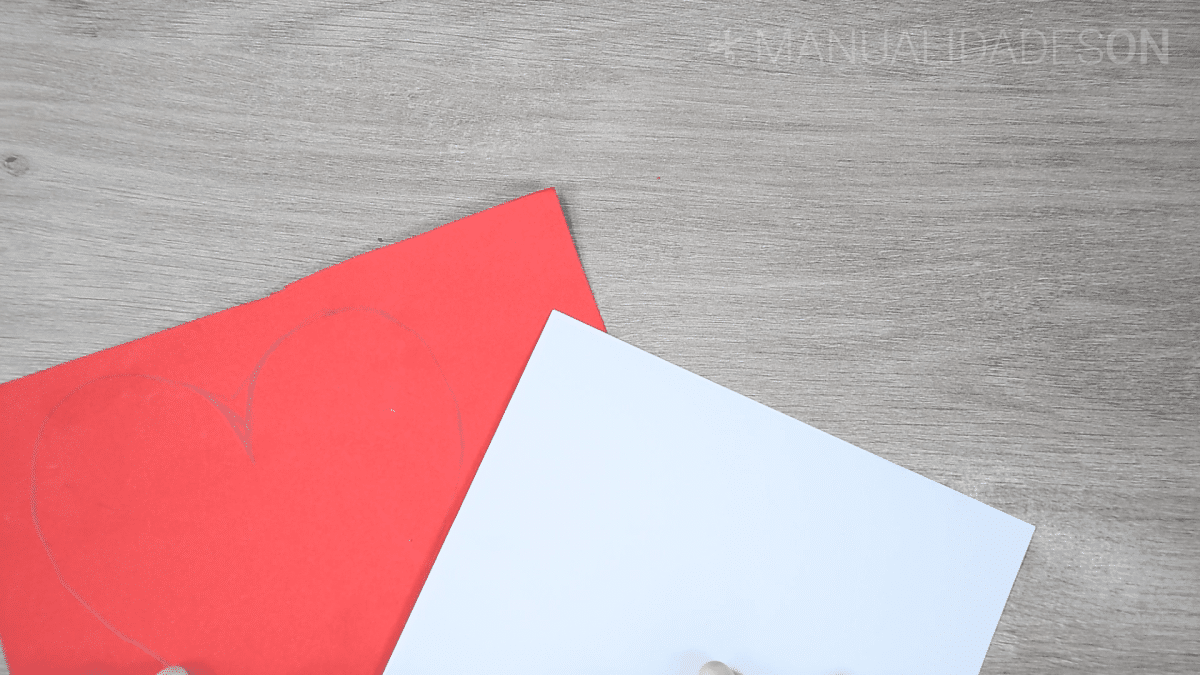
We take a sheet and we fold it in half. We draw by hand half a heart. Without unfolding the paper, we cut out half the heart that we have drawn. With this technique we achieve that when unfolding the paper we have a geometric figure.
Second step:
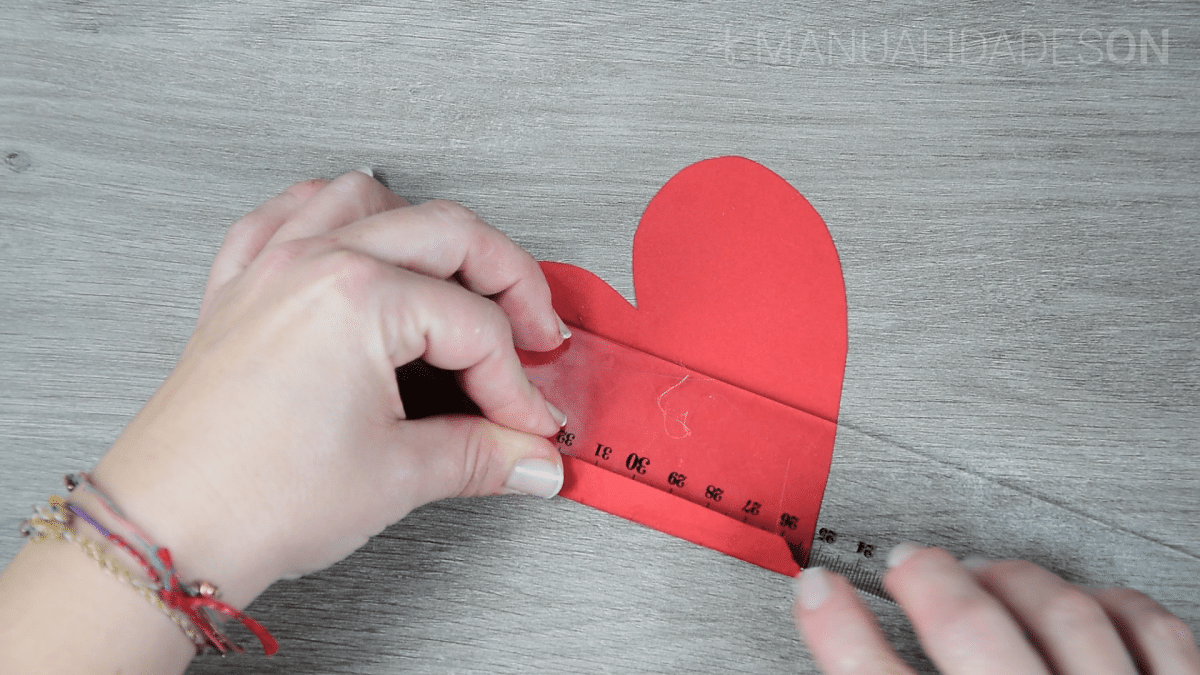
We take the heart template and We trace it on a piece of red cardboard. In this way we are making the left part of the card. We draw a flap on the right side so that the entire structure can be glued to the rest of the card. We take another part of a sheet and take measurements on one side of the heart. This measure it will help us to make the height of the card, in my case it has given me 10,5cm.
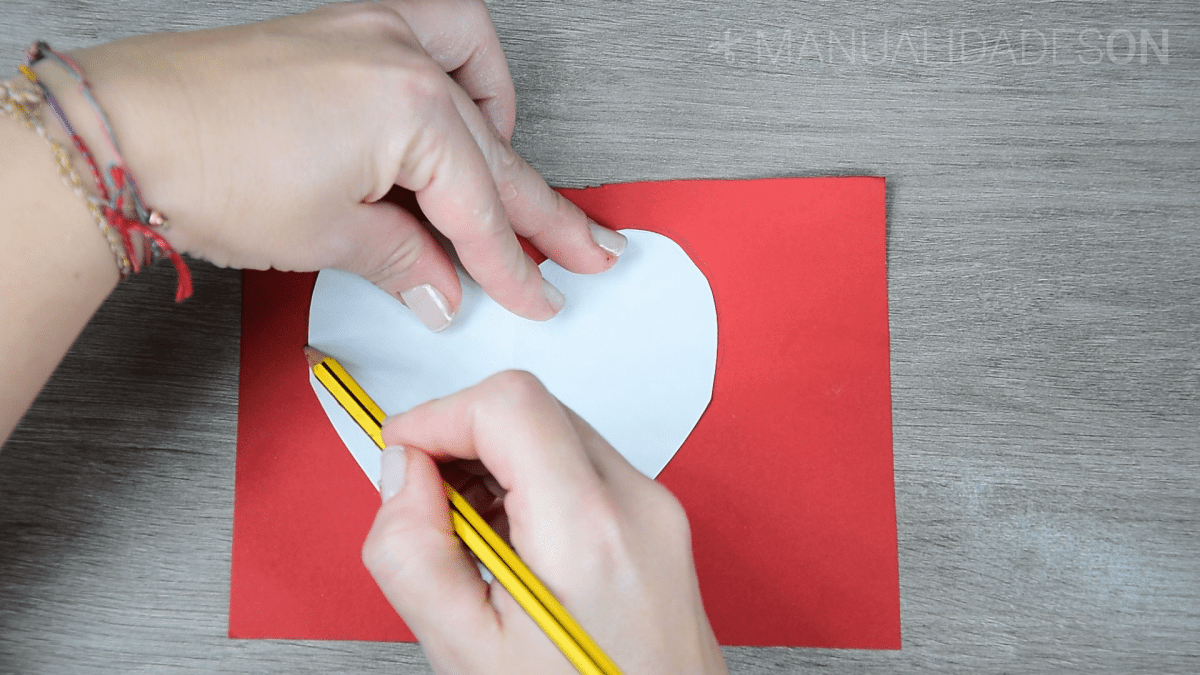
Third step:
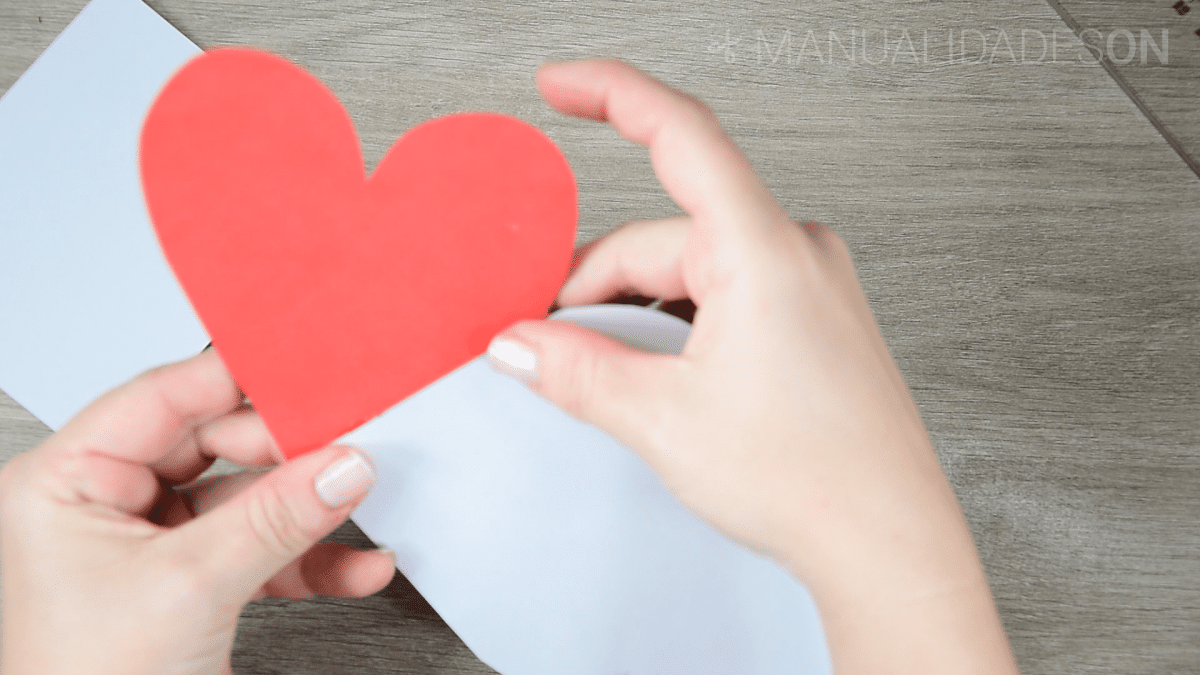
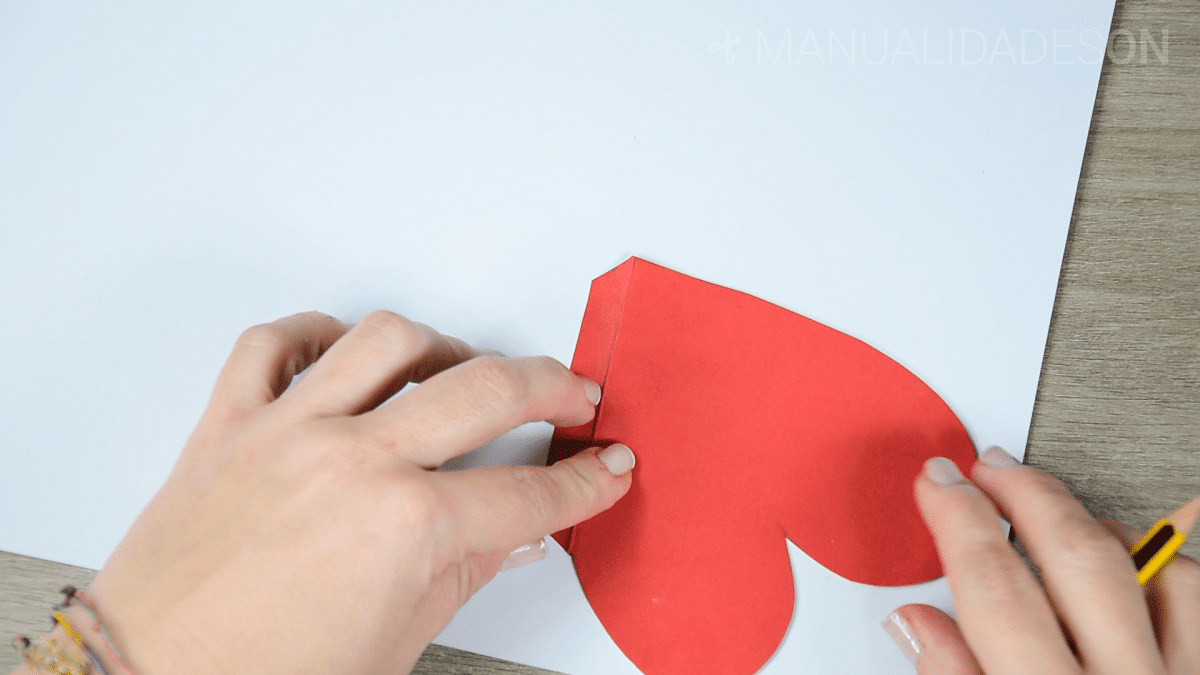
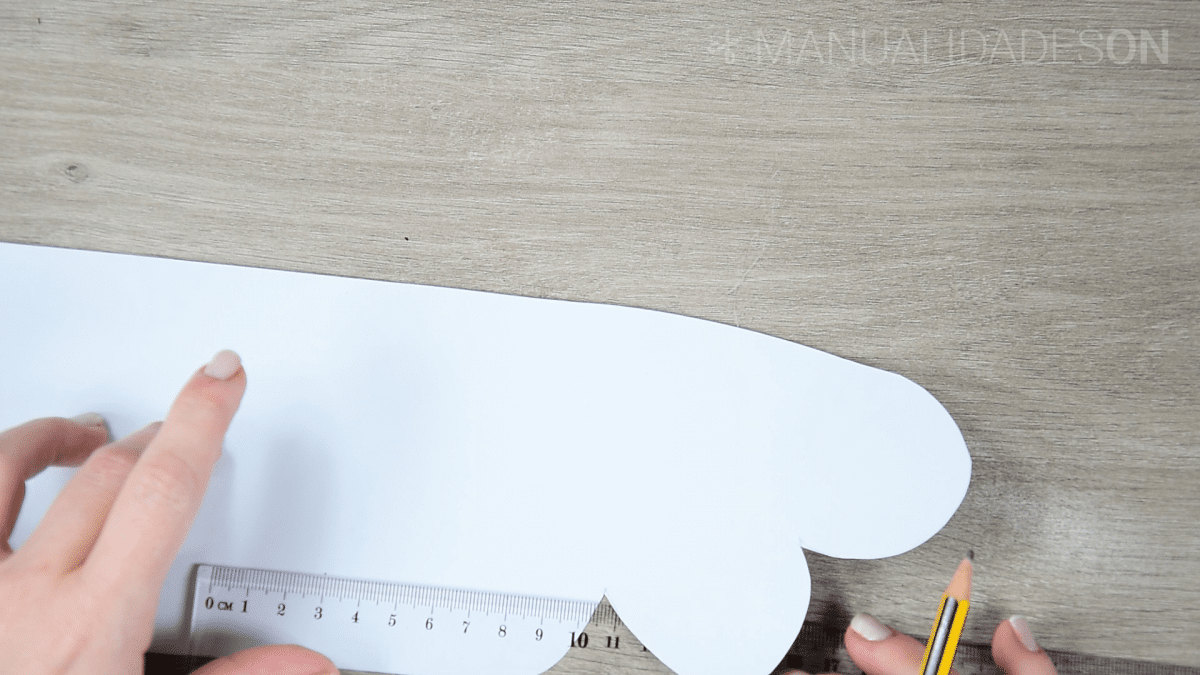
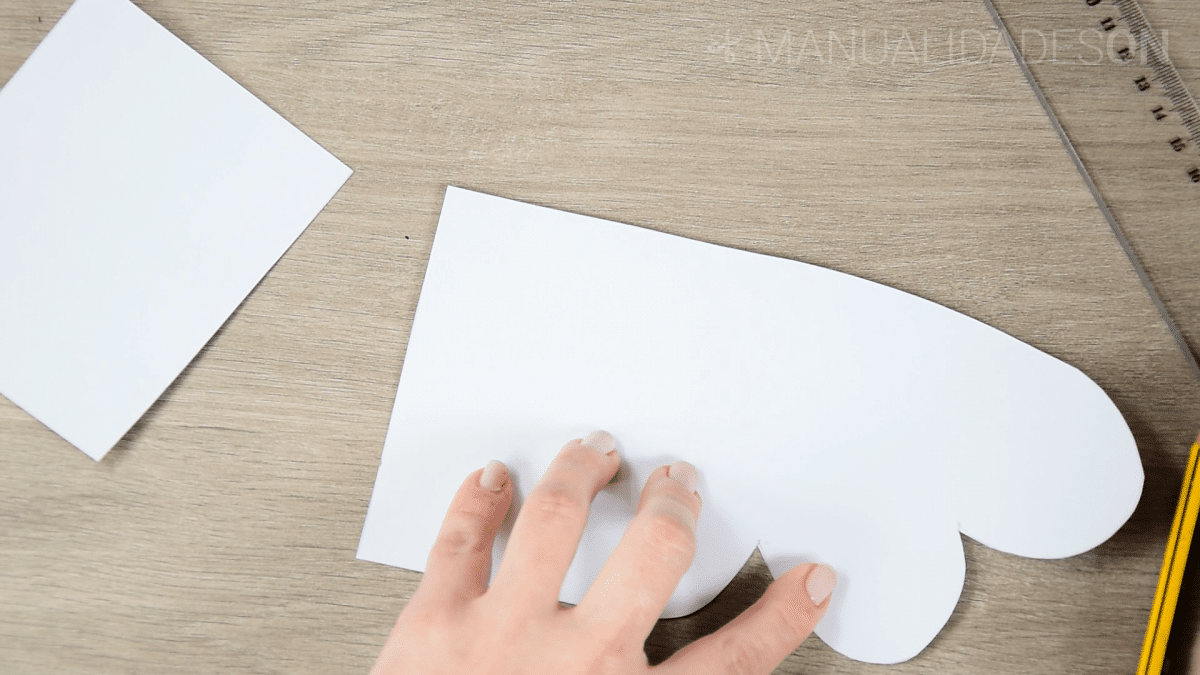
We cut out the red heart with the flap that we had drawn. We fold the flap. We are going to make the other part of the card, for this we take the red heart and we make an exact copy on a piece of white cardboard, but without the flap that we had made. We take in the left part of the heart and we are going to draw the part that remains stuck to the card, has to have a measures more or less comprised between 10,5cm high by 10,5cm wide. We cut out everything we have drawn. One of the lower parts of the corner we round it with scissors.
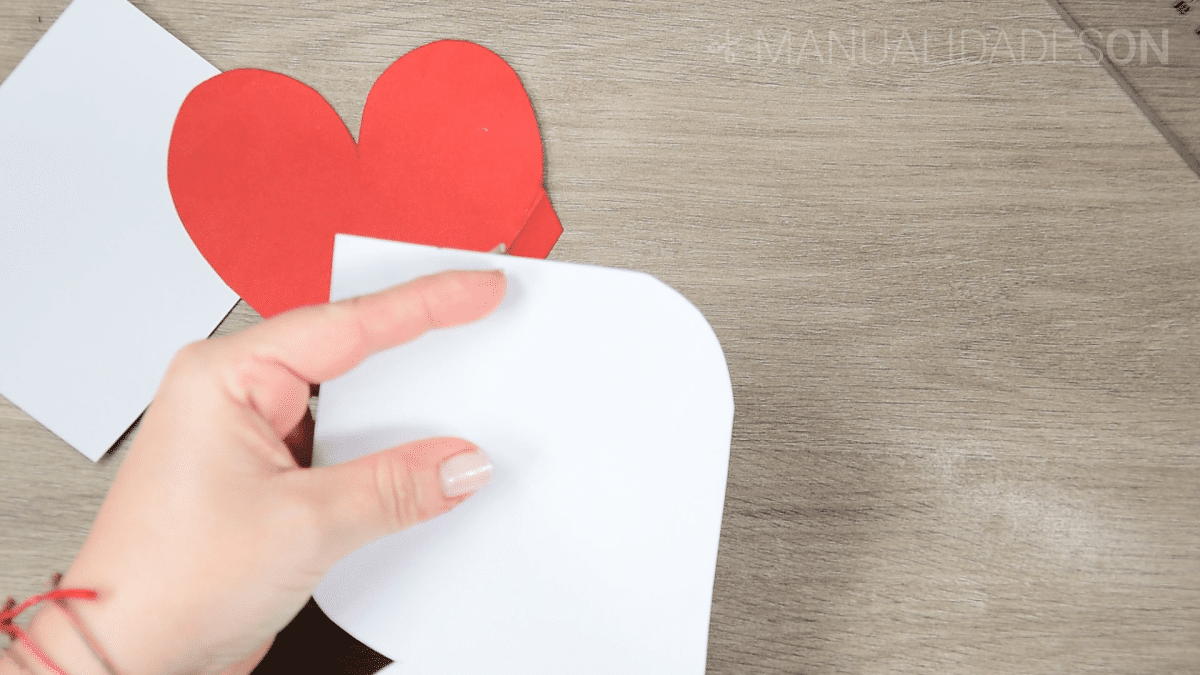
Fourth step:
Now we can stick the red heart on the opposite side. In my case, I have glued it with cold silicone so that it adheres better. We will also round the other opposite corner with the scissors. We take a hole punch with some nice drawing and we make some incisions in both hearts. Now there is only fold the hearts to the center so that both pieces can fit together and the card is closed. We can write our message inside.