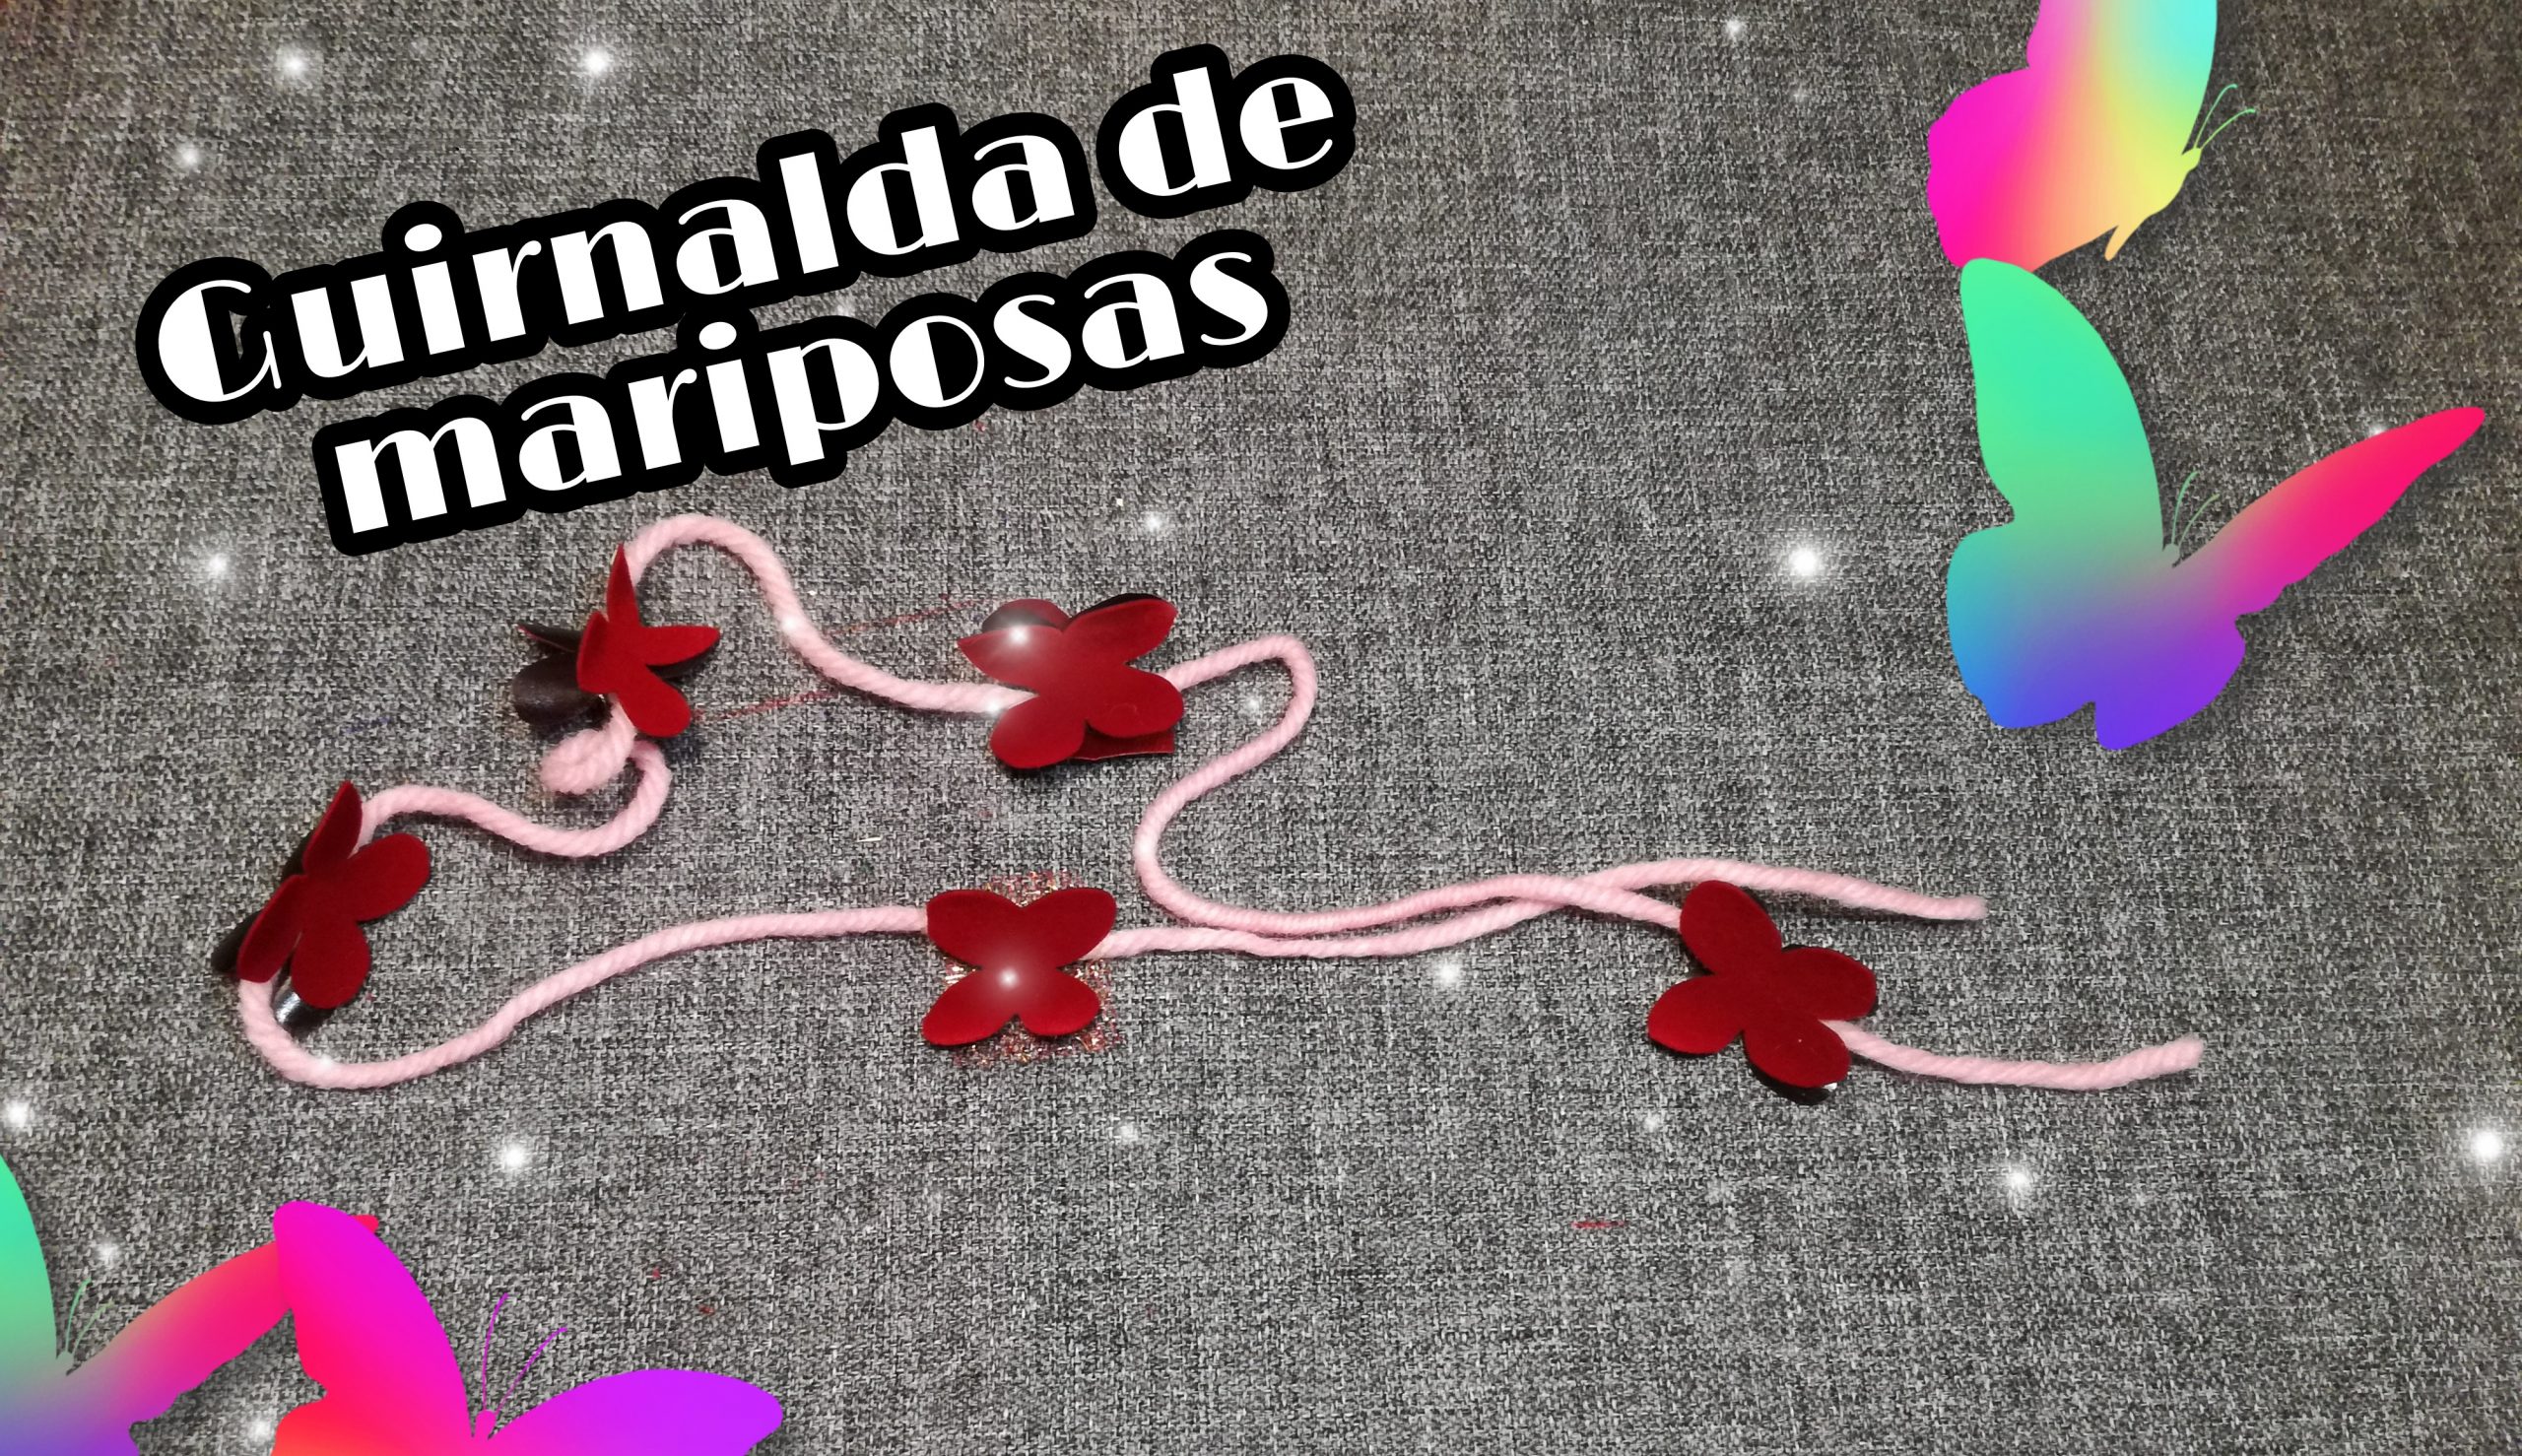
Hello everybody! In today's craft we are going to make a garland of butterflies perfect to welcome the good weather of spring.
Do you want to know how you can do it?
Materials that we will need to make our butterfly garland
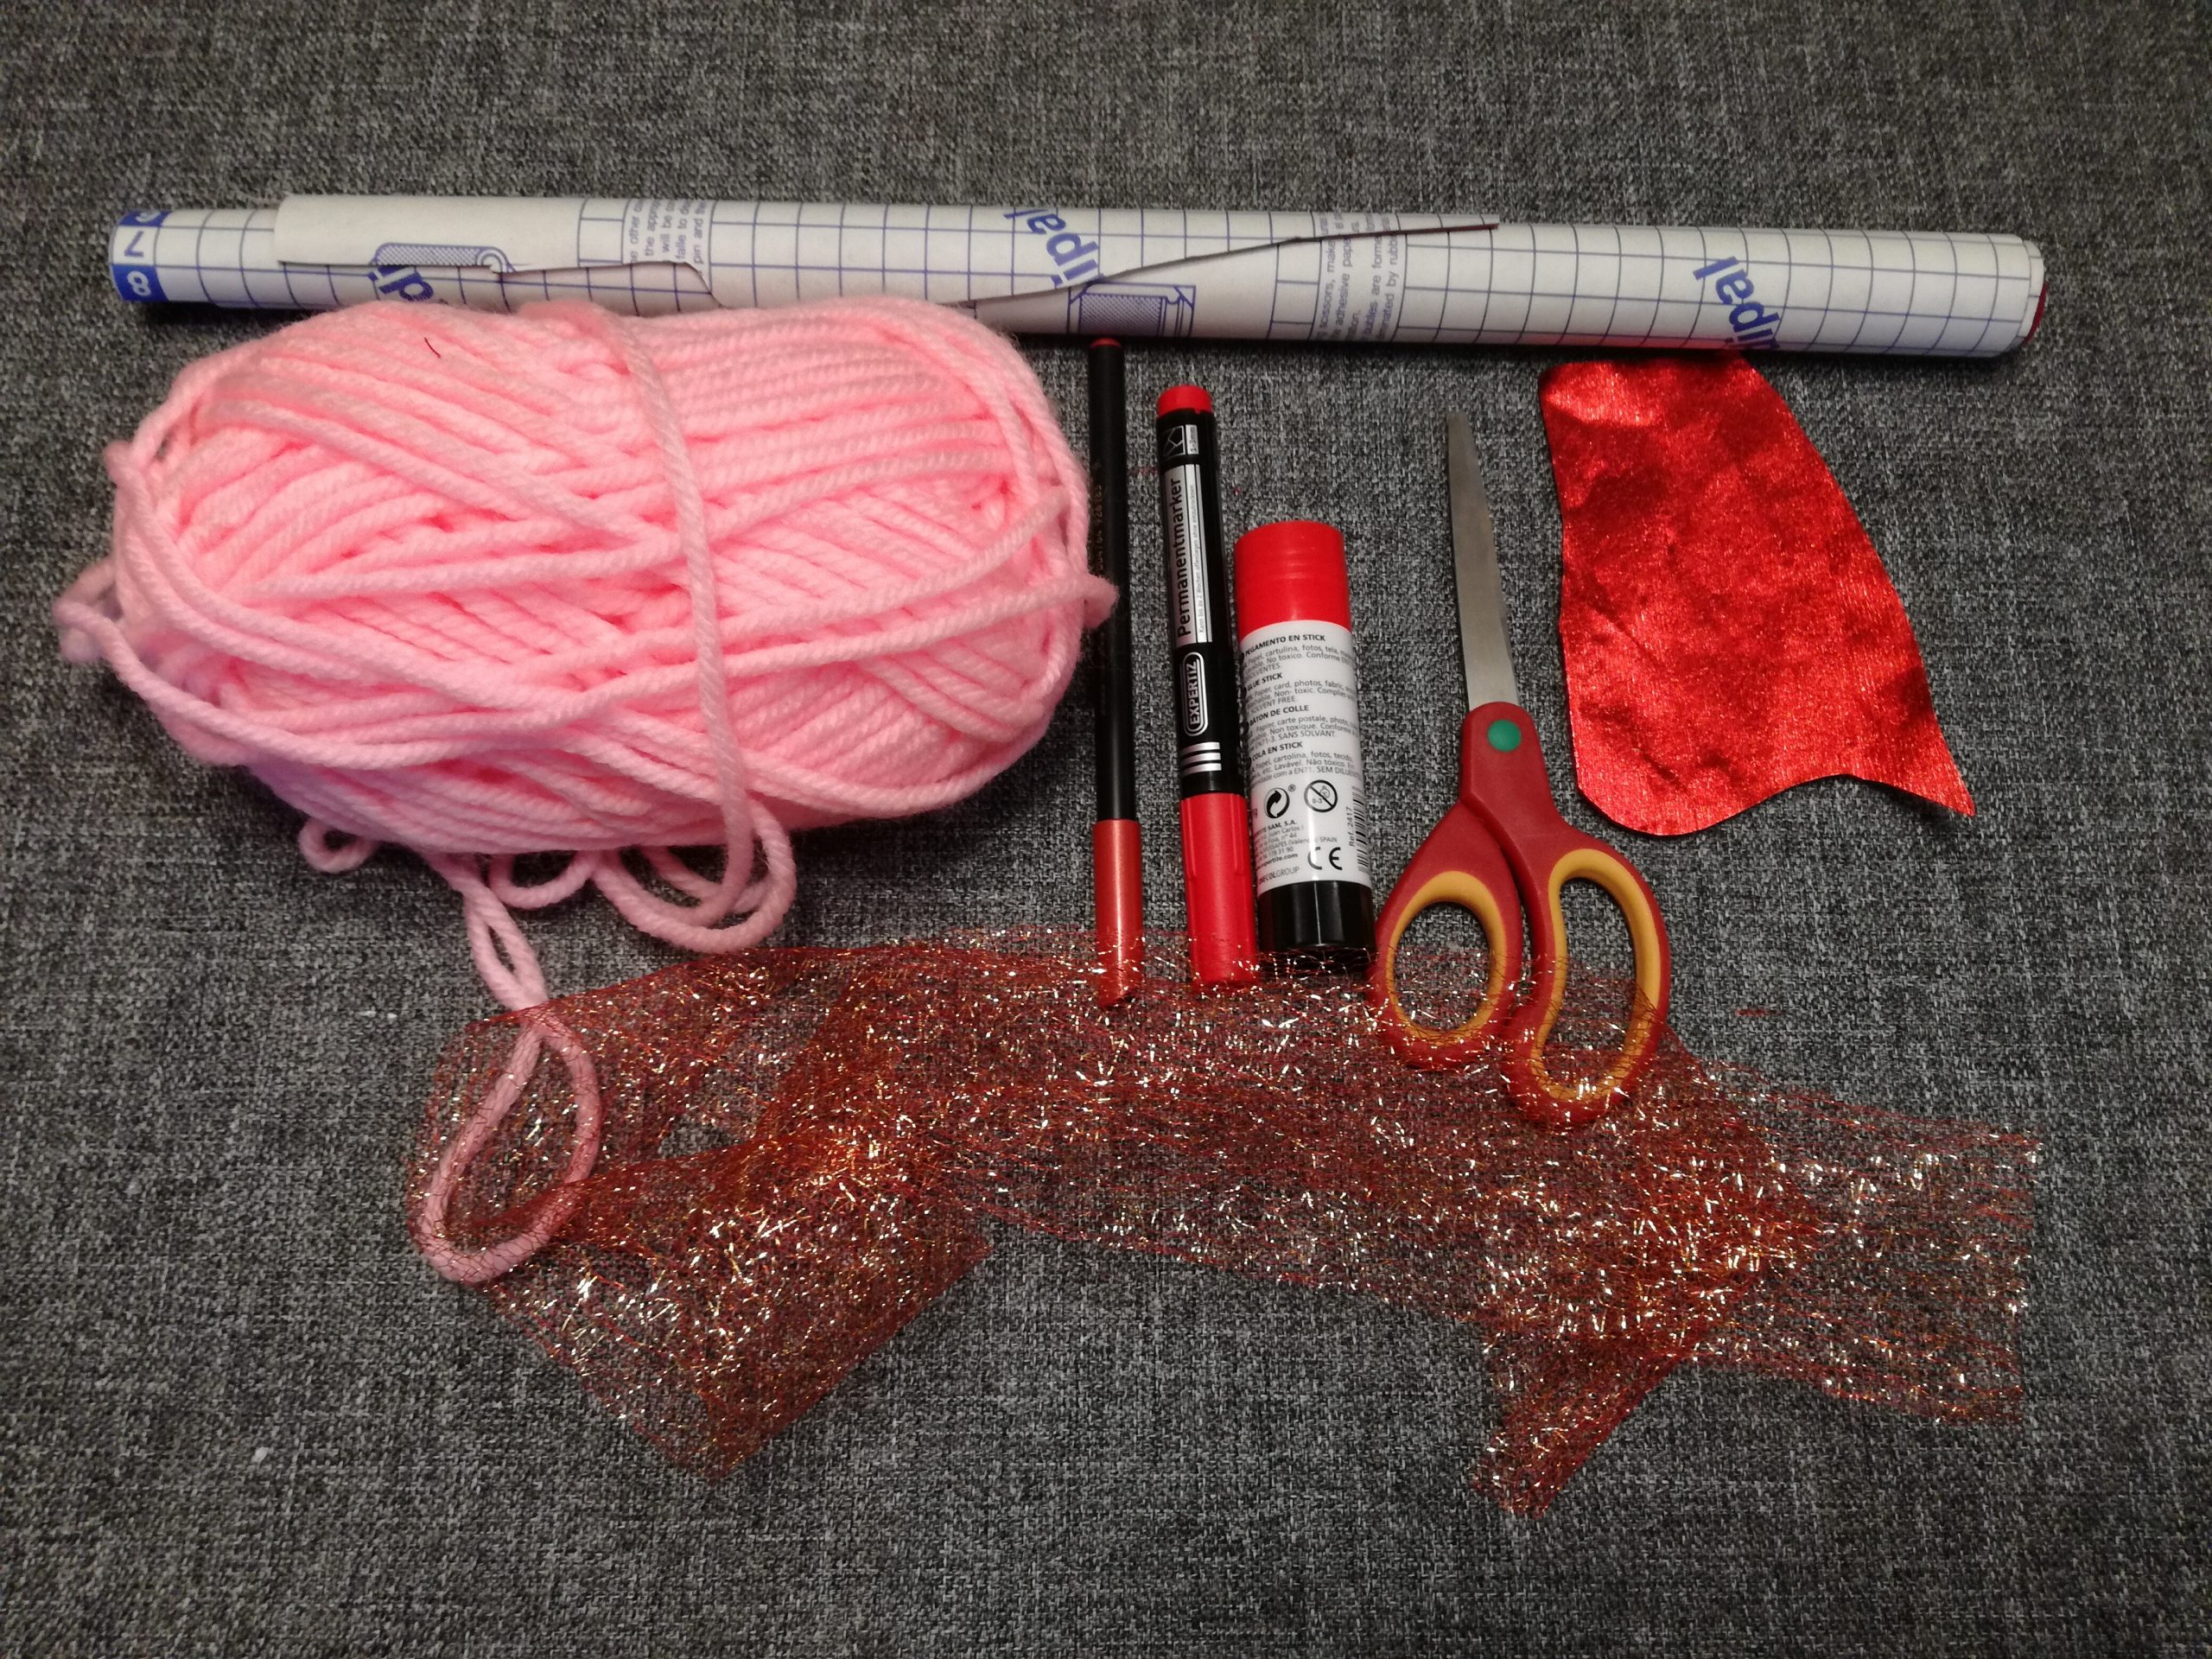
- Wool of the color that we like the most, in this case I have chosen a pink color.
- Papers of different colors to make the butterflies, they can be the same range of colors to create a little more effect. The papers that already have adhesive are perfect for this type of crafts.
- Scissors.
Hands on craft
You can see the step by step of this craft by viewing the following video:
- The first thing we are going to do is choose the base paper that we are going to use to make the butterflies. We are going to draw the silhouettes of the butterflies. As many as we want. The ideal is to do them two by two for when we go to put them on the garland.
- Once we have all the butterflies cut out, we will cut a strip of wool as long as we want our garland to be. If we use an adhesive paper, it will later facilitate the assembly of the garland.
- Let go hitting the butterflies throughout all the wool. We will glue the silhouettes two by two, so that the shape of the wings stays separated and it seems that the butterfly is flying. To give them a more personal and decorative touch, we are going to add papers of other textures or shiny ones on the back of the butterfly silhouettes.
- Another option is to mix card stock colors or even make stripes with different markers.
- Now it only remains to hang the garland where we like it the most and decorate our rooms.
And ready! We can already welcome spring with this garland.
I hope you cheer up and do this craft.