In this tutorial I will teach you how to create some candleholder with styrofoam cones o polystyrene. They are perfect to support long candles, but you can place whatever you want. You have many possibilities to design them.
Materials
To do the candleholder you will need the following materials:
- Styrofoam or Styrofoam cones
- Cutter
- 3D or dimensional painting
- Acrylic paint
- Ceramic, gloss or relief finish varnish
- Brushes
- Vela
Step by step
To create the candleholder with polystyrene cones you will first need the styrofoam cone or with a cutter. You will need to cut off the tip of the cone to leave the top flat. There you will have to make a hole where the candle will be placed.
To paint the candle holder, create lines with the 3d painting o dimensional, let them dry and paint the holes with the acrylics. When the paint is completely dry, apply the varnish for a shiny effect.
Take a look at the following video-tutorial where I explain each of those steps in detail and you can see at the same time the elaboration process.
You see that it is really easy and the most fun is creating the design of your candle holder.
Let's review the followed so that there is no doubt:
- Cut the tip of the styrofoam cone with a utility knife, leaving the top smooth.
- With a small cutter or a craft scalpel, make a hole in that base that you just created the size of the candle, to later place it there.
- With 3D or dimensional painting create the design by drawing lines. You can make them as you like, even drawing something specific, such as flowers or mandalas.
- When the drawing is dry, color the holes with acrylic paints, and let the paint dry completely again.
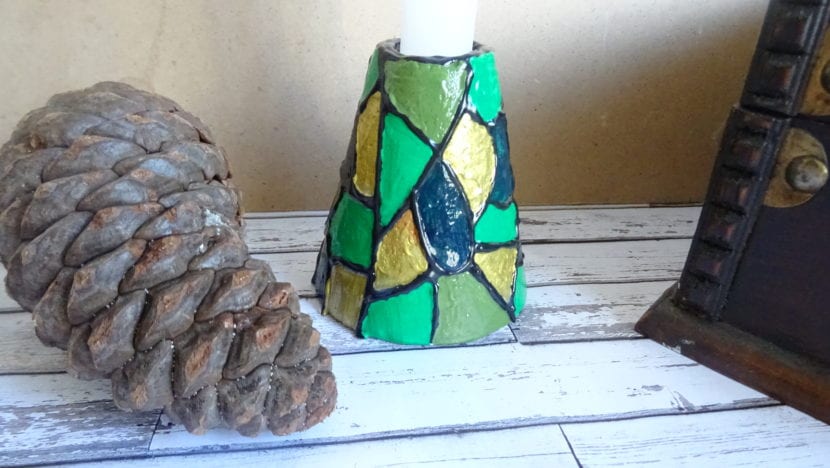
- Apply a thick coat or two of ceramic, gloss, or relief varnish to give it a stained glass look.
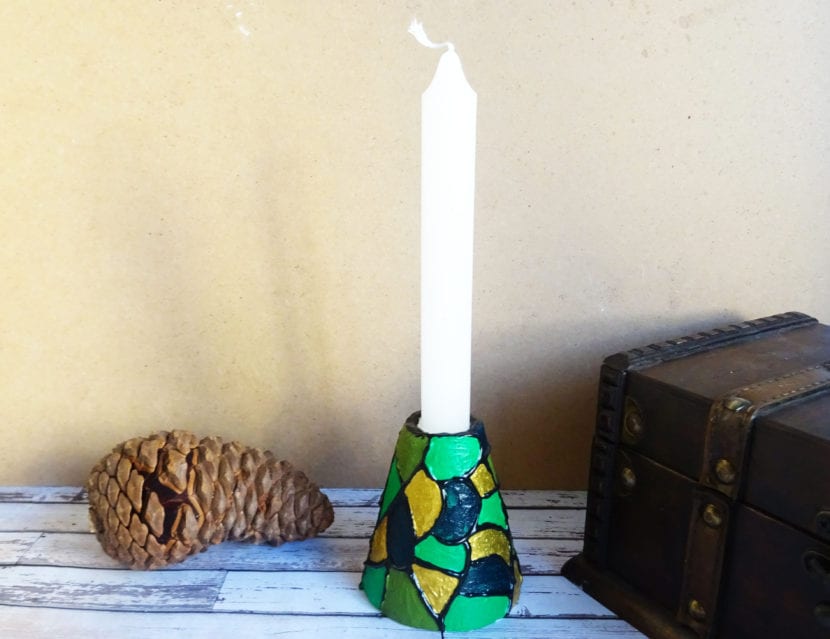
And when you have the dry varnish it will be ready to place your candle and decorate wherever you want.
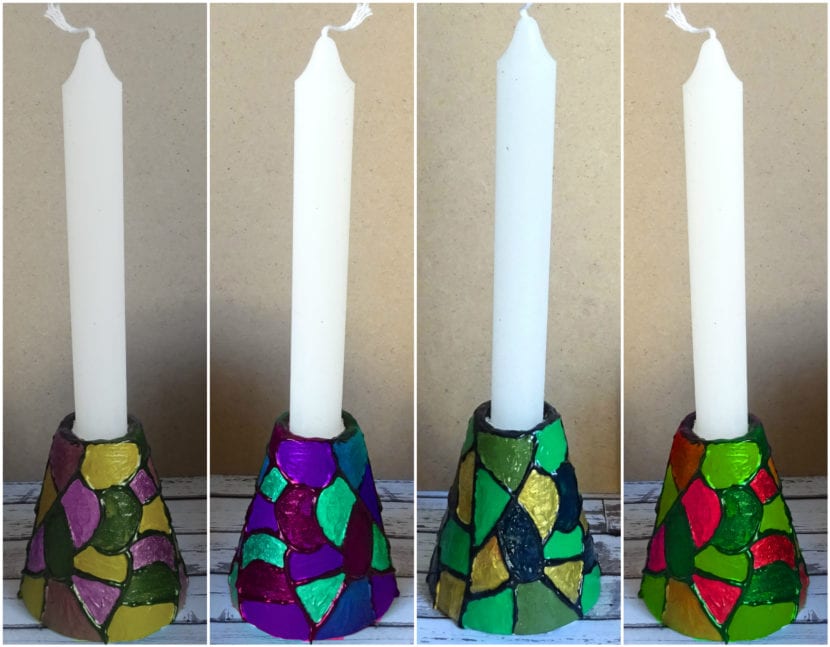
Try different combinations of colors and different drawings with 3D painting, and you will get thousands of different designs.