
How to make a painting using the decoupage technique, decorated with fabric letters.
Do not miss the step by step.
The decoupage technique, consists of pasting cutouts.
In the original decoupage, they are used napkin cutouts, which are pasted on surfaces such as wood, porcelain and even on cardboard, as to decorate covers of diaries or notebooks.
There are many variants of this technique, even using fabric, which is what I'll show you today.
I'll show you how to make a box with fabric letters, using the decoupage technique to cover the frame.
Super simple to do, they can use it to decorate rooms, doors or any space you want.
Materials to make a box with fabric letters:
- A frame with depth on one side
- Fabrics in different colors and prints
- Shellac
- White glue
- Brushes
- Mold of the desired letters
- Wadding or cotton
- Scissors
- Embroidery thread and needle
Steps to make a box with fabric letters:
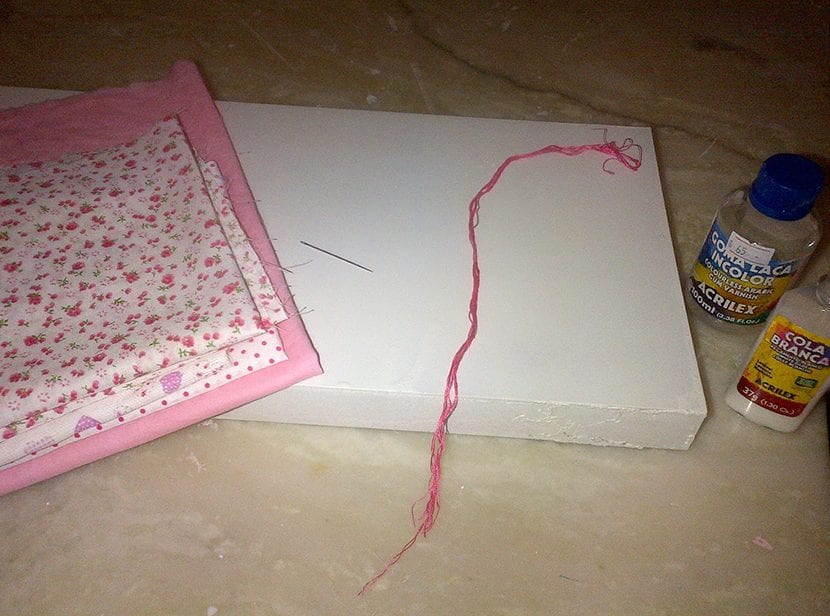
Step 1:
We start measuring the frame, and we cut double the measurement on the fabric.
We support the fabric on the frame and we passed shellac with a brush, covering all space.
We will notice that the fabric will be completely glued to the wood.
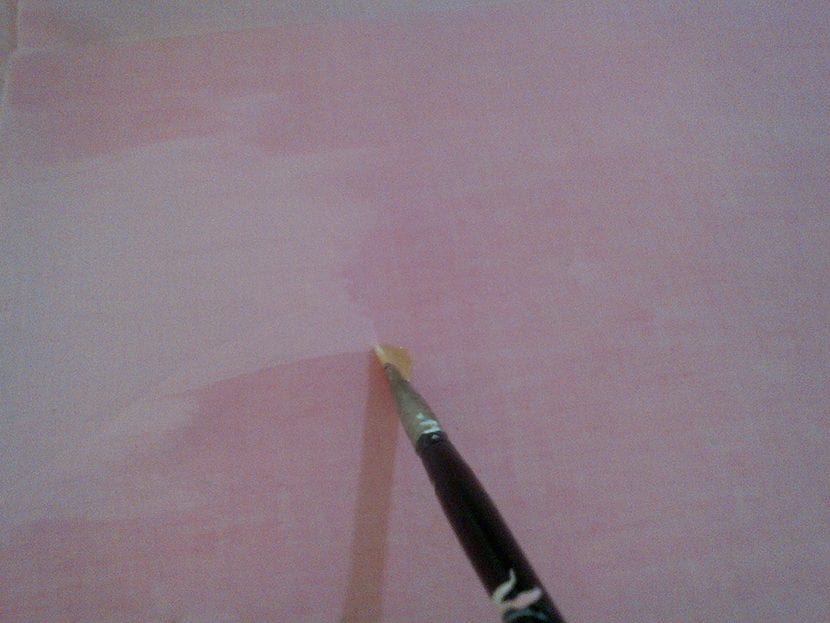
Step 2:
The idea is cover the entire frame with the fabric, as we see in the image below.
So that the corners are neat, we fold and we stick with a droplet of silicone and then we put shellac over it.

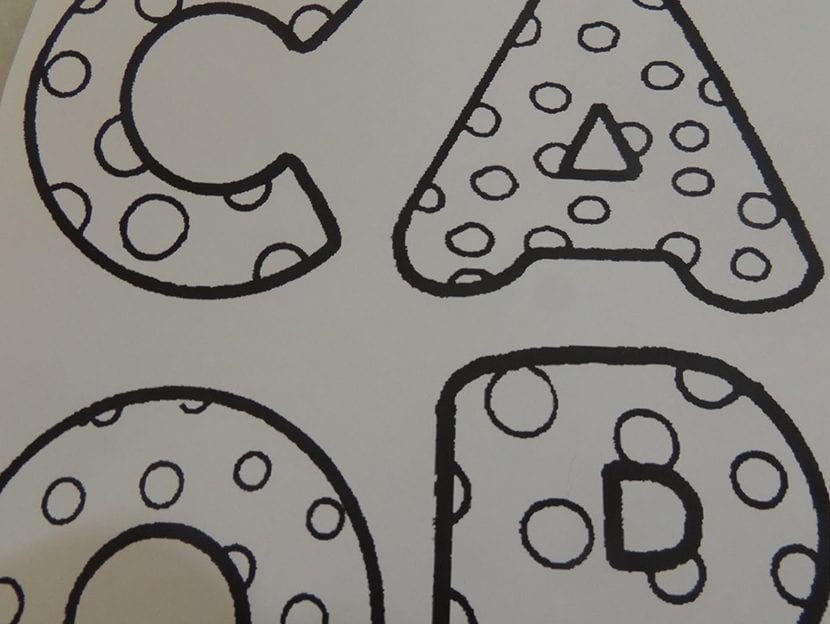
Step 3:
We leave the painting on one side and we started making the letters out of fabric.
You can get the molds in Internet, Of all sizes.
We print and cut
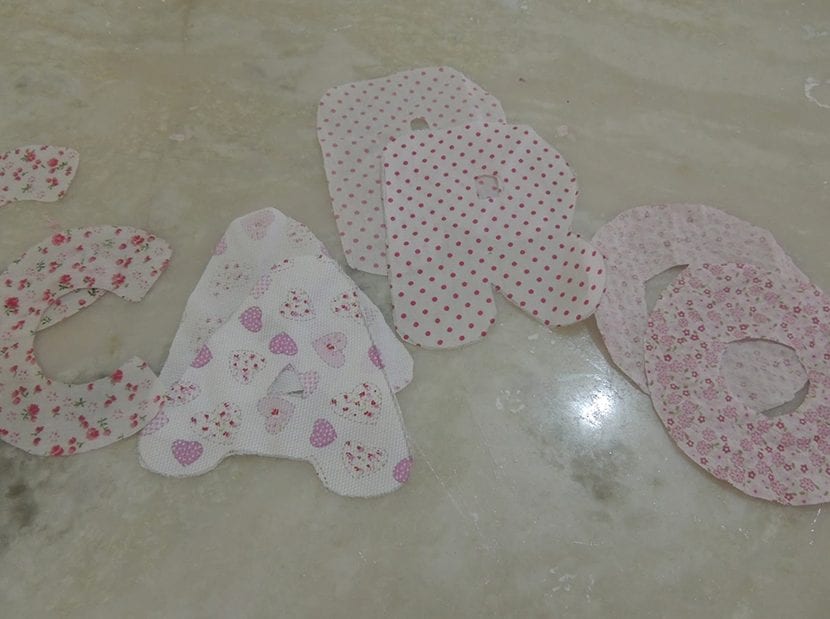
Step 4:
We pass the molds to the fabric and we cut 2 of each, as we see in the image:
Step 5:
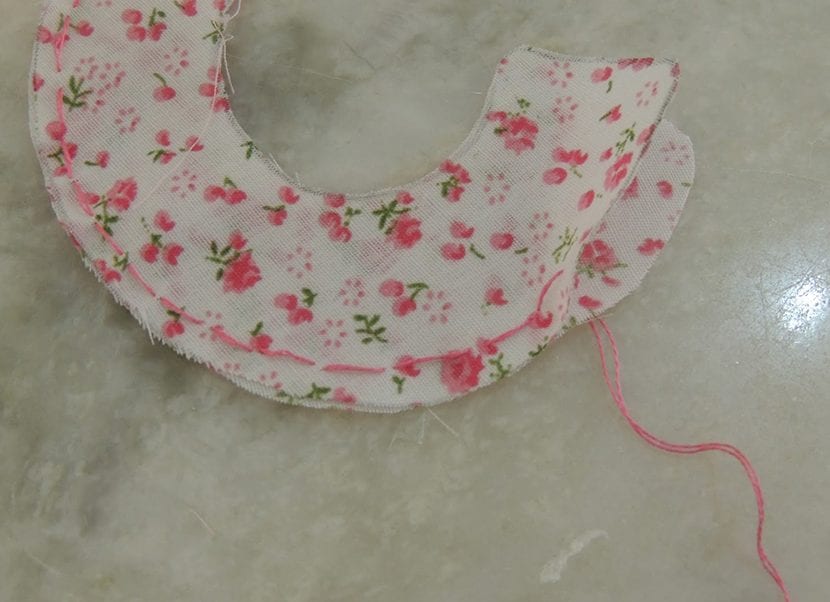
We sew the letters, with stitching on the outside, leaving an open space where we will pass the wadding or cotton.
We fill and close with the stitching.
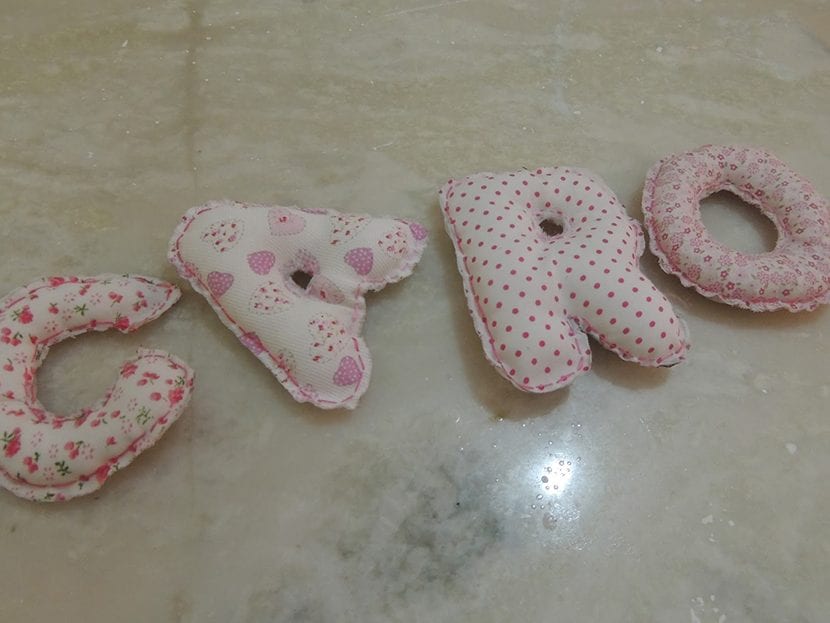
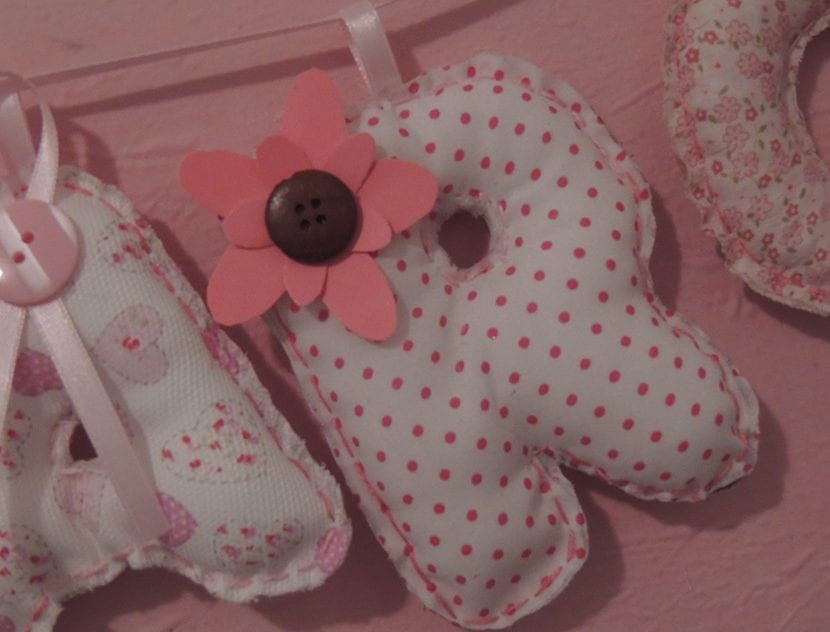
Step 6:
We do the same procedure with all letters, remaining like the image:
Step 7:
Behind every letter We glued a little piece of baby tape.
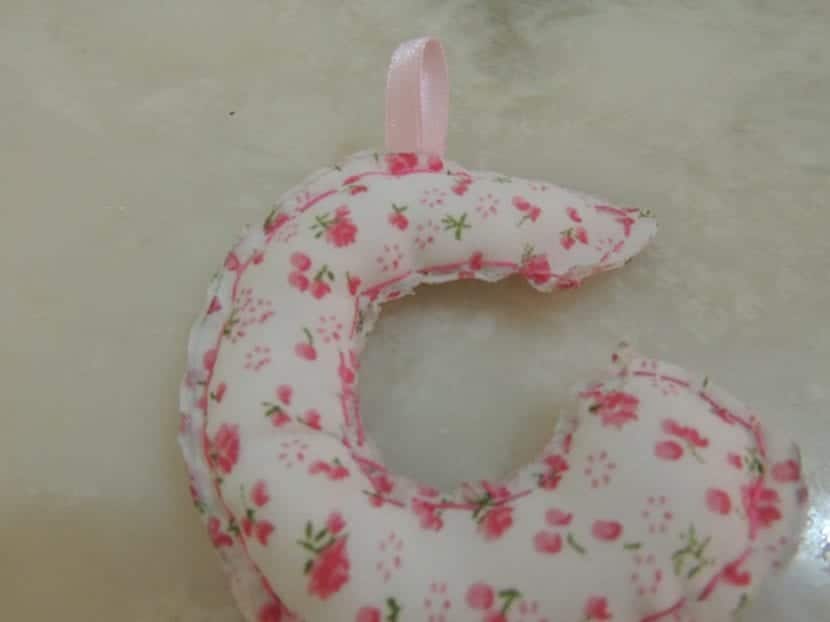
Step 8:
For the baby ribbon that we place behind each letter, we will pass a ribbon, it can be in the same color or some combinable color.
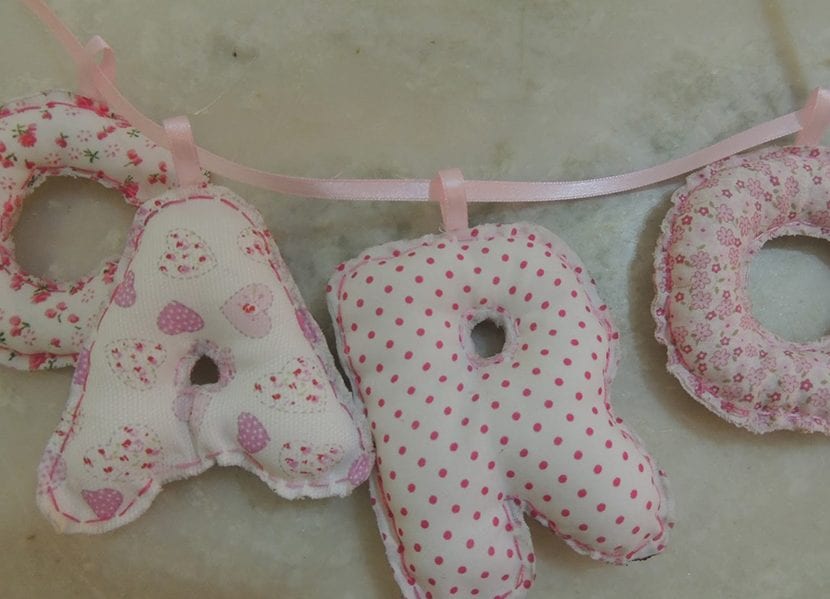
Step 9:
We hang the letters in the box, in the deep end.
We can use silicone to glue them and thus preventing them from falling off over time.
Decorate the letters as you like.
We meet in the next one!