
Today's post is dedicated to the first piece I have made with a pyrograph. Recently they gave me one and the truth is that I really wanted to release it and above all, to increase the result.
If after this post you dare to try the pyrography art, there is a very wide variety of them that go from very cheap prices to "astronomical" prices.
Materials
- A pyrographer.
- A wood.
- A pencil and an eraser.
- A sandpaper.
- A damp cloth.
Our Process
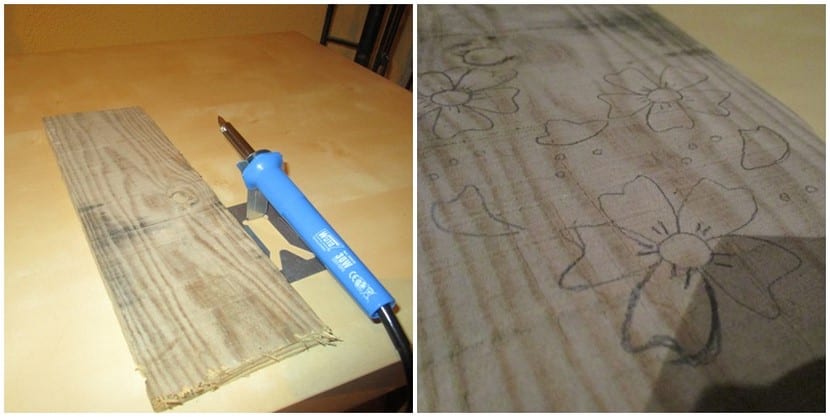
The first thing to do is sand the surface of the wood to make it as smooth as possible. Sanding, we will always do it in the direction of the grain and then, we will pass the damp cloth to remove the remains.
Then we will draw the design in pencil that we want to stamp on the wood.
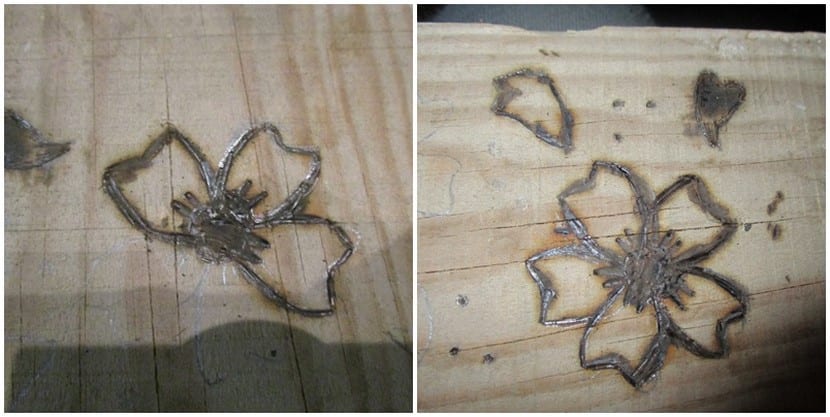
In this case, I have chosen some Cherry blossoms (sakura) and a phrase from Murakami ("I have nothing but a soul") to record with the pyrograph.

IMPORTANT: While we do the pyrography, we will surely need to change the tip on some occasion, remember to always change it using a pair of tweezers.
Until the next DIY!