
El Washi tape or decorated adhesive tape, it is a material that allows us decorate various objects and in a very easy way, in addition to economic.
Today we share with you a tutorial of How to decorate agendas with Washi Tape.
In the market there are various types of Washi Tape, as well as various textures and colors.
With it we can decorate from agendas to cell phone covers.
It allows us to create, playing with prints and colors.
It has even been used to line entire walls and furniture, spending very little, since the price of Washi tape it is super accessible to all of us.
What if we decorate an agenda using washi tape?
In less than 5 minutes you will have a super personalized agenda to your liking, ideal to give as a gift.
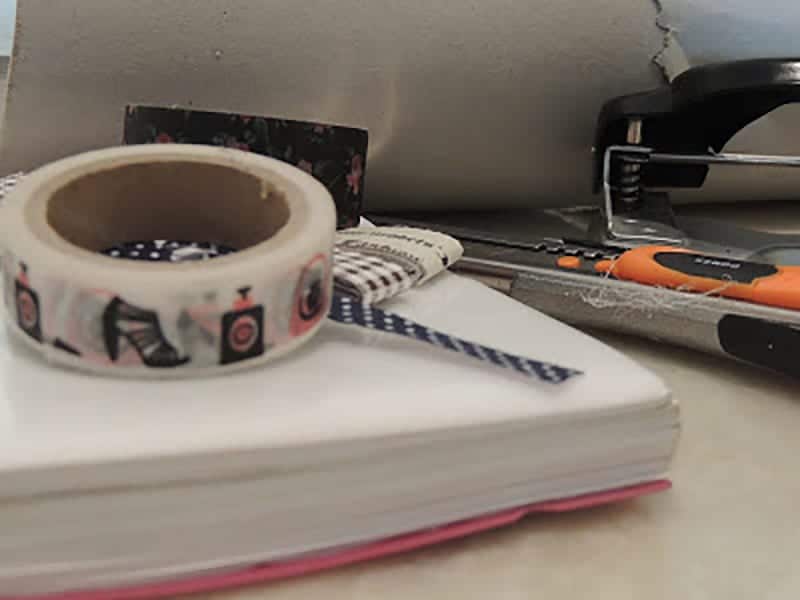
Materials to decorate agendas with Washi Tape:
- Washi Tape in the desired colors and patterns
- Agenda
- Chamois paper
- Paper hole punch
- Cutter
- Scissors
- Buttons
- Cardboard
- Color tapes
Steps to decorate agendas with Washi Tape:
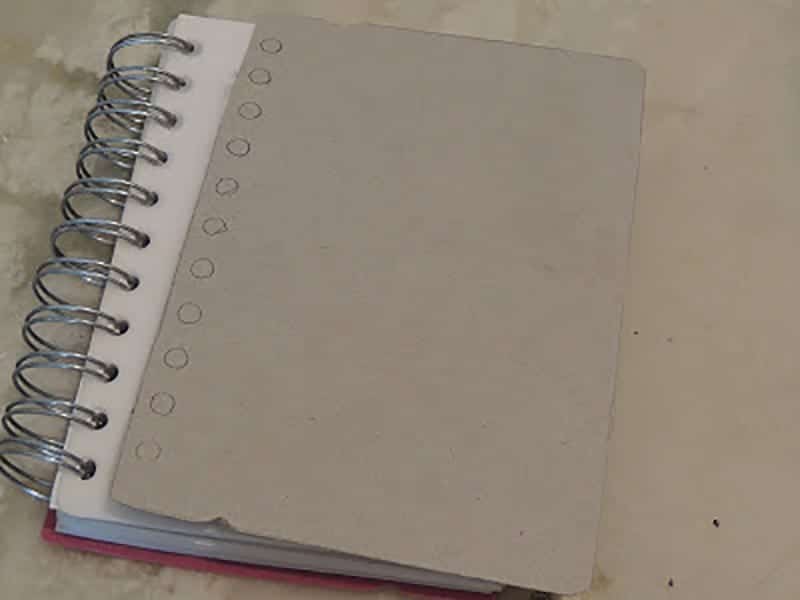
Step 1:
We remove the original cover of our agenda.
We will use it as a mold.
In a cardboard square we cut the shape of the cover of the diary.
We measure where we need to drill for later place it on the spiral of the agenda.
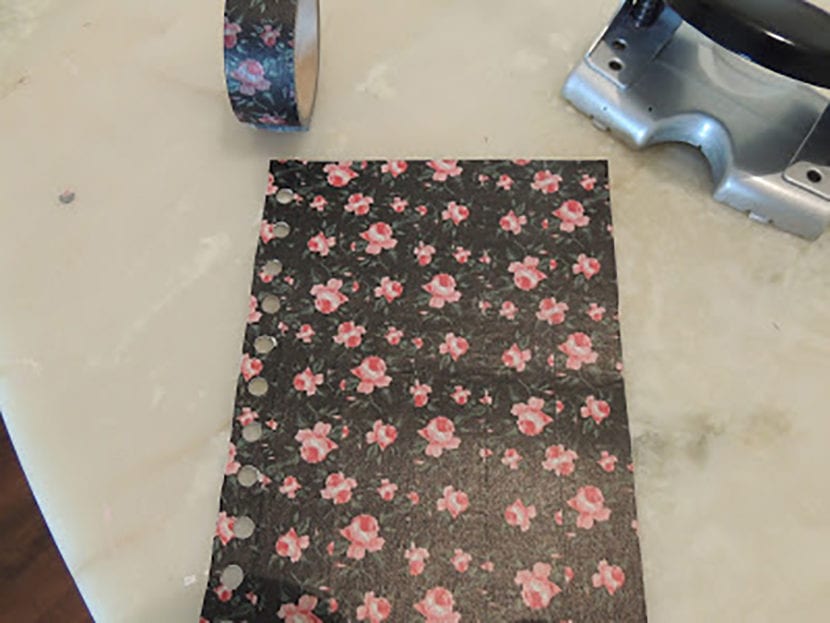
Step 2:
With great care and precision, we start to stick strip by strip of Washi Tape on the cardboard, taking into account that the separation of each strip is not seen.
We drill.
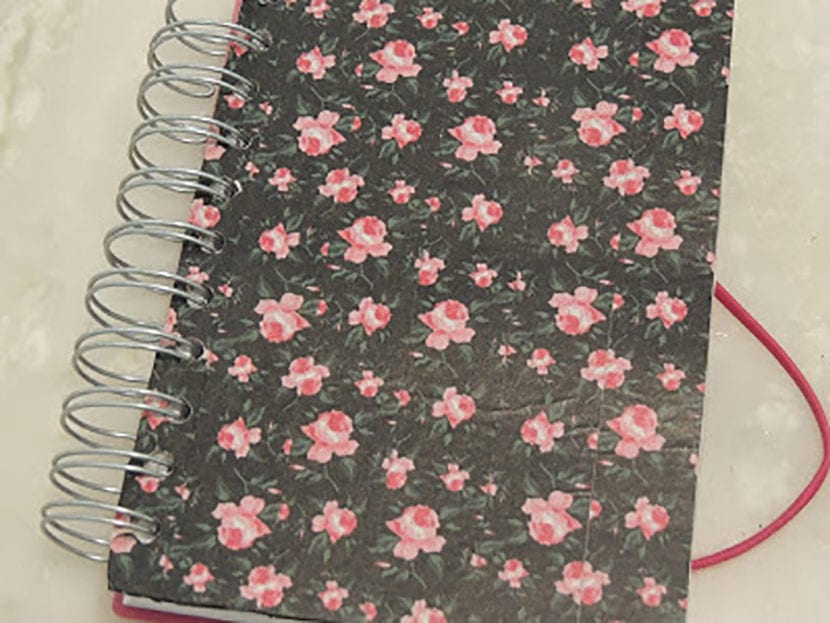
Step 3:
We open the spiral and we put the lid, we close the spiral.
Step 4:
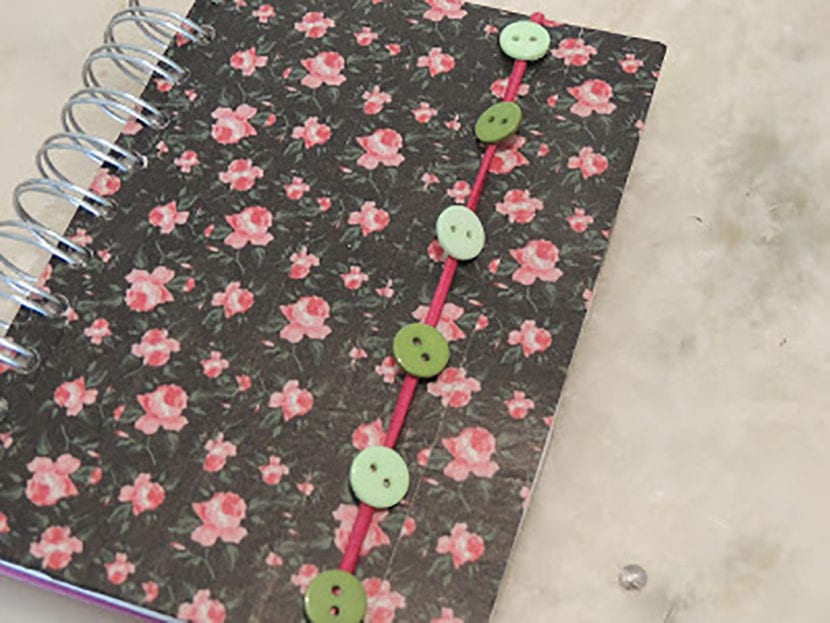
Si tu agenda has elastic to close, let's take the opportunity to decorate it too, but they can decorate the lid with buttons and other materials you want.
In this case, I decorated the elastic strap with buttons.
Step 5:
In the spiral, we hang a key ring.

Step 6:
For the keychain, we tie ribbons in different colors.
If is one gift for a young girl or girl, they can hang mini plush toys or stones that imitate crystals of colors.

We meet in the next one, have a nice week.