
Hello everyone, today we can find in the market a wide variety of hairpins, of different sizes and colors but what better way than to give them our own touch to have hairpins decorated by ourselves.
Ahora que el buen tiempo se asoma y apetece estar más fuera los complementos y entre ellos las horquillas son nuestros aliados para sujetar nuestros peinados.
Today I show you three simple but original ideas to obtain beautiful hairpins decorated with some simple hairpins that we buy.
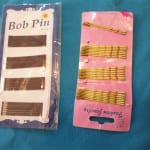
Materials
- Forks.
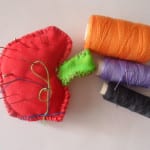
- Decorative elements that we want to use to decorate our hairpins.
- Thread and needles, glue.
-
Procedure to make decorated hairpins
The procedure is very simple, we simply have to add to our forks the decorative elements that we want in the best way for each one.
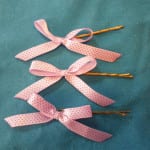
I have chosen in the first place to use colored ribbons to make decorated hairpins. I have made some small bows and I have sewn them on the round end of the hairpins, we can also sew them in the middle or where we like the most, I particularly like them at the end of the hairpins.
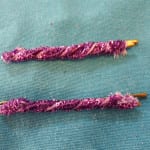
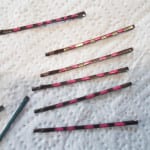
To make other decorated hairpins I also used colored ribbons, but this time what I did was to cover the hairpin with the ribbon, turning diagonally as you see in the images. For these pins I used colorless glue to make the tape better adhere to the pins.
As a second option I used colored beads, it is simply to put the accounts in the forks, taking care of do not exceed width otherwise the hairpins would remain open and they would not hold the hair well. I have used round purple wooden beads to be able to combine them with the other hairpins decorated with purple bows, but we can use several colors at the same time depending on the width of the beads, as you can see I could only put two on each of the hairpins .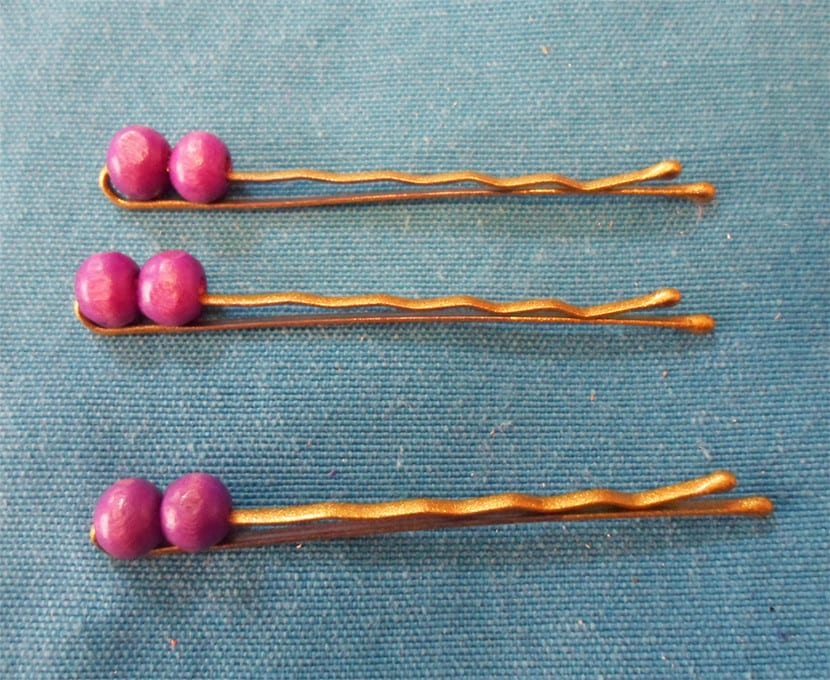
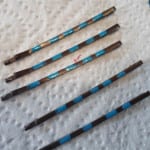
And for the last decorated hairpins I used different colored nail polish and a toothpick to make small dots of colors, lines and uneven drawings on the pins. I have dipped the toothpick in the nail polish and I have gradually decorated the hairpins as I liked it, it is very important to let them dry well before using these decorated forks because the decoration may be damaged if not.
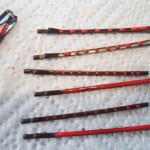
We can use many more materials to make decorated hairpins, buttons, ready-made bows, plastic beads with specific shapes such as flowers or letters, etc. In the photo gallery I leave you several decorated hairpins that I have decorated in addition to the three ideas that I told you in the tutorial.


This tutorial is very simple but at the same time entertaining, I hope you liked it and that you put it into practice with your little ones who will love to wear their hairpins decorated by themselves.