
Hello everybody! This time I bring you a very entertaining tutorial to do. In this tutorial you will see how I have decorated a notebook with decoupage for a girl.
I will also tell you a little about this technique so that you know what things we can do using it and what materials are needed
What is decoupage?
The term decoupage comes from the French word découper, which means to trim. Through this technique we can give a second life to a piece of furniture, or to an object by decorating and restoring it.
Although its name comes from a French word the technique has its origin in China, it is said that it had its beginnings in the nomadic tribes of Siberia that adorned the graves of their dead with felt cutouts and later the Chinese used it to decorate objects in the house. Decoupage developed in Europe in the Middle Ages and the Renaissance, and in the United States it became very common in the 70s.
Consists of the decoration of various objects using cutouts from printed paper or patterned fabrics and giving it several layers of varnish or glue so that the paper or fabric is perfectly incorporated into the object.
Originally it was used to decorate or restore furniture, but it is also used to decorate other surfaces such as wood, glass, ceramics, candles, etc. It is a technique widely used for recyclingr.
Wrapping paper, newsprint, maps, photographs, magazines, fabrics with eye-catching prints, gauze, etc.
Decoupage is a technique that allows you to give unleash the materials which selections to use.
The steps to follow to apply this technique are normally the following, first a layer of white glue is given, it is lined with the paper or fabric scraps that we want, one or more layers of varnish are given, it is sanded to obtain a uniform finish and the surface is re-varnished. Usually between 3 or 4 layers of varnish are given so that we get a good result, but it depends on the work we are doing.
Tips for using the decoupage technique
- The first thing I always recommend before doing a job or a craft with a new technique is get informed, read All we can about the technique we want to start using is one of the best ways to work comfortably and confidently.
- The next thing is to start with something simple and small especially in this technique. Like a box, a notebook, a jar, etc.
- On the other hand it is good too get an idea or sketch How we want to decorate that object, where we want to put each cutout, what colors are we going to use, so when you start you can guide you to make your project.
- It is important that we use the glue and the right varnish for each job. That is, to decorate a notebook we will use glue and varnish for paper, for a cabinet carpenter's glue and synthetic varnish, in the places where you are going to buy the glue and varnish they can guide us on which is the right one for each case.
- While we are decorating the surface with decoupage, you can small or large bubbles form of air under the paper. The important thing is to be patient and follow these steps carefully, with a fine needle puncture the bubble, put a little glue of the one we are using on it and then carefully apply pressure with your fingers or with a cloth so that the air comes out.
If you have come this far, you already know a little more about this versatile technique. Now I will show you a job that I have done with the decoupage technique.
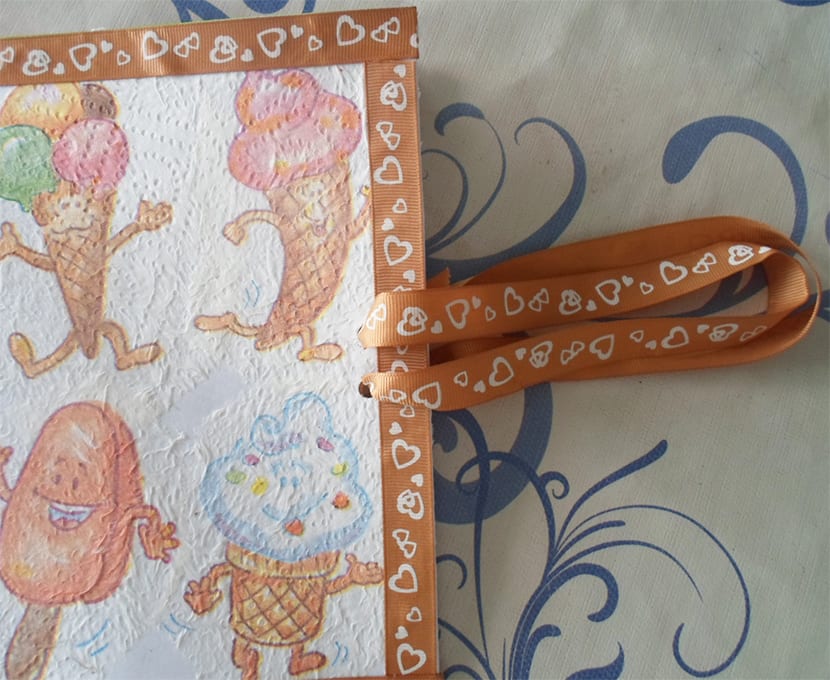
I have lined a small notebook, using a kitchen paper that has funny pictures.
Materials
- Role: the one we choose.
- Scissors.
- Glue: in this case I have used colorless glue for paper and cardboard.
- Printed ribbon
- Hole punch.
- Brush.
Procedure to decorate a notebook with decoupage
First of all, what I did was give it a coat of glue to cover the entire surface. Then I glued white paper so that the color of the notebook does not interfere with the result since the kitchen paper is quite thin and I wanted the background to be white.


While this first layer of paper was drying, what I did was cut out the figures that I wanted to paste on the notebook. I trimmed them using a ragged cut scissors.
Once the first layer of paper was dry, I spread another layer of glue on top of the white paper, on one side of the notebook and I was putting the kitchen paper cutouts as I wanted them to remain in the notebook. Then I spread another layer of glue on top of the paper to seal it, taking care of the bubbles that can form and not to break the paper that when moistened with the glue can easily tear or break.
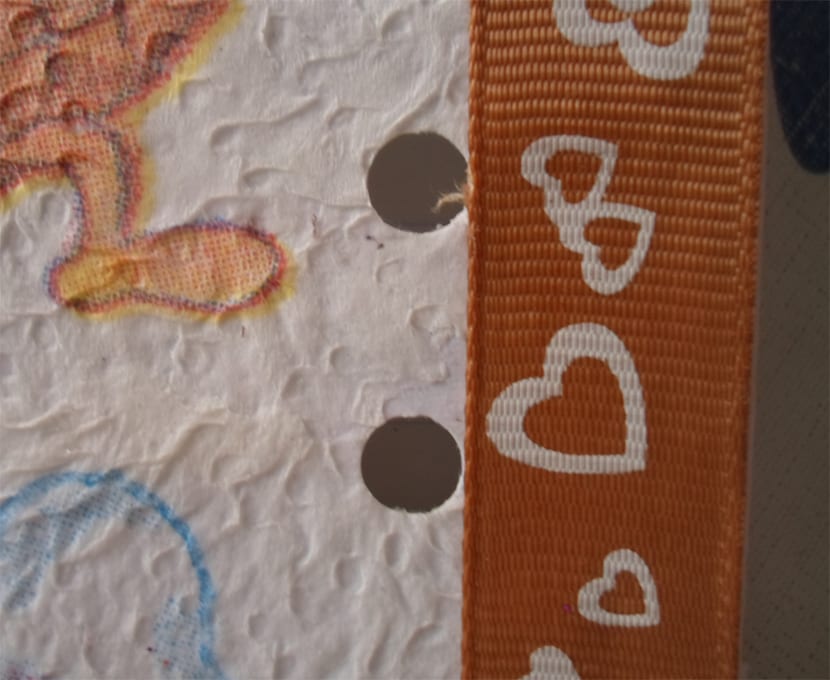
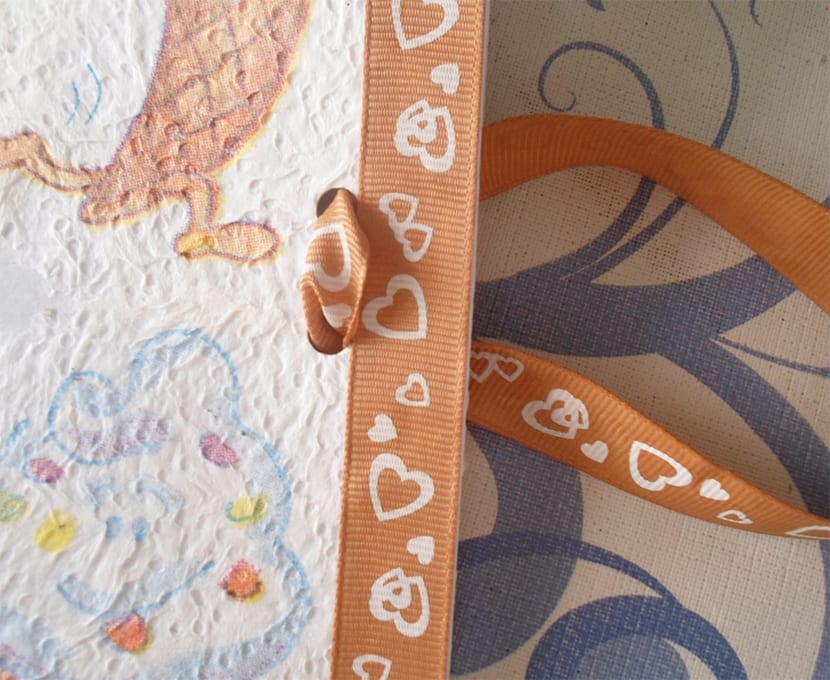
The next thing I did was put a decorative tape on the edge of the notebook, leaving a surplus to fold inward, when I put it in place, I put a layer of glue on top of the tape as well and let it dry well.
After this side of the notebook is dry, the procedure is the same for the back, put glue, paste the drawings, place the tape and spread a new layer of glue, let it dry.
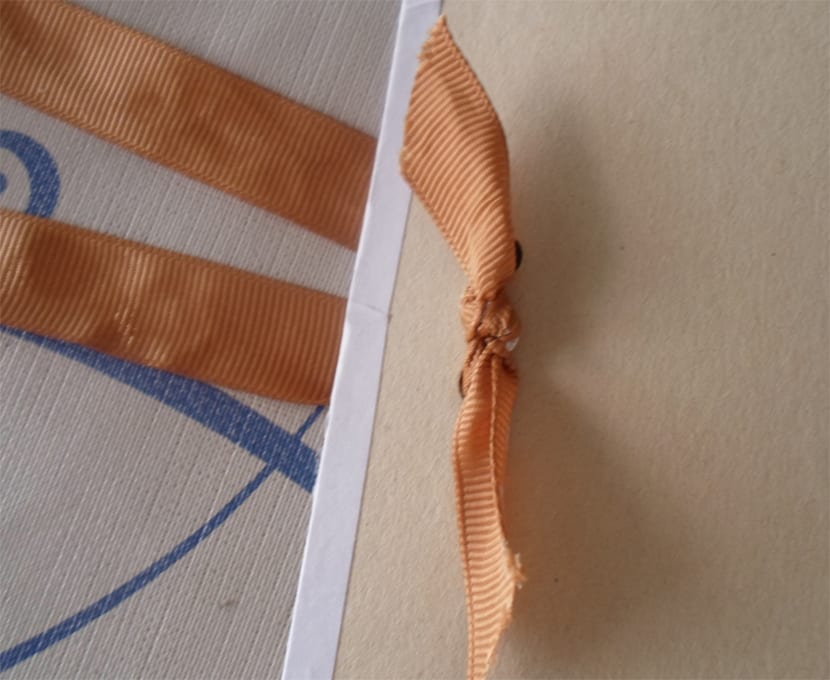
When the two layers of the notebook were dry, what I did was stick the excess tape on the inside and let it dry again, to make it stick better, I fastened them with clips.
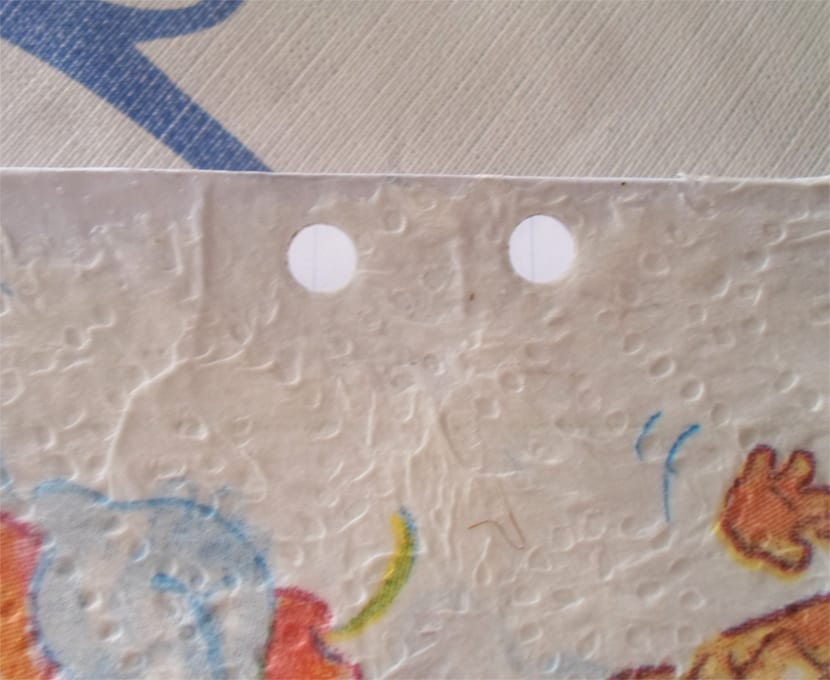
And as a last detail, I made two holes in each cover and put more tape on it, forming two handles so that the girl can easily transport her notebook anywhere.
Drying is very important in these decoupage jobs, you have to be patient and let it dry well between layers and the result will be exquisite.
I hope you liked this tutorial and that the information on decoupage that I have shown you has helped you.
Leave me your comments !!