
With this craft you will recreate your imagination by forming a fun desk made with cardboard tubes. And is that once again we can use our skills and give ourselves the opportunity to put together all this material and make a fun desk. It is designed to take advantage of its holes and to have its space to fill it with the craft or office material that we want. It's easy and fun, do you dare to make one like it?
The materials that I have used are:
- 14 small cardboard tubes
- cardboard
- blue eva rubber
- colored strips of paper (blue, orange and green)
- blue and white acrylic paint
- colored star stickers
- Brushes
- pencil
- ruler
- glue type glue
- hot silicone glue with gun
You can see this craft step by step in the following video:
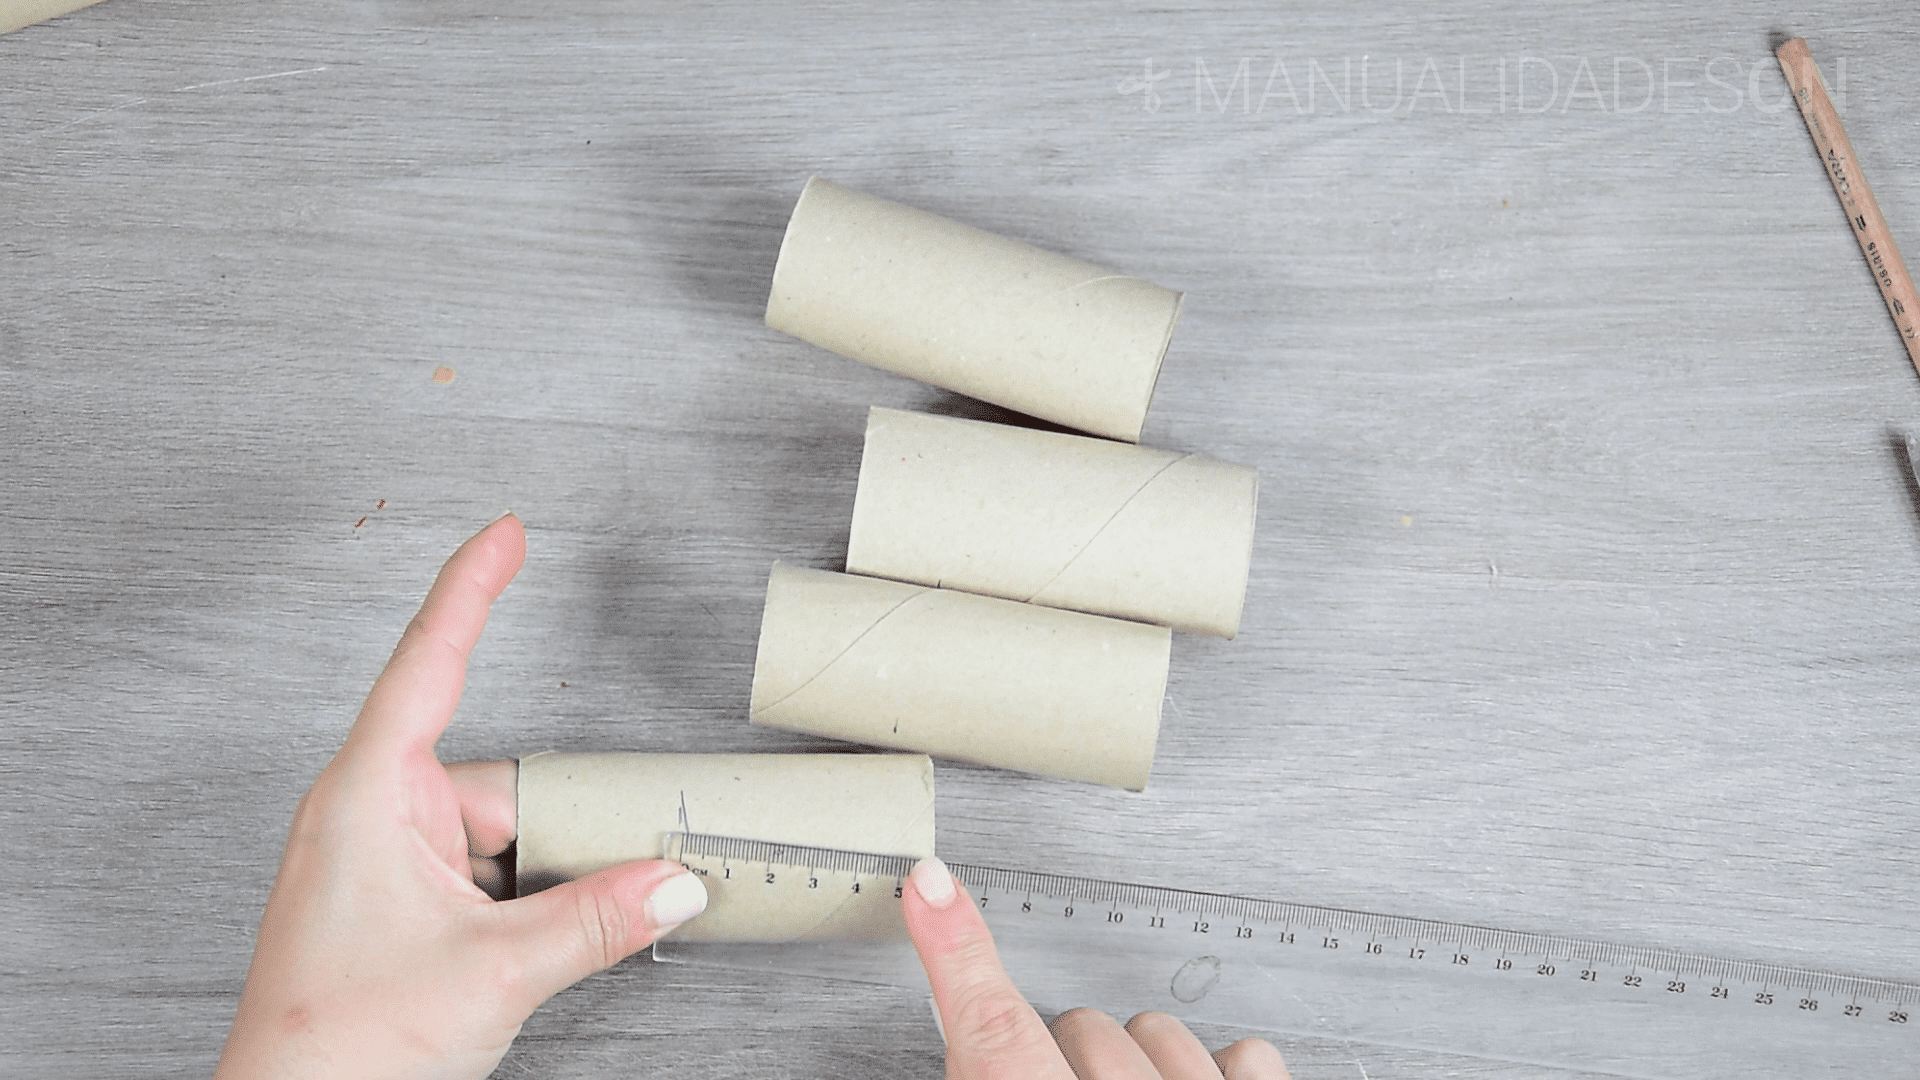
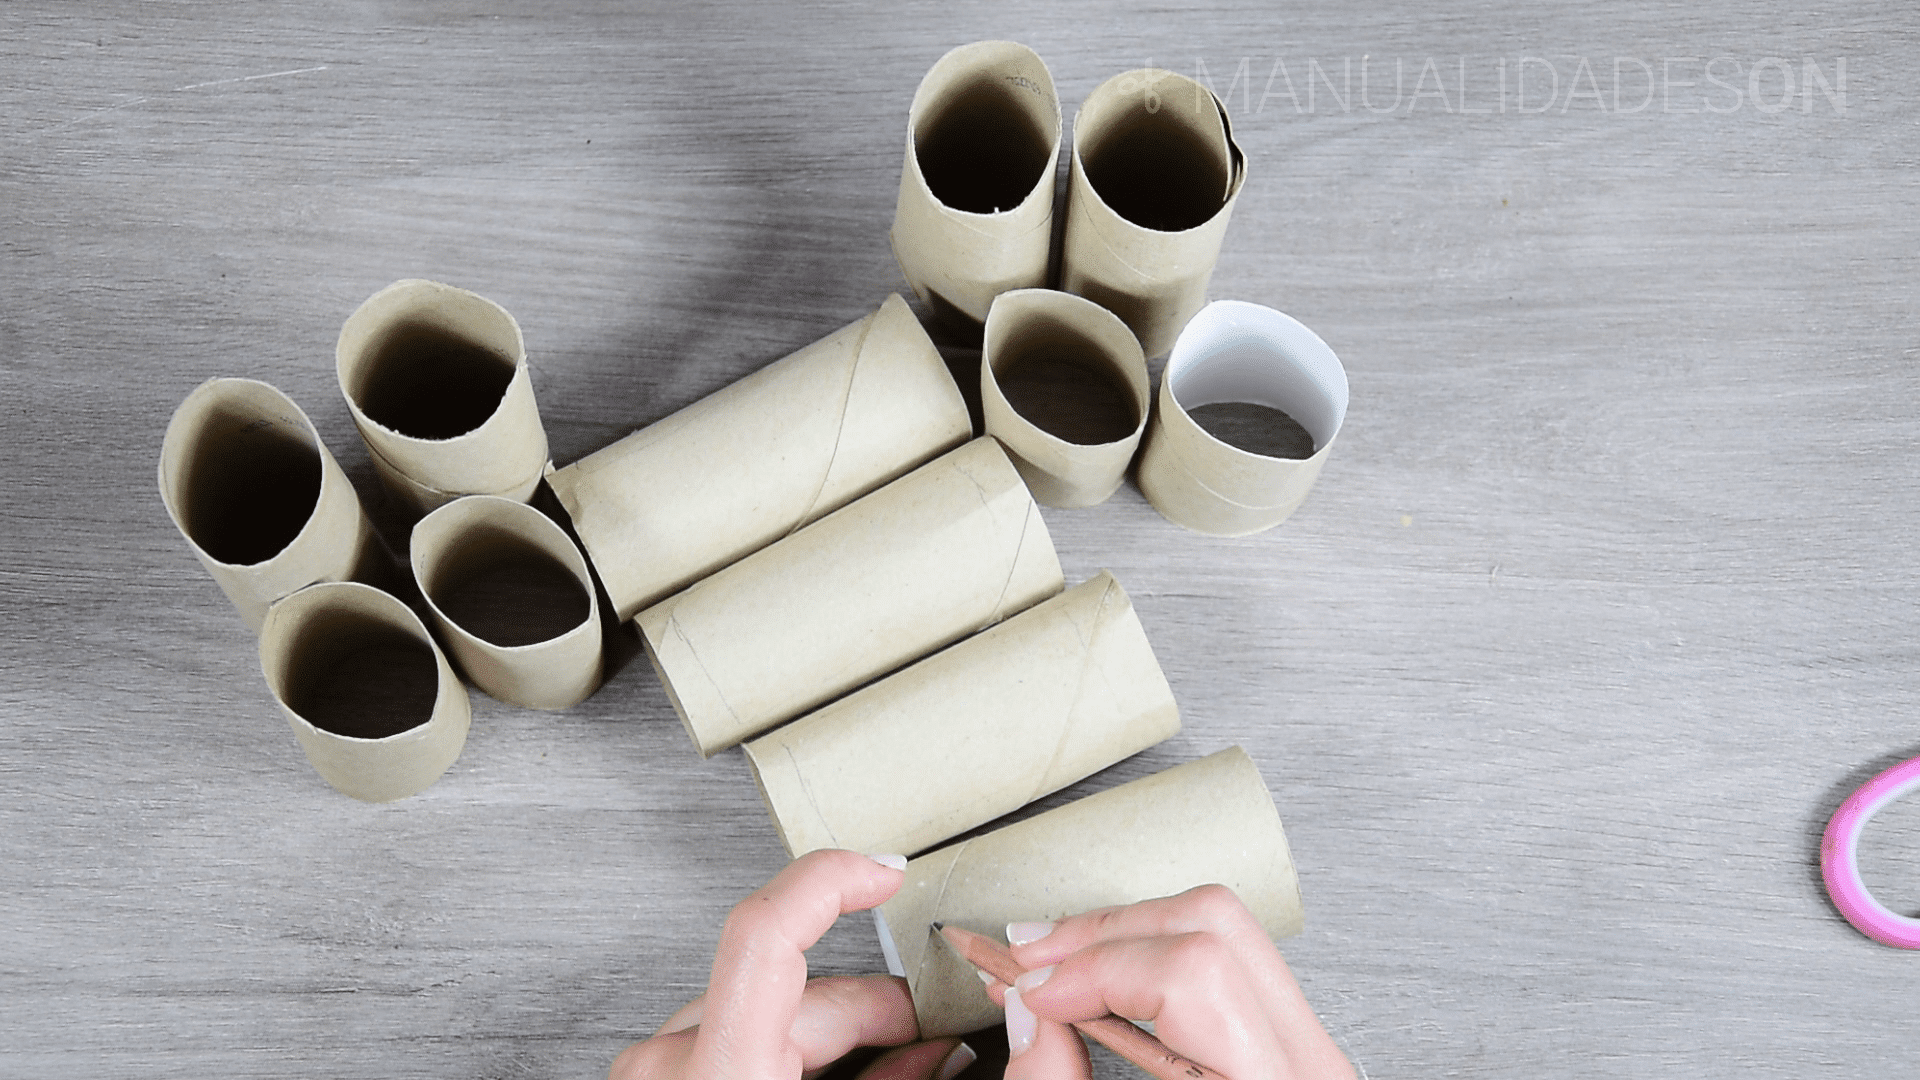
First step:
We take two cardboard tubes and cut them 6 cm high. We take another two and cut them to 7 cm high. In another three tubes we will draw a rectangle and cut it, in this way we will be making a cavity that will make the shape of a box in each tube.
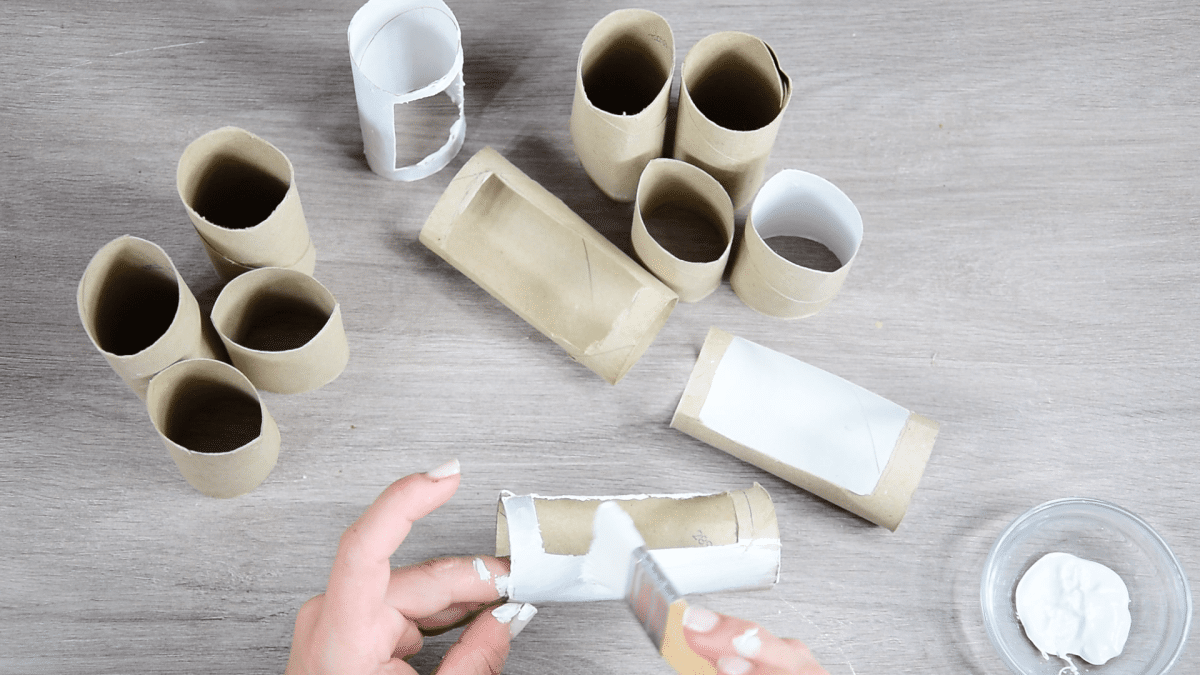
Second step:
We paint the tubes as follows: four tubes without trimming and all the tubes that we have cut of 6 and 7 cm will be painted blue. The other tubes where we made a hole will be painted white. In a separate cardboard we will draw some triangles that will act as sides of the structure that we will form, we will cut them out. You must make the measurements well so that they are the same height as the tubes.
Third step:
We are forming the structure: we place two whole blue tubes together with a 6-cm tube and a 7-cm tube to one side (left side). On the other side (right side) we put the same number of tubes. In between we are going to place three tubes that will fill to hold three of those that we have cut out as boxes. We will reinforce all this with the two triangles that we had cut out. Once formed, we can go on gluing it with the hot silicone. The excess peaks of the triangles, if they bother us, we can trim them.


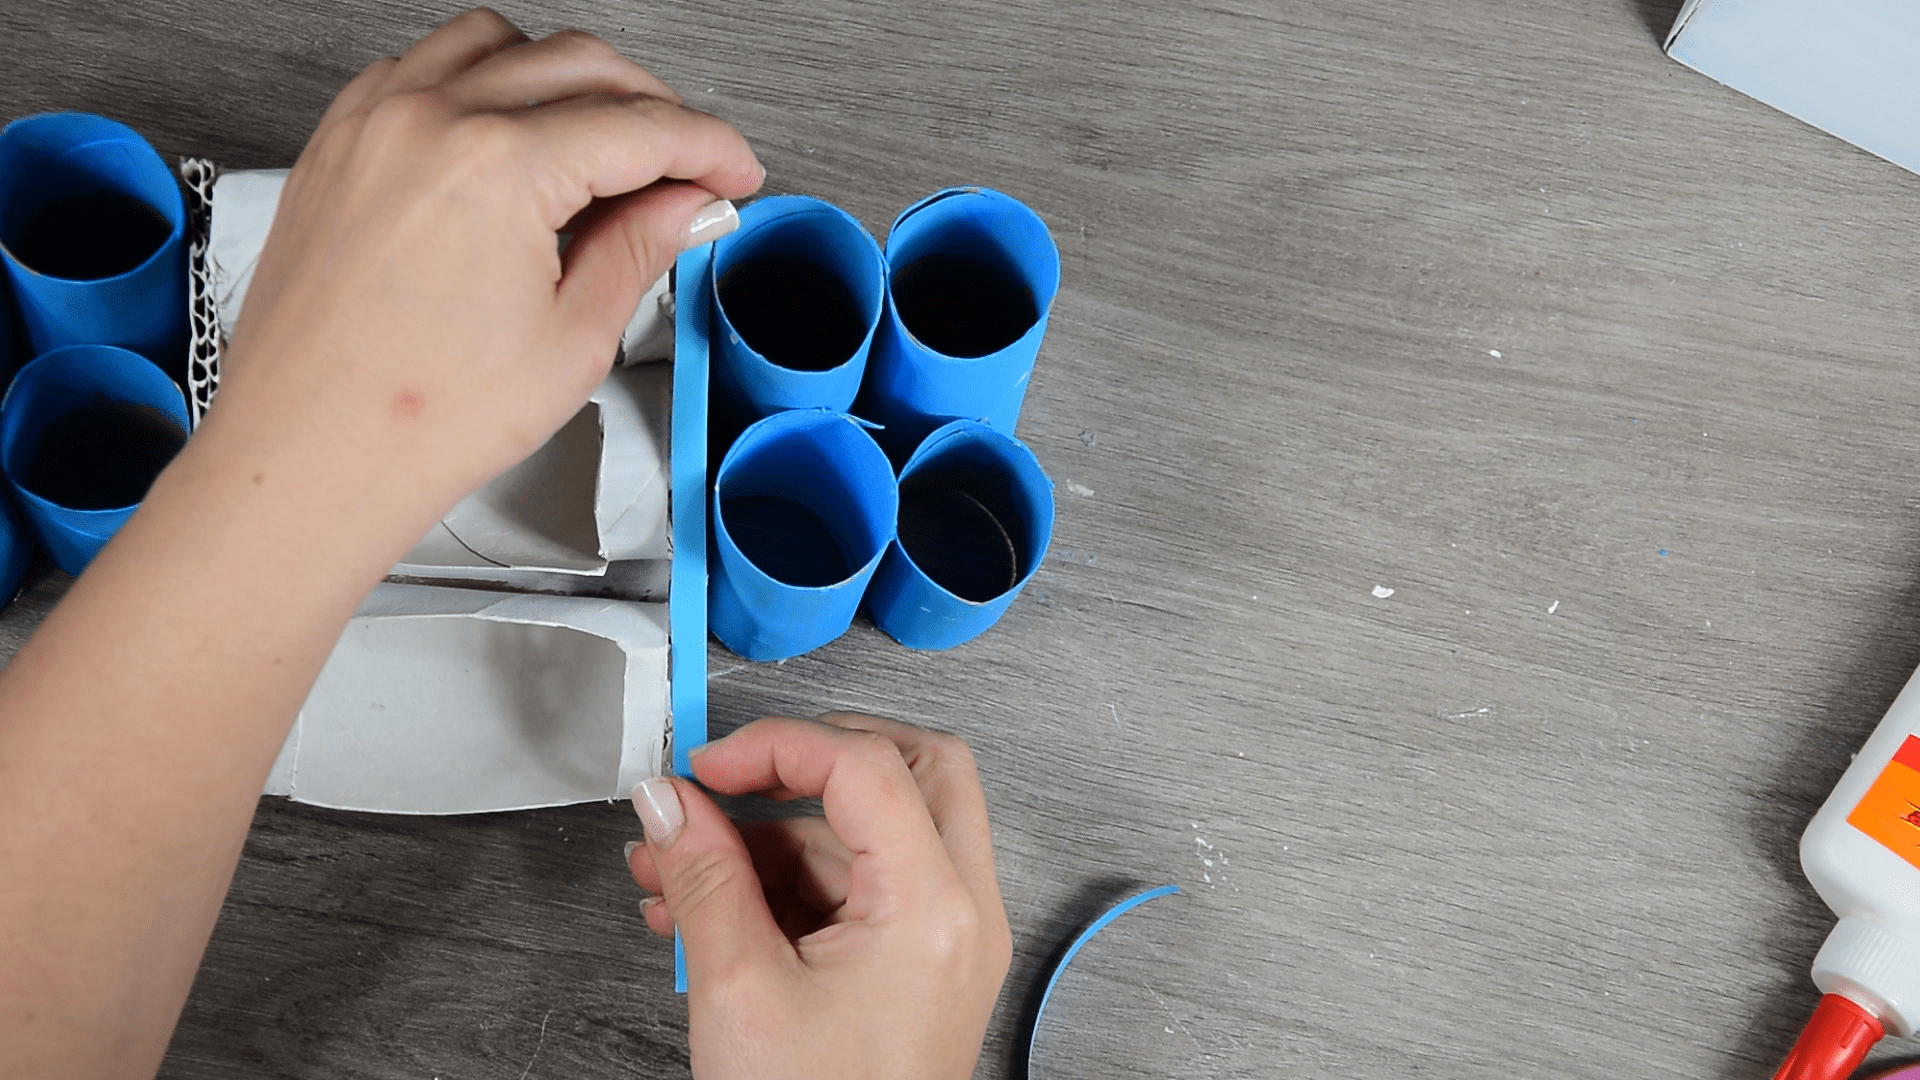
Fourth step:
We paint all the holes that we have left free in white and we will decorate the edges of the triangles and the edges of the tubes that were vertical with colored strips. We place the whole set on a piece of cardboard and measure to make a rectangular base. We cut out a piece of eva rubber of the same size as the cardboard and join both pieces with glue.


Fifth step:
We decorate the tubes with the stickers. Finally we glue the entire structure with the cardboard base with hot silicone. We see if we have something pending to finish and we will have it ready to fill with stationery.