
Today I come with a DIY home decor. In these days that are approaching if you are to set the house here I leave you an idea: how to make a decorative pumpkin.
Makings:
- Trunk wood.
- Branch piece.
- Acrylic paintings.
- Brush.
- Piece of burlap.
- Brown marker.
- Wire.
- Sisal rope.
- Silicone.
Processing:

- We prepare the materials: we will need yellow, red and white acrylics.
- We will bring out the orange color that we like the most by mixing these colors or we will put orange acrylic directly.
- We will paint the piece of trunk, leaving the crust unpainted.

- We will let dry and with white paint and the almost dry brush we will apply brushstrokes in the orange areanja.
- When the paint we just put on is dry we will put wax to give it an aged look.
- We will apply the tail of the pumpkin placing hot silicone and gluing the branch piece.
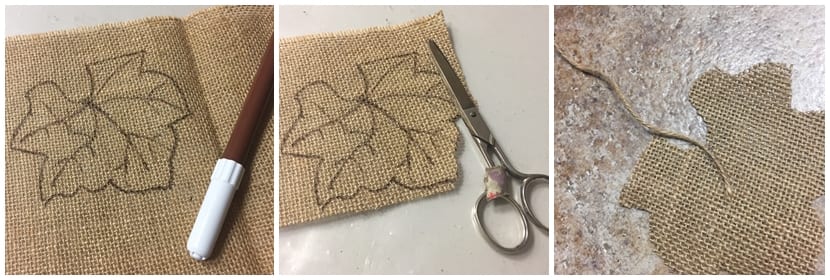
- For the leaf it is the time of the burlap: We will draw a leaf shape with a dark brown marker.
- We will cut out the silhouette of the leaf.
- With We will stick a piece of rope to the sheet from the back.

- We will cover the wire with the rope, applying glue to the end with the hot gun, as shown in the image.
- We will apply the rope to the wire all around, If we want, we can put a point of glue in between so that the rope remains attached.
- We will wind this wire in a marker giving it a spring effect.

It only remains to glue the leaf and the spring that we have made in the area of the tail of the pumpkin, creating a rustic and realistic look at the same time. And we will have our pumpkin ready to decorate a corner of the house.
I hope you liked it and that you put it into practice, if so, you can pass it on to me on any of my social networks, I will be delighted to see the versions you make of this pumpkin.
See you at the next DIY.