These boxes are beautiful, small and original. I have made two fruit-shaped boxes in a very simple and particular way. You just have to add the decorative elements that you want to grow up, such as painting them with some kind of message or some small drawing of the chosen fruit. It is a bit complicated to write the steps, so I have devised a video where no details will be missing so that you can follow the steps without any difficulty.
The materials that I have used are:
For the strawberry box:
- glitter or non-glitter red cardstock
- green cardstock
- green rope or wool
- glue glue or cold silicone type
- small hole punch
- scissors
- pencil
- ruler
- candies to fill or whatever you prefer
For the pineapple-shaped box:
- yellow cardstock
- green cardstock
- a miniature yellow caliper
- pencil
- ruler
- scissors
You can see this craft step by step in the following video:
For the strawberry-shaped box
First step:
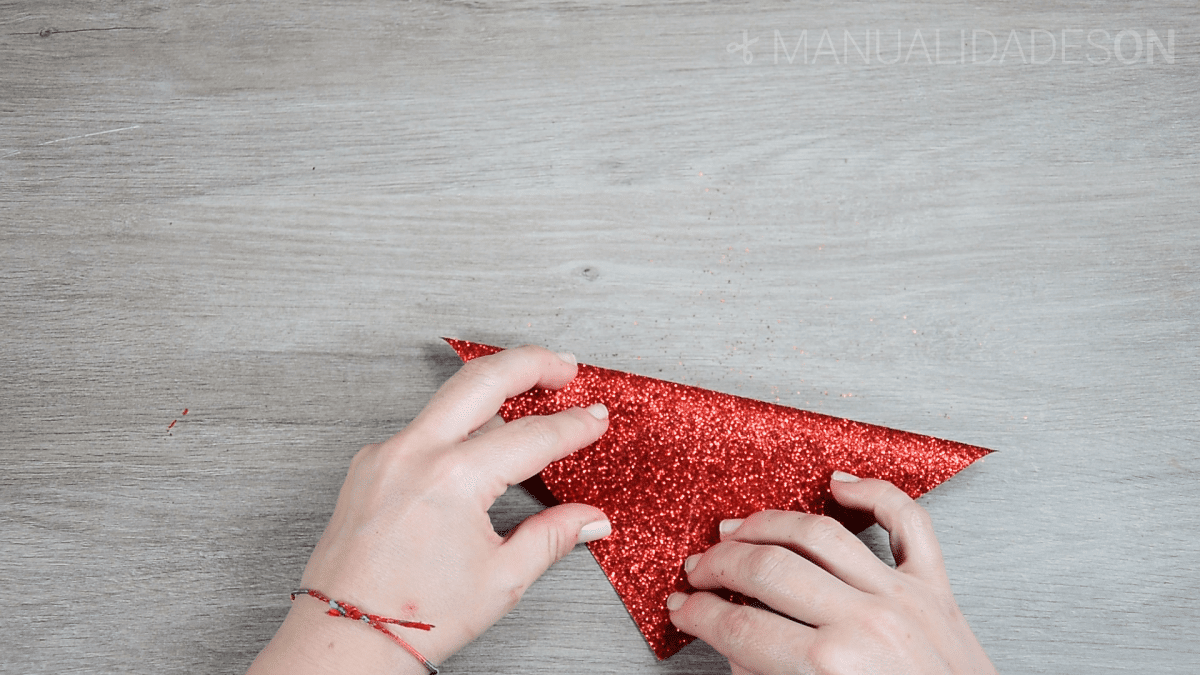
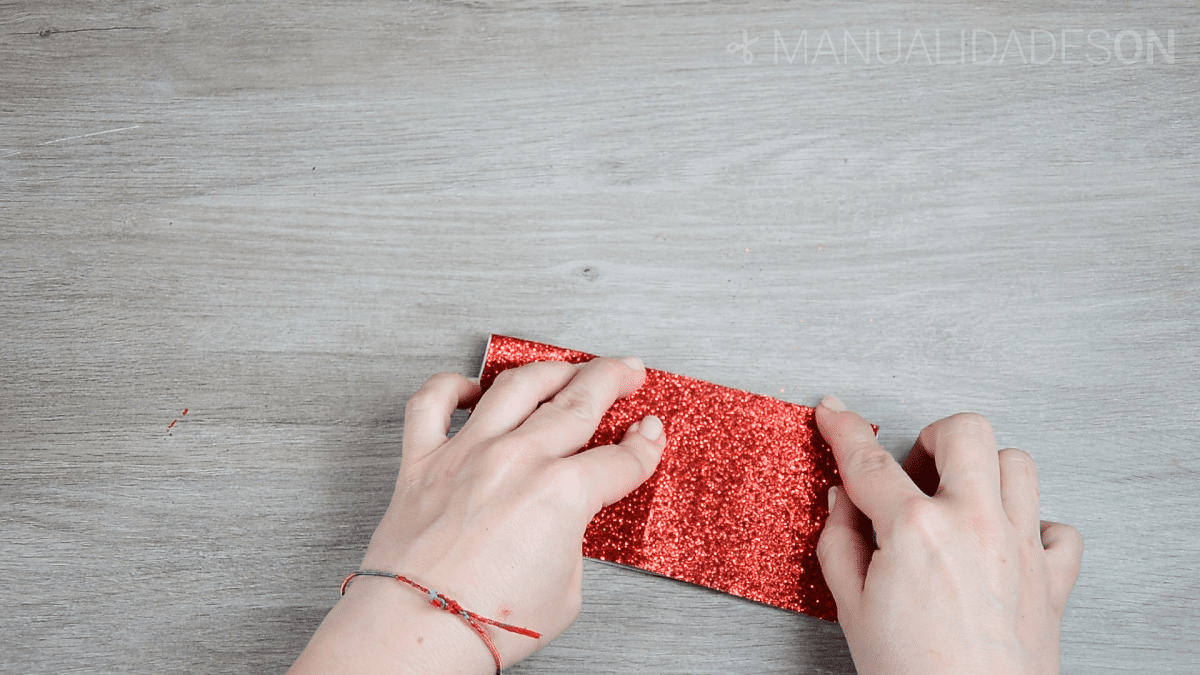
We choose the red card with glitter. We are going to form a 15 × 15 cm square and cut it out. We fold it in half on all its sides and fold it again on its diagonals. With all its marked folds, we fold inwards and form a triangle, the colored part. We leave the white part out.

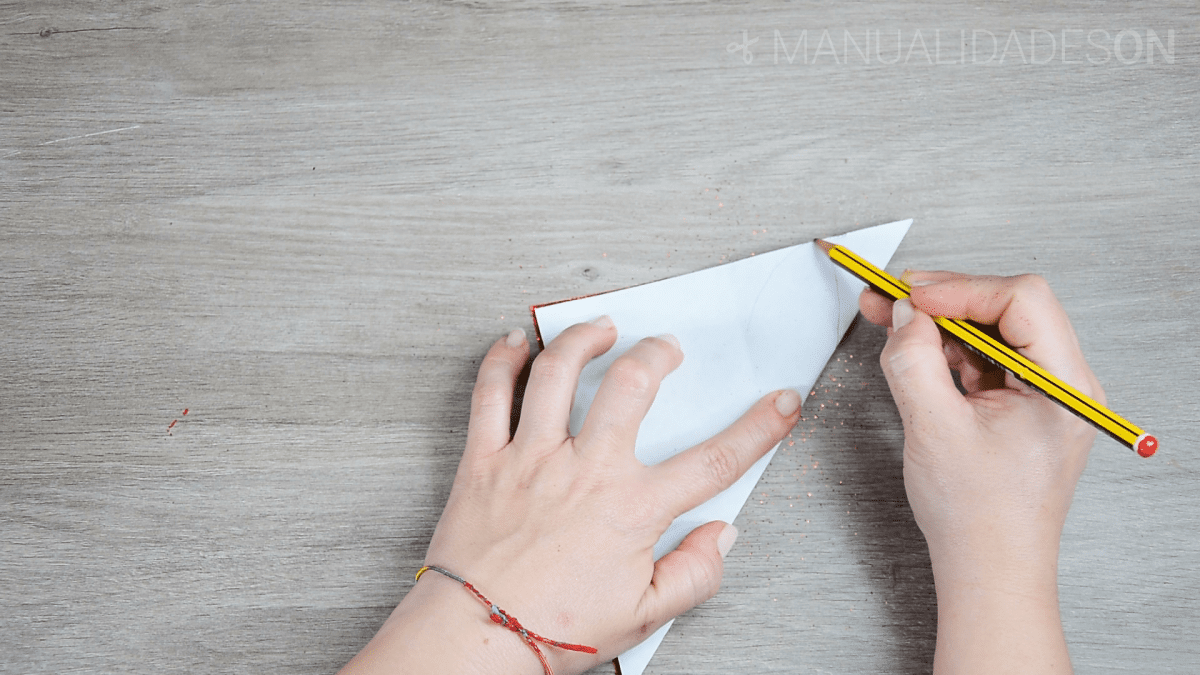
Second step:
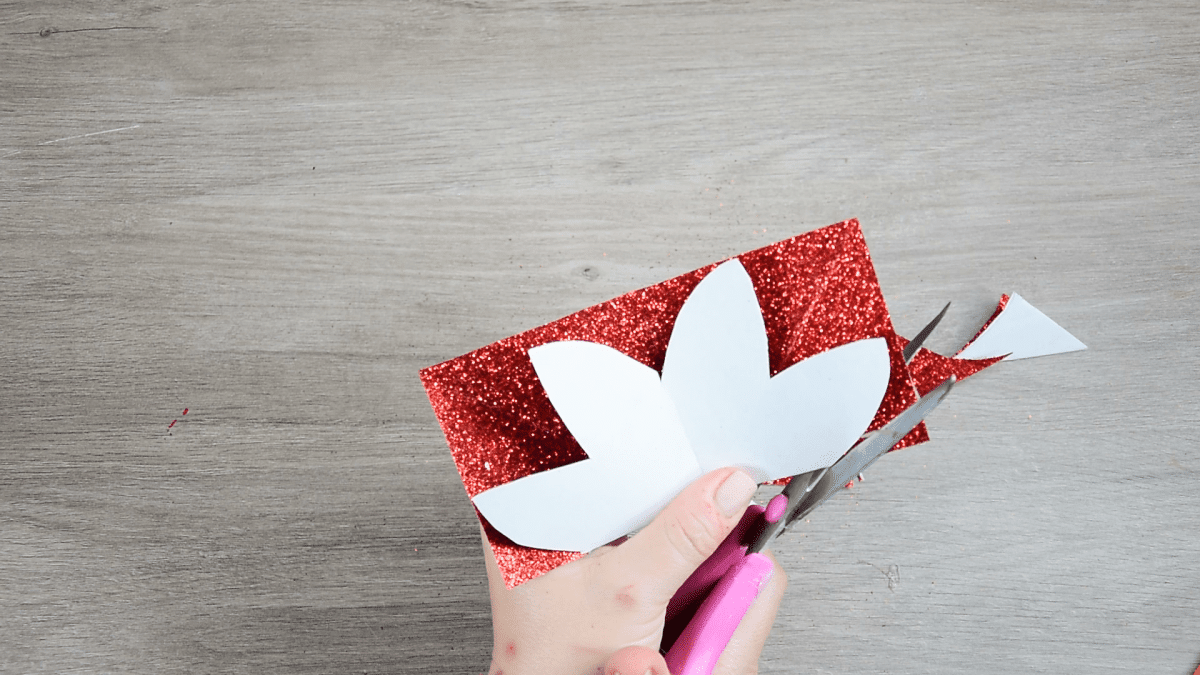
In one of its corner we draw a petal. It will have the same measurements as the quadrant that will be marked by the fold that has been formed. We cut out the drawn shape and when unfolding we will see the structure that has been formed.
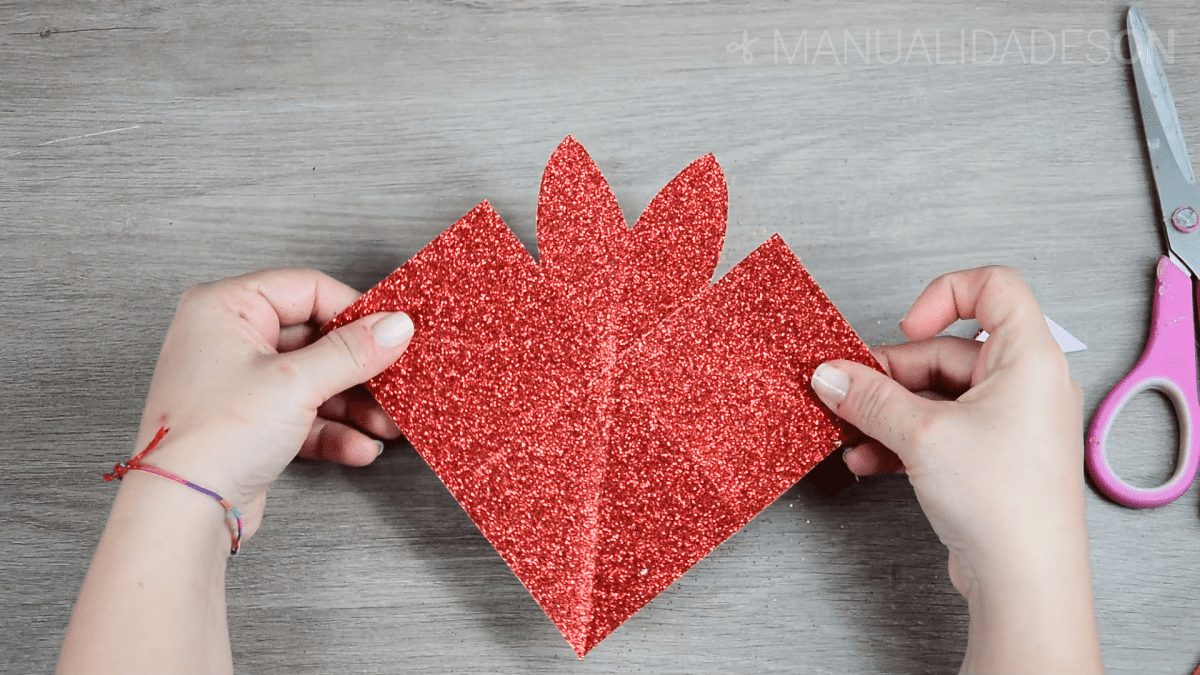
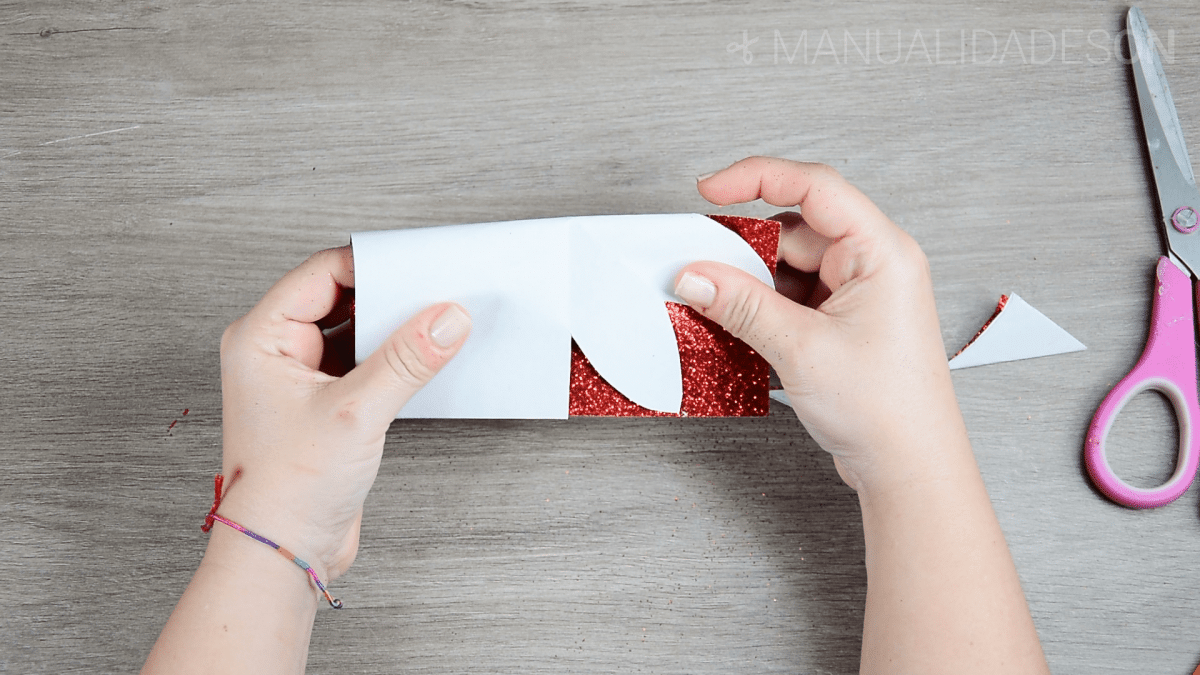
Third step:
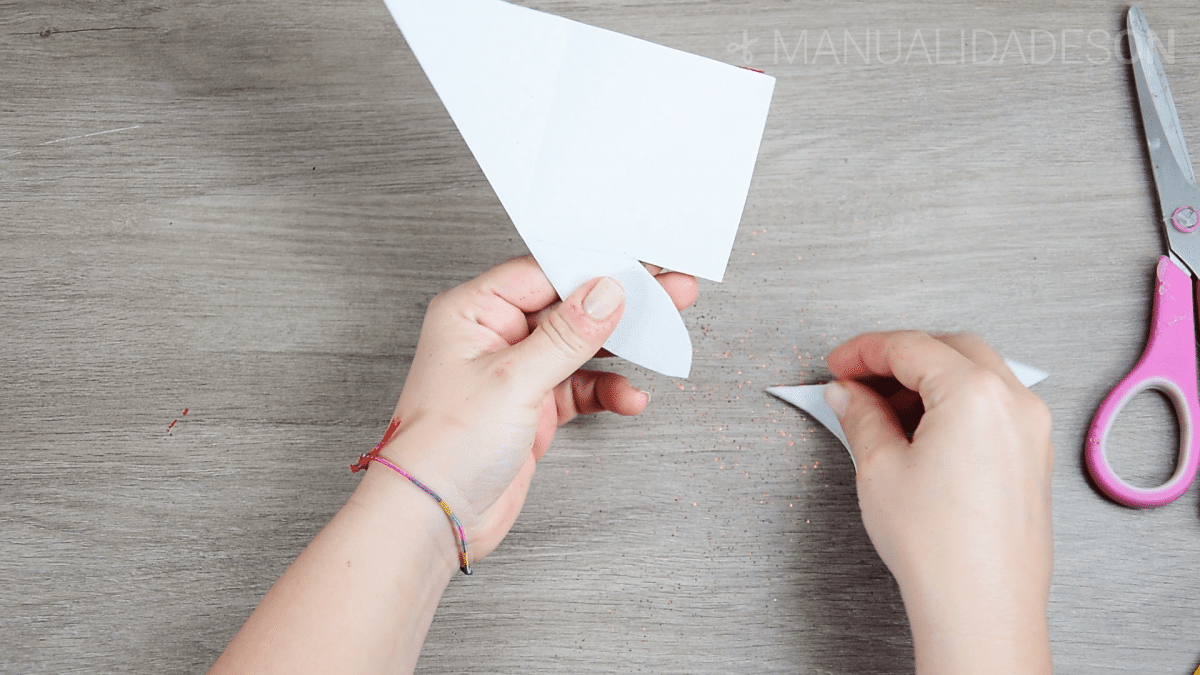
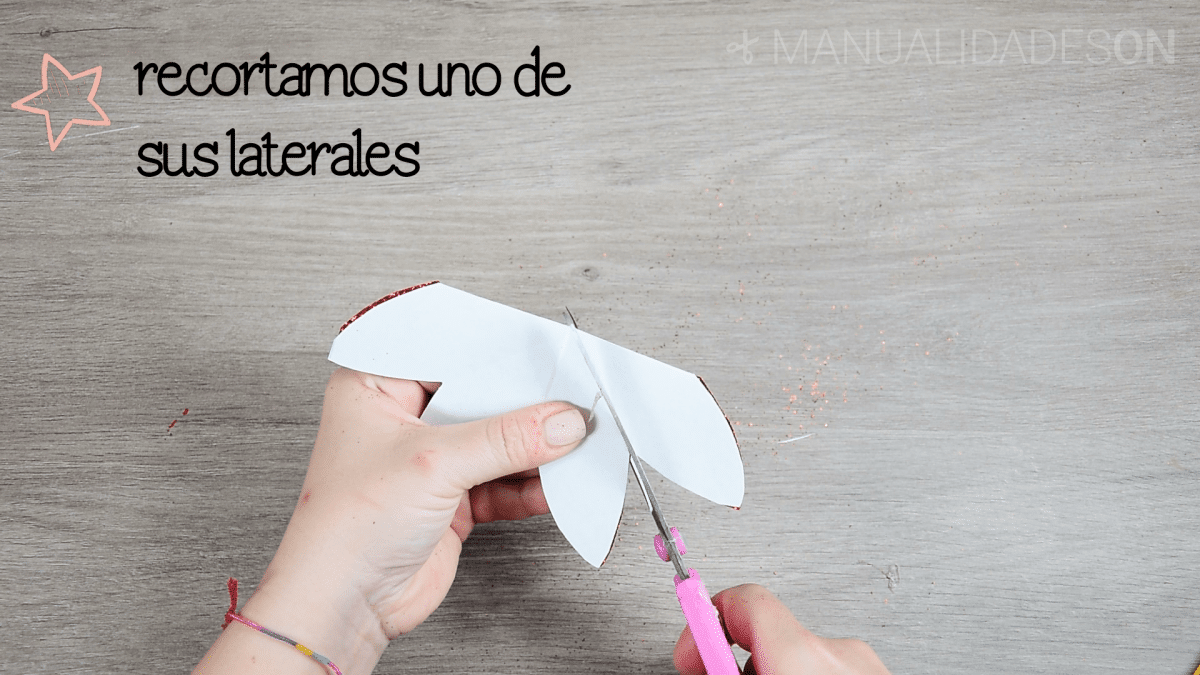
We close the structure by folding it in half, making it match the other half. As the white part remains over exposed over the red part, we must cut out the entire area as a template. When we have done it, we fold again towards the middle to cut back the other half area of the cardboard, with the same shape of the petals.
With the structure formed, we fold it in half and cut out two of the petals as can be seen in the photo. We open the cardboard and We cut one of the petals with the precaution of not doing it completely. We will leave a small flap on one of the sides, this flap will help us to close and glue the box when we form it.

Fourth step:
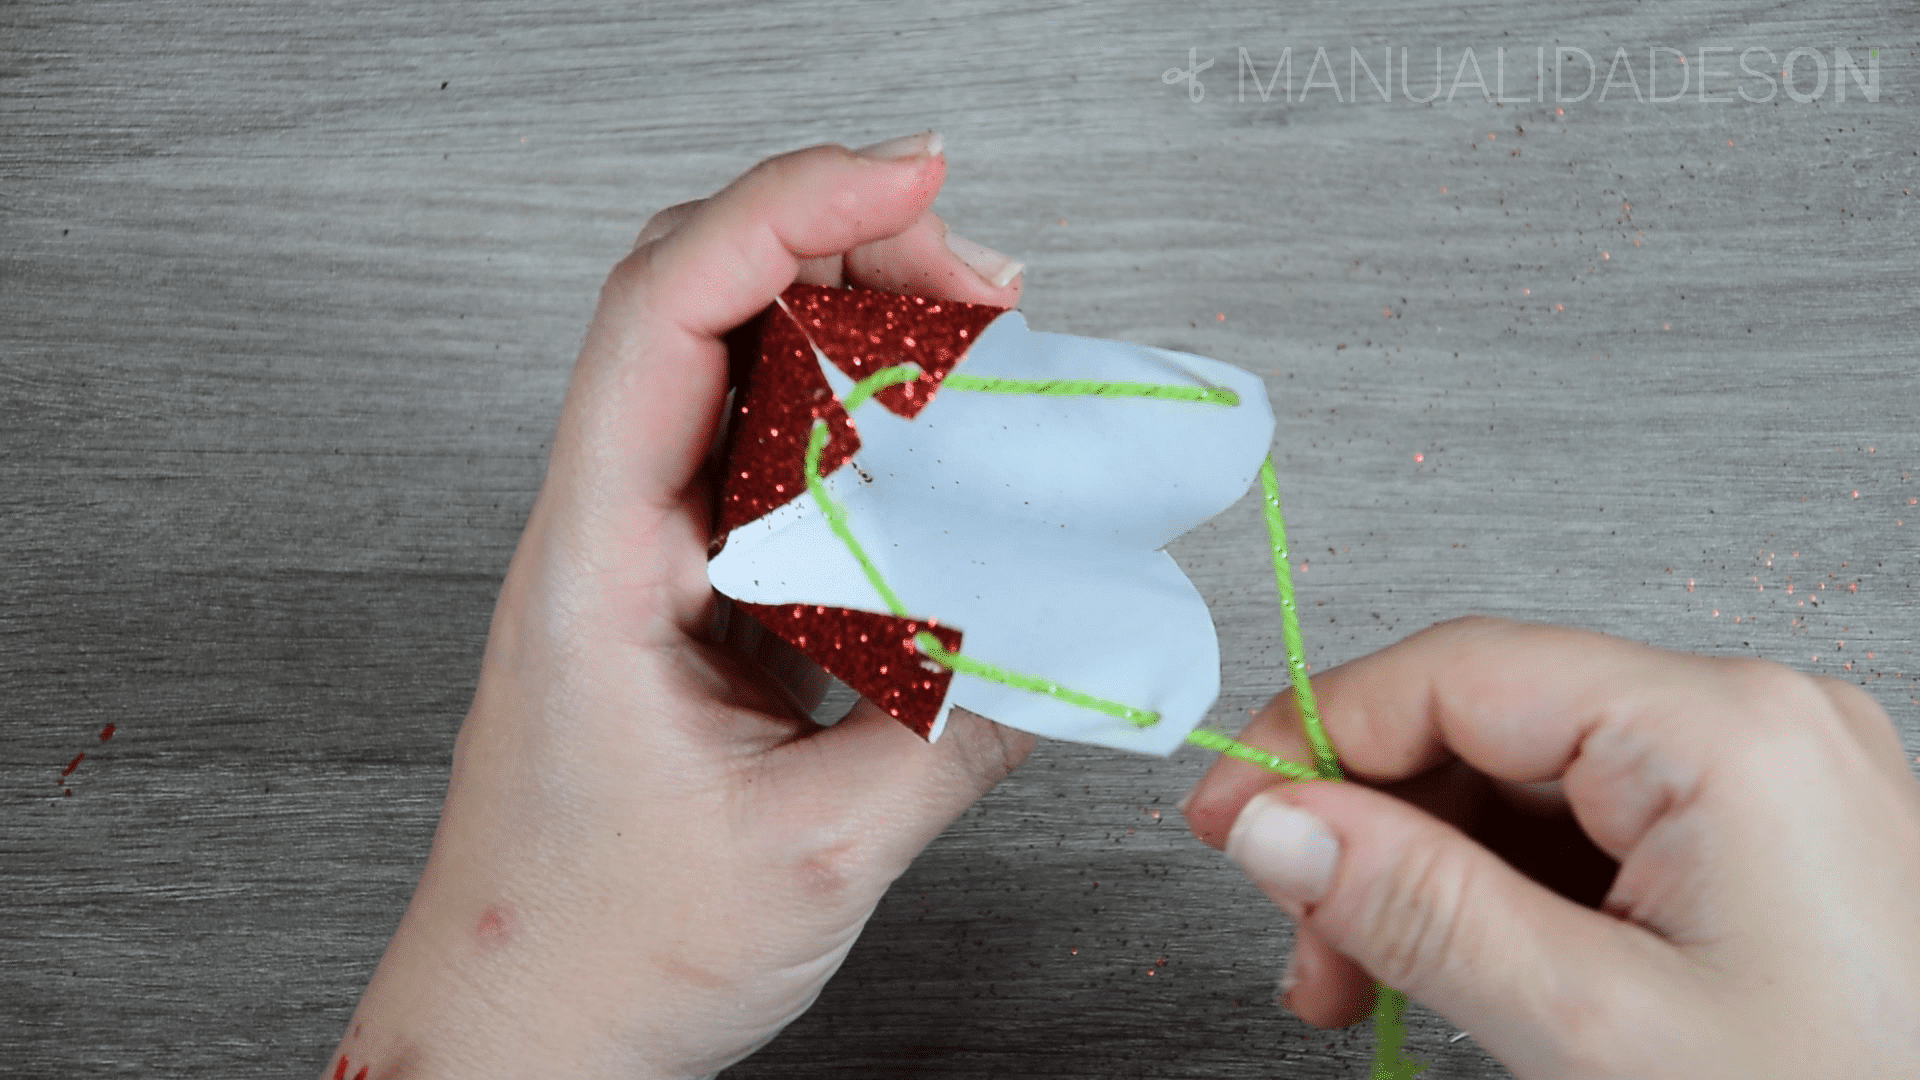
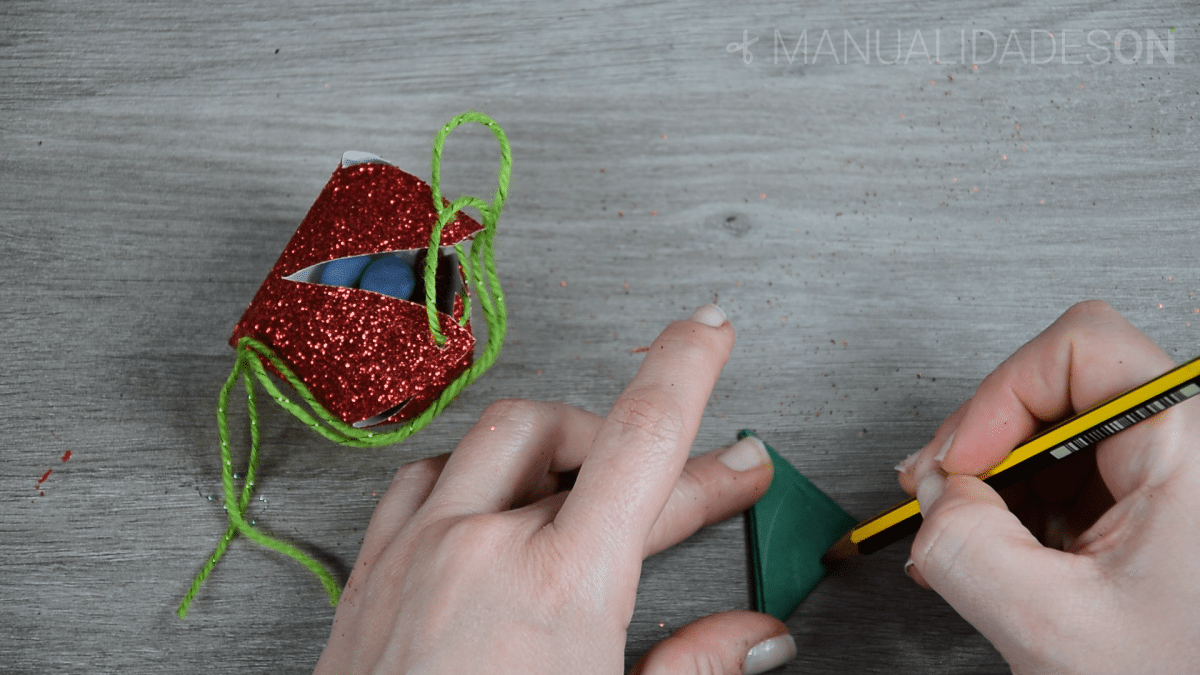
We close the box and stick it on one of its sides with the help of the flap that we had left. With the help of a piercer we make one small holes in all the tips of the formed petals. We take a piece of rope and we pass it inside those holes, so that the box can be closed without difficulty. Before closing the box you can fill it.

Fifth step:
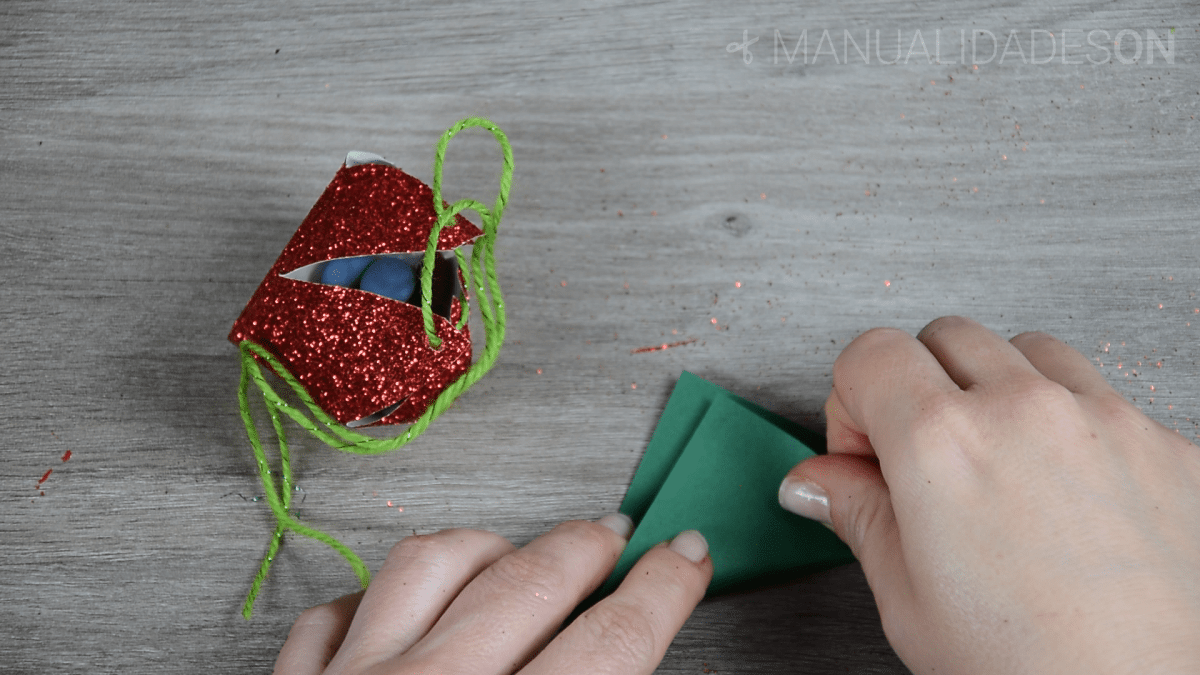
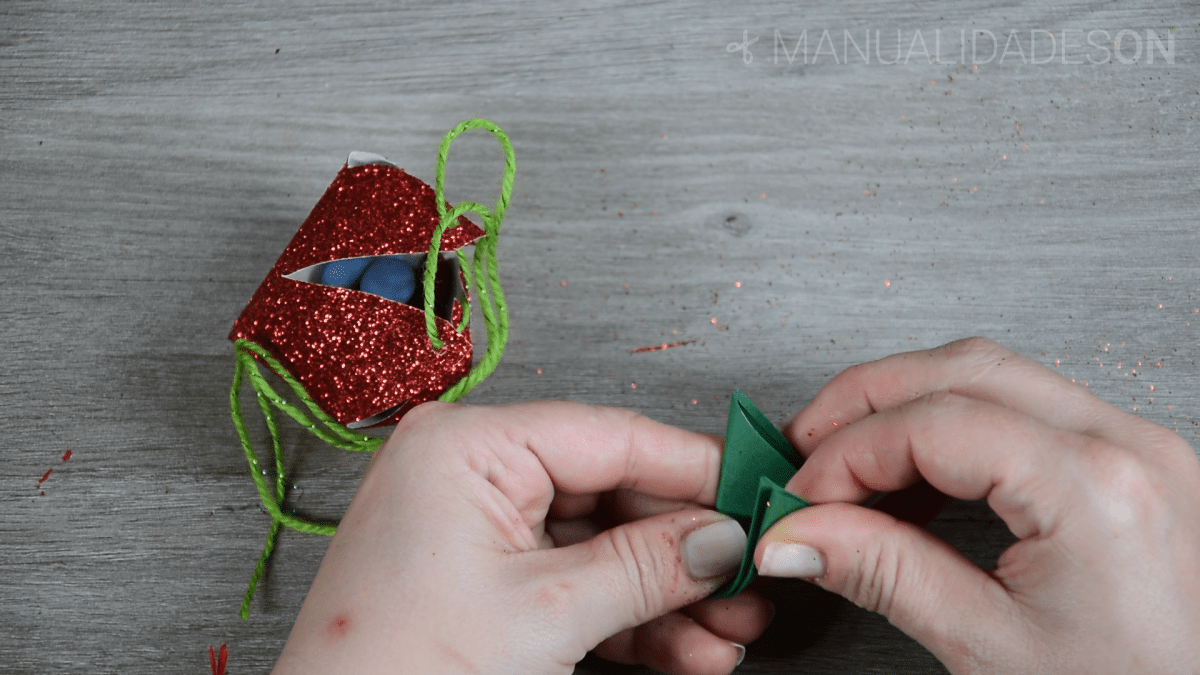
We take a piece of green cardboard of 5x5cm. We fold it in half and we insist on folding it again. We take one of its corners and fold it again, forming a triangle. We leave the part where these folds have been made the most and place it down. We draw the shape of a leaf on top and cut it out. When we open the formed structure we make a hole in the middle.

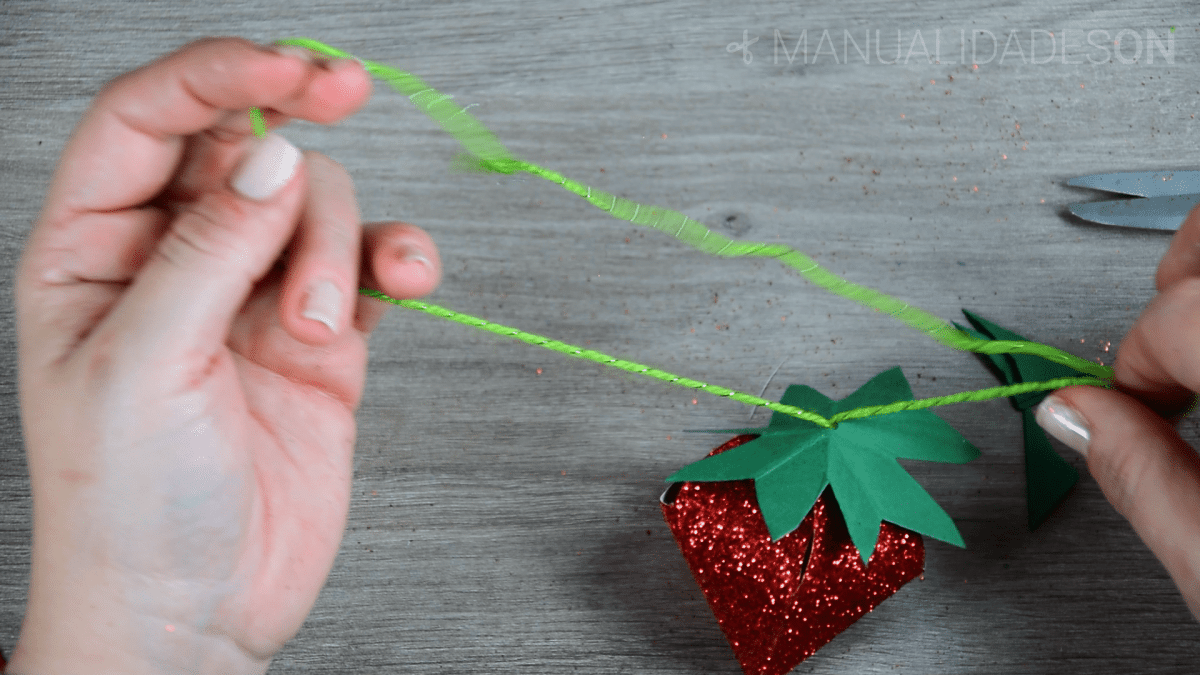
Step Six:
We put the green leaves inside the wool and we completely close the box, we make a nice bow and trim the excess ends.

For the pineapple-shaped box
First step:
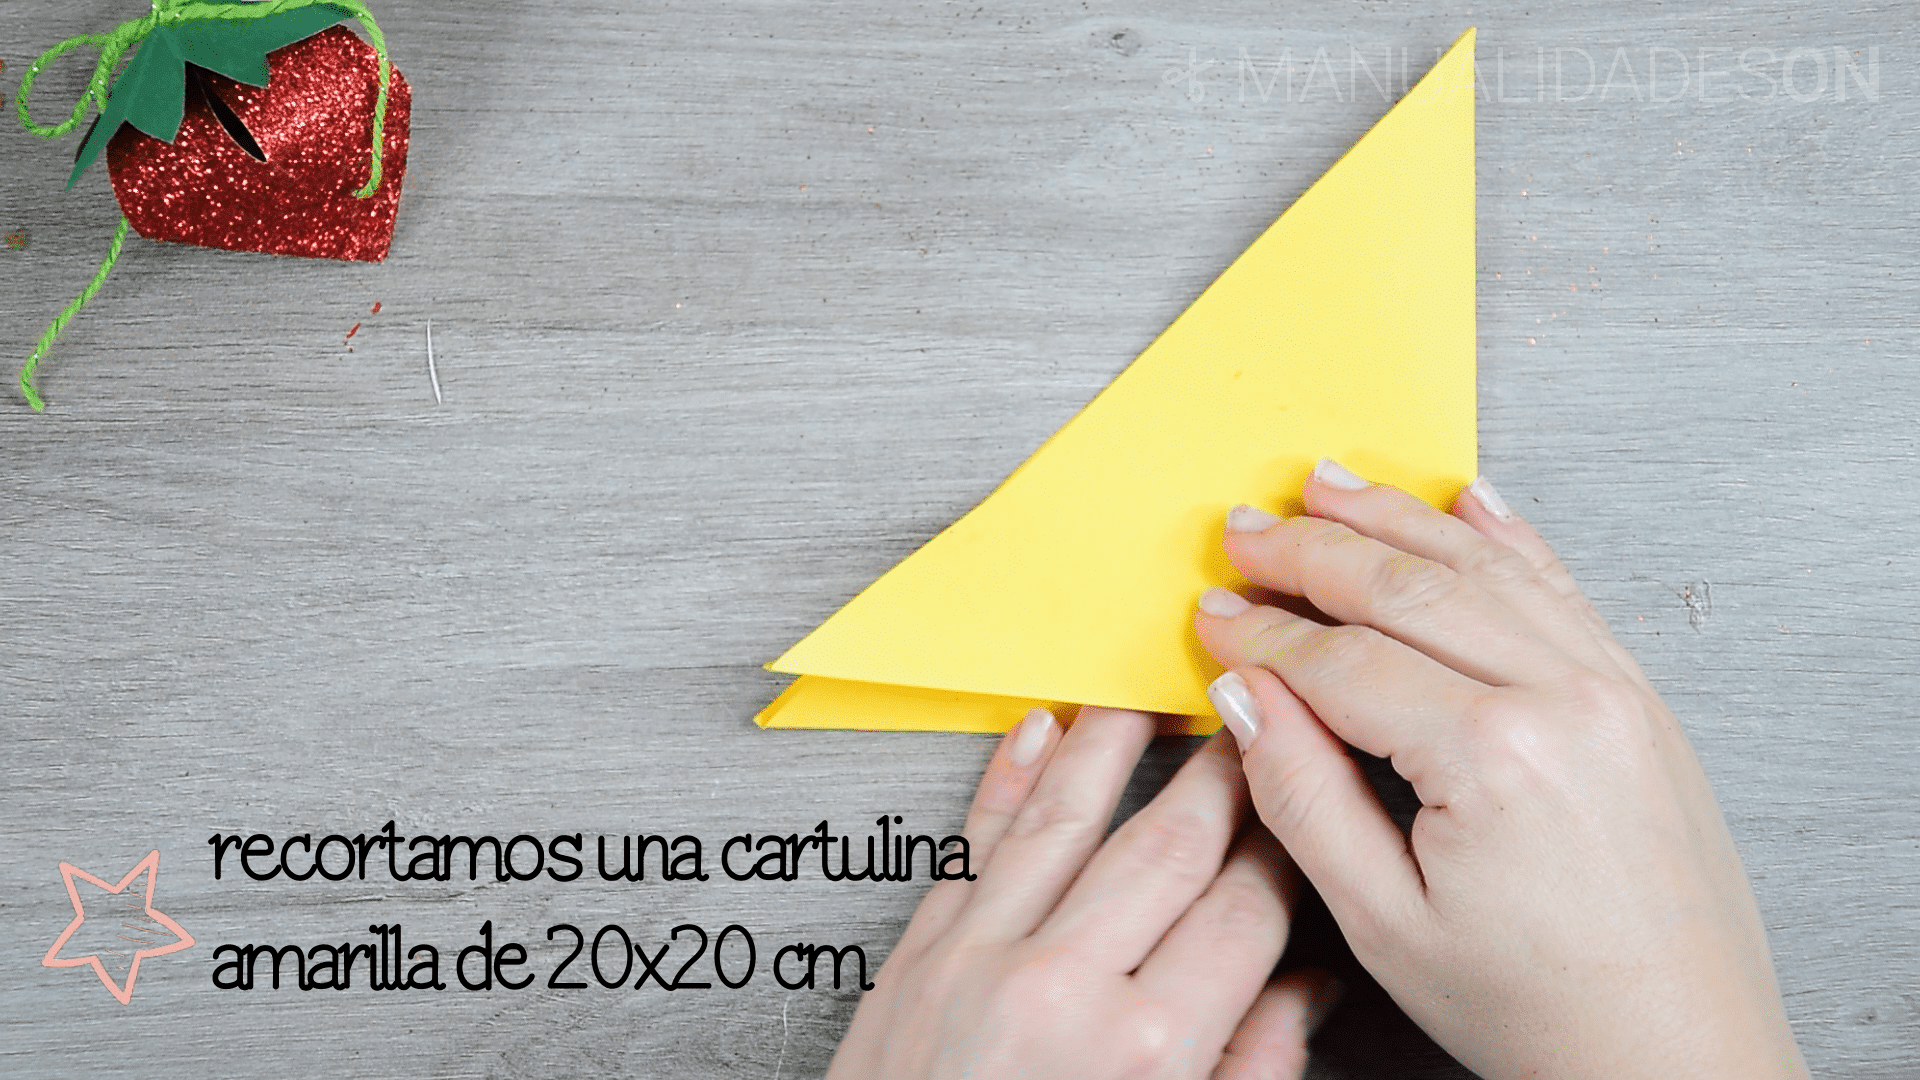
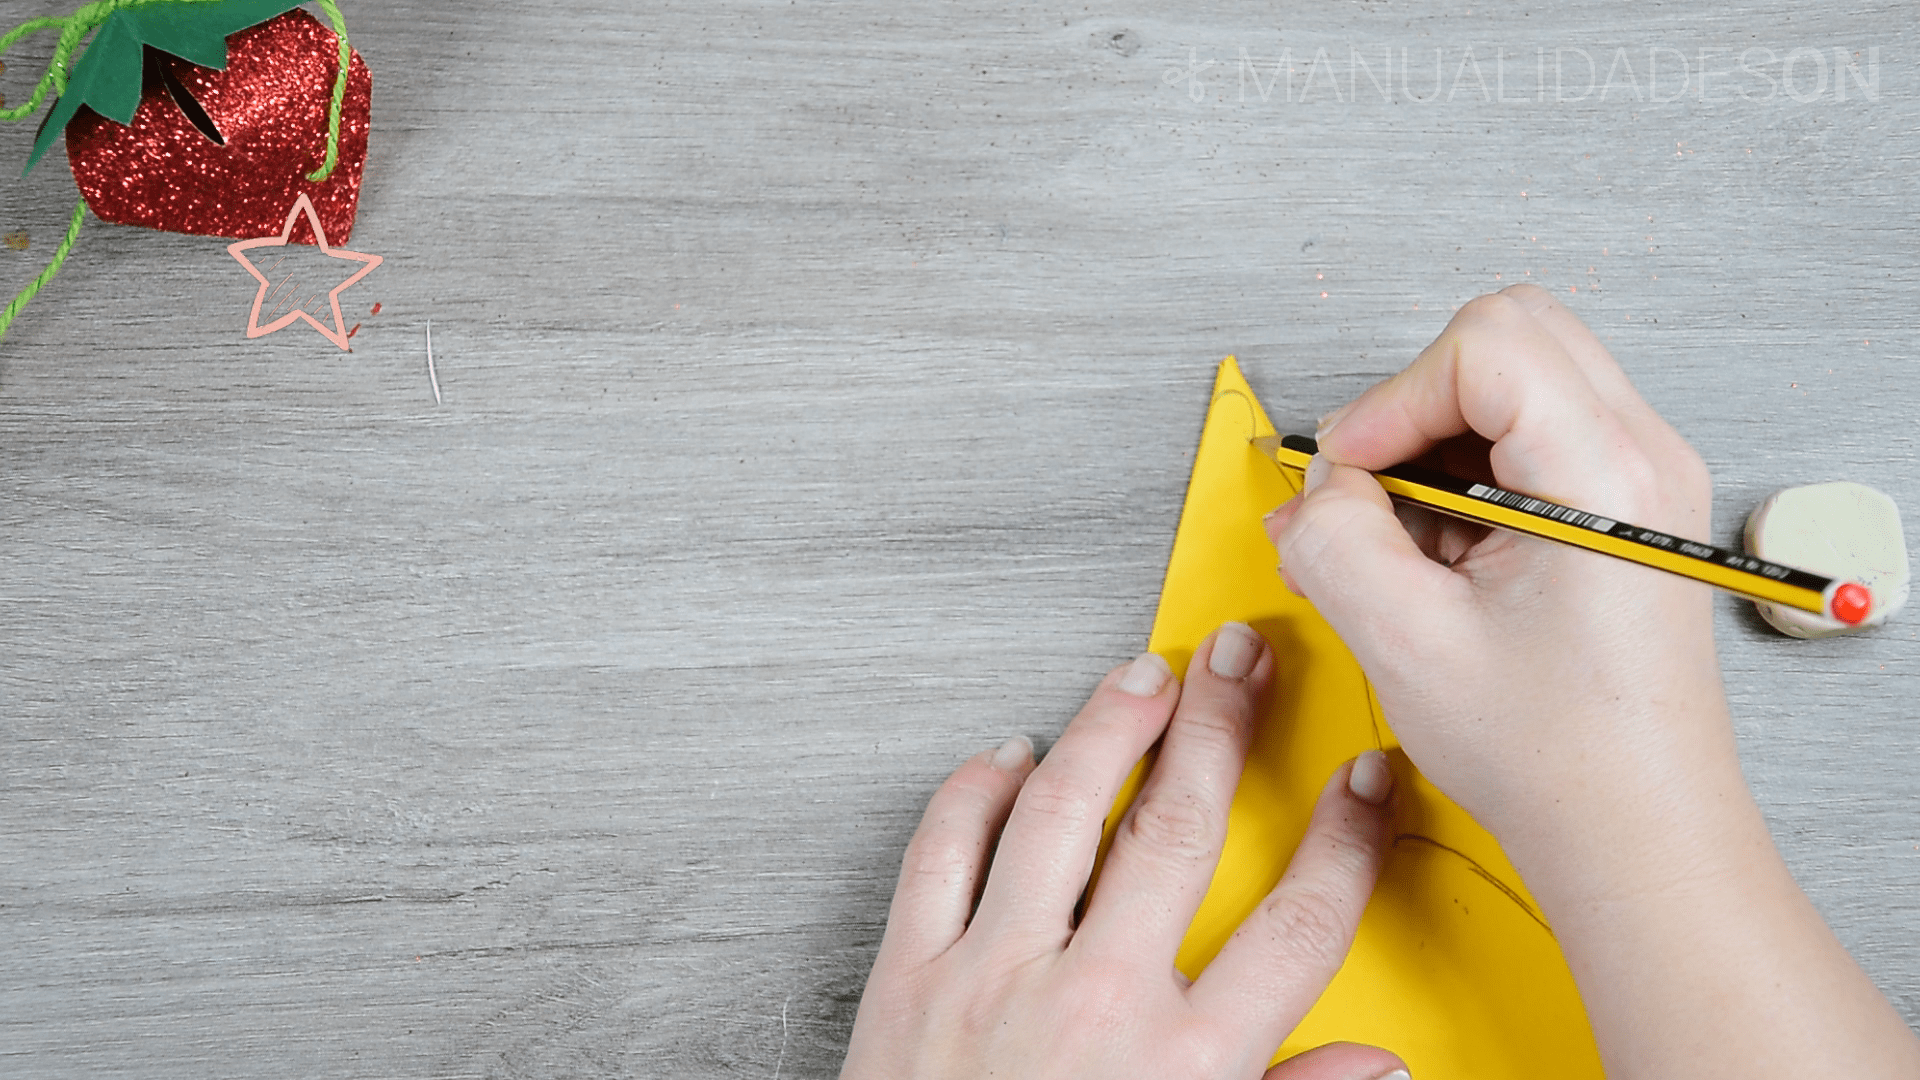
On a yellow card, we make a 20 × 20 cm square and cut it out. We fold it in half and without unfolding we fold it back to the left forming a triangle.

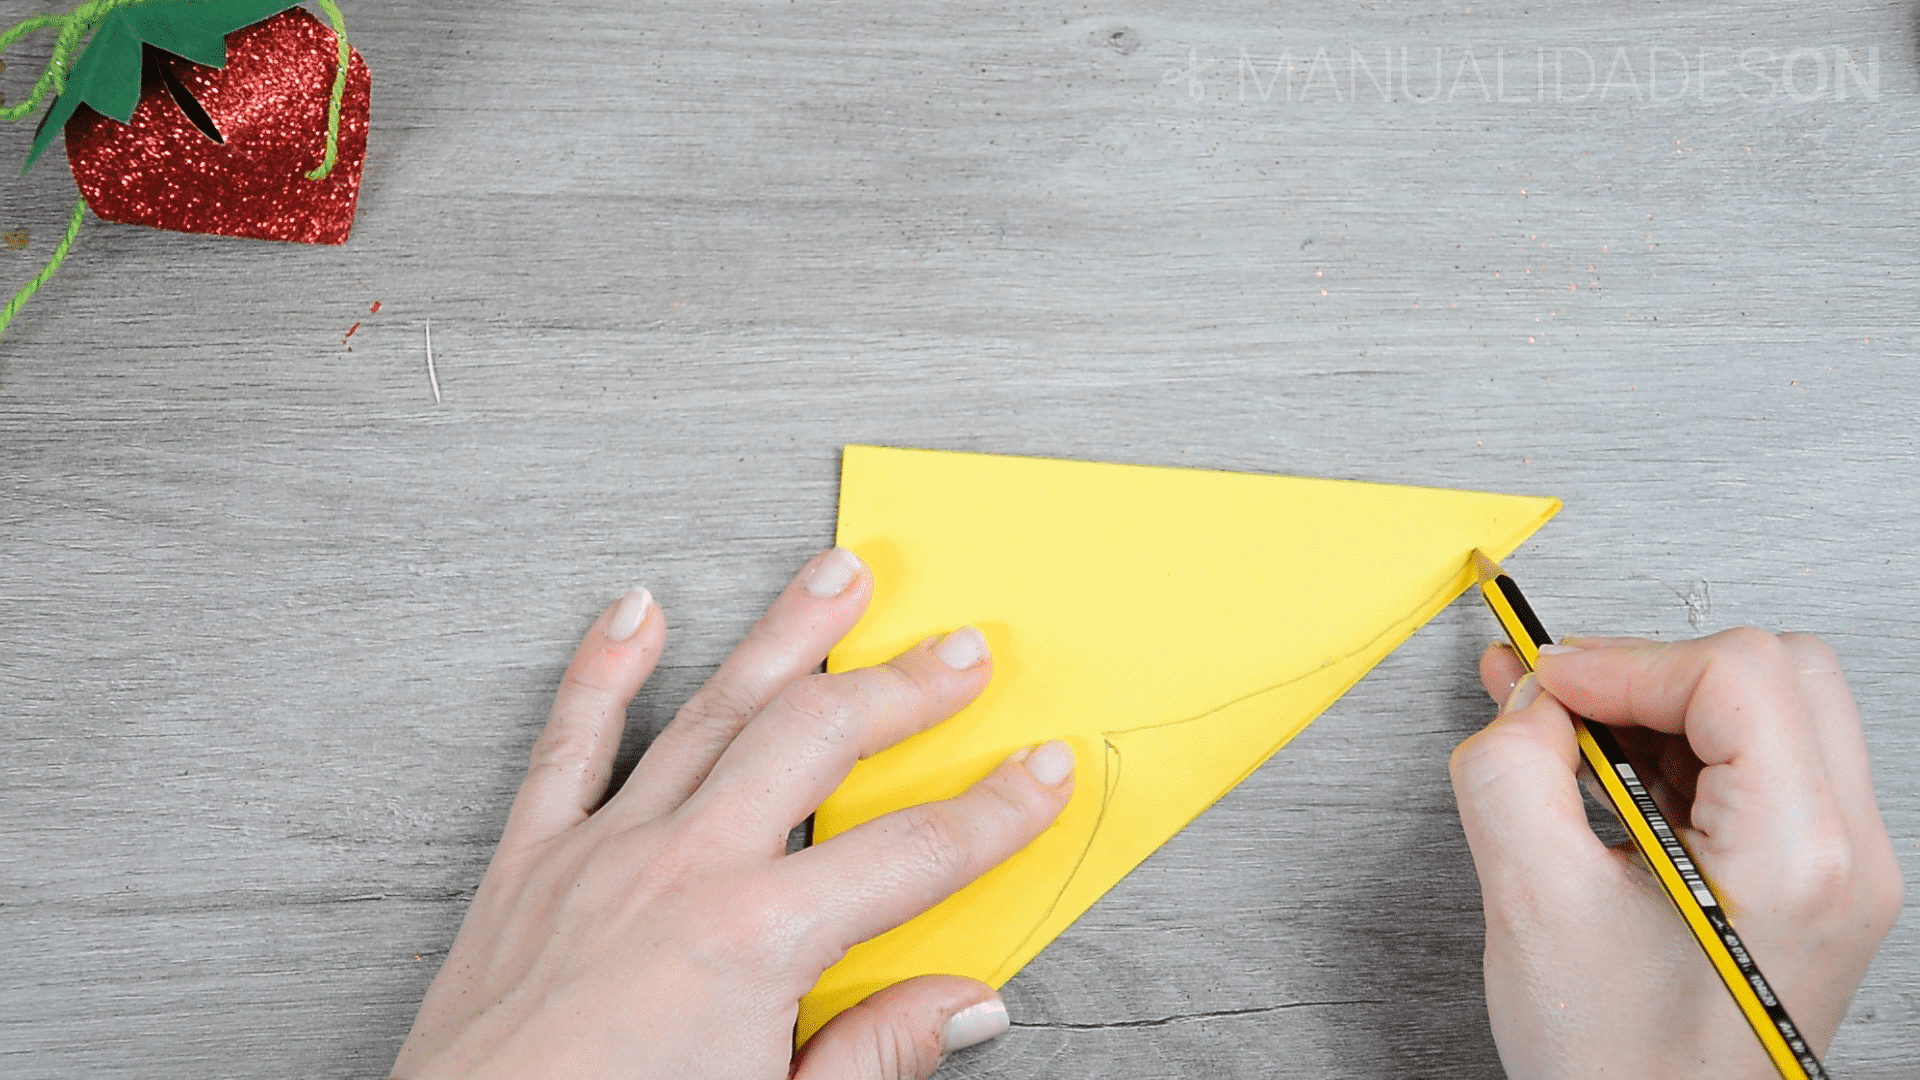
Second step:
On the longest side of the triangle we draw a structure with two oval parts, as presented in the photo. Without reaching one of the corners We draw a small circle that will serve as a small closure for the box. We cut out what we have drawn.
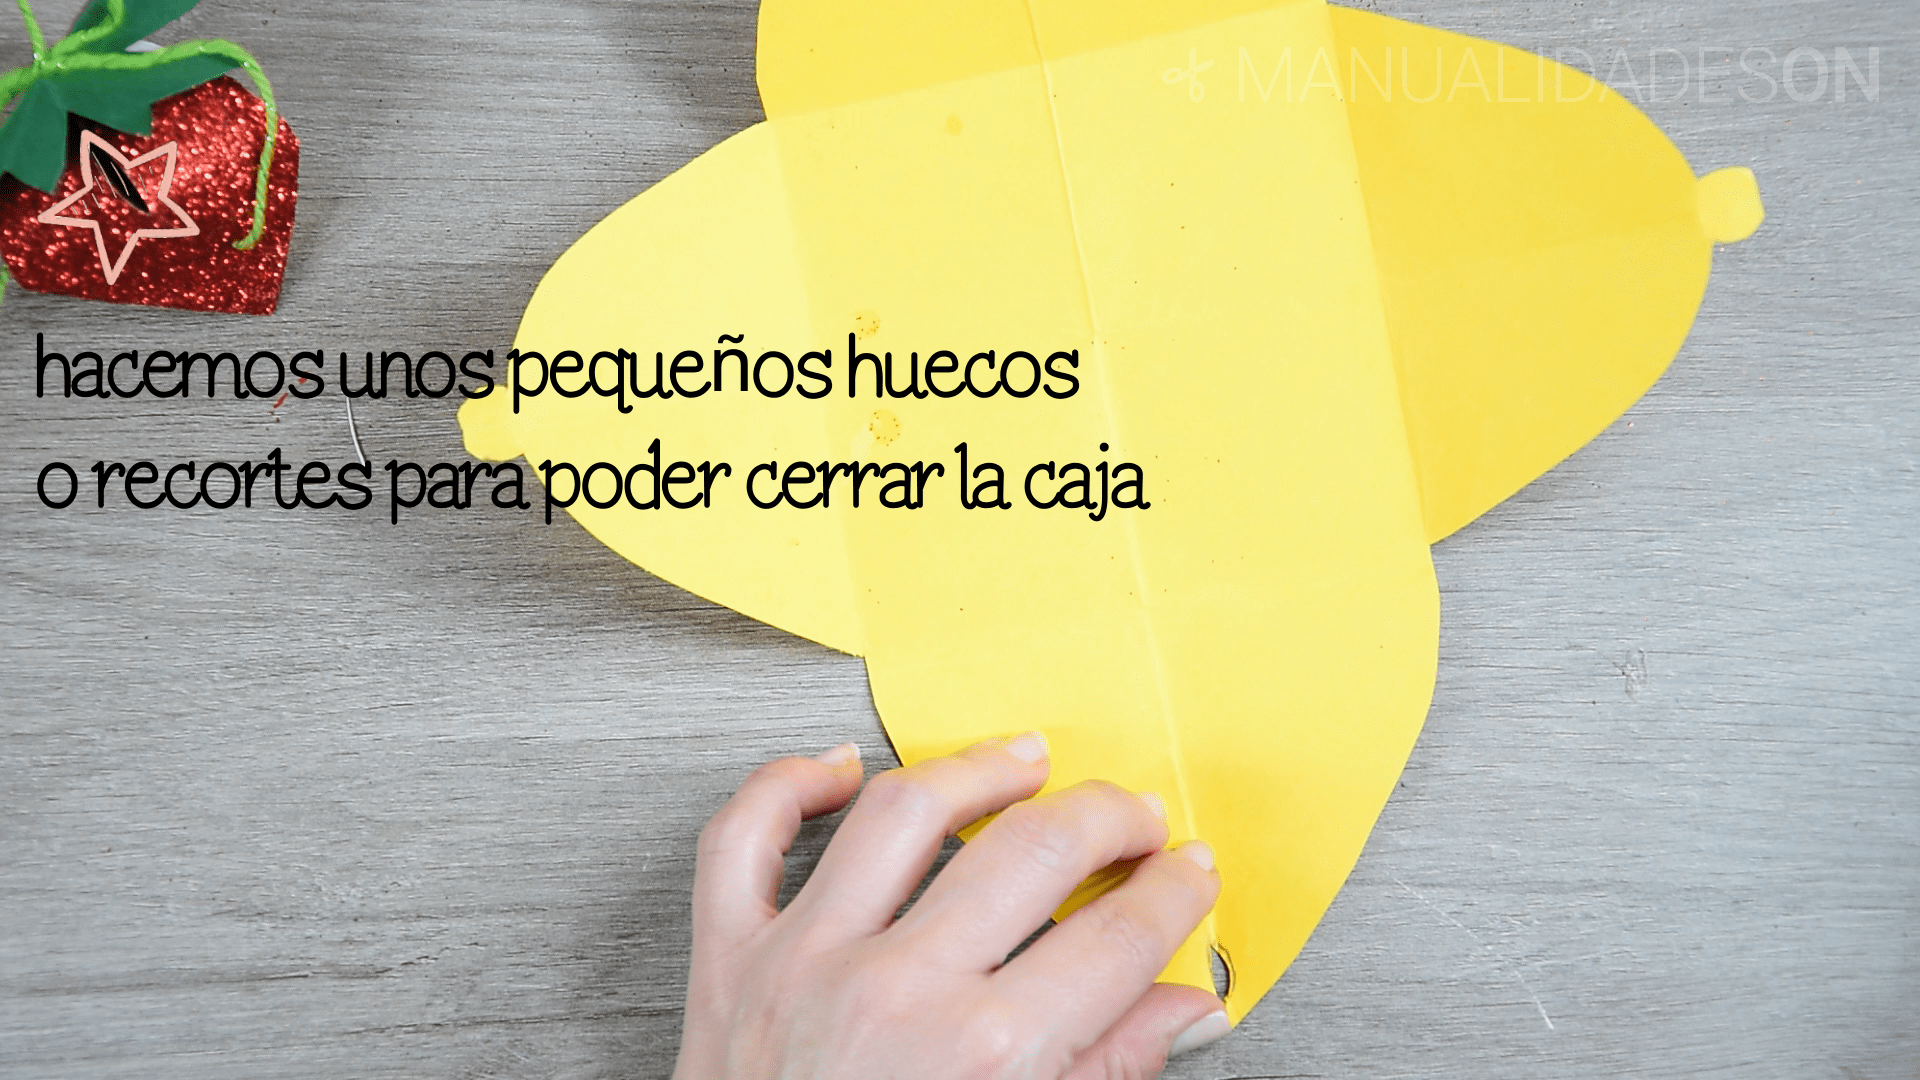
Third step:
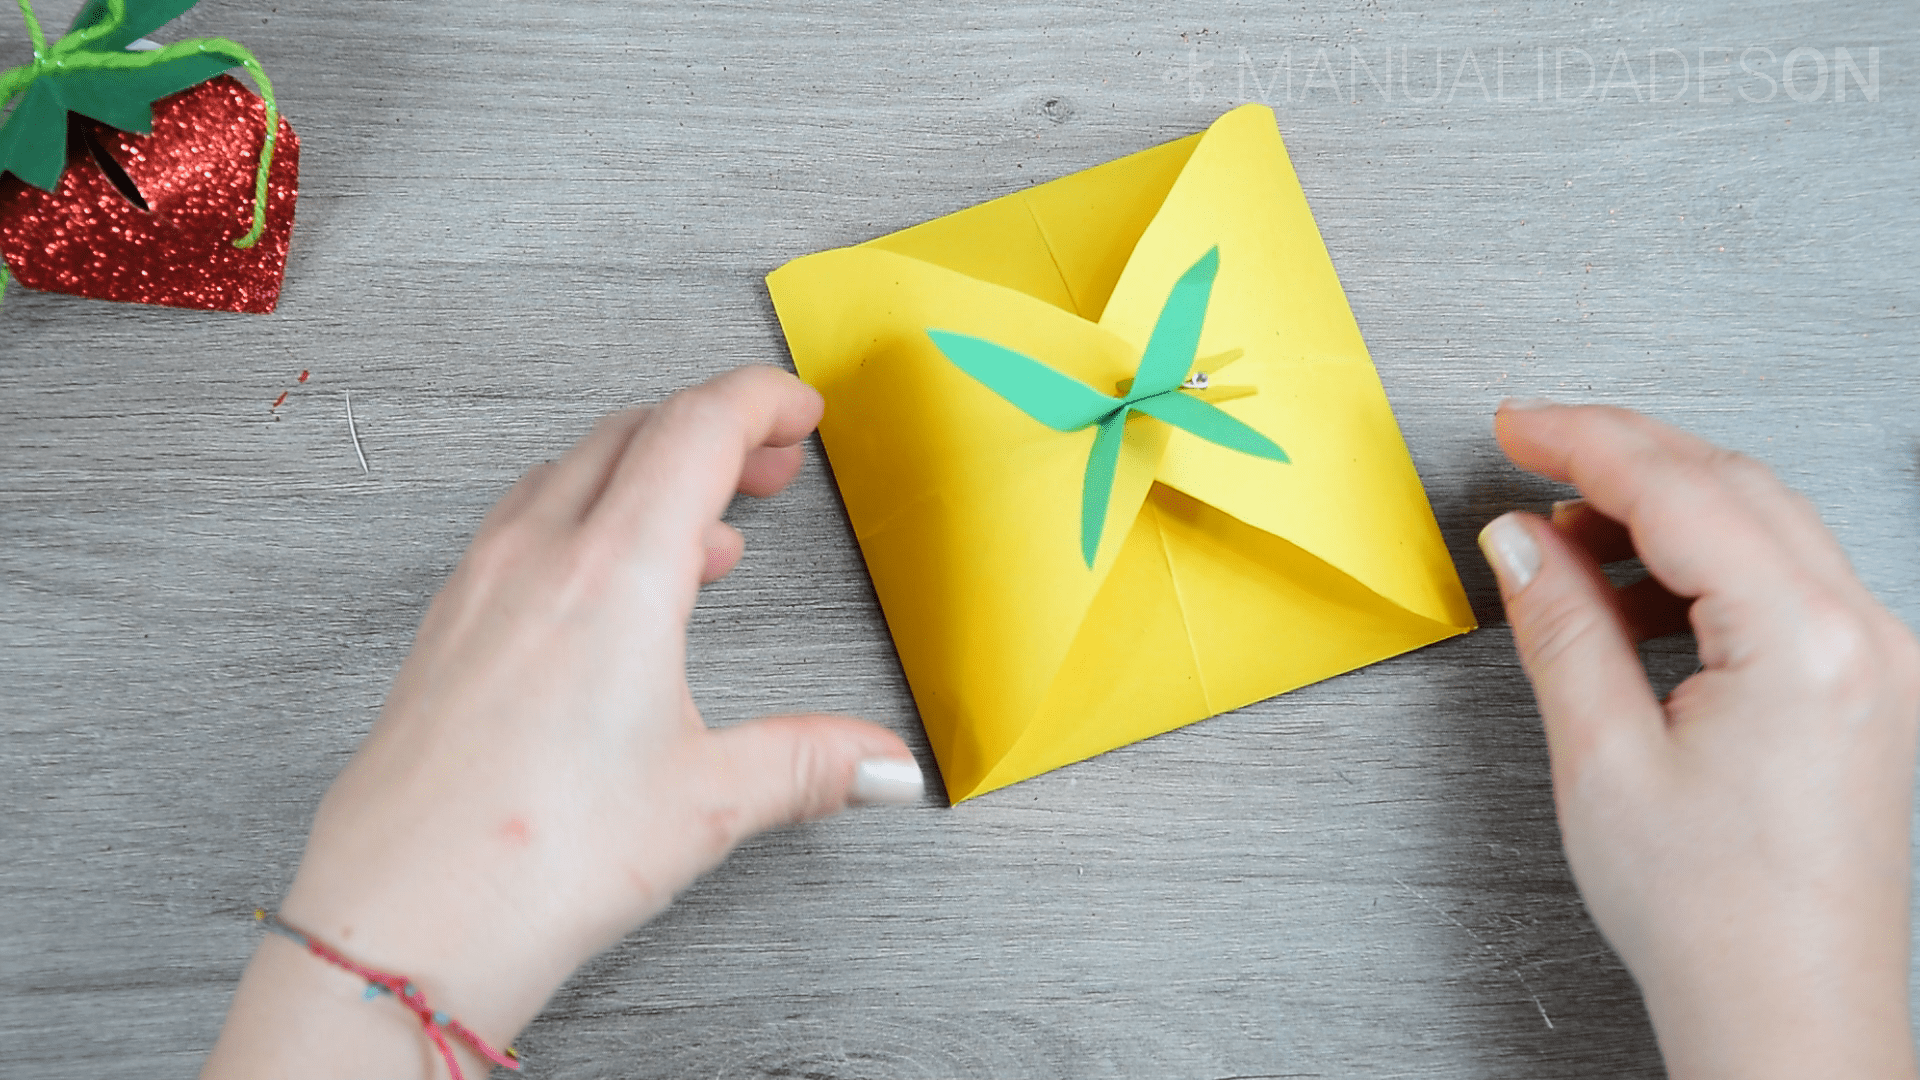
We unfold the box and we can touch up the corners of the box. On two of the flaps we open some small holes so they can pass the round shapes of the box closures. We assemble the box.

Fourth step:
We cut out a piece of green cardboard measuring 5 × 7 cm. We fold the piece in half and without unfolding we fold again to the left. We draw some leaves with the base of the leaf starting with the part with the most folds. We cut out what is drawn. We open the structure of the leaves and place it with the help of a small clamp, right at the closure of the box.