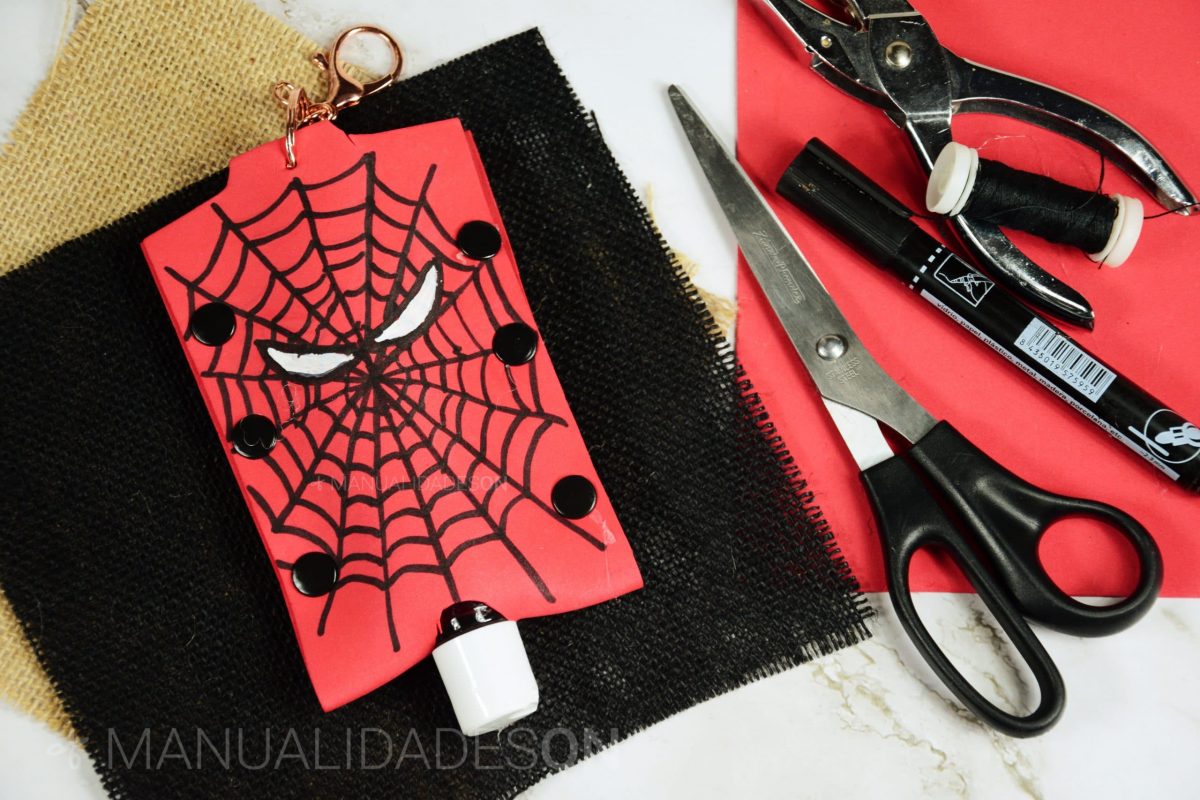
We have developed a very special bag for your little ones at home take your favorite character on adventures with hydroalcoholic gel. It is a way to carry your disinfectant by hand and hang from a school bag or purse so that they can have it on hand.
It is simple to make, made with eva rubber and some small rivets so that they can decorate the bag. The beauty of this bag is its funny Spiderman, very easy to do if you follow the steps as indicated in the video that has been made.
The materials that I have used are:
- Red eva rubber.
- A ring and a key ring hook.
- Permanent black marker.
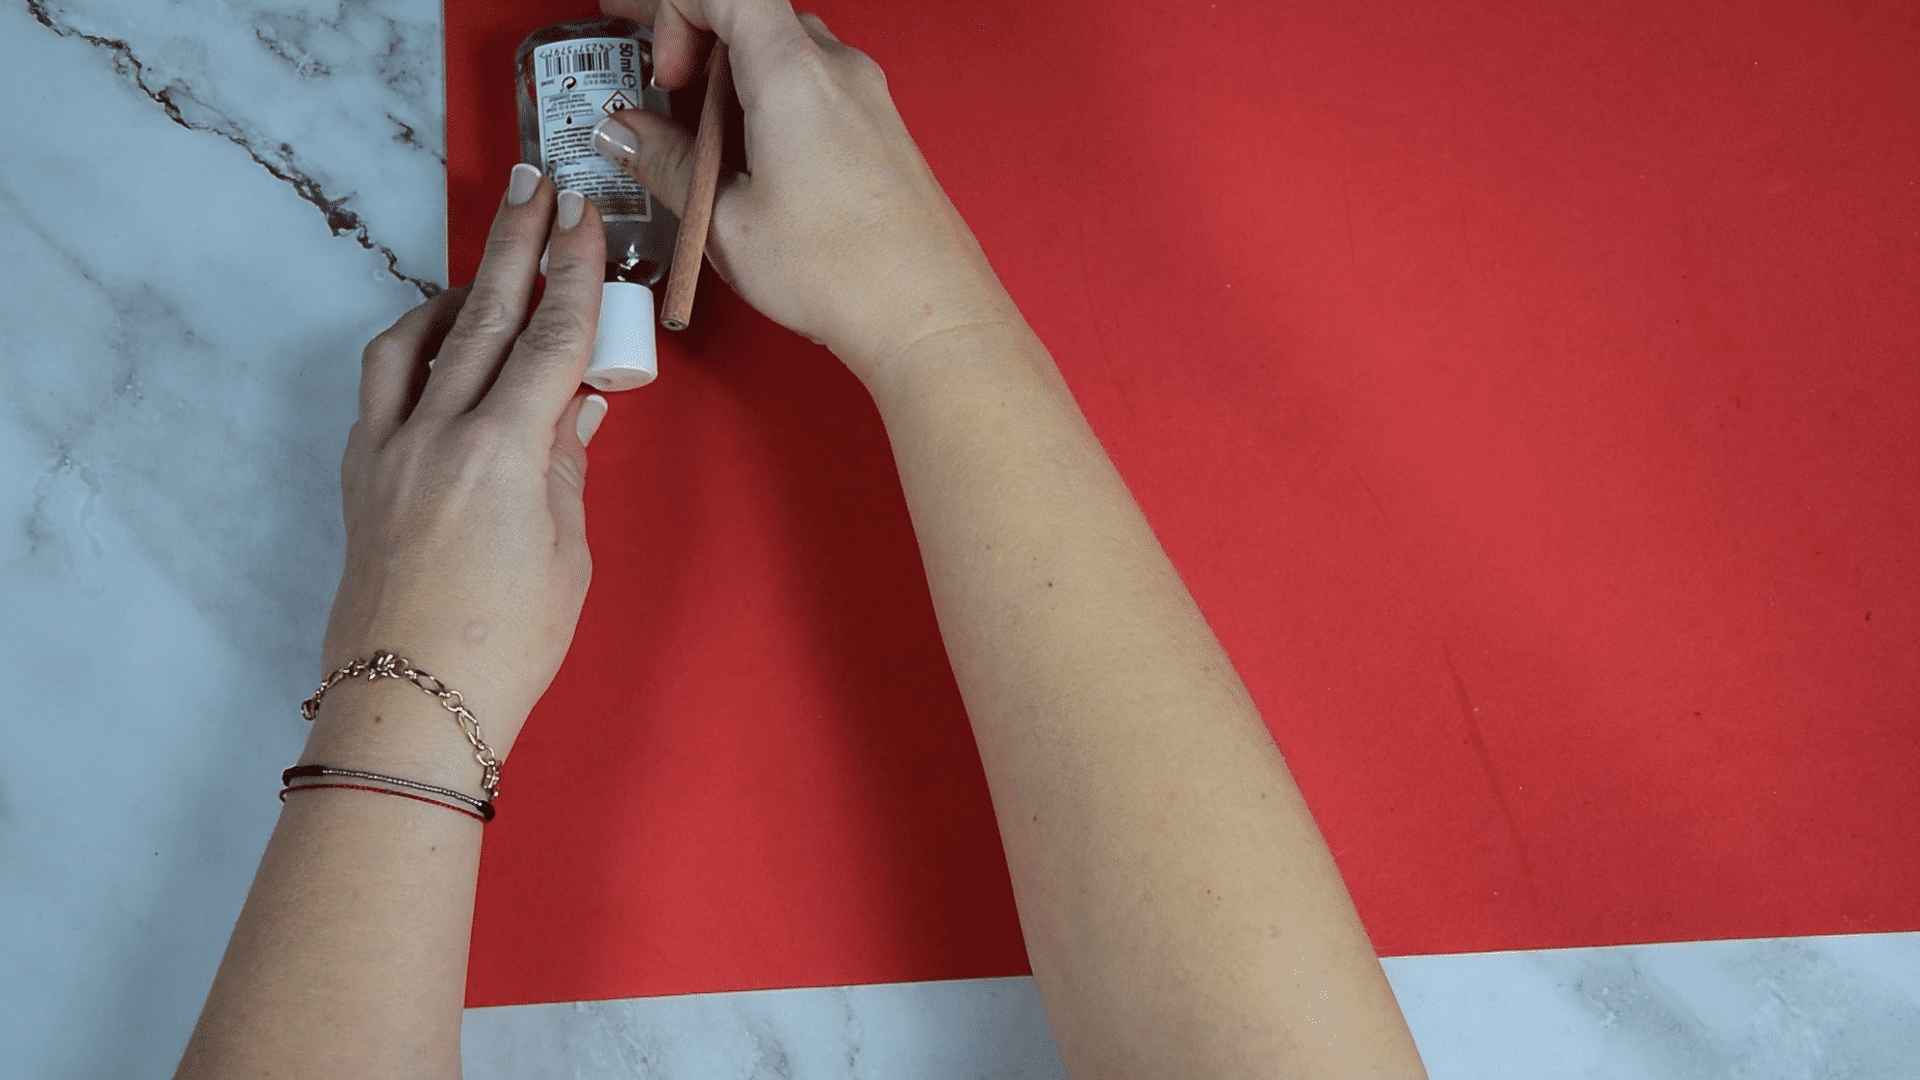
- White acrylic paint.
- A fine brush.
- Pencil.
- Ruler.
- Scissors.
- Hot silicone and gun.
- Thick black thread.
- Needle.
- 1 Metal clasp.
- Black plastic clasps to decorate.
You can see this craft step by step in the following video:
First step:
On a large sheet of eva rubber we take the necessary measuress the size of the hydrogel. It will need to be a fairly long rectangle so that it can be folded over and the gel is covered. We cut it out. We place the gel on top of the eva rubber, we fold it and calculate so that the nozzle is in the middle. We draw a circle where the gel outlet will go and cut it out. At the top we will draw a flap that we will then cut out.

Second step:
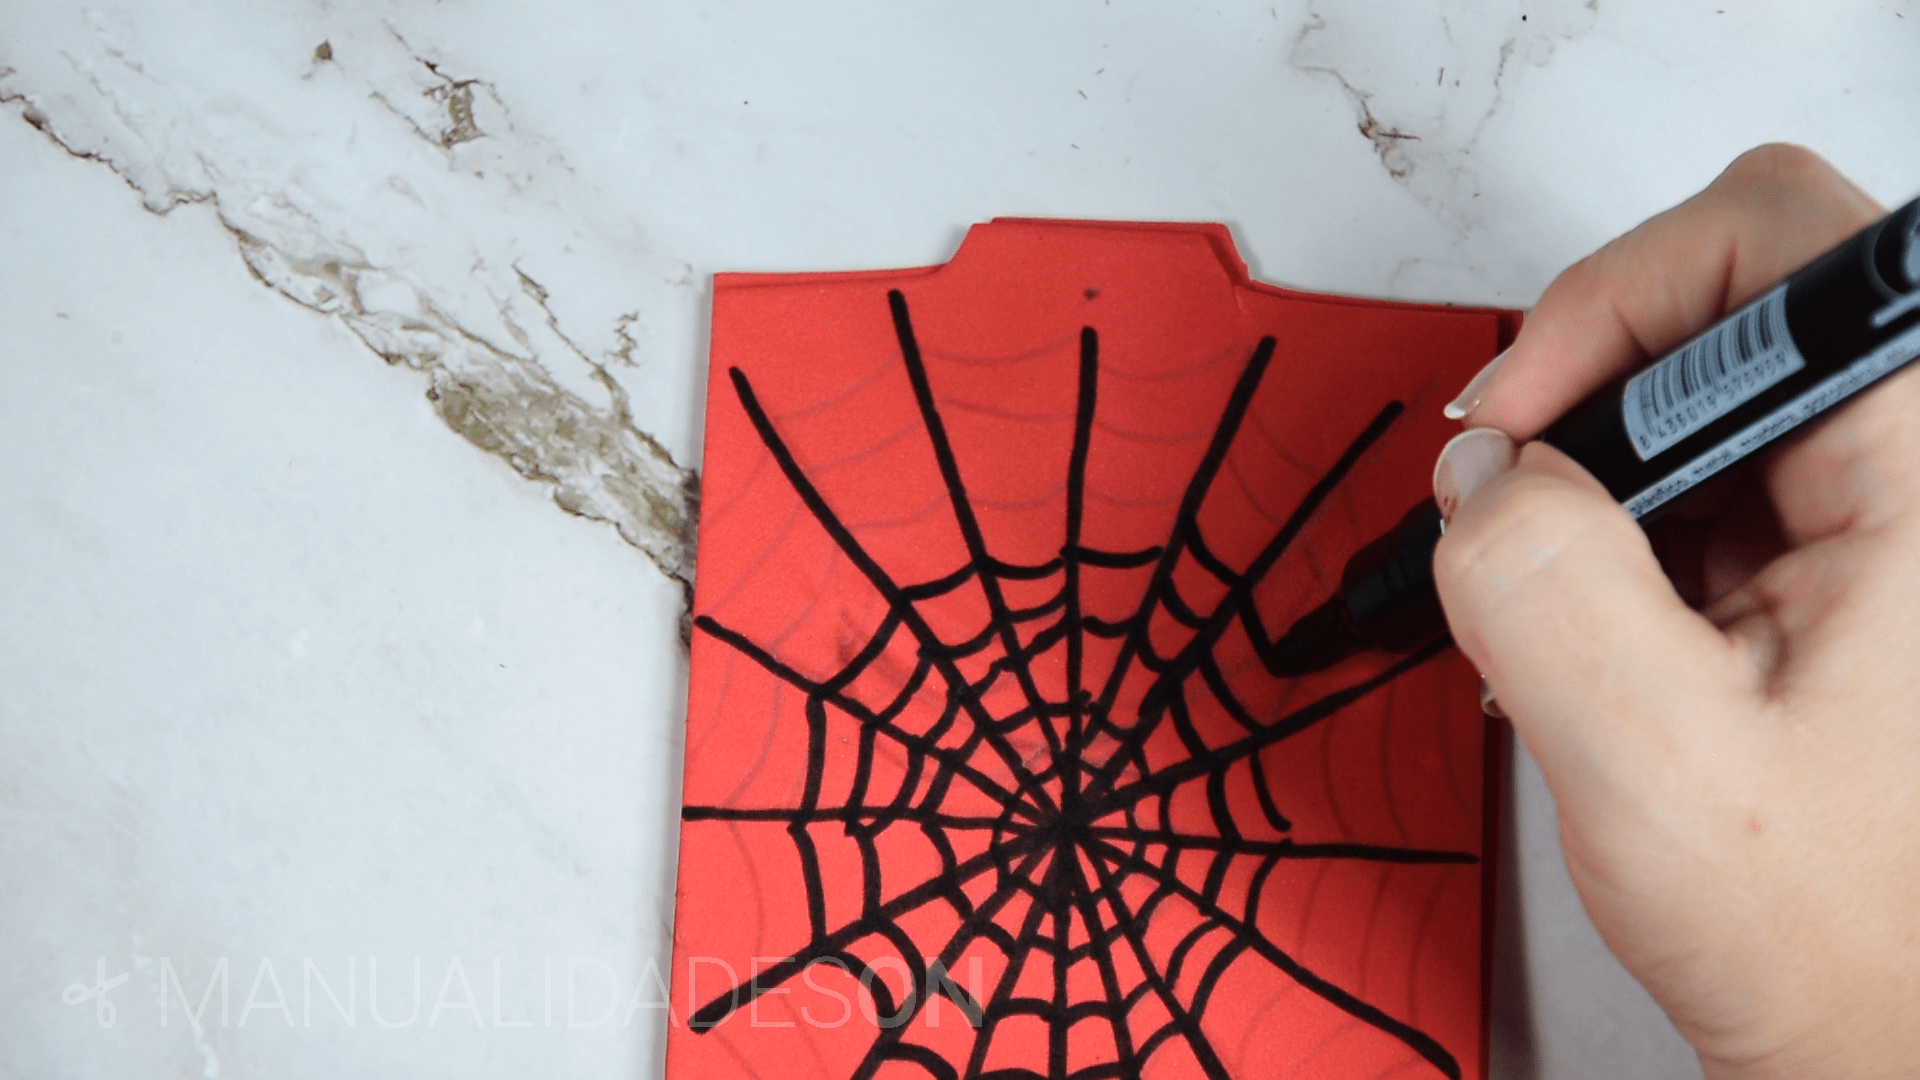
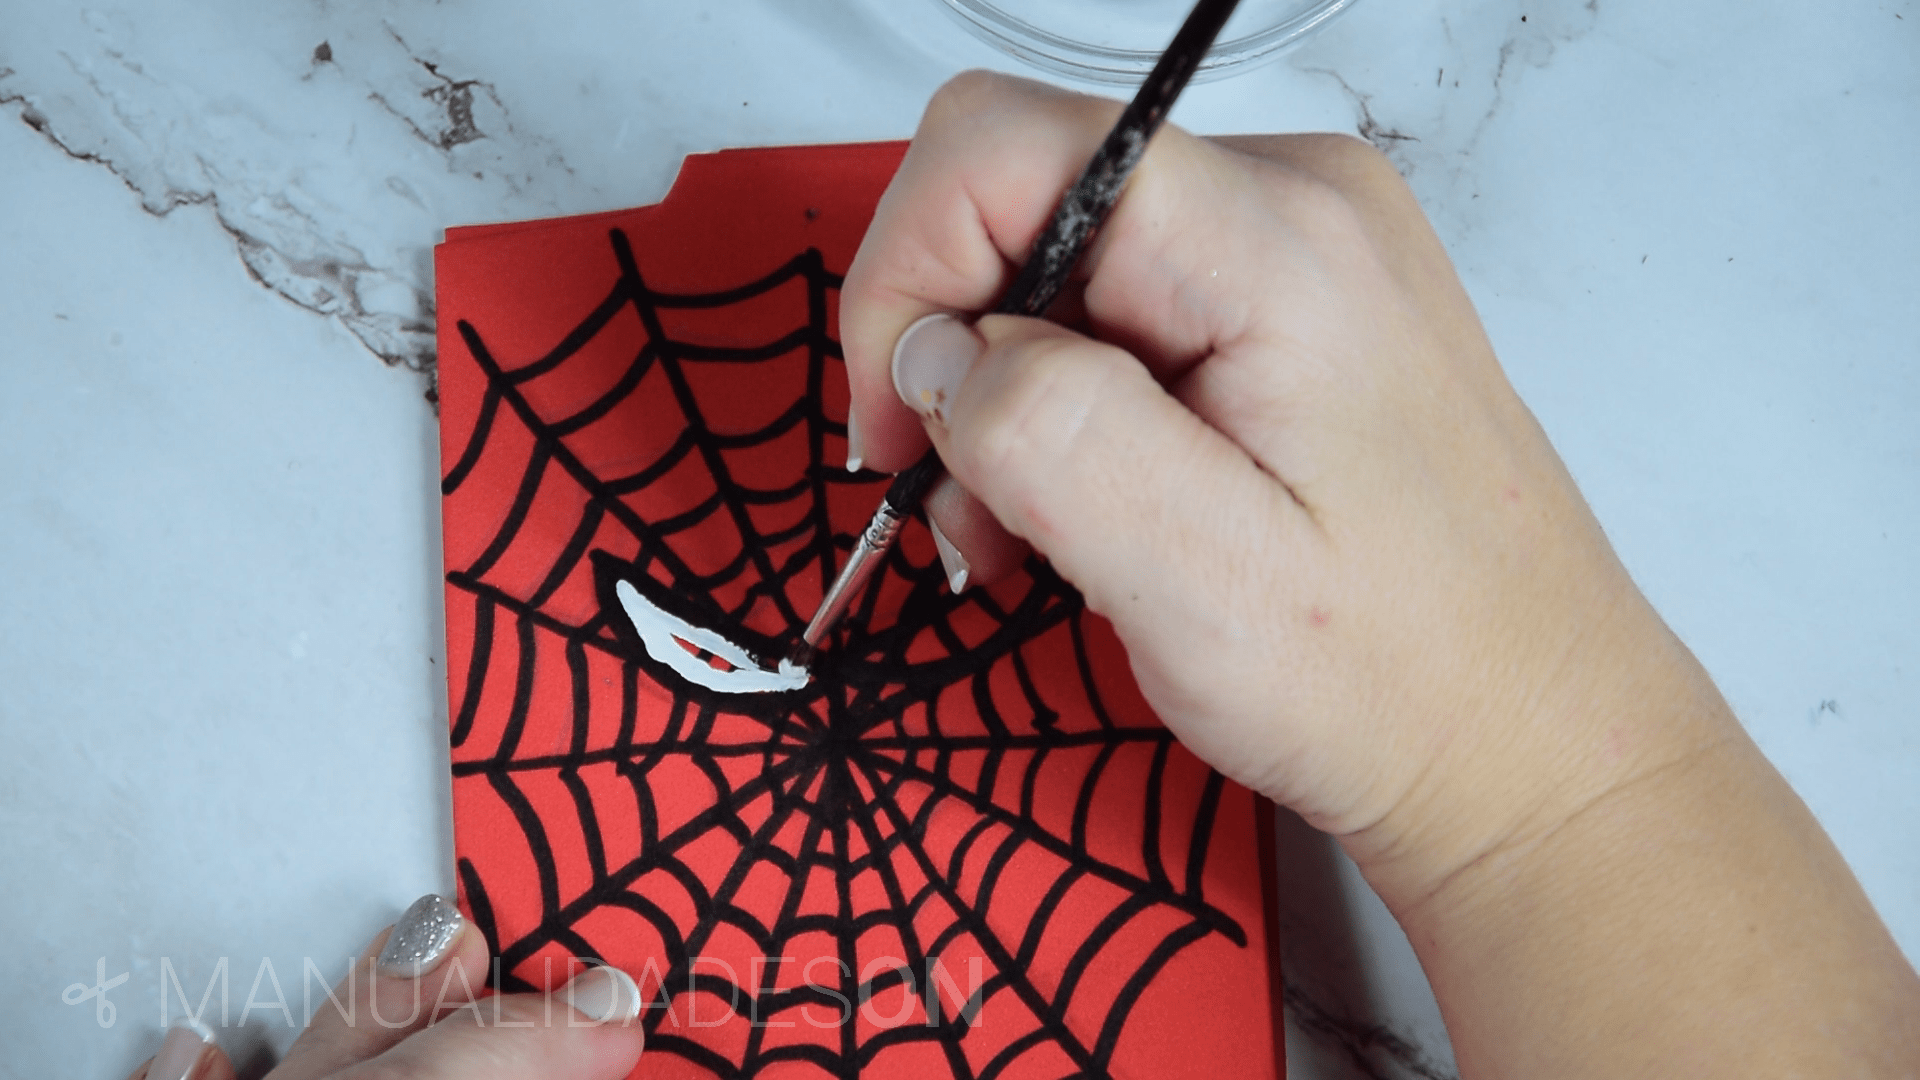
In one of the faces that will form us from the bag we will draw the spider web and eyes of Spiderman. We will start by making a normal cross and hence all the contiguous transversal lines. We will draw the eyes freehand. With a marker we mark all the lines that we have drawn, including the eyes.

Third step:
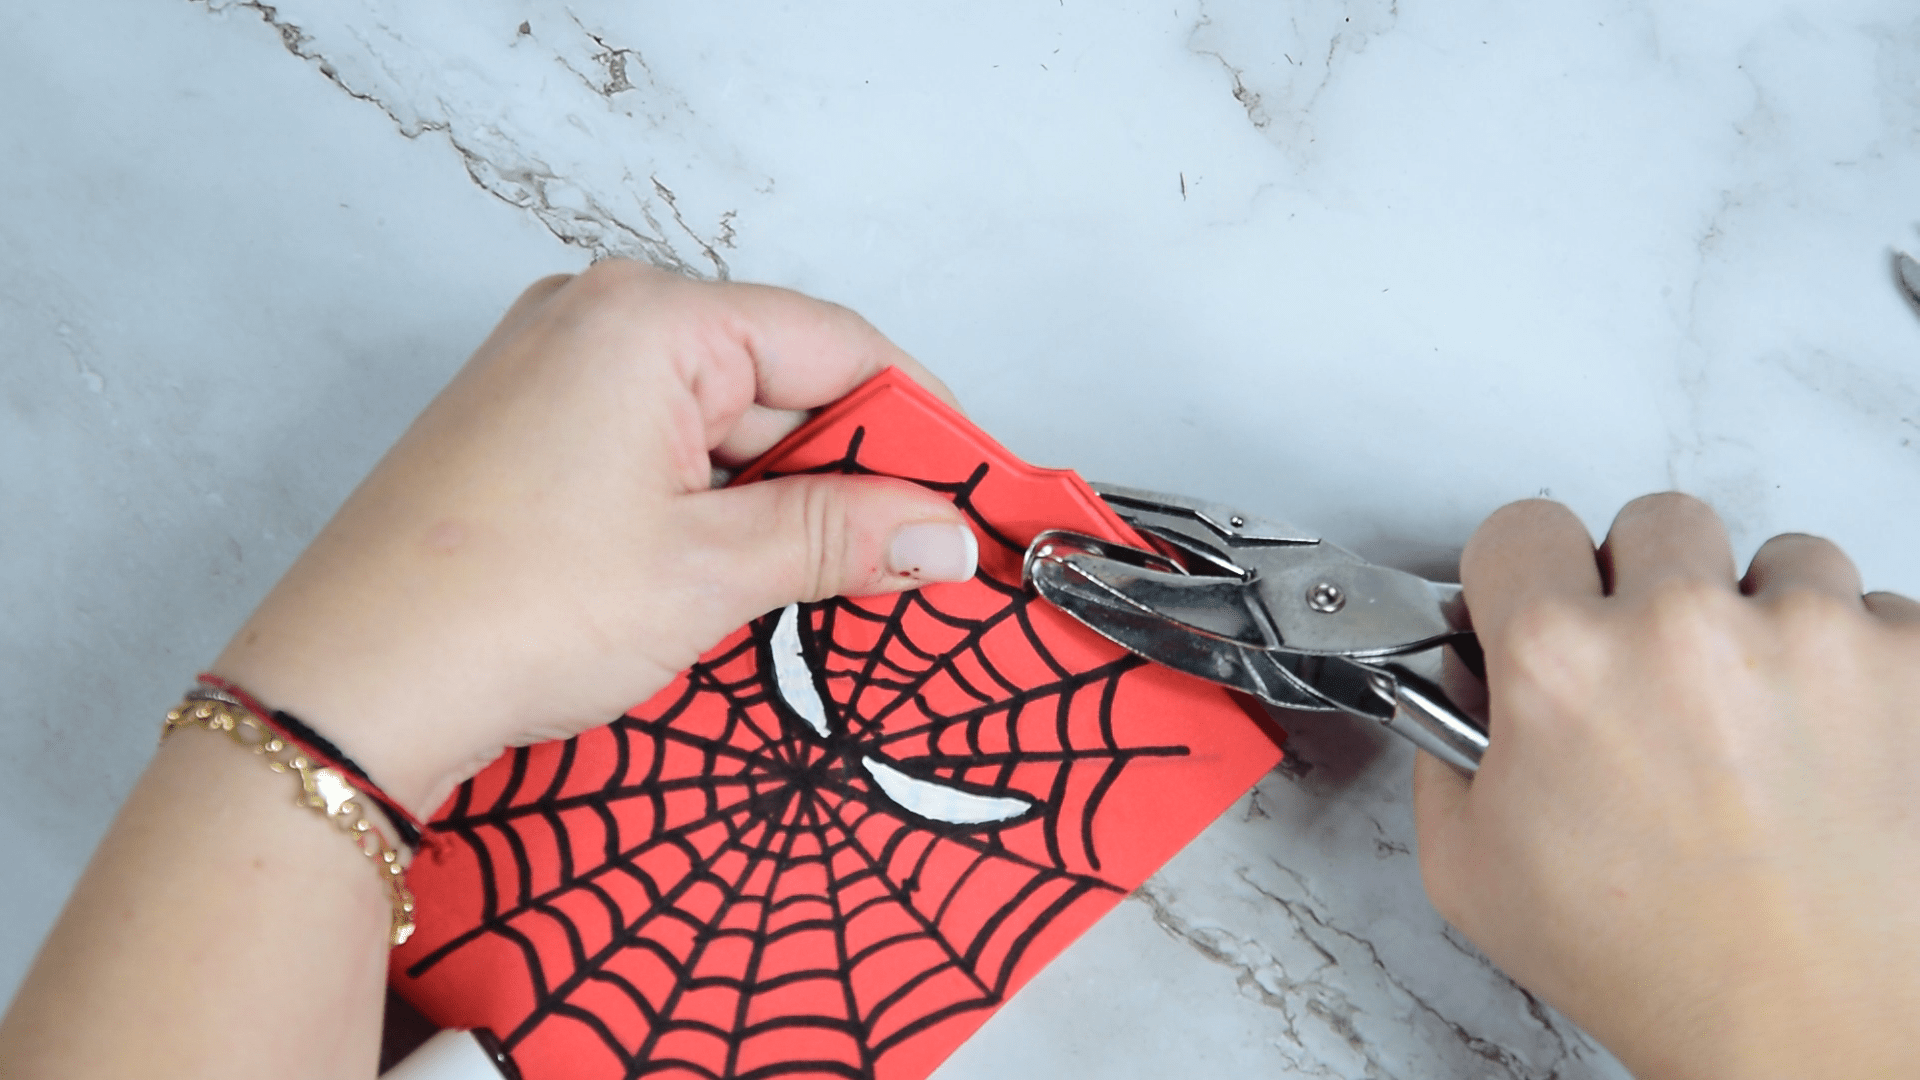
We mark the eyes and paint them white, in case we repaint the edges of the black eyes. We make the hole in the flap that we had cut out and put our hoop inside with the hanger.
Fourth step:
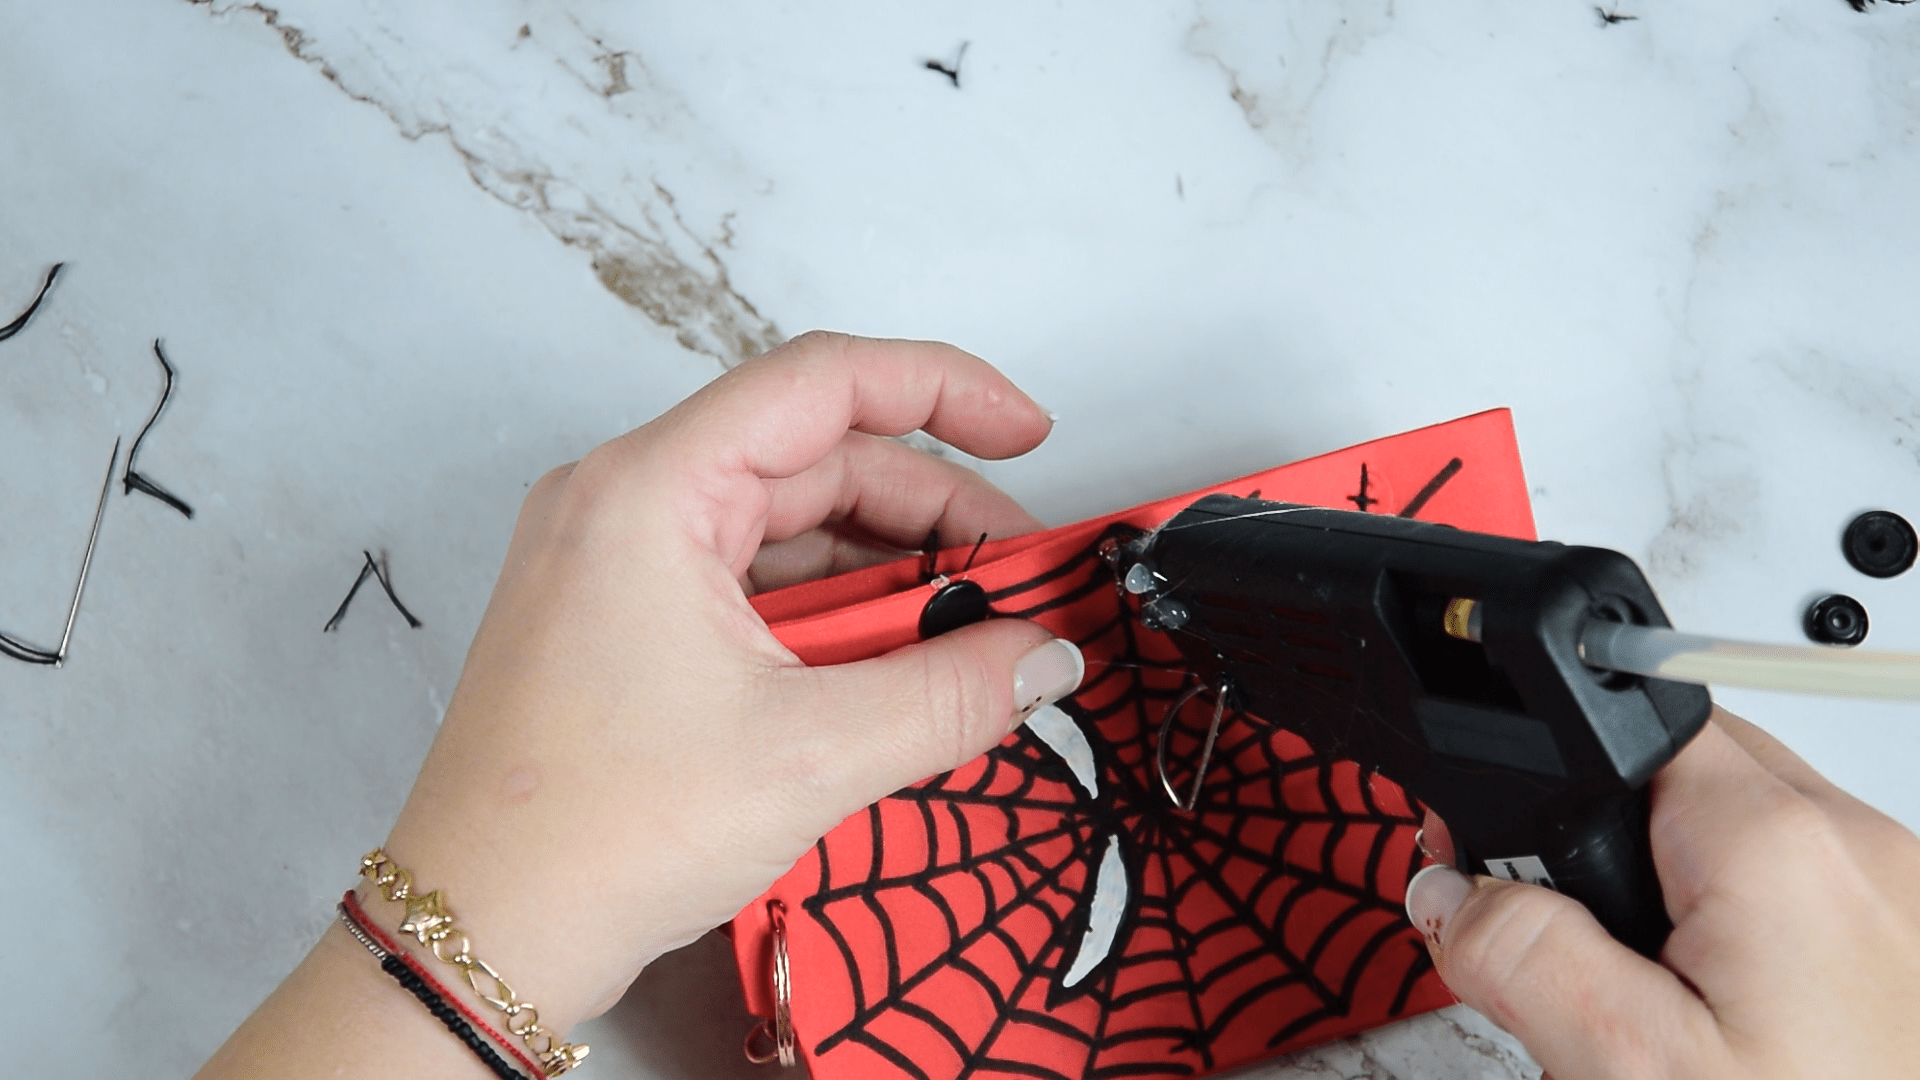
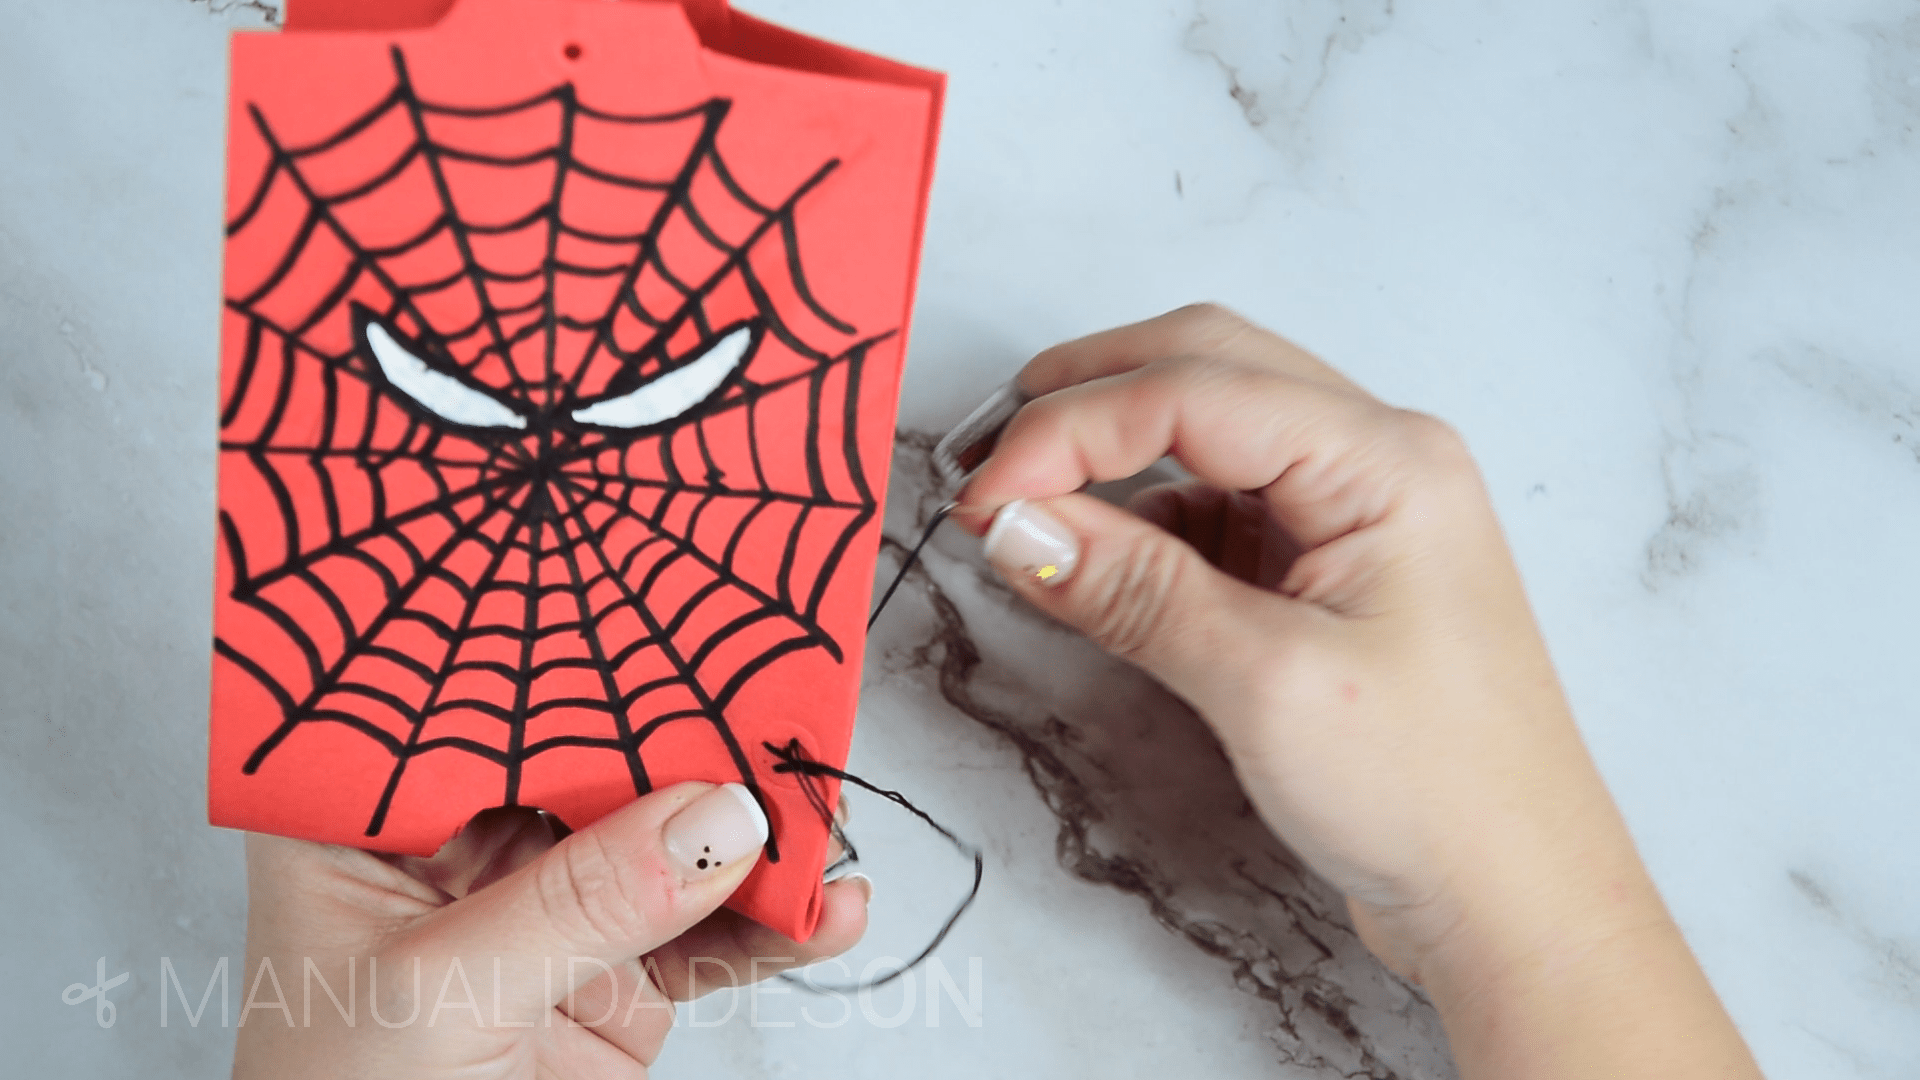
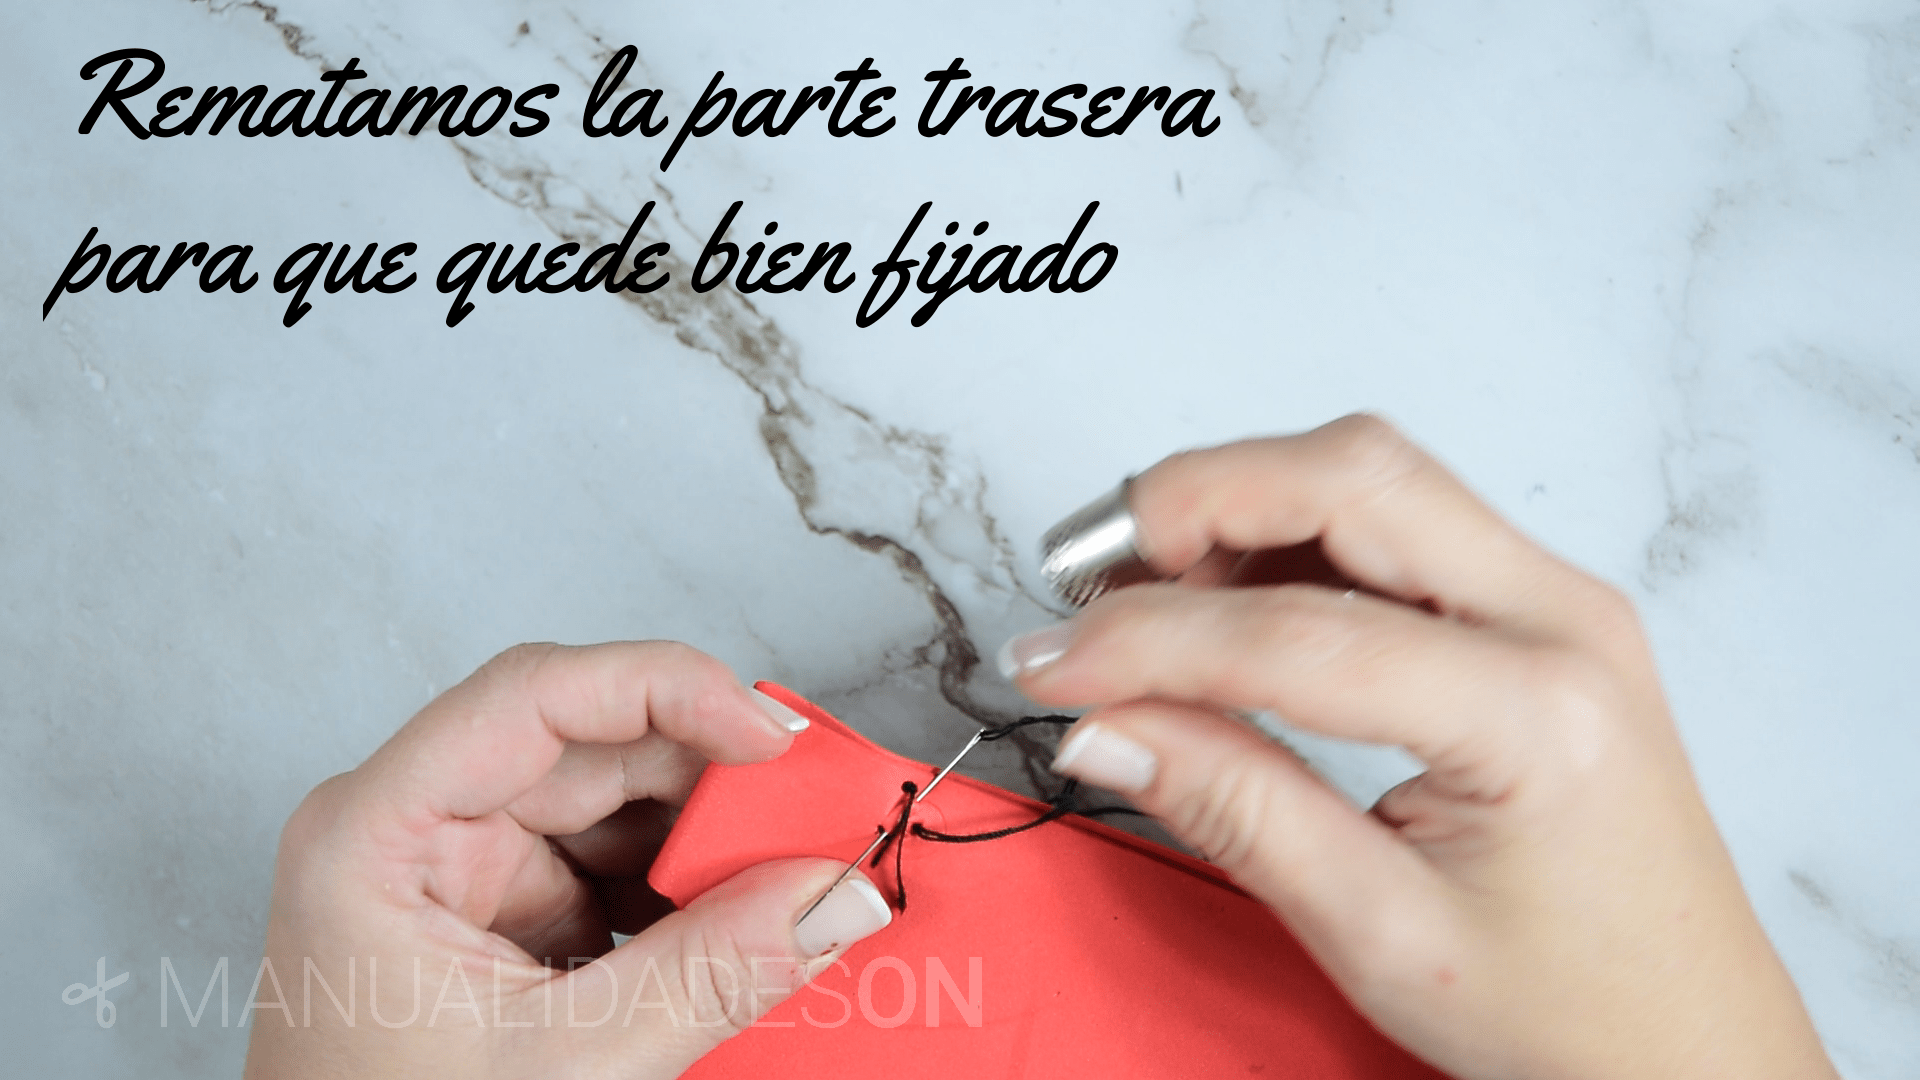
We thread the thread on the needle and we sew the sides of the bag. We make only three stitches in the shape of a cross, because later we will decorate it with the black brackets. In one of the points that we will sew at the top we will leave it free because we will sew a clasp inside that will be the one that closes and opens that side of the bag. In this way we will have that hole to be able to put and remove the gel when necessary.
Fifth step:
To cover the stitches that we have sewn we will give a point of hot silicone and we will glue the brackets black plastic. In this way it will be decorated. With our finished bag we will put the gel and we will have this original craft ready.