We have made an unusual and different card so you can congratulate or send a message secret who you like the most. This card has the peculiarity of having on its screen a bag full of water and different shades of sparkly glitter for you to touch and play with.
The explanation of how to do it is easy. It's just follow the steps indicated below. If you have any questions about any of the steps, you already know that we have prepared a demonstration video where you can see how it is done in a simple way.
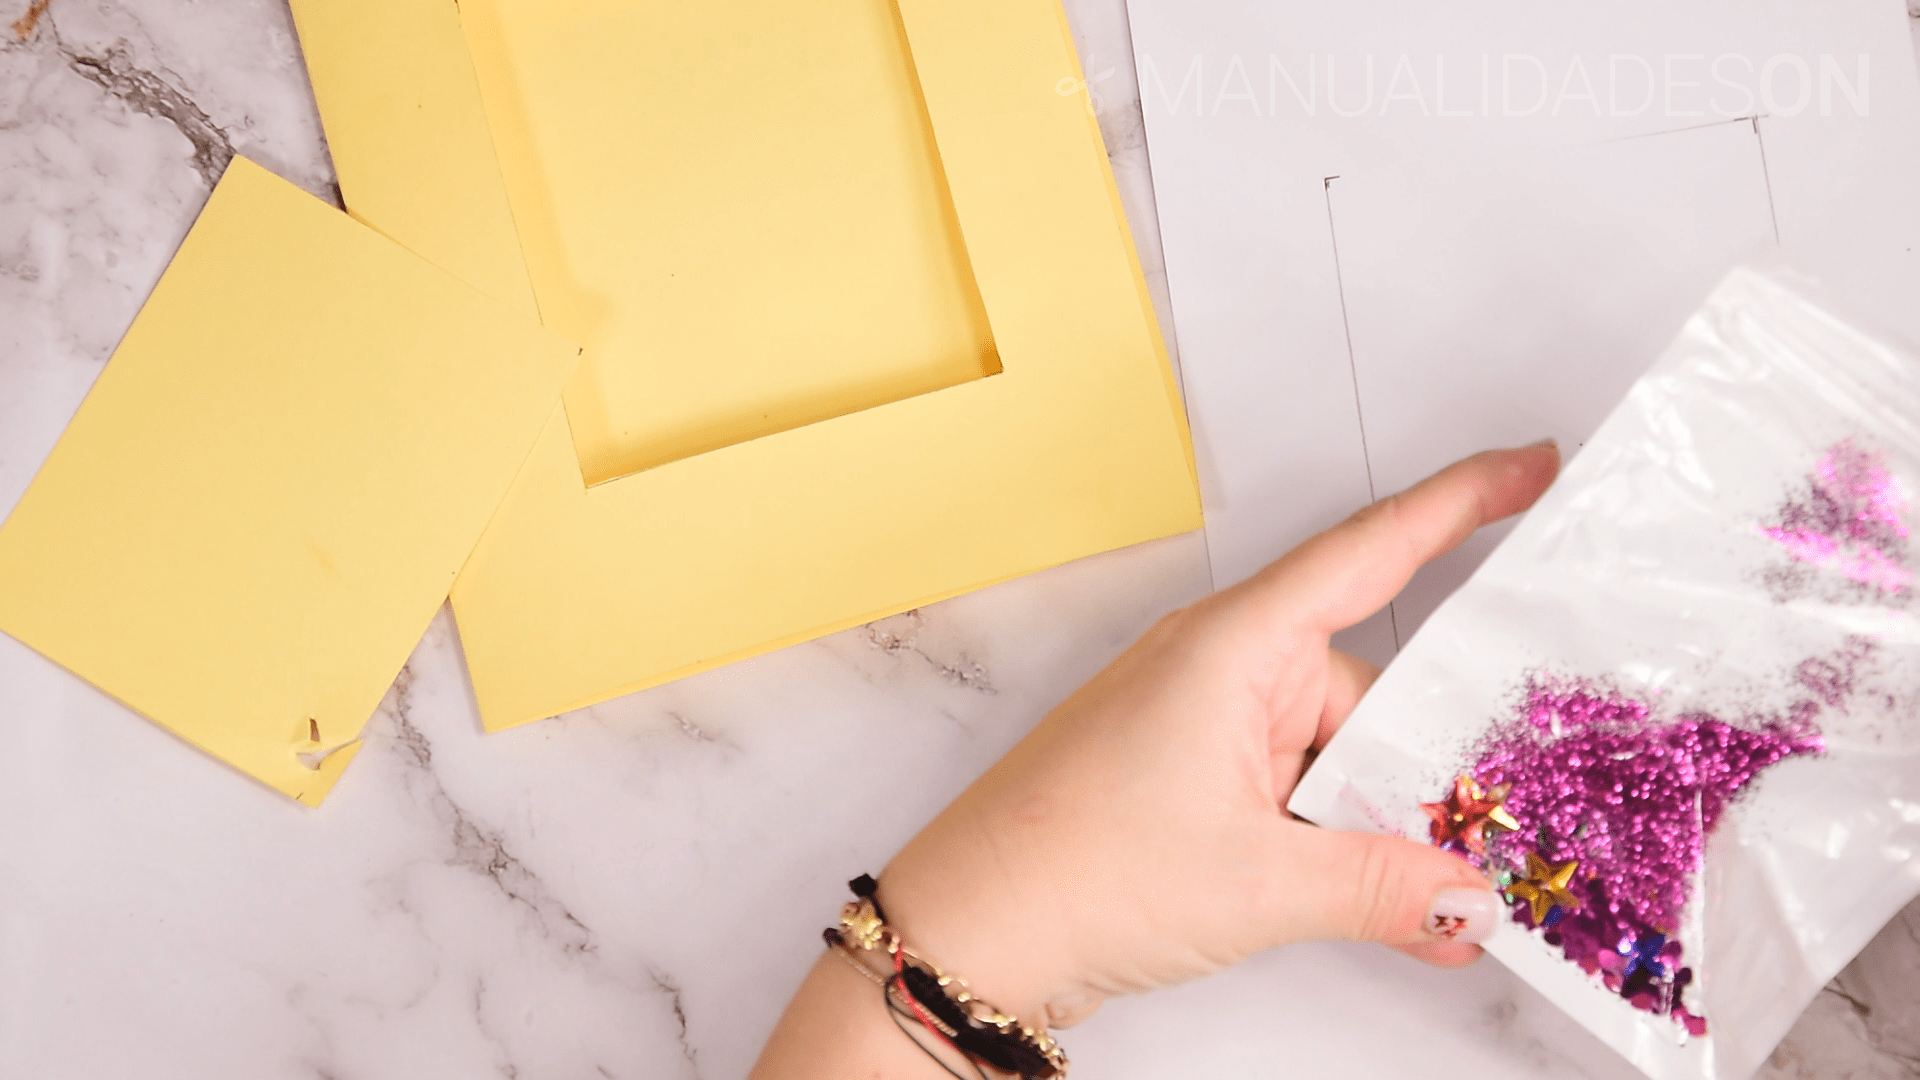
The materials that I have used are:
- 1 light yellow A4 size card
- Half white A4 size card stock
- A square zippered transparent bag
- Sparkly, colorful glitter and embellishments with heart and star shapes
- Decorative and adhesive sticker, in my case it is pink
- Water
- A piece of decorative rope, in my case it is yellow
- Hot silicone and her gun
- Ruler
- Pencil
- Scissors
- Black marker
- Colored markers
You can see this craft step by step in the following video:
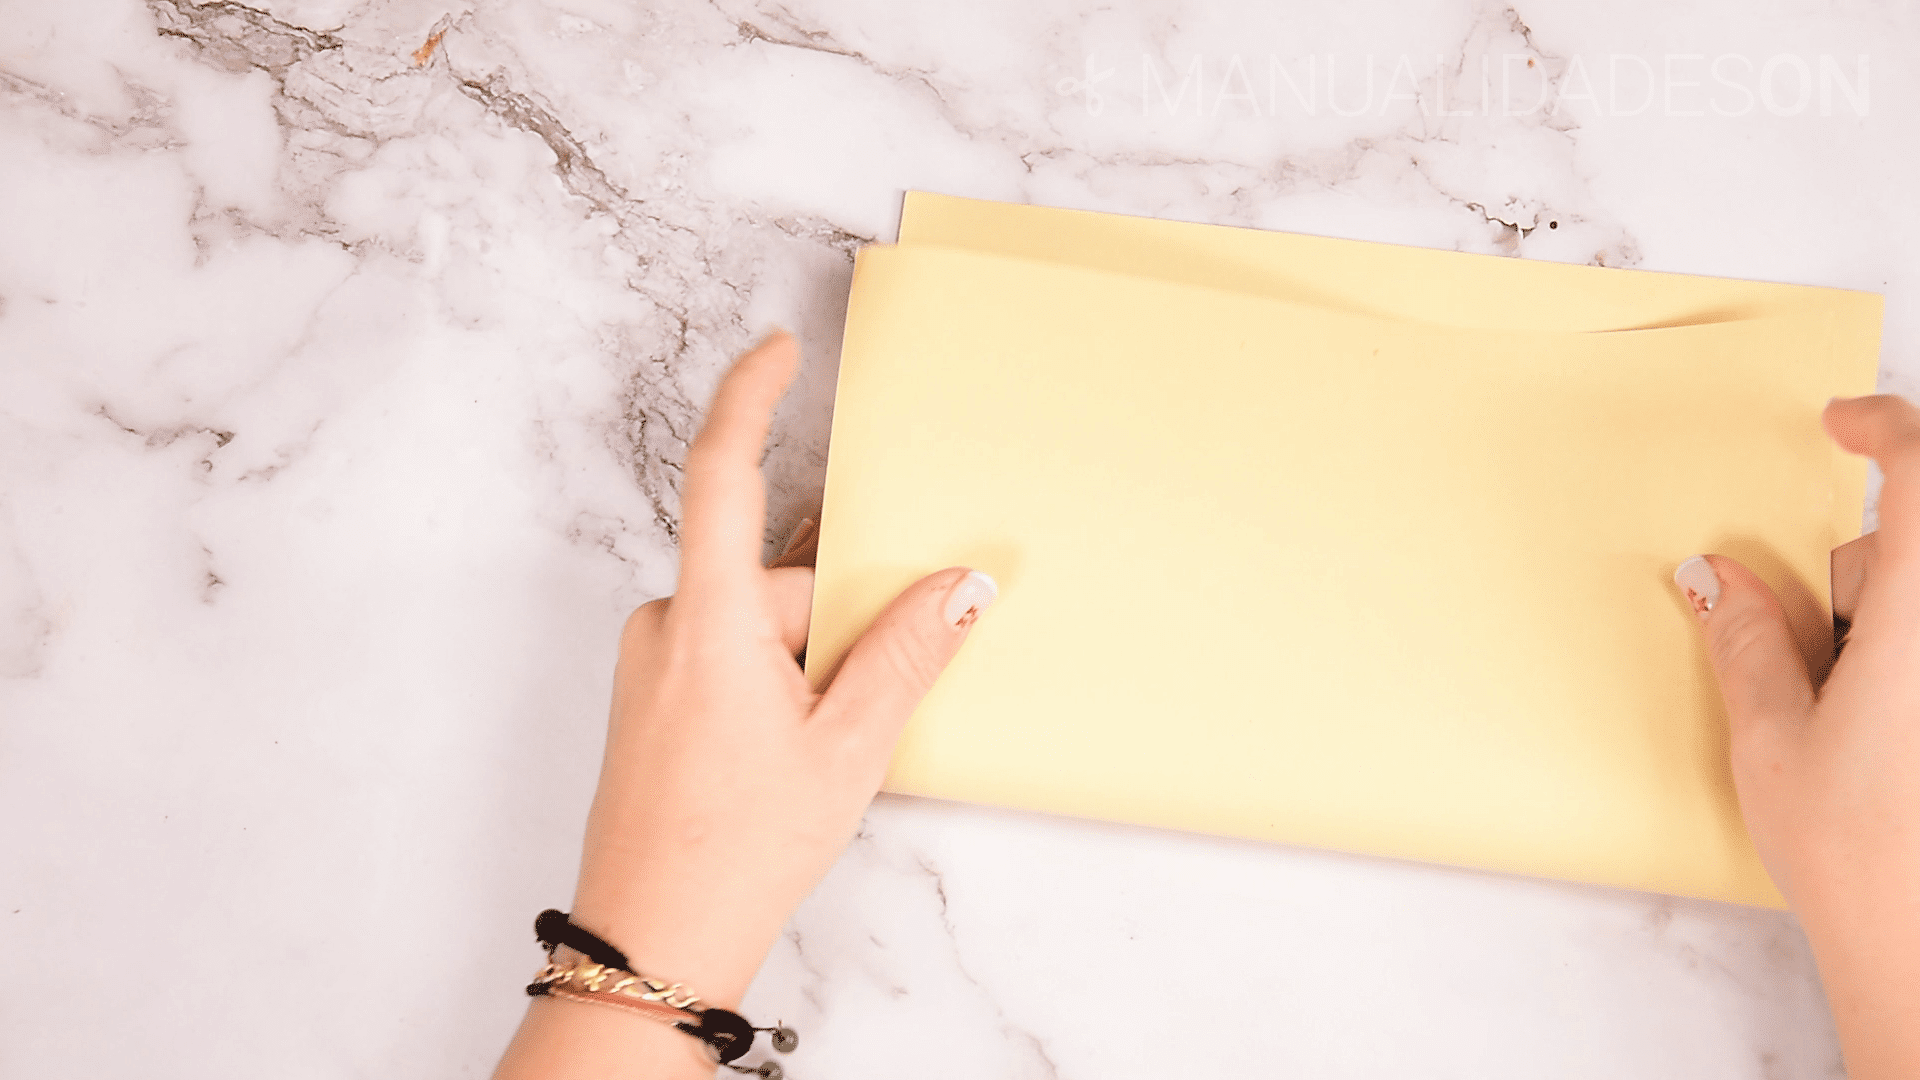
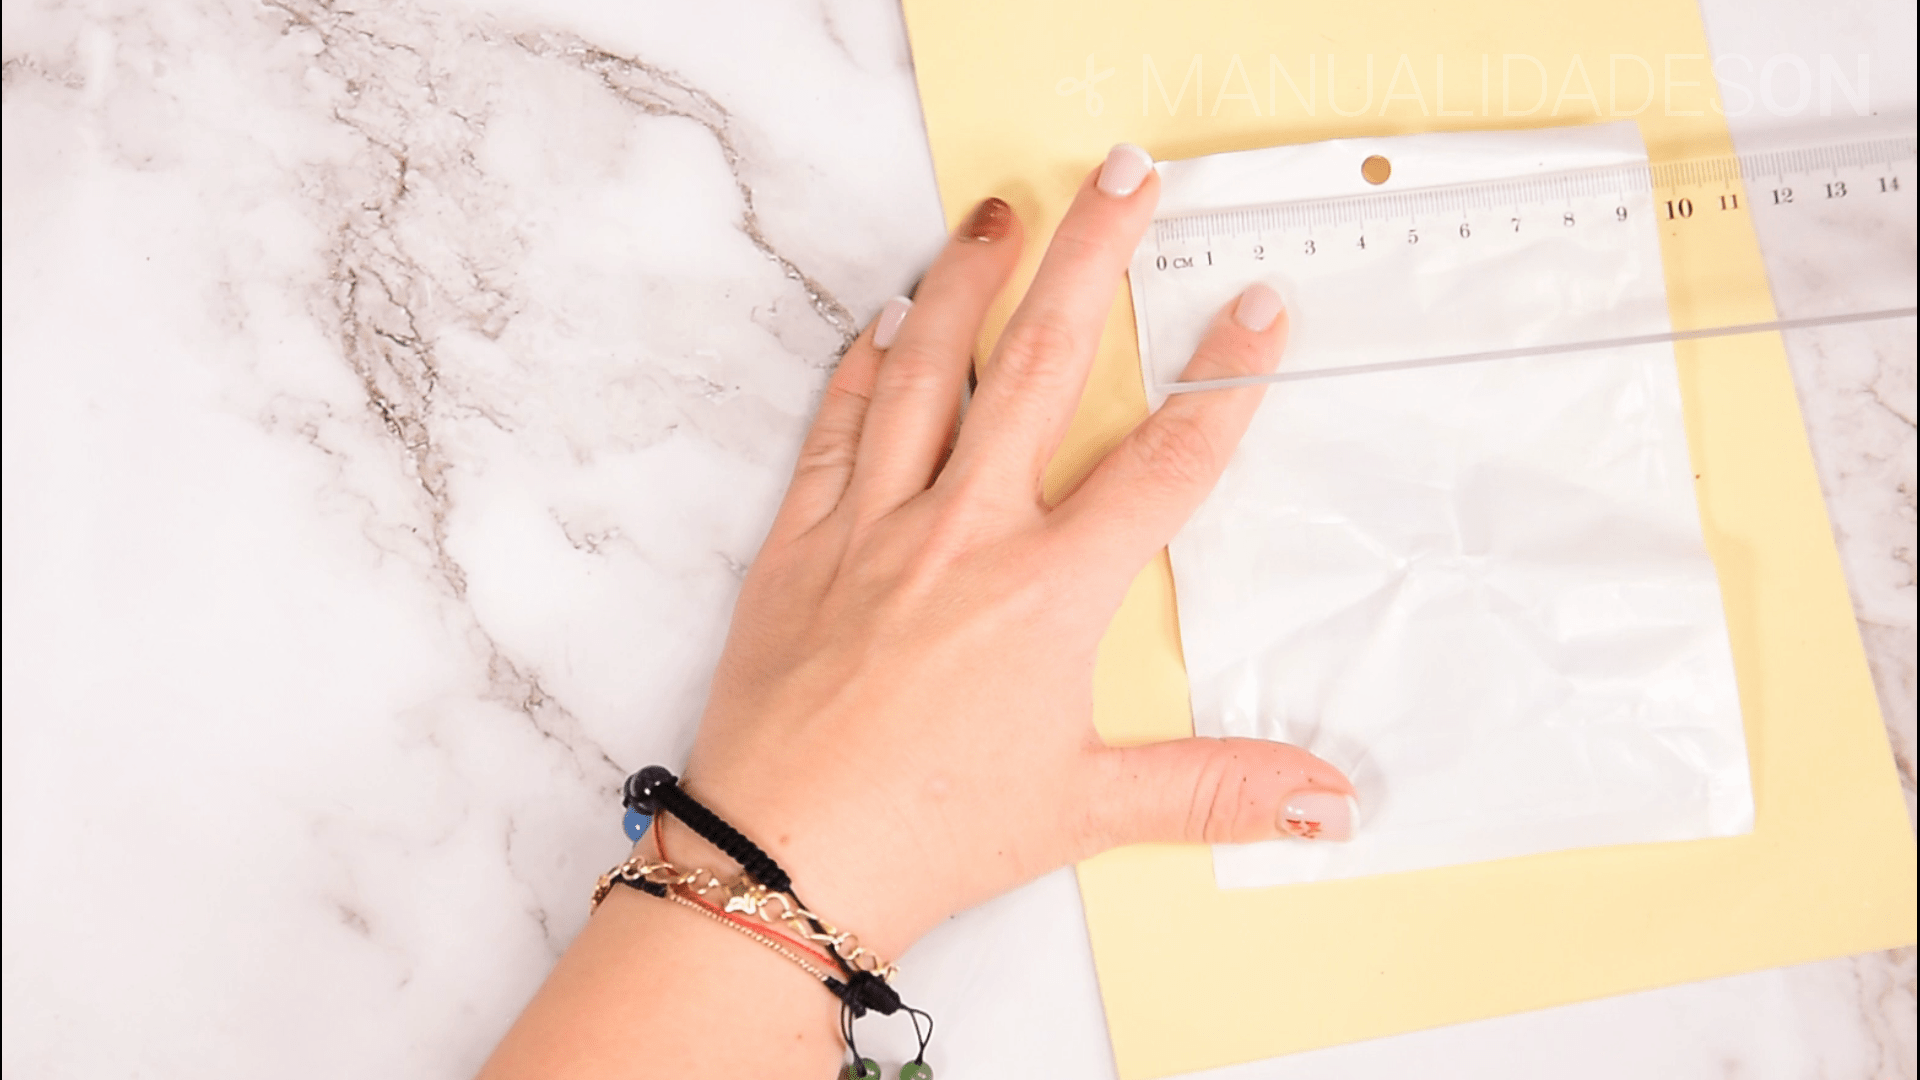
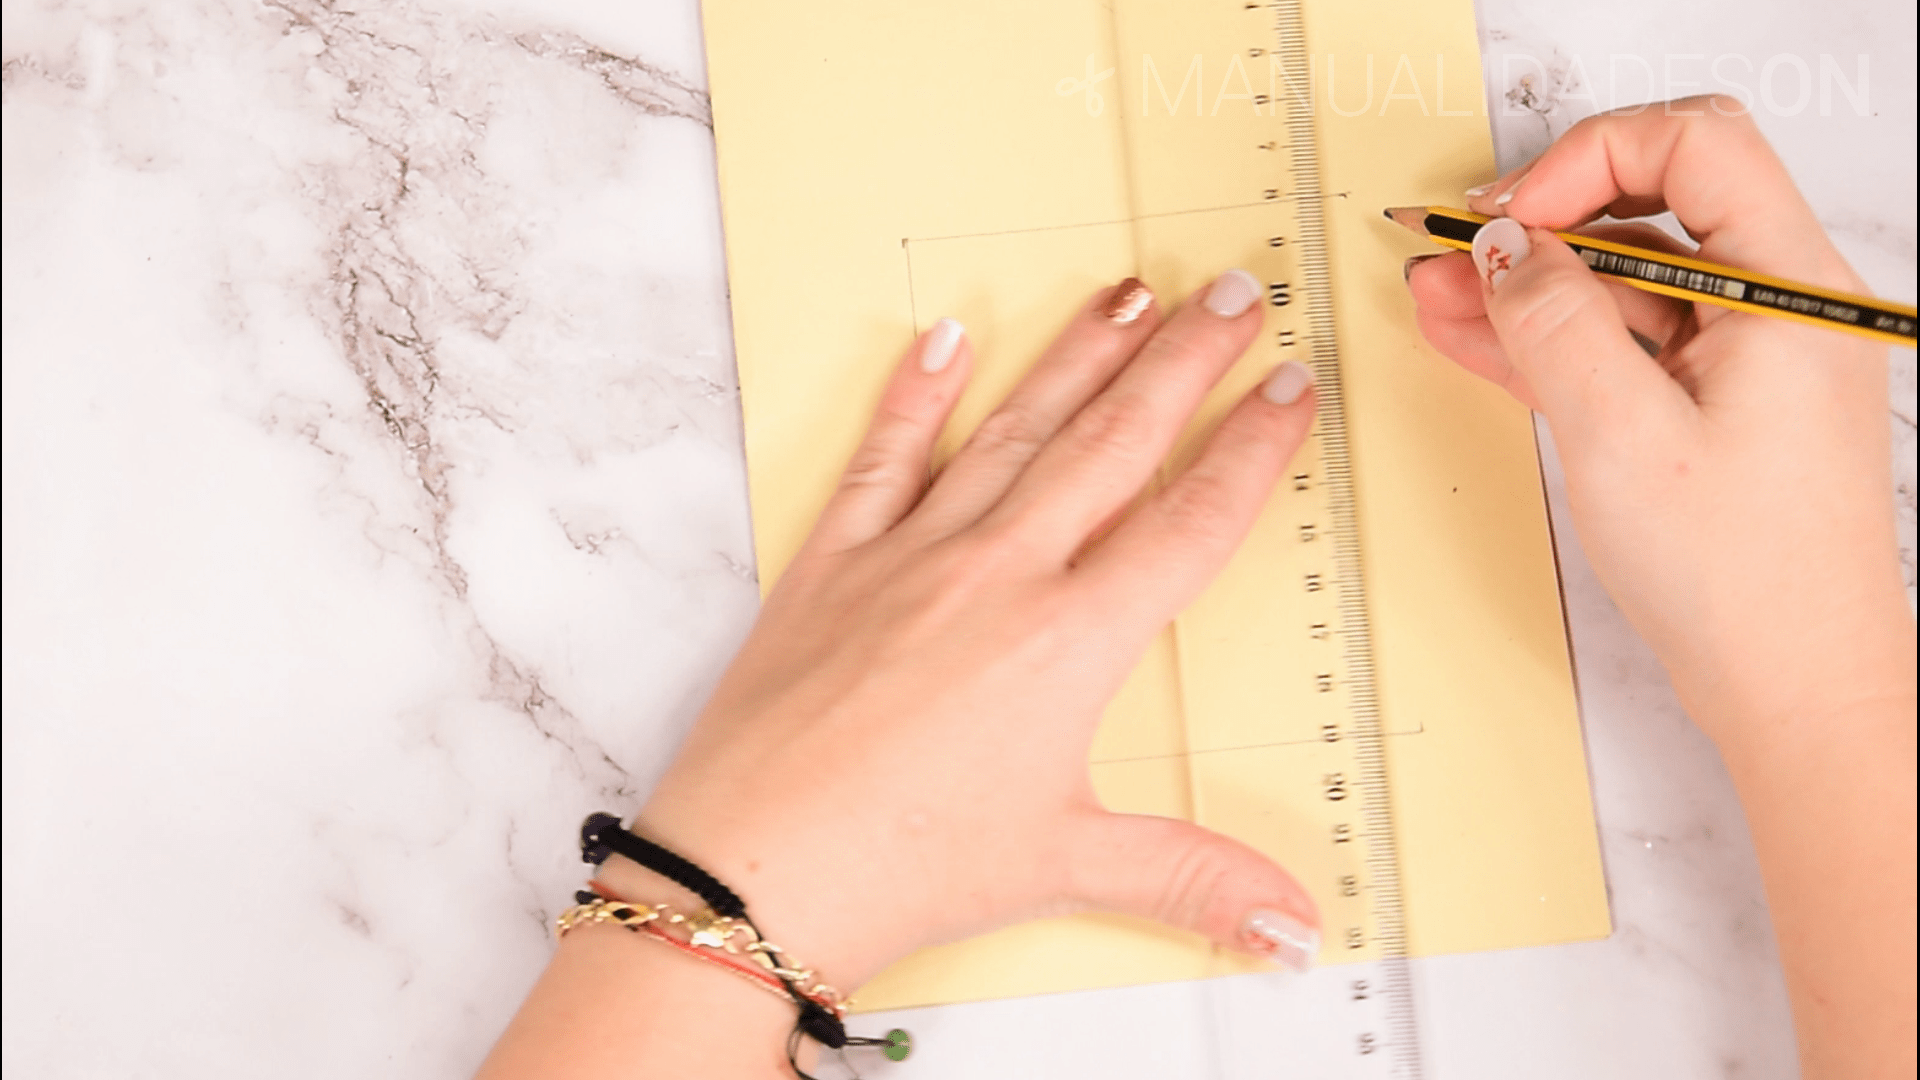
First step:
We take our light yellow cardboard and fold it in half. We place the bag on one of the sides of the cardboard to take measurements of the window that we are going to open so that the bag full of water can be seen. We draw the window with the help of a ruler and a pencil. Then we will cut it out.

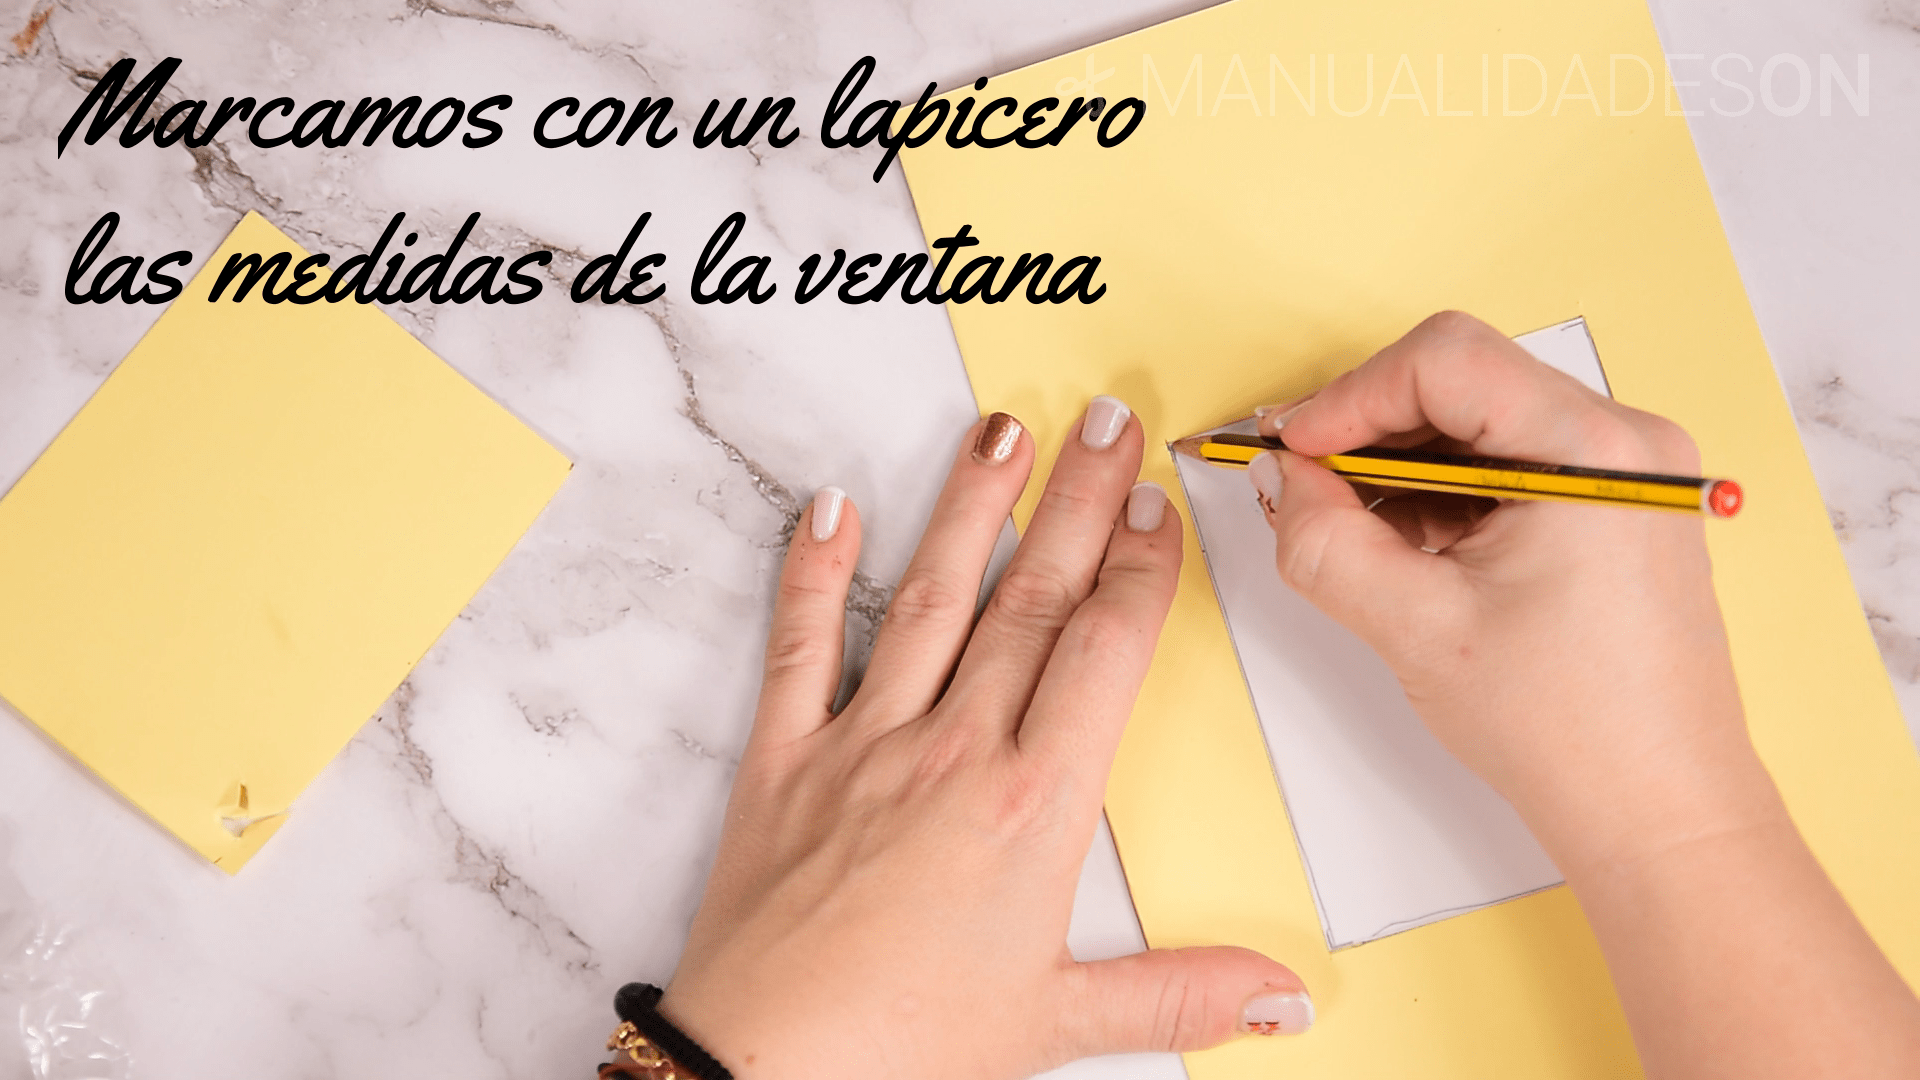
Second step:
We take the piece of white cardboard and place it under the folded part where the window was made. We will take the measurements of the window so that we can better position the bag later. We can take the bag and we put all the decorative elements in the shape of glitter inside.
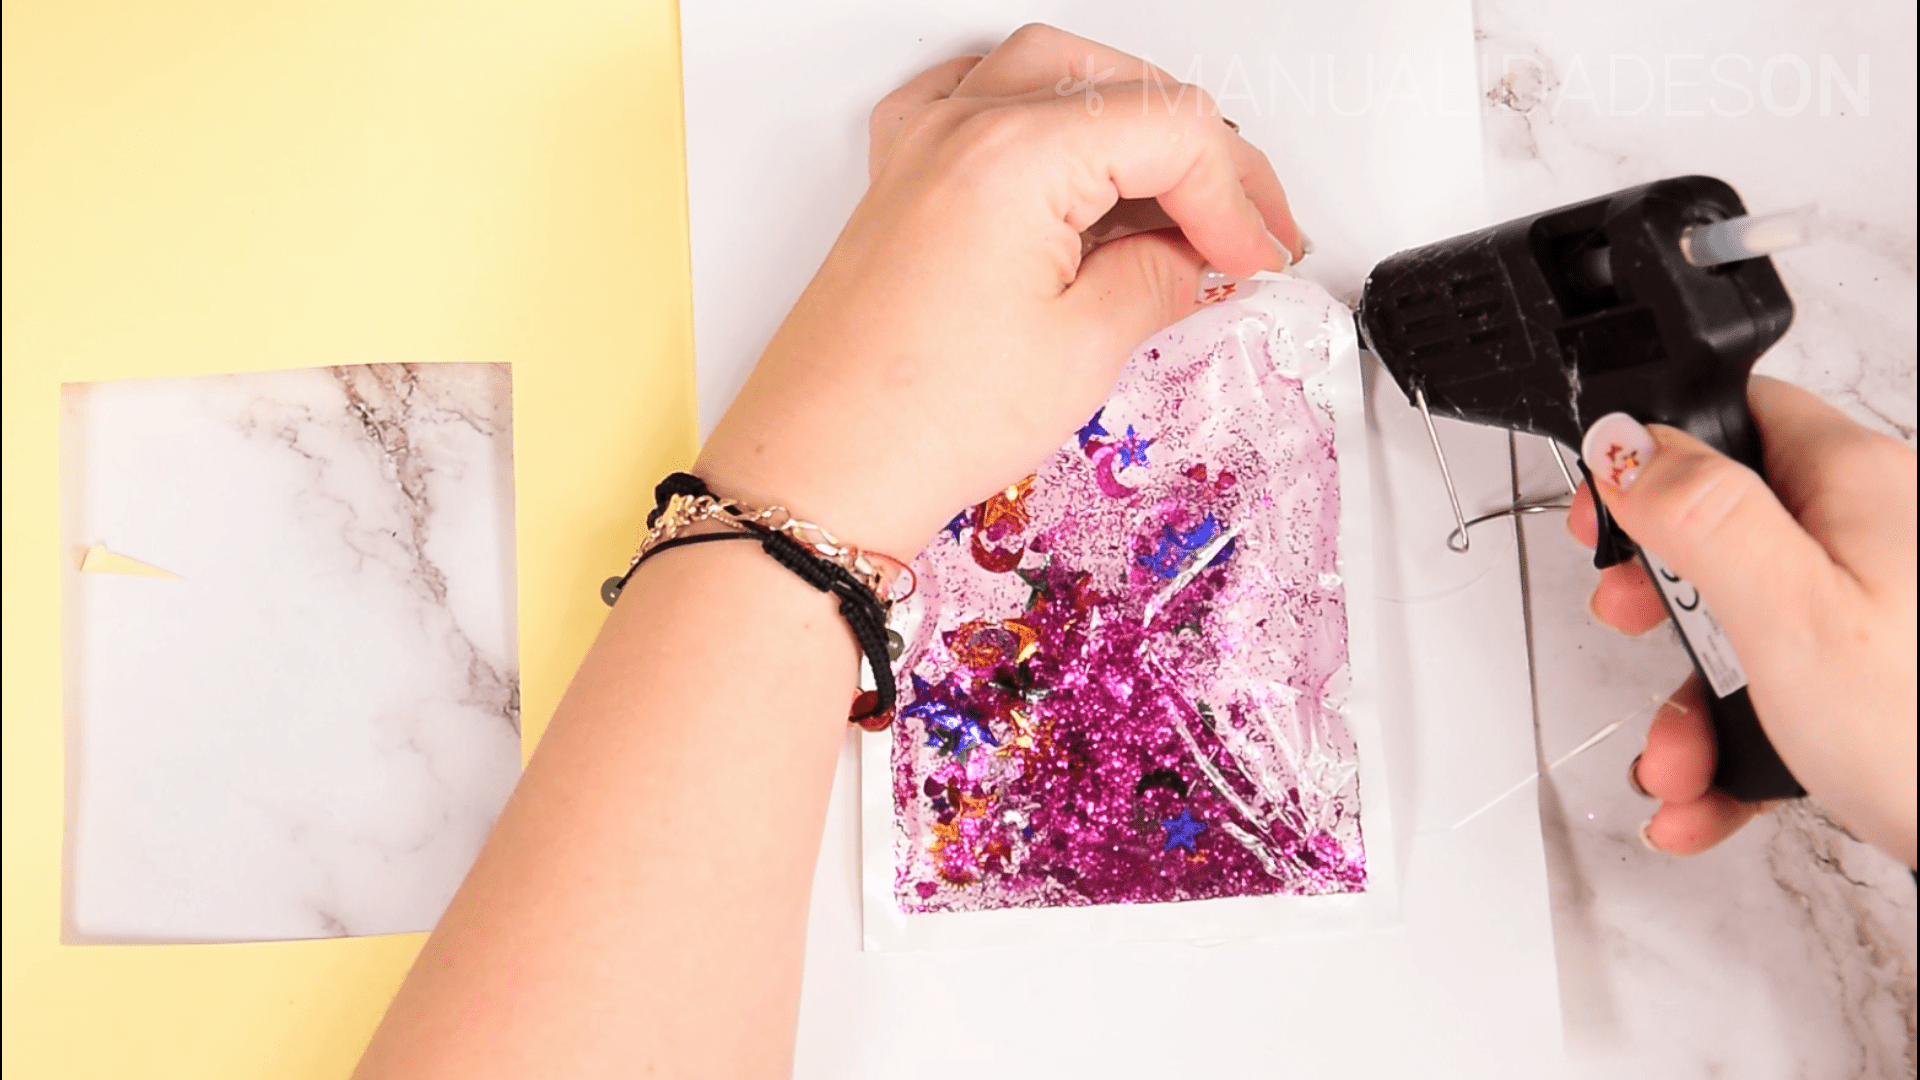
Third step:
We pour the water into the bag and close with its corresponding closure. To seal the bag much better and prevent it from leaking, we add the hot silicone to its entire outlet so that it is effectively closed.

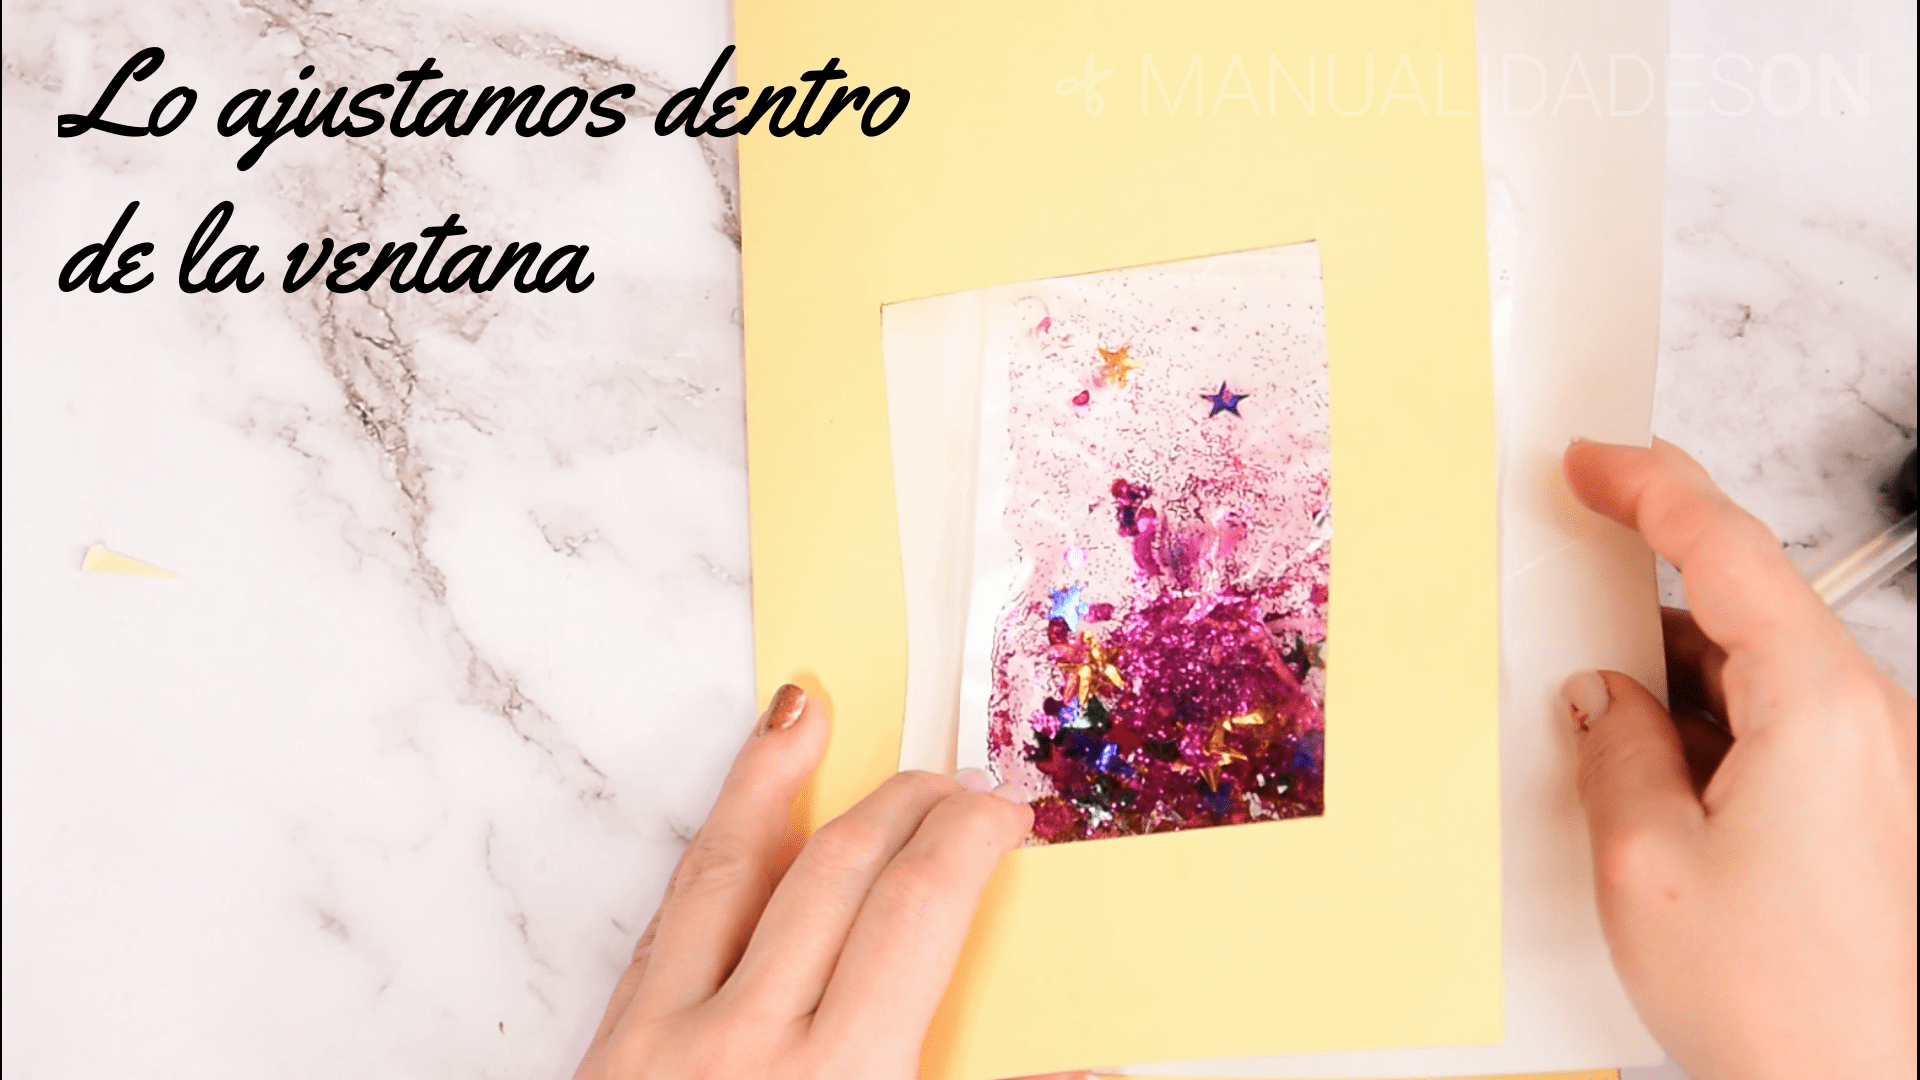
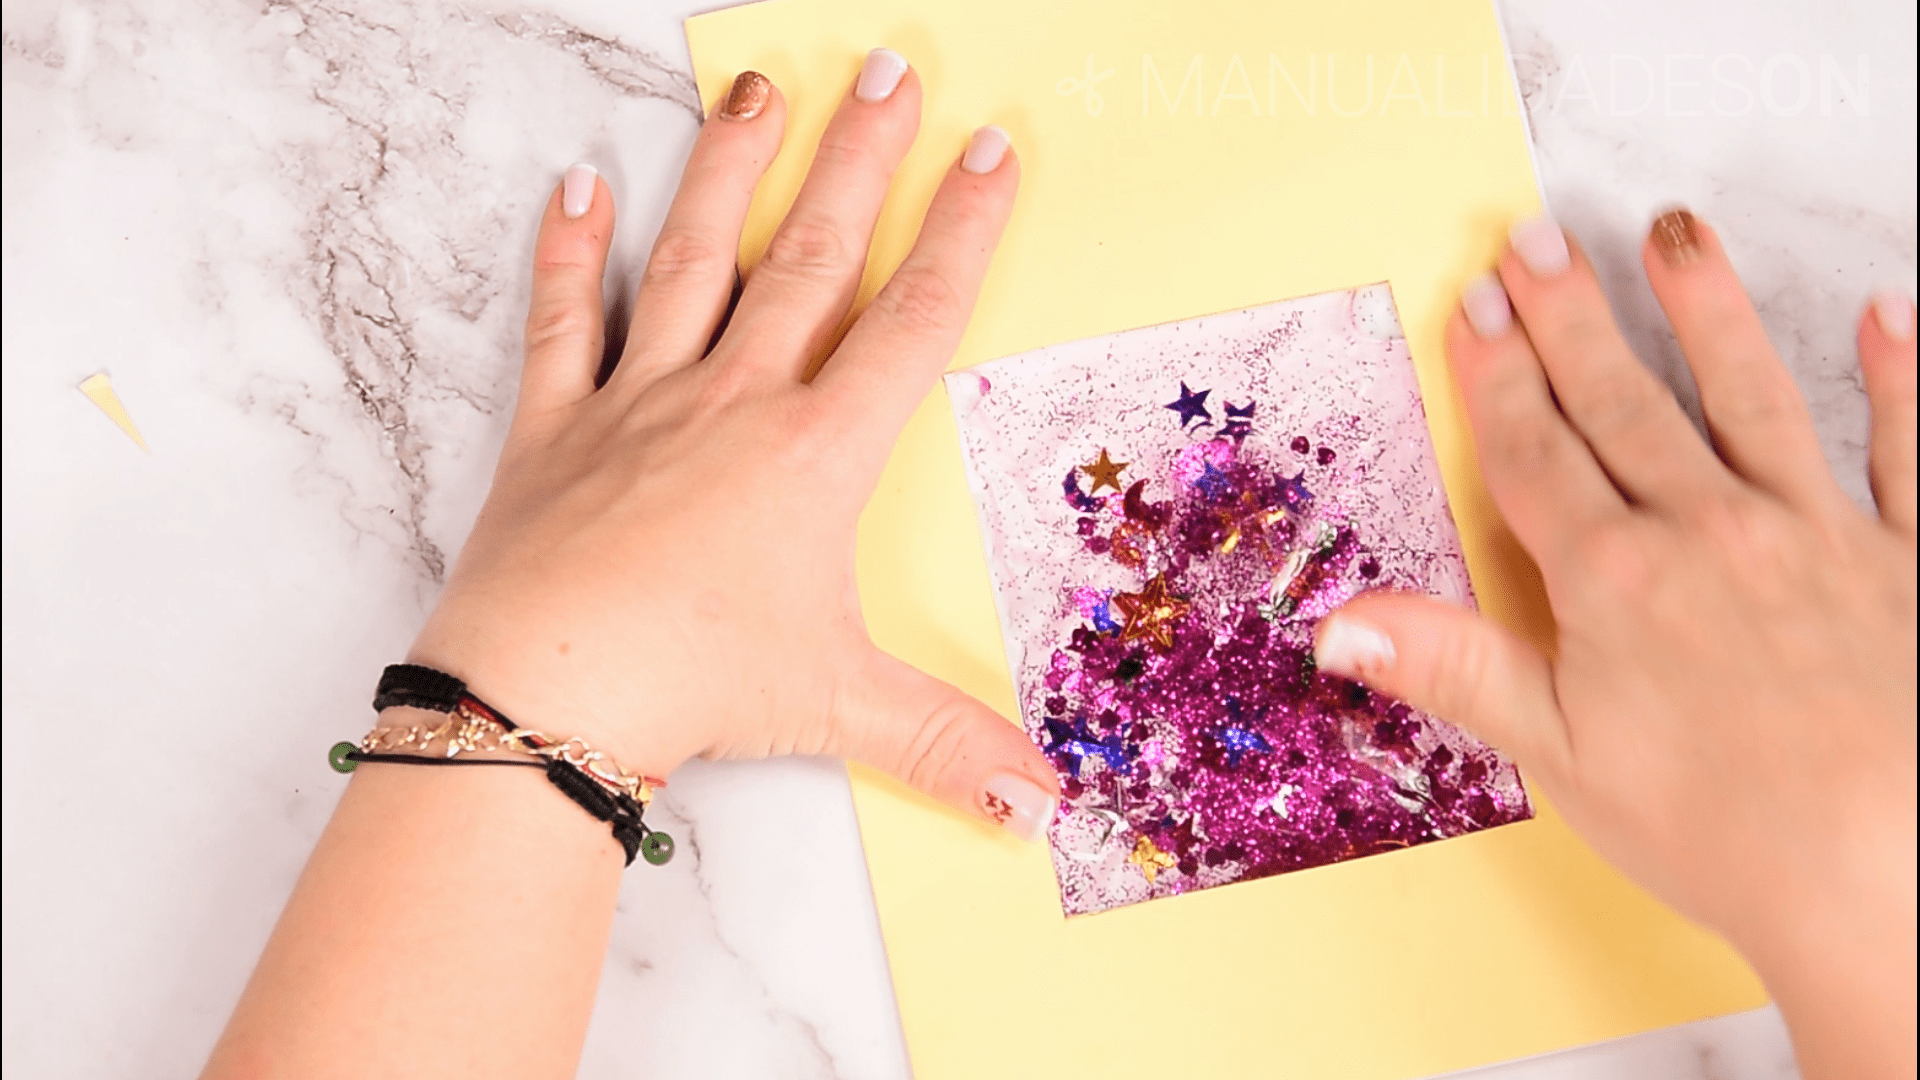
Fourth step:
We put the bag under the window together with the white cardboard and we will adjust it. We glue the bag on top of the cardboard with the hot silicone and we also seal the two cardboard: the yellow and the white.
Fifth step:
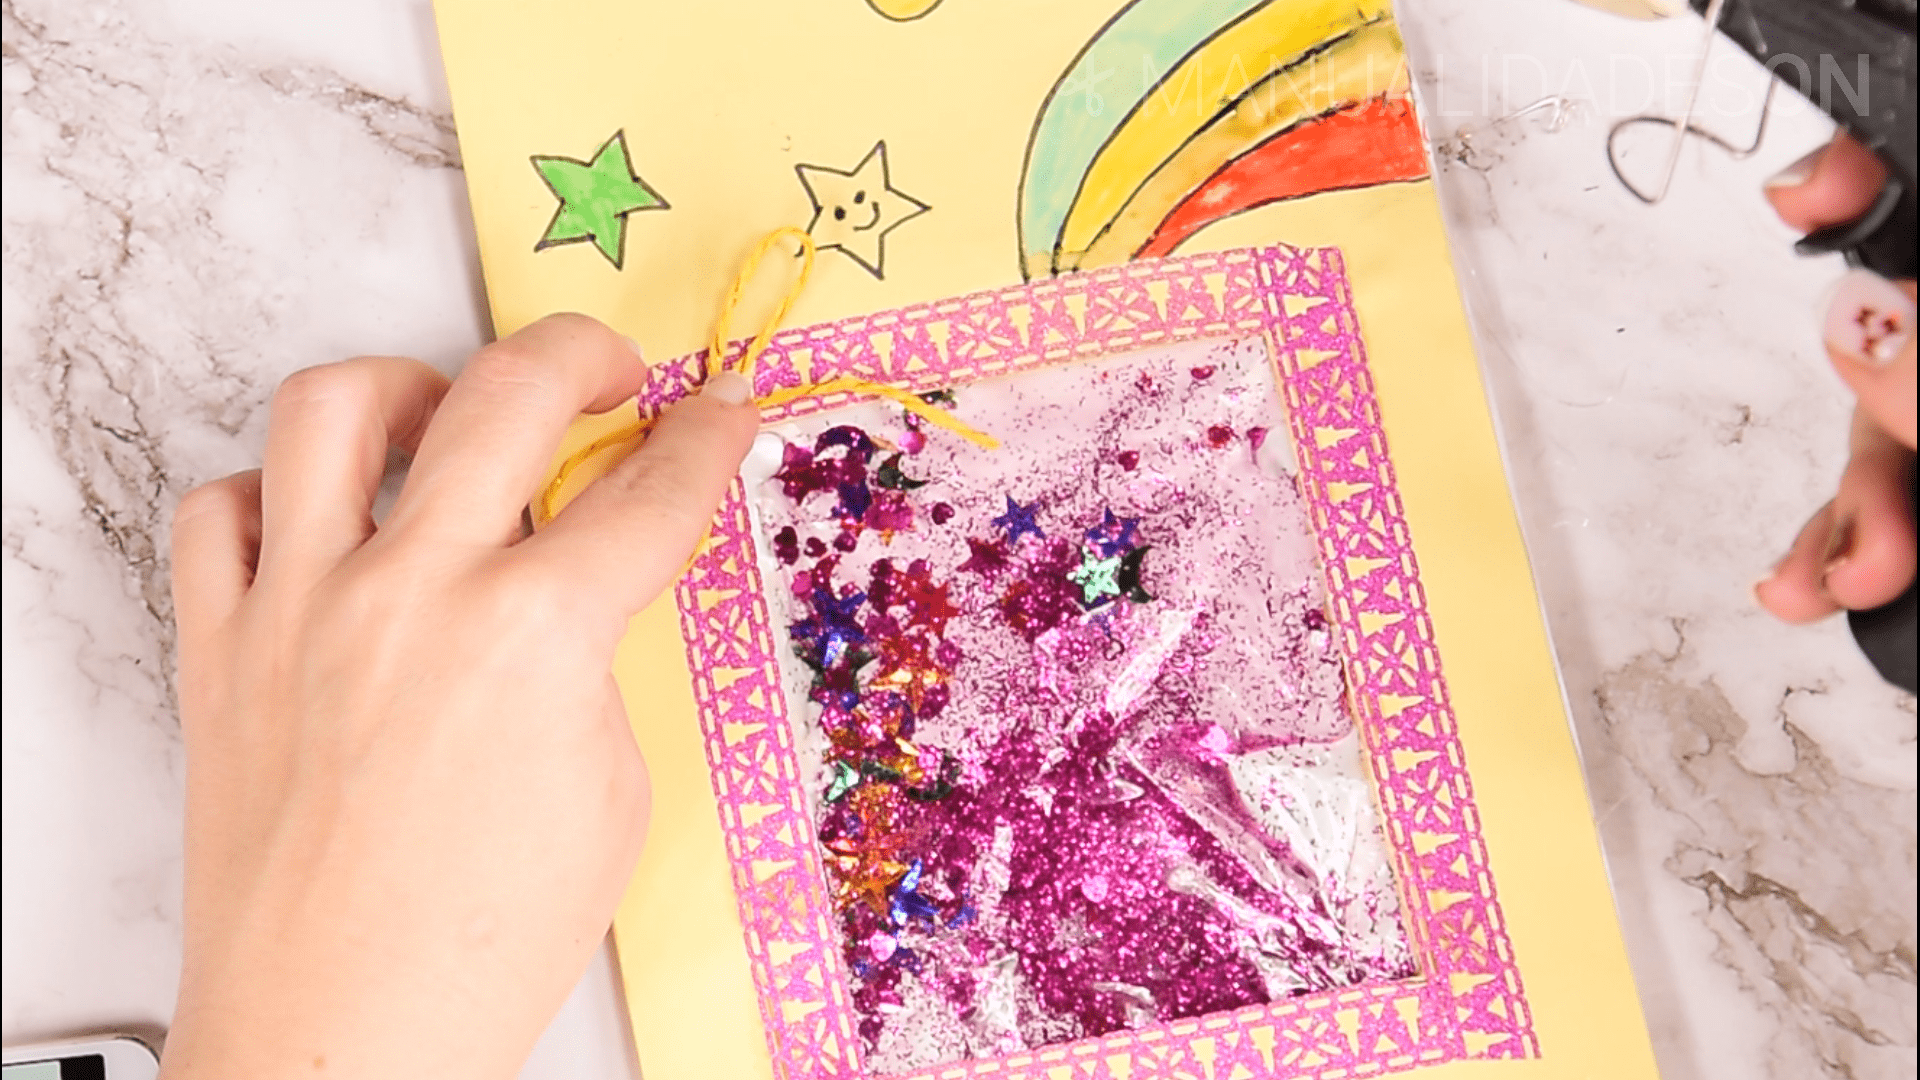
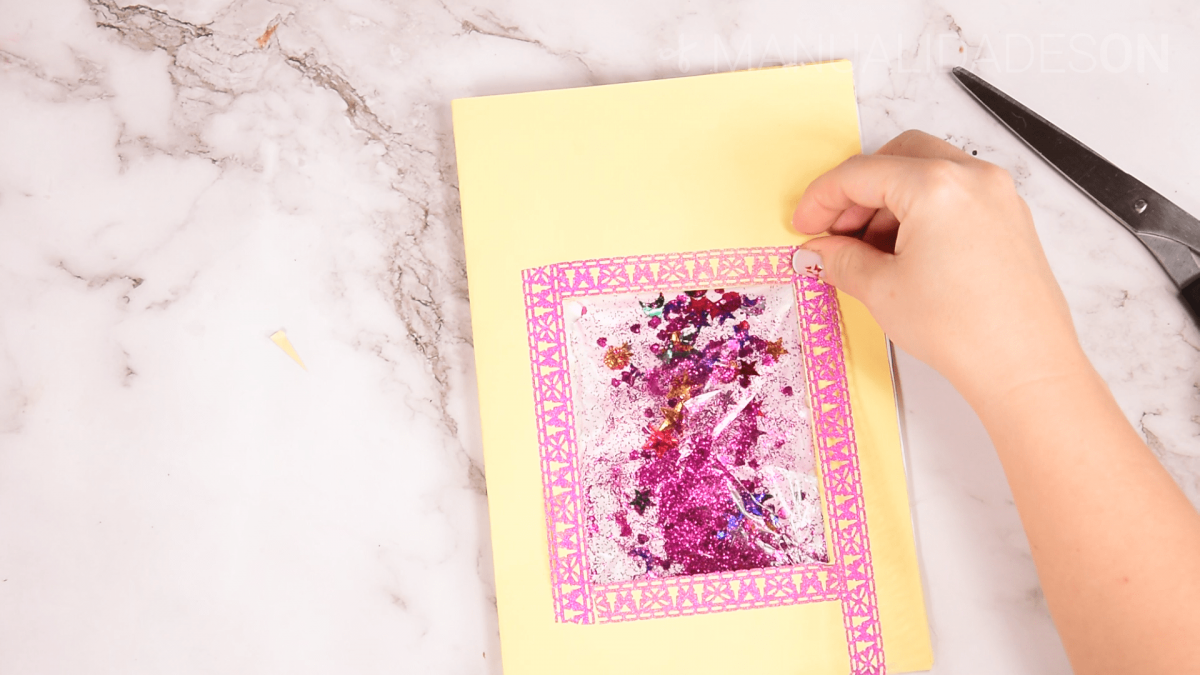
We stick a decorative and adhesive sticker around the window frame that we have cut out. We take a piece of decorative cord, we make a loop and we stick it in one of the corners of the window.
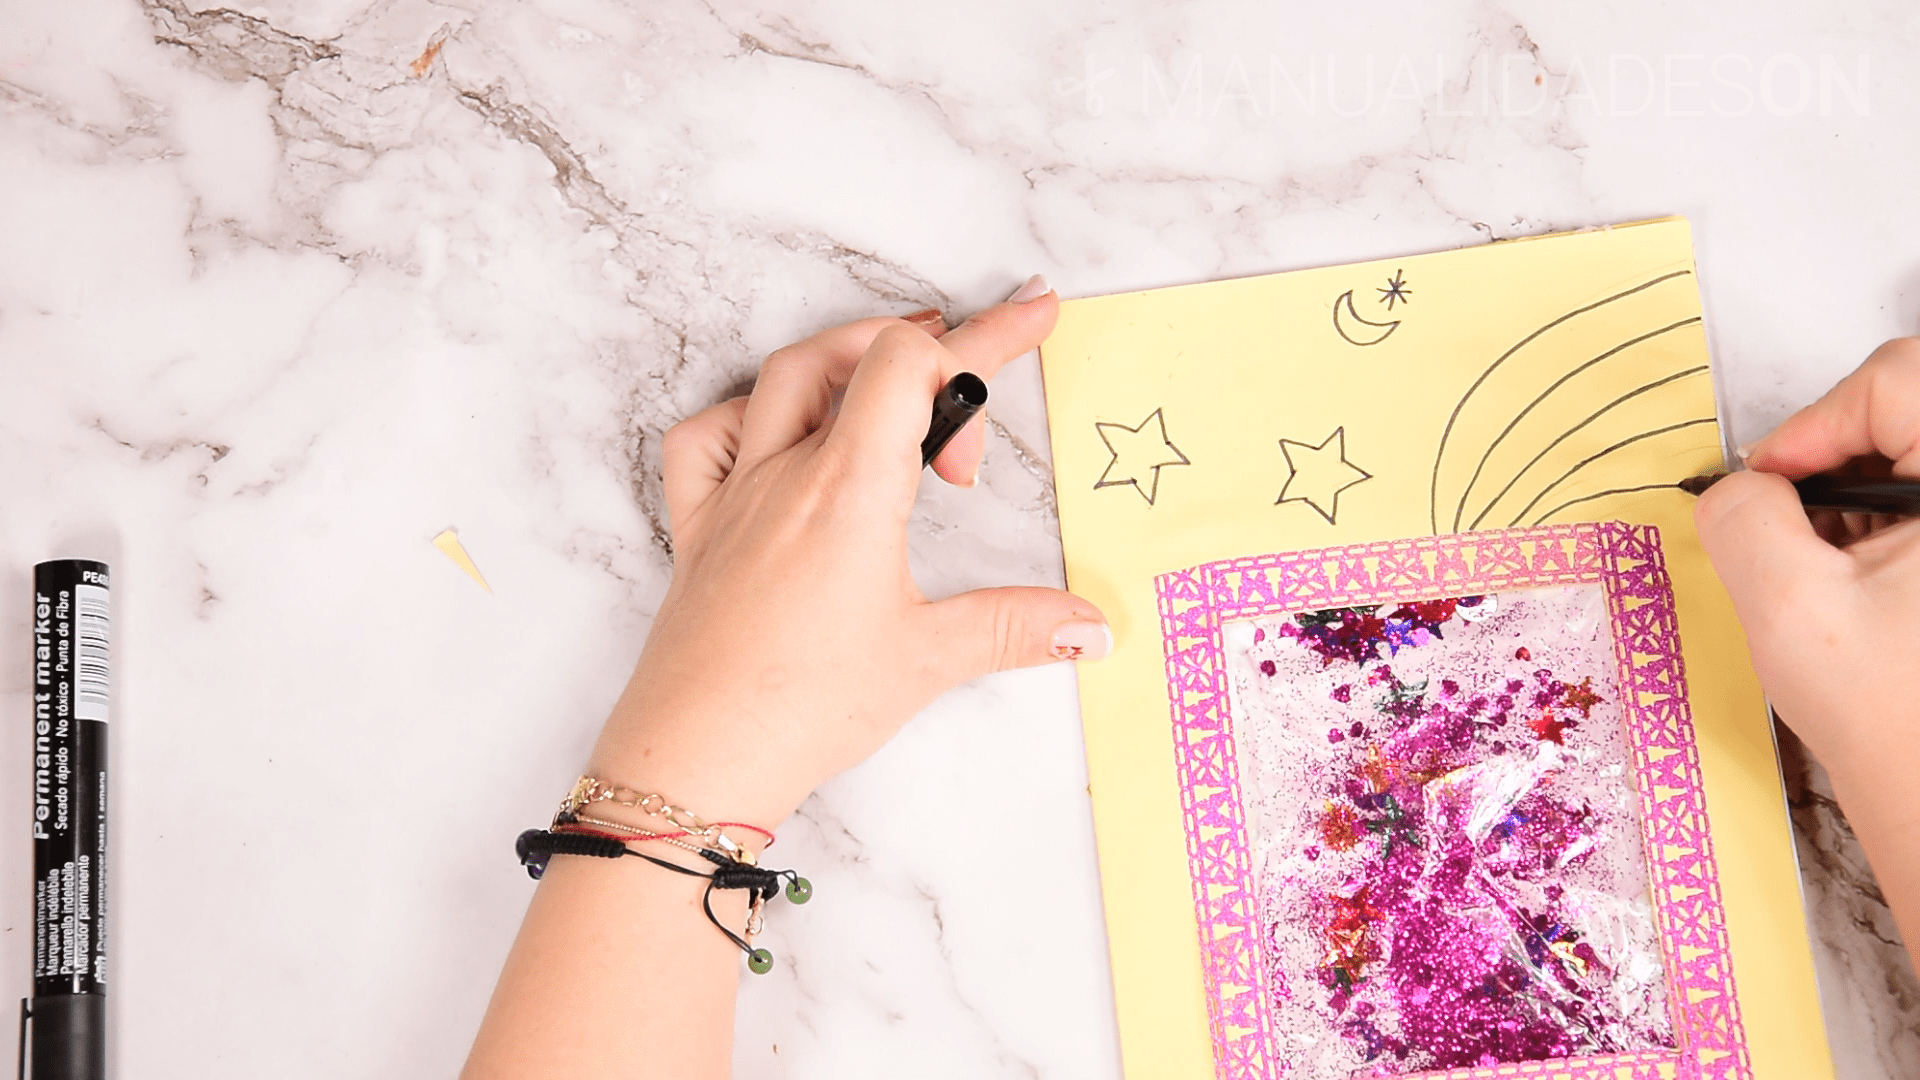
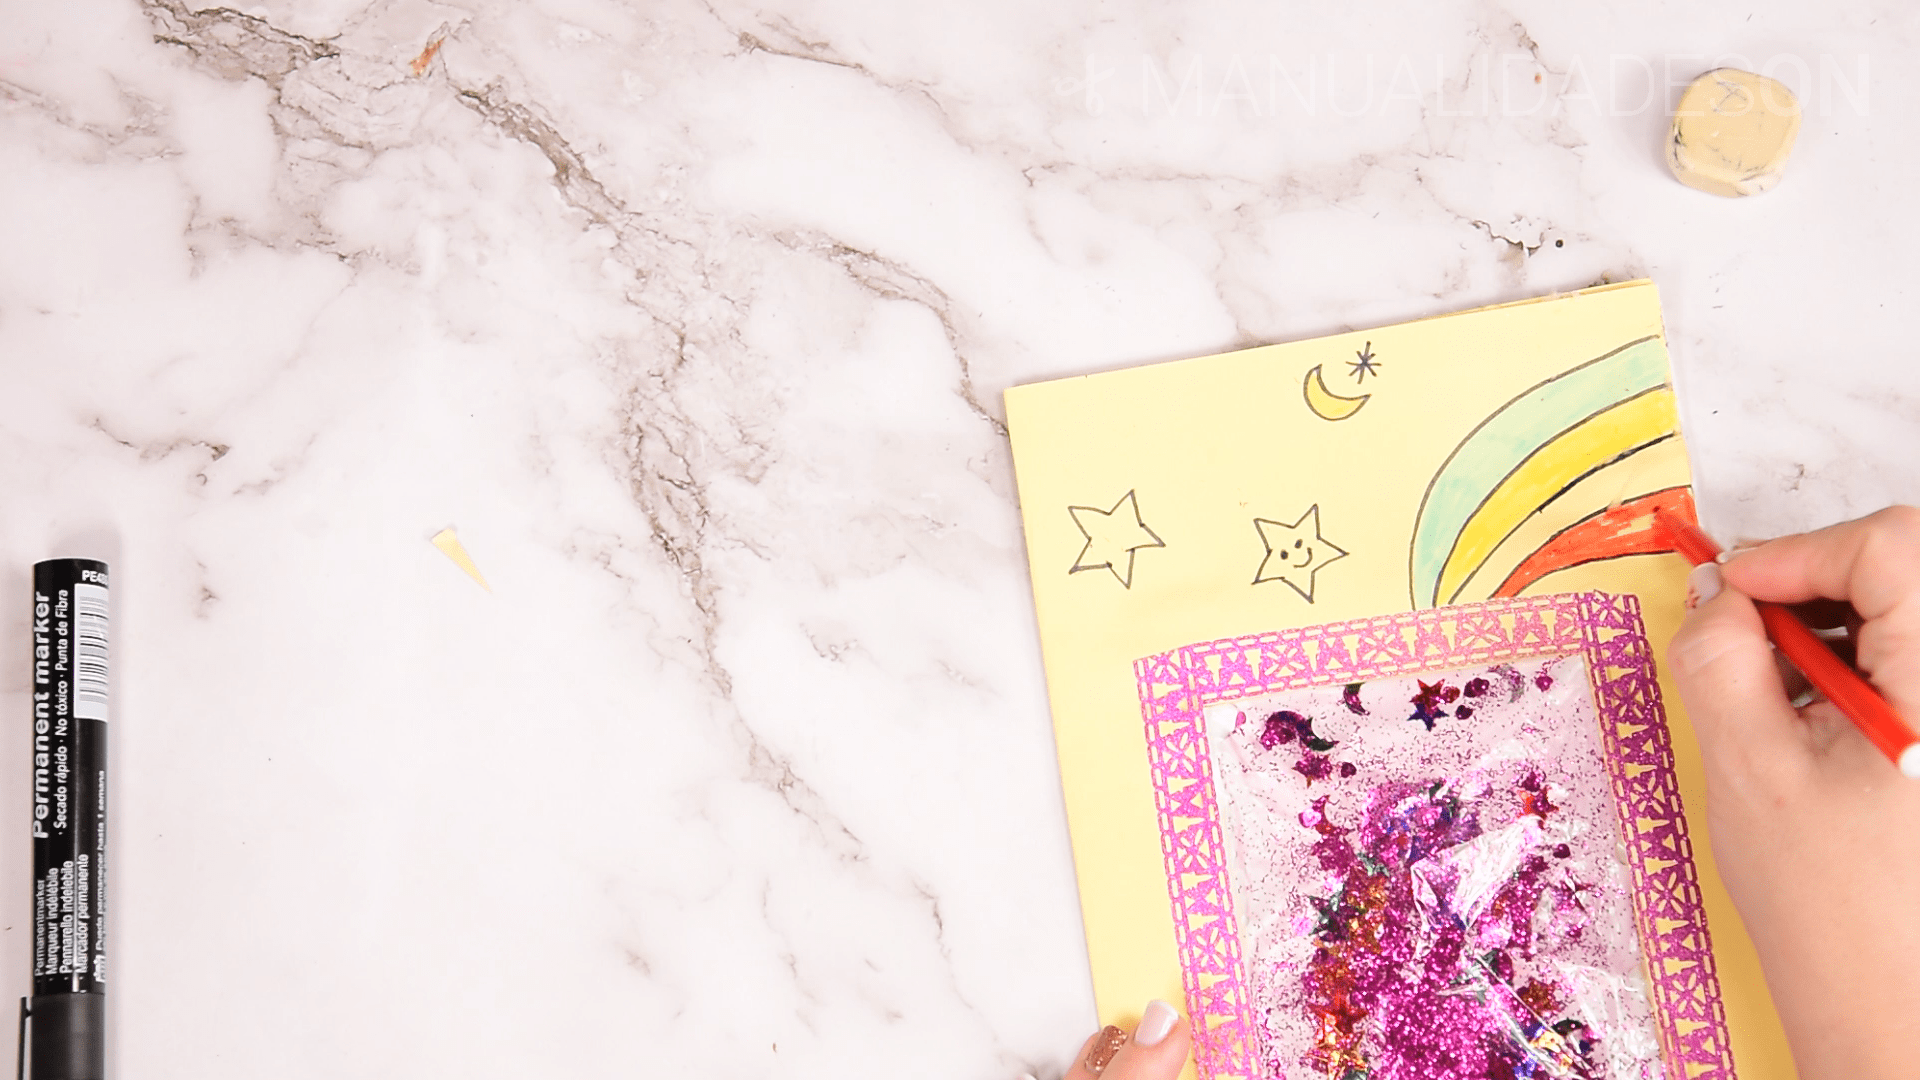
Step Six:
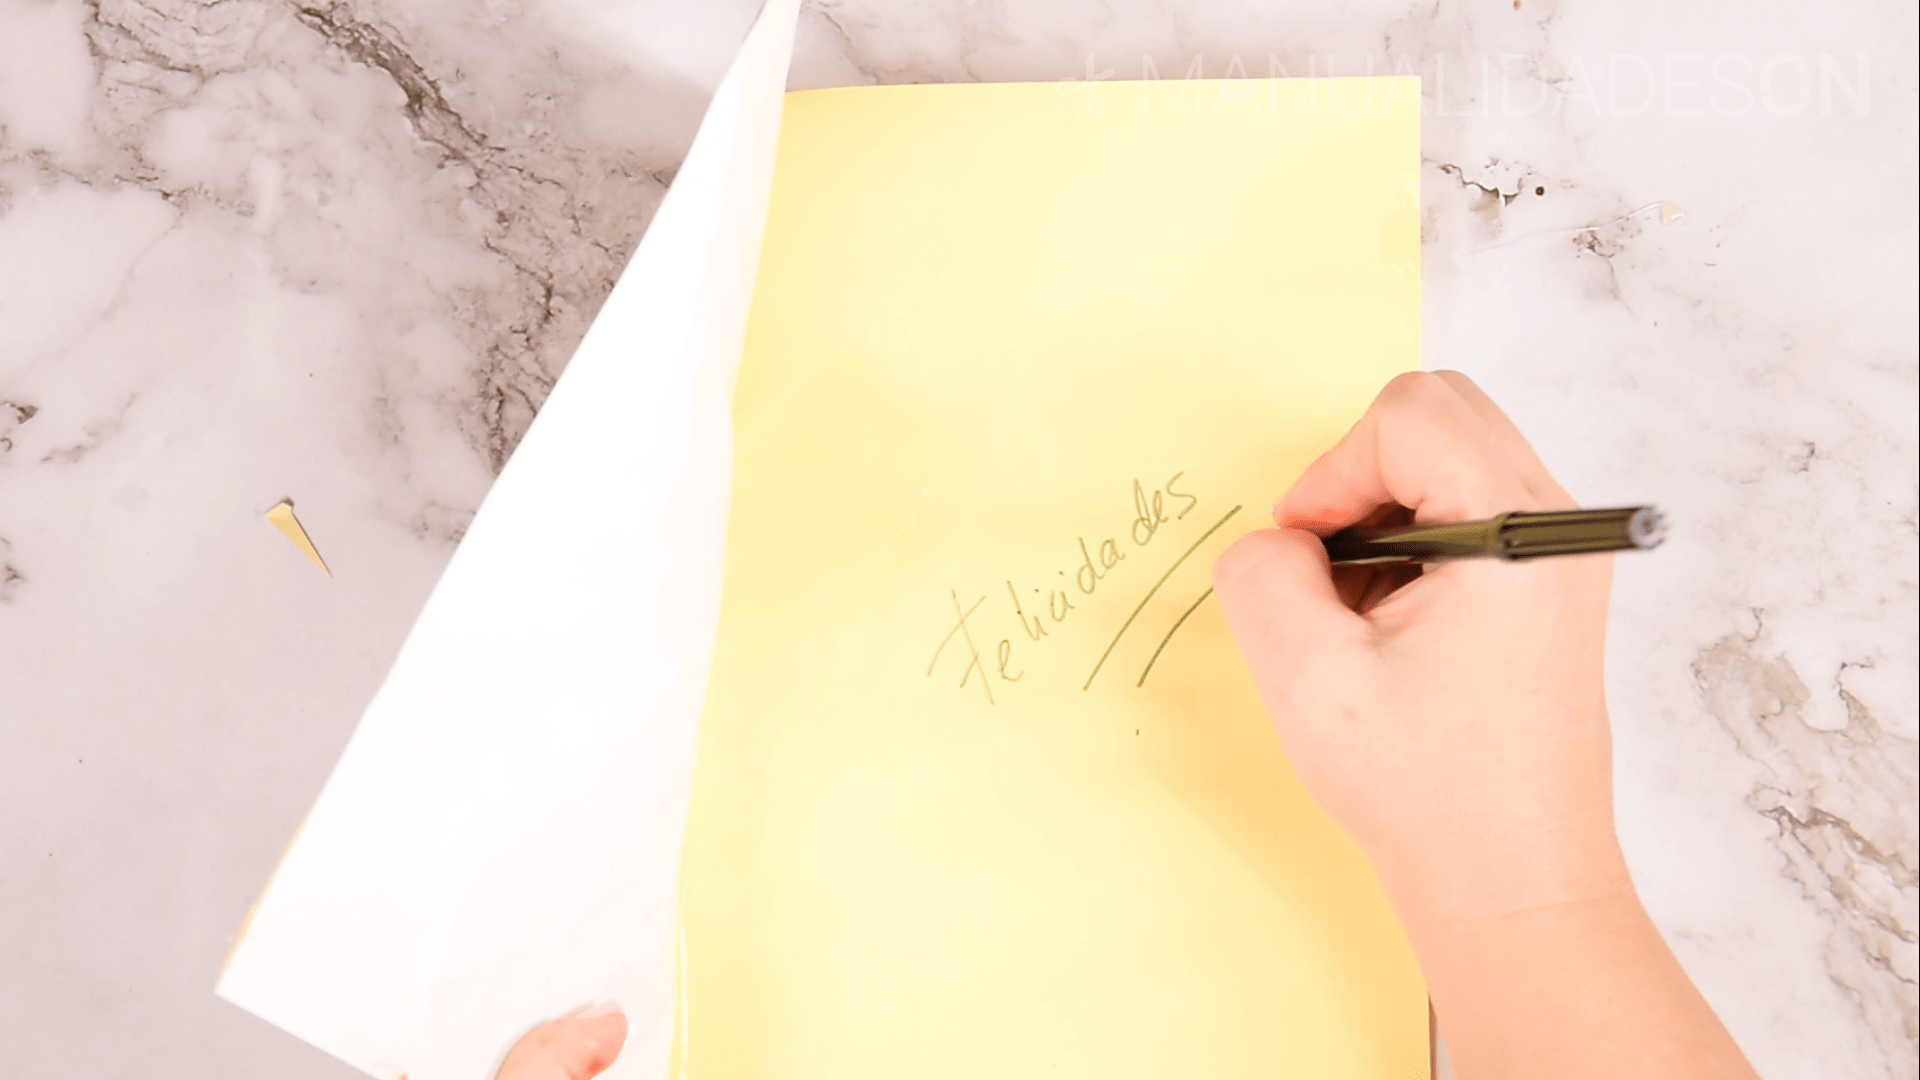
We draw the decorative elements of the card and with a pencil. In my case I have drawn some stars, a moon and a rainbow, then I have reviewed them with a black marker and finally I have colored it with markers. The card can be opened and on the inside you can write a greeting or any message.