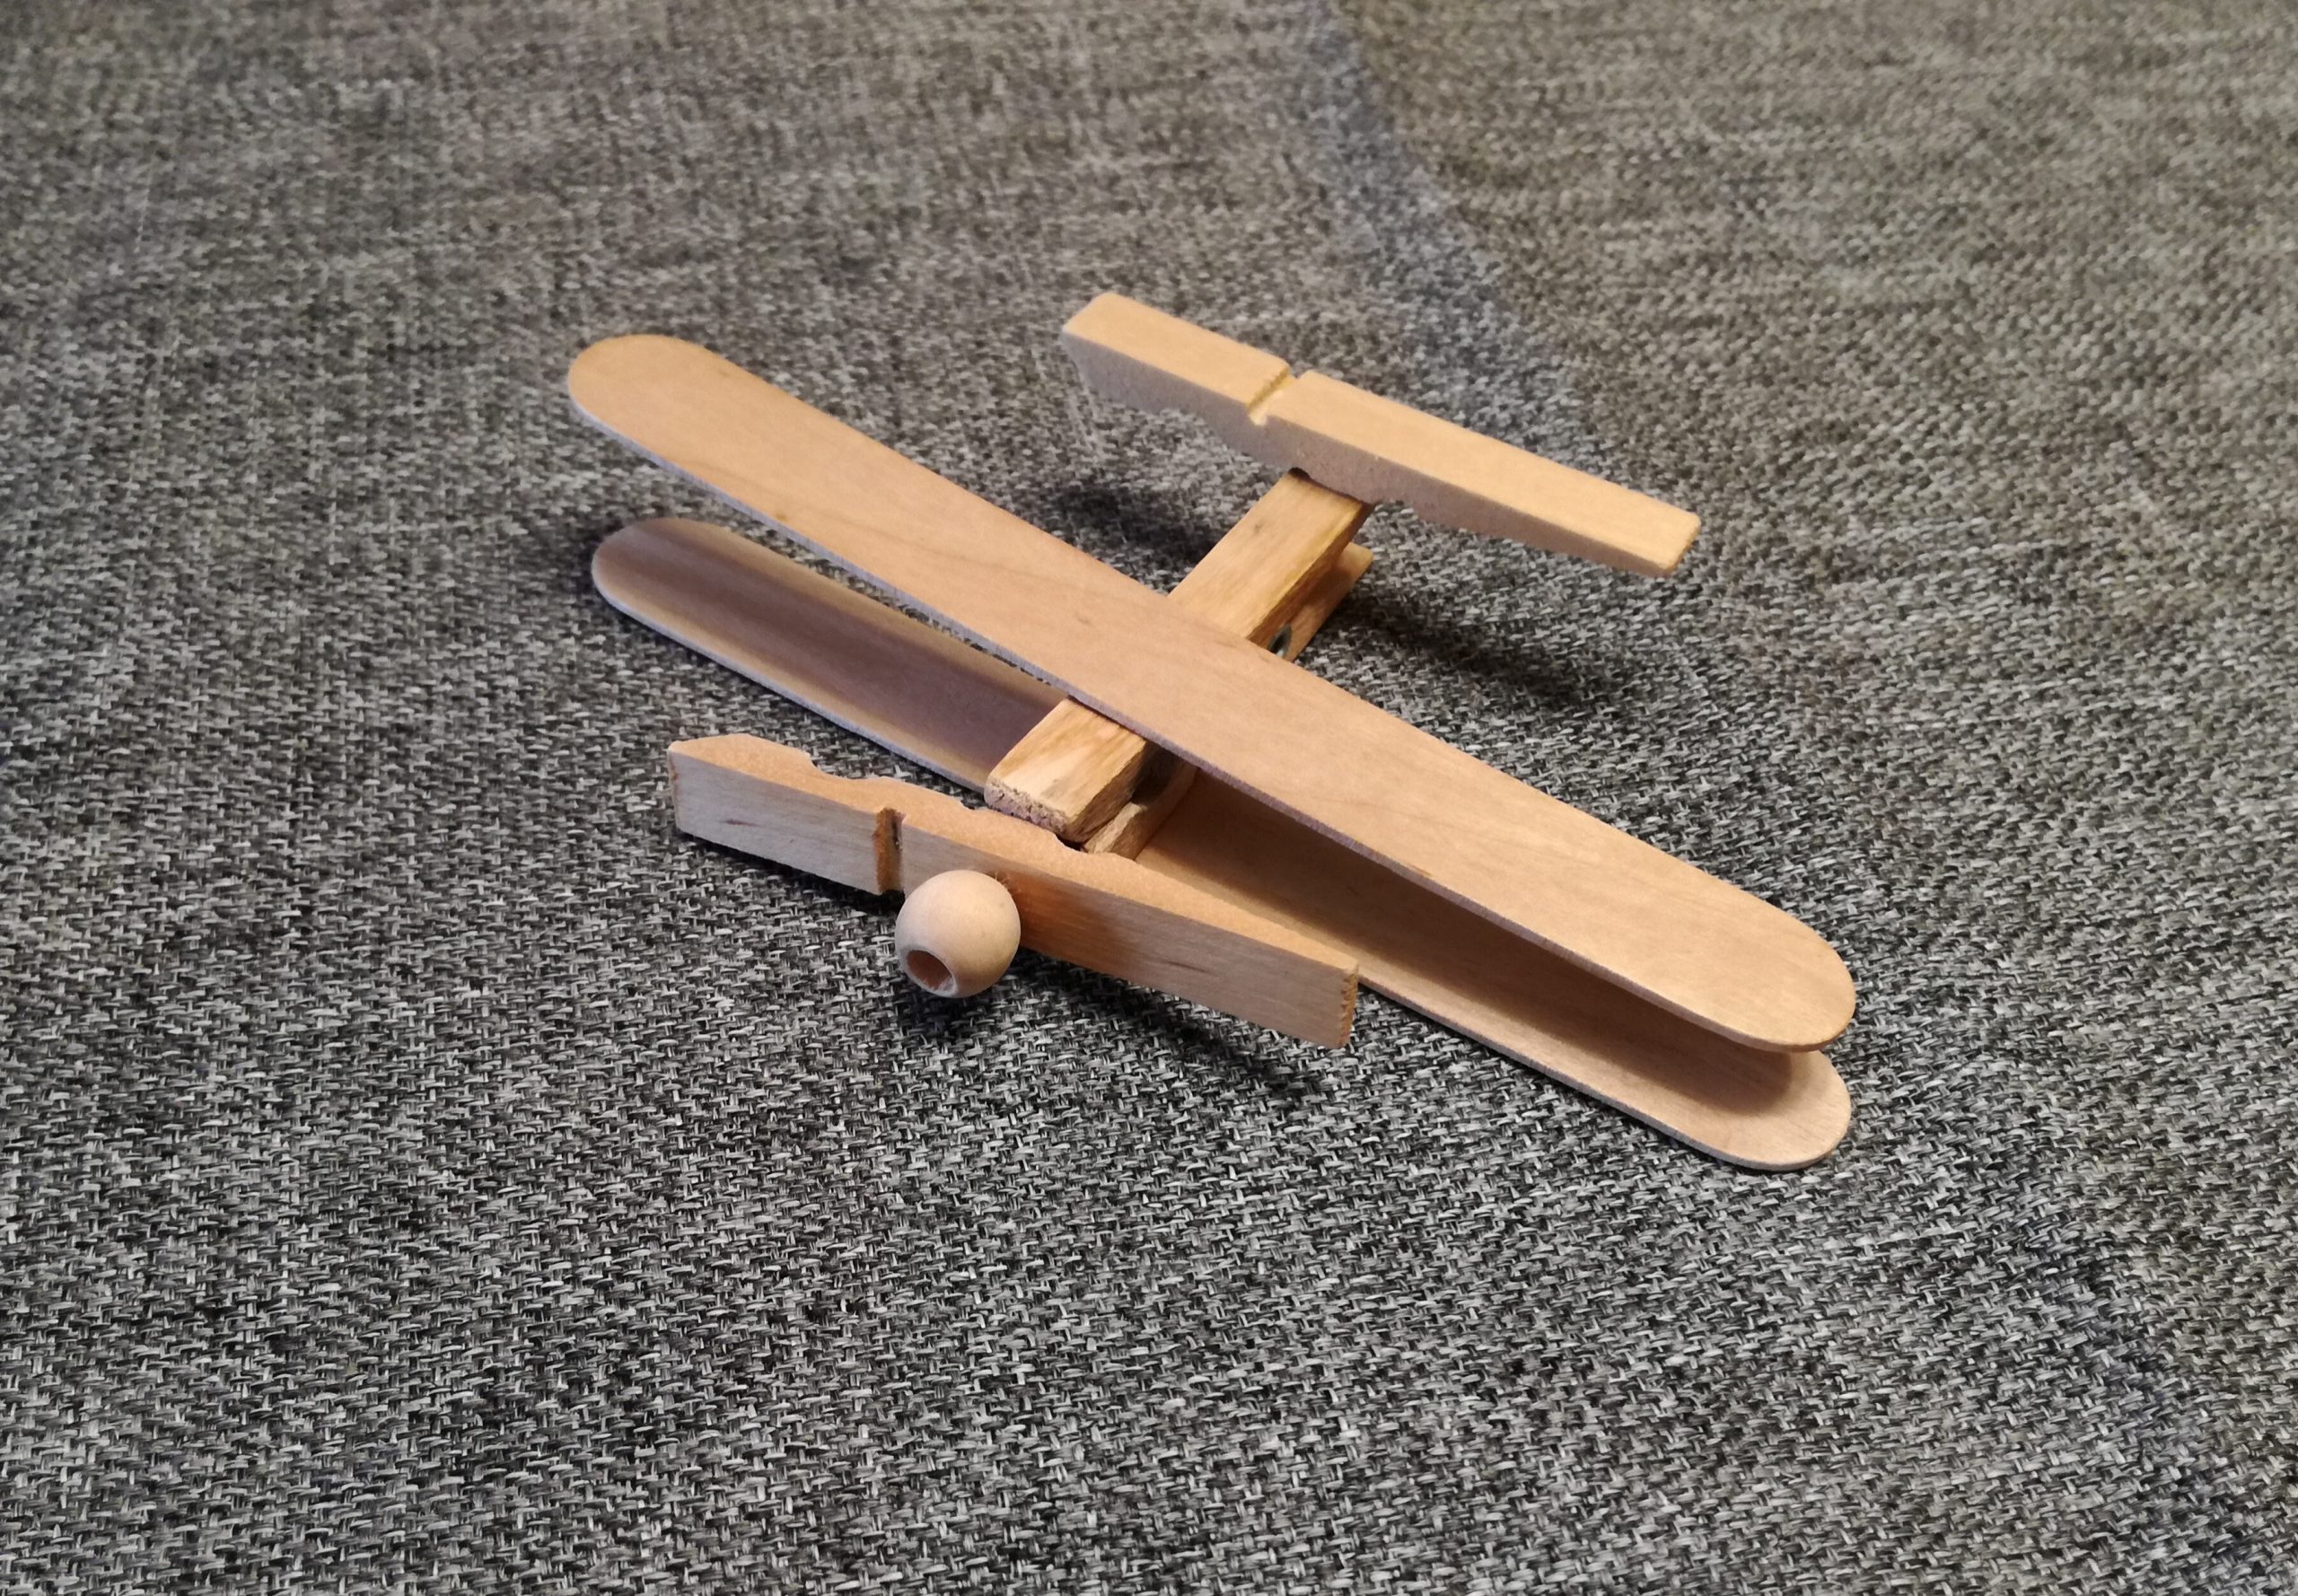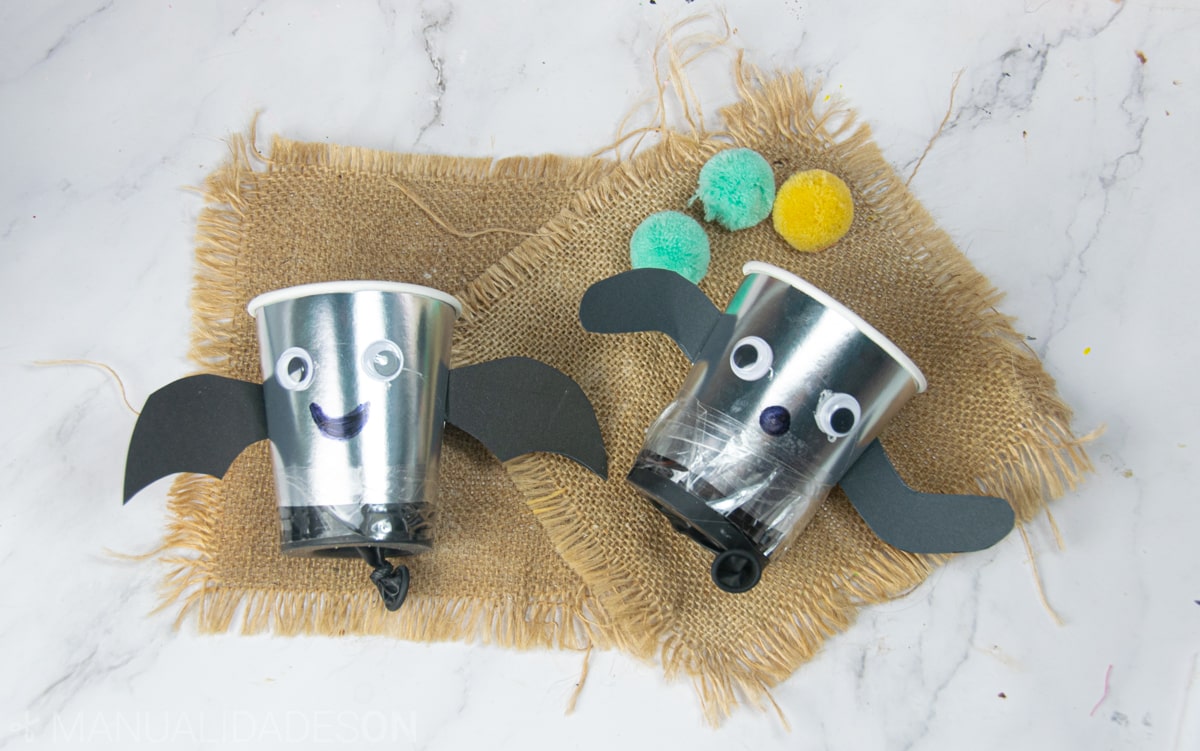
These types of crafts are great fun for the little ones in the house. Apart from making such a beautiful craft, we have a result that we like a lot, since its blades will be able to move to make it look like a real helicopter. You have to have on hand a colored glass, ice cream-type wooden sticks and cardboard. With glue and a few easy steps you will have this great idea.
If you like crafts made with glasses and sticks, we have a lot of ideas that you will like:


The materials that have been used for the helicopter:
- 1 blue glass.
- Red cardboard.
- 1 small piece of yellow sticker, otherwise yellow cardboard.
- 3 colored wooden sticks, otherwise they will be painted with acrylic paint of different colors.
- Little stars to decorate.
- 1 thin elastic band.
- 1 large wooden bead with a wide hole to put the rubber in.
- 2 round wooden sticks.
- Hot silicone and his gun.
- Pencil.
- Scissors.
- Cutter.
You can see this craft step by step in the following video:
First step:
In the glass we draw a circle freehand. Then we cut it with the cutter or scissors.
Second step:
We take the red cardboard and we will roll it up to make the shape of a cone. When we have it formed, we will help ourselves to keep the piece fixed with a little hot silicone. With the scissors we cut the excess parts and the upper part to make the shape of the cone.
Third step:
We put the cone in the hole that we have formed in the glass, so that the tail made of the helicopter remains. We fix the tail with a little hot silicone inside the glass.
Fourth step:
We cut a rectangle on the yellow sticker. If we do not have a sticker, we will do it on a yellow cardboard. We stick it in the glass, since it will make the shape of the window.
Fifth step:
With the help of a sharp stick or something similar, we make a hole in the upper part of the glass. We decorate the sides of the helicopter with the colored stars.
Step Six:
We put the rubber between the wooden bead. We put the rubber in the hole we have made. The bead has to be on the outside.
Seventh step:
We take a round stick and we put it between the ends of the rubber, at the top and bottom of the glass.
Eighth step:
We take the blades and glue them in the shape of a cross. We cover one of them with hot silicone and stick it on the stick at the top.
Nineth step:
We make two small blades that will go in the tail part. We paint them and when they are dry we glue them in the shape of a cross. We will decorate them with another little star. Then we put it in the final part of the tail of the helicopter.
Now we only have to test the helicopter. We rotate the stick below many times. Then we turn the top stick many times and when we release it, we can see how the blades turn.


