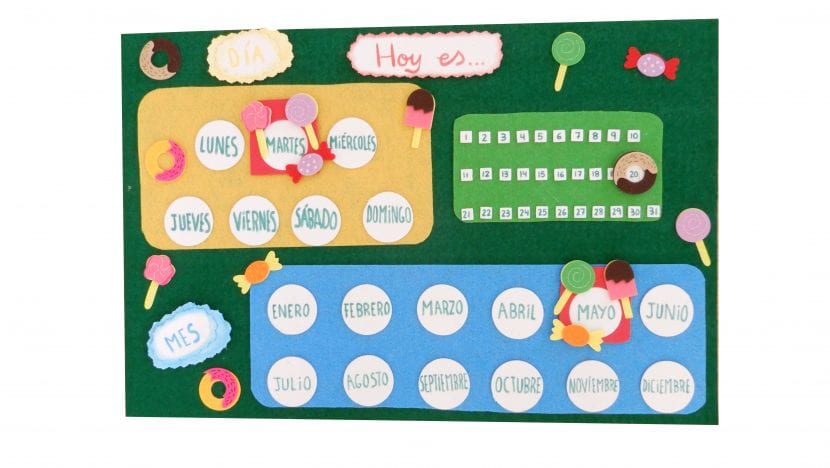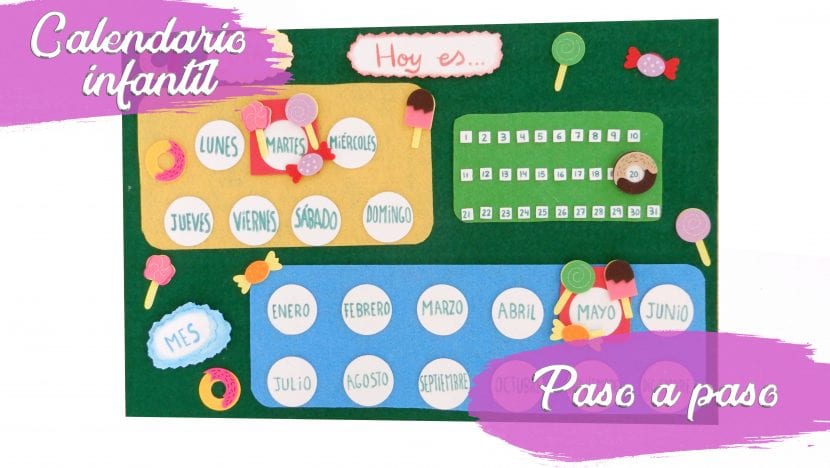
In this tutorial I teach you to create a children's calendar, perfect for the little ones to learn in a fun and creative way the days, weeks and months of the year. It's great to do in a class or in property for the children's room.
Materials
To make the children's calendar you will need the following materials:
- Rubber eva
- Felt fabric
- Markers
- Felt figures
- Circular drilling machine
- Square hole punch
- White glue
- Scissors
Step by step
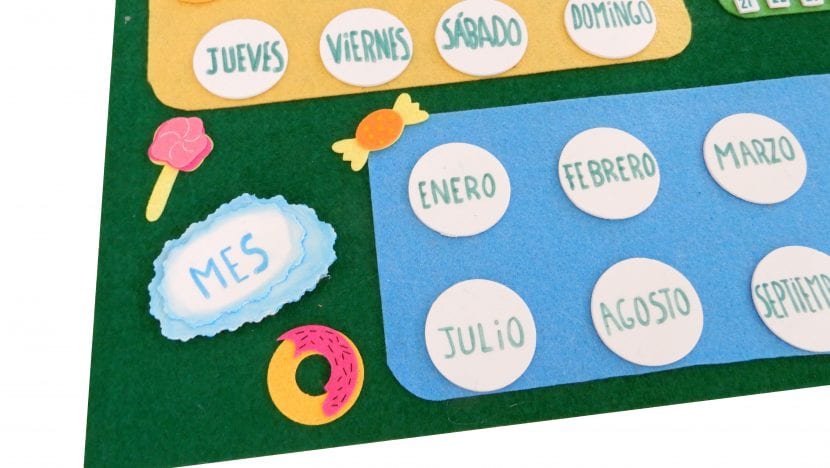
First, write the sections of the calendar on rubber: "Today is…"; "Month"; "Day". Then cut out the boundary with creative cutting scissors. You can glue several pieces of eva rubber to give costumes. After pasting them, with the felt pens paint the outline and blend it by rubbing it gently with a piece of eva rubber. Stick them on the towel foam rubber.

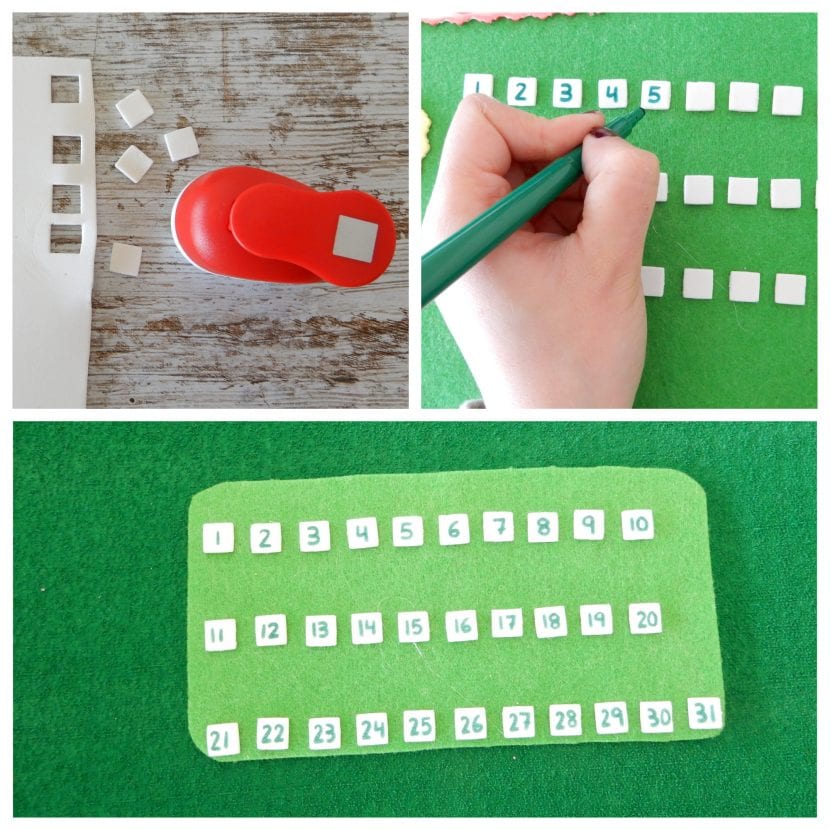
With the square hole punch punch 31 eva rubber squares for the days of the month. Write the number for each day on the squares and glue them on a felt rectangle.
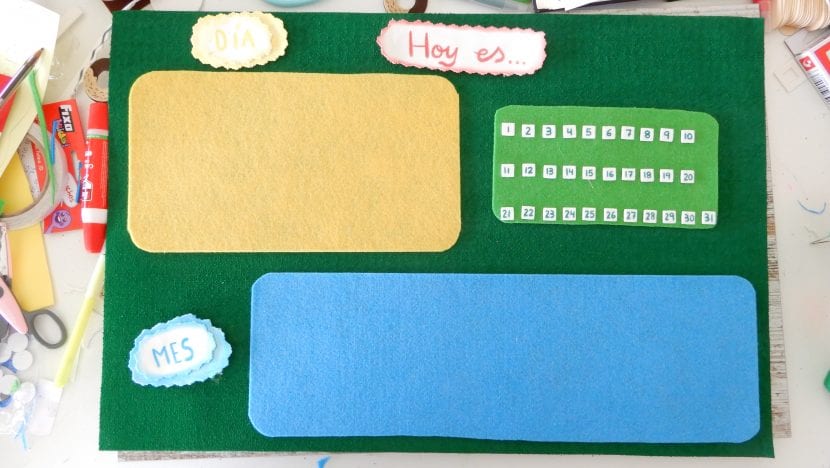
Then create different spaces with the rectangles of felt. One will be for the days of the month, another for the days of the week and another for the months.
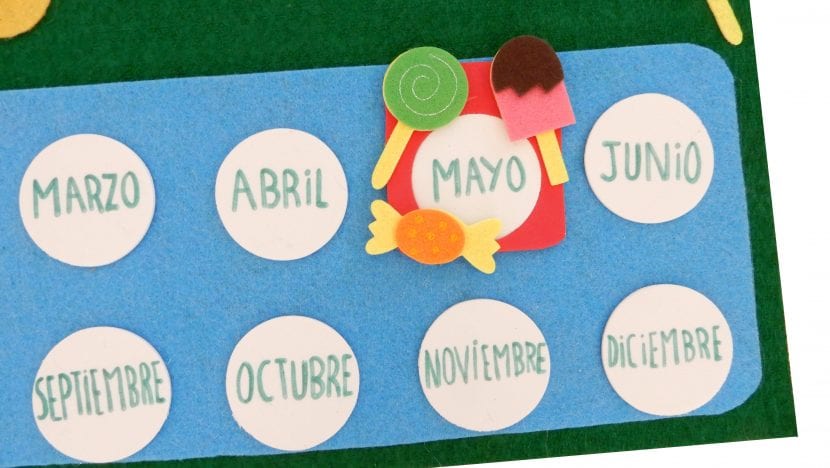
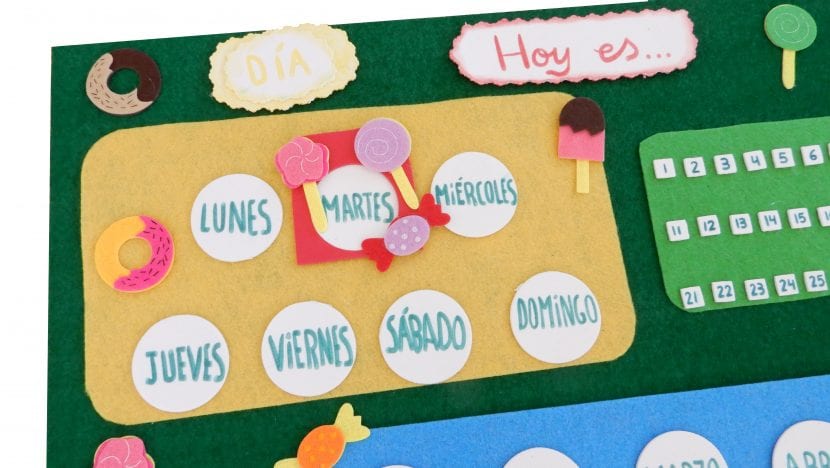
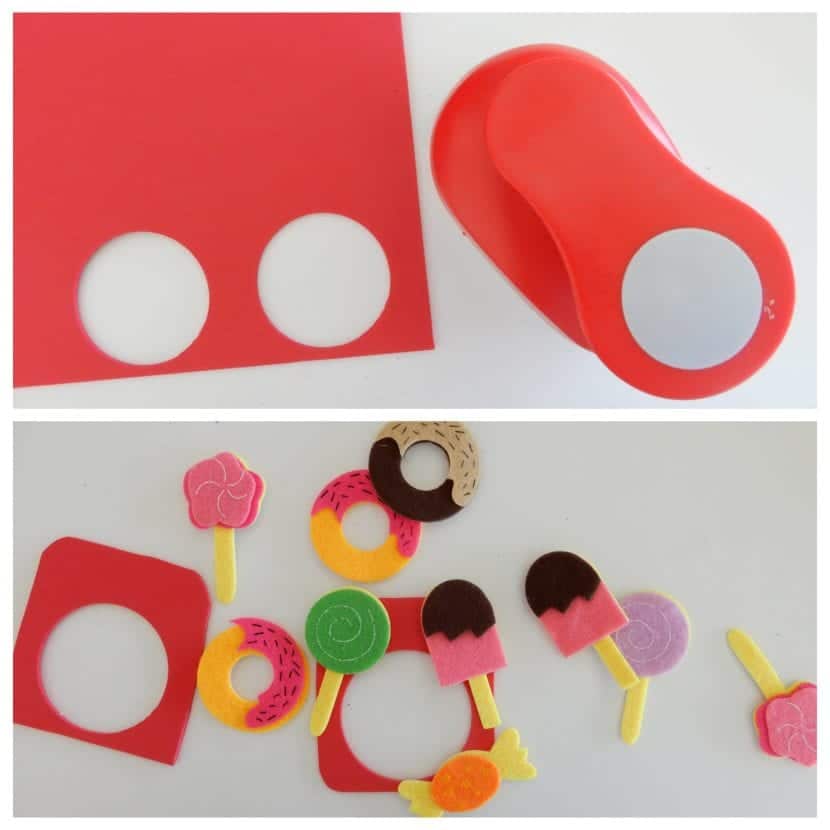
Now drill eva rubber circles with the punch for the days of the week and for the months of the year. Write each day and month inside and glue them on their corresponding felt rectangle.

At this point, pierce with the same drill eva rubber of another color, but this time you will only need the boundary instead of the circle. This will act as a frame to mark the day and month where we are. Decorate it by hitting it felt figures. You can then do the same with the square hole punch to mark what day it is.
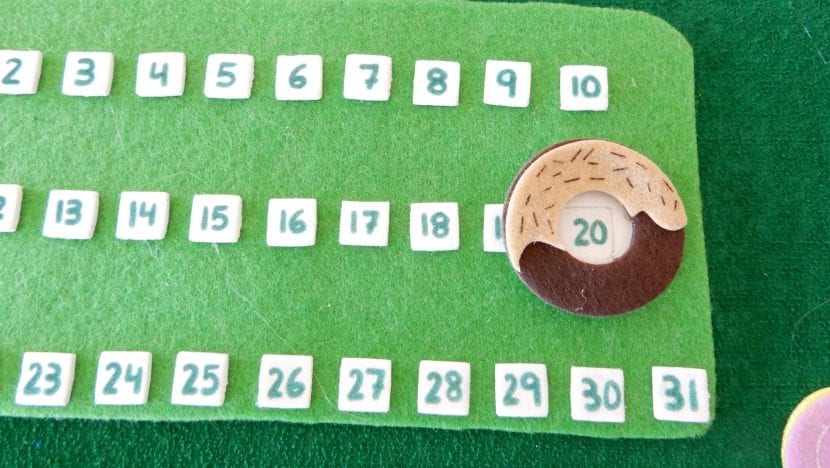
And you will have finished your children's calendar. Remember that you have many decoration options with silhouettes different. As you can see, I have done it with a candy theme, but it would also look great with silhouettes of animals, flowers, weather conditions ...