
Very endearing is the protagonist of the movie Nemo. I have made this figure with the little ones and they have loved it. So in this tutorial you will learn how to make a Nemo out of Fimo or polymer clay, so that you can have a good time with the children, or in case you also like this little fish.
Colors you will need
The colors you will need to create the Nemo from Fimo or polymer clay are as follows:
- Orange
- Blanco
- Black
Step by step
Start with Nemo's body.
Take an orange ball and create a drop with it, rolling only one side of the ball with the side of the palm of your hand. You will see how it stretches only at that end creating a drop shape.

With a modeling tool, or even by cutting a drinking straw, you can make the shape of the mouth.

Follow by the eyes. It seems funnier to me if it has them big and bulging.
Make two white balls, flatten them very little and stick them on the face.
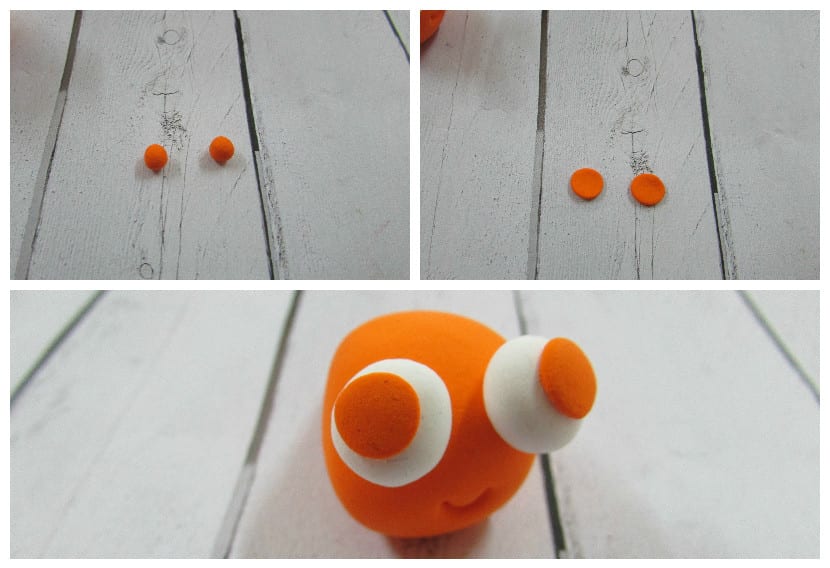
With two other smaller orange balls, do the same, but squashing them more than the previous ones.

Now put the pupils in the same way.
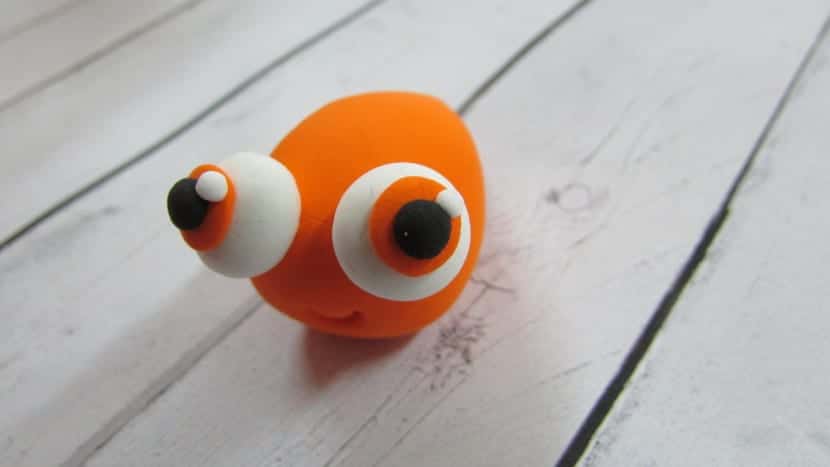
And with two very small white balls you can simulate the brightness of the eyes.
Now create the body lines.
Create a black churro, flatten it and glue it around the body.
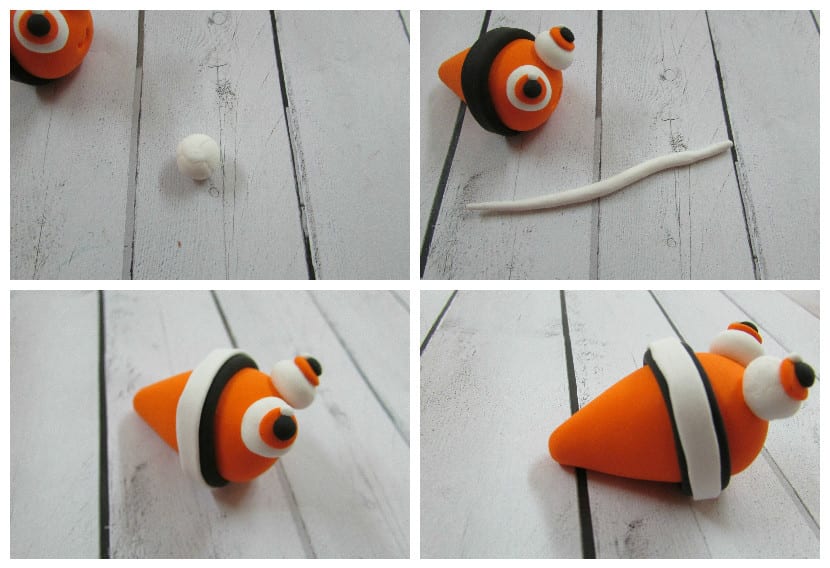
Create another blank churro and do the same, pasting it over the black line you just made.
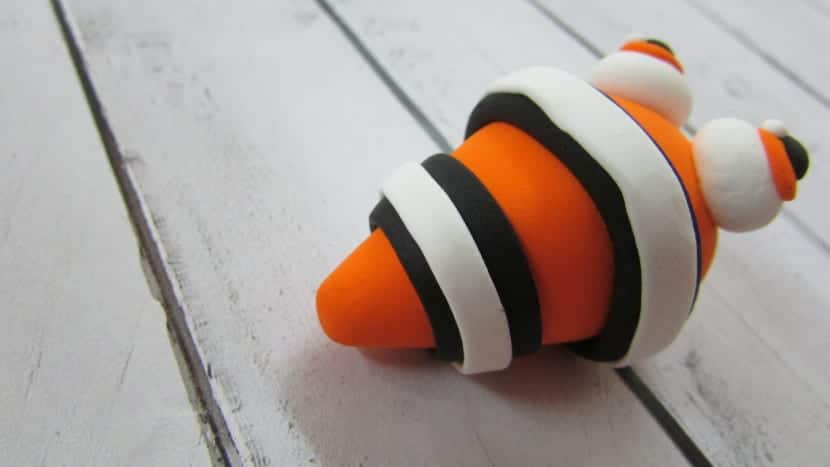
Repeat the same procedure for the other line.
The fins are missing. Start at the top.
Create an orange ball, roll it back and forth a little to create an oval. Flatten it and mark a few lines with the knife.
To stick it, I recommend that you make a line on the upper part of the body to make it look better.

Create the side flaps.

From a ball, mold a drop, which as I have already explained, you can form it by rolling the ball on the side. Then flatten it, scratch it with the knife, and place it on one side of Nemo.
If we remember the movie, Nemo was born with a malformation in his fins and he had one smaller than the other. Do the same procedure but with a smaller piece of clay.

And this will be the result.

