
Surely there are many among our readers minions movie fans and its predecessors Gru my favorite villain and Gru my favorite villain 2. And, those small and naive characters have stolen the hearts of more than one and have followers all over the planet. (I include myself among them).
Therefore, today's tutorial, we want to dedicate it to those fans who will surely be delighted with this DIY. In it, you will learn how to make a fantastic figurine of an endearing and charming minion.
Material
- Polymer clay (Fimo, Sculpey, Premo, etc.)
- Cutter.
- A bottle or a glass to smooth polymer clay.
- Oven.
- A toothpick
Our Process
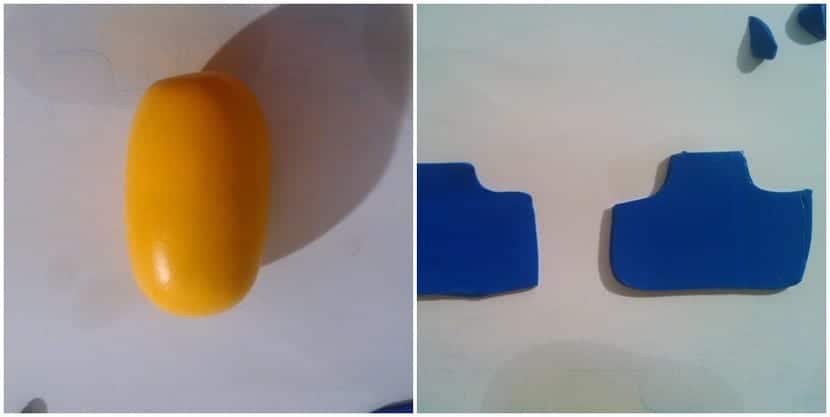
We will need polymer clay of all the colors of the minion. The base of the minion is yellow, therefore, we will start with this color making a cylinder with rounded tips.
Then we will smooth a piece of polymer clay of blue color and we will cut the shape of the breastplate on it, in two pieces that we will later join on the minion.
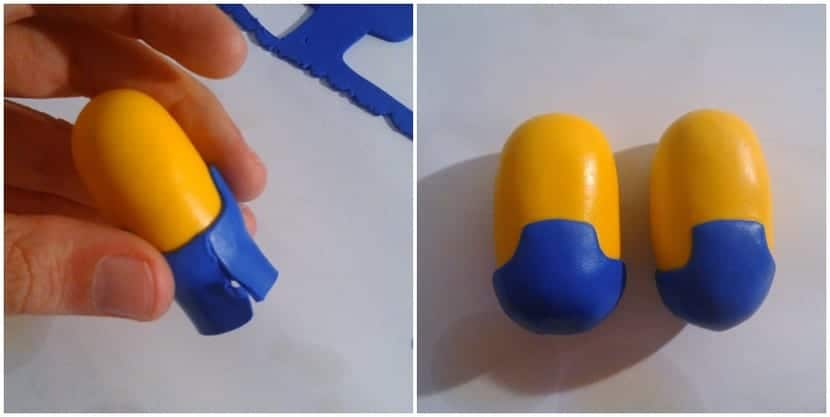
We will put both parts of the bib on the bottom of the base of the minion and we will smooth and cut the excess until it is the same in front and behind.

Then, we will make two cylinders in yellow that will be the arms and hands in black and we will put them on the minion.
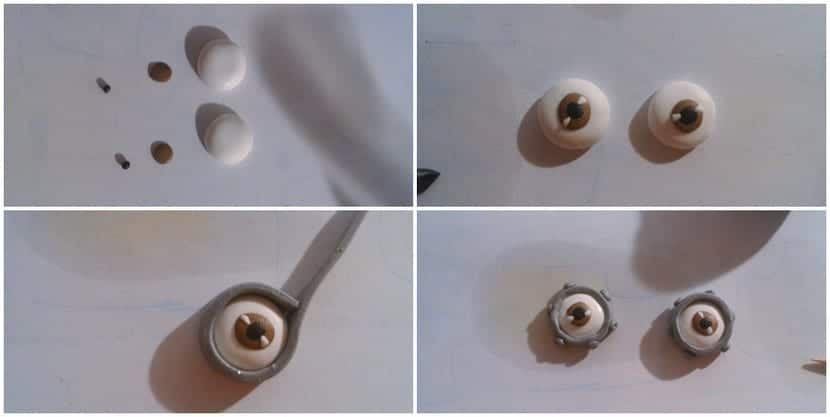
Then we will make the minion eyes. To make them, we will need a white ball, a smaller brown one and an even smaller black one. We will superimpose them all one on top of the other and we will add a few pieces of white as if they were the reflection of the sun.
Then We will make the metal ring with a silver colored strip and we will add the screws that will be small balls punctured on the silver ring with a toothpick.
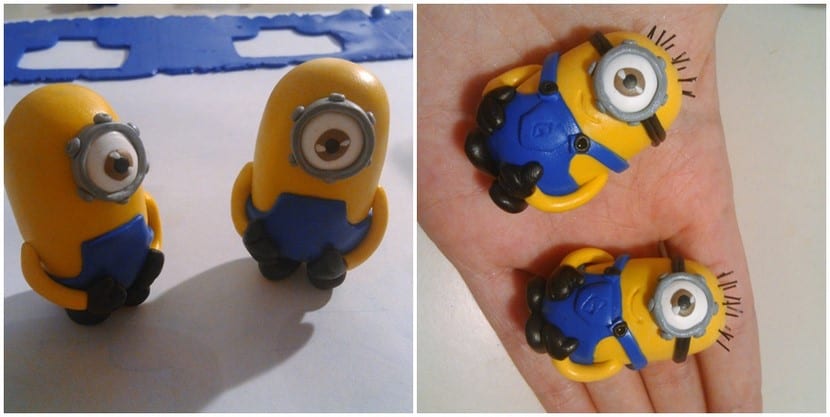
Lastly, We will put the details that the minion is missing such as the black ribbon that holds the minion's visor, the hair (to our liking), the ribbons of the bib, the pocket, the feet and with the toothpick we will draw a smile.
Remember that, for it to harden, you will have to put it in the oven for 20 minutes at 130º.
I hope you liked it and it is useful to you.
Until next time DIY