
Image | Pixabay
Eva rubber is one of the most versatile materials when it comes to making crafts. With it you can make countless crafts, such as beautiful brooches with which to decorate your bags, jackets, backpacks and others.
Without much effort and a good dose of imagination, you will be able to obtain some beautiful brooches that will cause a sensation. In addition, they are a great option to give away as a small detail. So do not hesitate, if you feel like trying to make some beautiful brooches, I recommend that you take a look at the following ideas to learn how to how to make easy and fun rubber snaps. Take note and let's get started!
DIY: Flamenco brooch with eva rubber
A very nice brooch with which you can decorate your clothes or those of your children is this flamenco model. It also looks great on school supplies like backpacks, pencil cases, and other items. The materials to make this craft are very easy to get and the price is not expensive. Let's see next what things you will need to make this flamenco brooch with eva rubber.
Materials to make eva rubber brooches
- Colored eva rubber (red, skin color, black and white)
- Permanent marker
- Silicone
- Pin
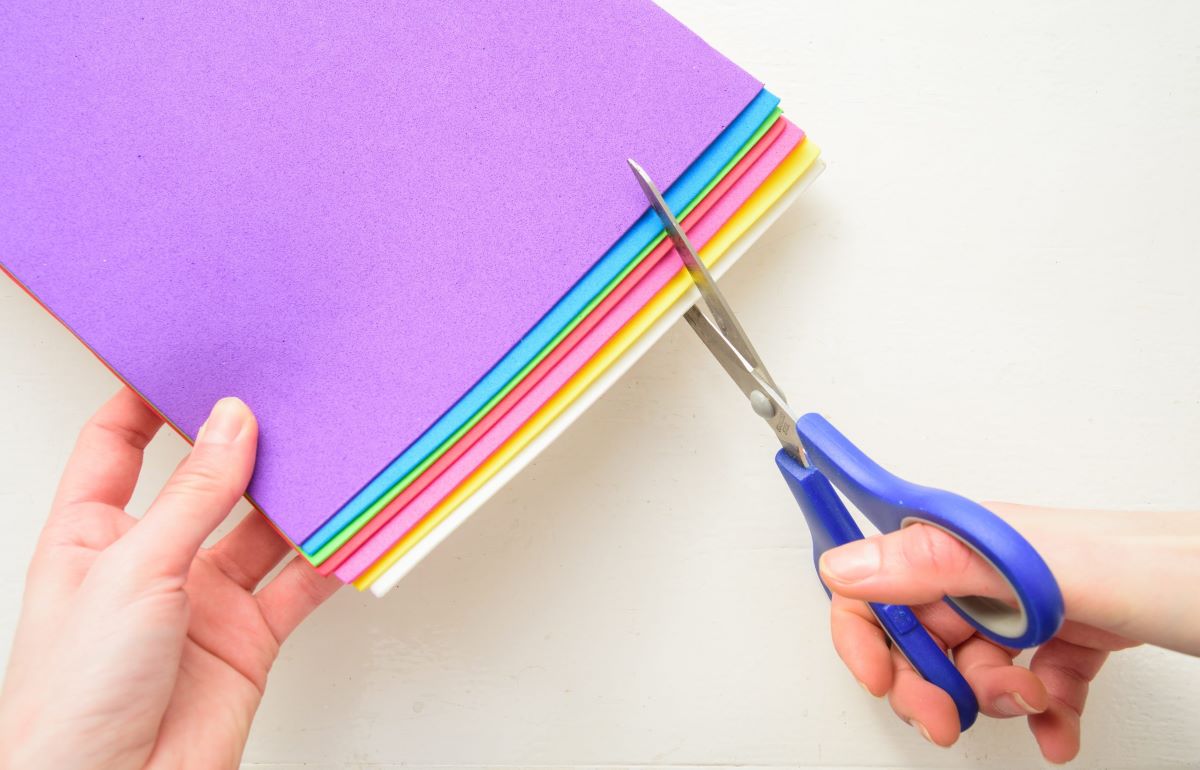
- Scissors
- An unmissable
Steps to make the flamenco eva rubber brooch
- To start making this craft, the first step will be to draw the different parts of the flamenco on the different sheets of eva rubber.
- Then you will have to cut out the pieces carefully to form the face of the doll.
- Once you have cut them with the help of scissors, you will have to fit the different pieces together and glue them with silicone. To them we must add the comb and the flamenco mole.
- After assembling the pieces and waiting for them to dry, the last step you will have to take is to glue the safety pin on the back. That easy!
eva rubber clown
Image| Don't Waste Your Money
Another fun model to learn how to make brooches with eva rubber is this clown. Like the previous design, it is also very easy to make and the materials are readily available. This model looks great in children's school supplies or as a decorative element for children's parties. Do you like the idea? Let's see the things you will need to get to make this clown brooch.
Materials to make eva rubber brooches
- Colored eva rubber
- Scissors
- Glue
- Permanent markers
- Red pompoms
- Crafts Eyes
- Eva rubber punches
- An unmissable
Steps to make the eva rubber clown brooch
- The first step you will have to do is the clown's face. To do this you will have to draw a circle on the flesh-colored eva rubber.
- Later you have to draw with a pencil on another piece of eva rubber the lower contour in the shape of a smile.
- Then cut out the smiley piece and glue it onto the clown's face. Once both pieces have dried, use a red permanent marker to draw in the details of the mouth.
- Then take a small red pompom and glue it to the face as well to create the clown's nose.
- As a next step, take the mobile craft eyes to paste them on the face and thus shape the clown's face.
- Later it will be time to make the clown's hair. Use the eva flower hole punch to achieve a wavy effect as if it were curly hair. When you have all the pieces, glue them little by little behind the doll's face.
- You can leave the brooch like this or if you wish, you can add a top hat. To do this, draw a little hat on a black eva rubber and use some glitter eva rubber as a bow to decorate. Join them with glue and finally glue them on the head of the clown.
- Finally, put a safety pin on the back of the clown and you will have your brooch ready.
Santa Claus brooch for Christmas
This model is great for decorating your clothes or accessories during the Christmas season. If you love these decorative motifs and would like to give a different touch to your things, then you will learn how to make eva foam brooches in the shape of Papai Noel. Let's look at the materials you'll need to gather to make this craft.
Materials to make eva rubber brooches
- Colored eva rubber
- Permanent markers
- Eva rubber punches
- Mobile eyes
- Scissors
- Cookie cutters
- Glue
- A cotton swab and a skewer stick or punch
- Blush or eyeshadow
- Pipe cleaner
Steps to make the Santa Claus eva rubber brooch
- When making the Santa Claus brooch, the first step you will have to take is to draw the shape of a circle and the petals of a flower on two pieces of skin-colored and white eva rubber for the face and beard of the character. You can do it by hand or with the help of some tool.
- Once you've cut out the shapes, use glue to glue the white piece onto the flesh-colored piece to assemble the character's face.
- The next step will be to create the famous Santa Claus hat. To do this you will need to draw the different parts of the hat on the red and white eva rubber. Then glue the white part on the red one and put the white pompom at the end of the hat. Finally, place it on the doll's head.
- The last part of creating the Santa Claus pin is designing the face. He draws the doll's mustache and nose on the eva rubber and then sticks them on the face along with the mobile eyes.
- Next, use a cotton swab and some blush to give Santa's cheeks a rosy touch.
- Finally, paint some eyelashes next to the moving eyes and cut two small pieces of a white paper cleaner to make the character's eyebrows. She glues them together and adds the safety pin on the back to pin it wherever you want. Already done!