
Image| _Alicja_ via Pixabay
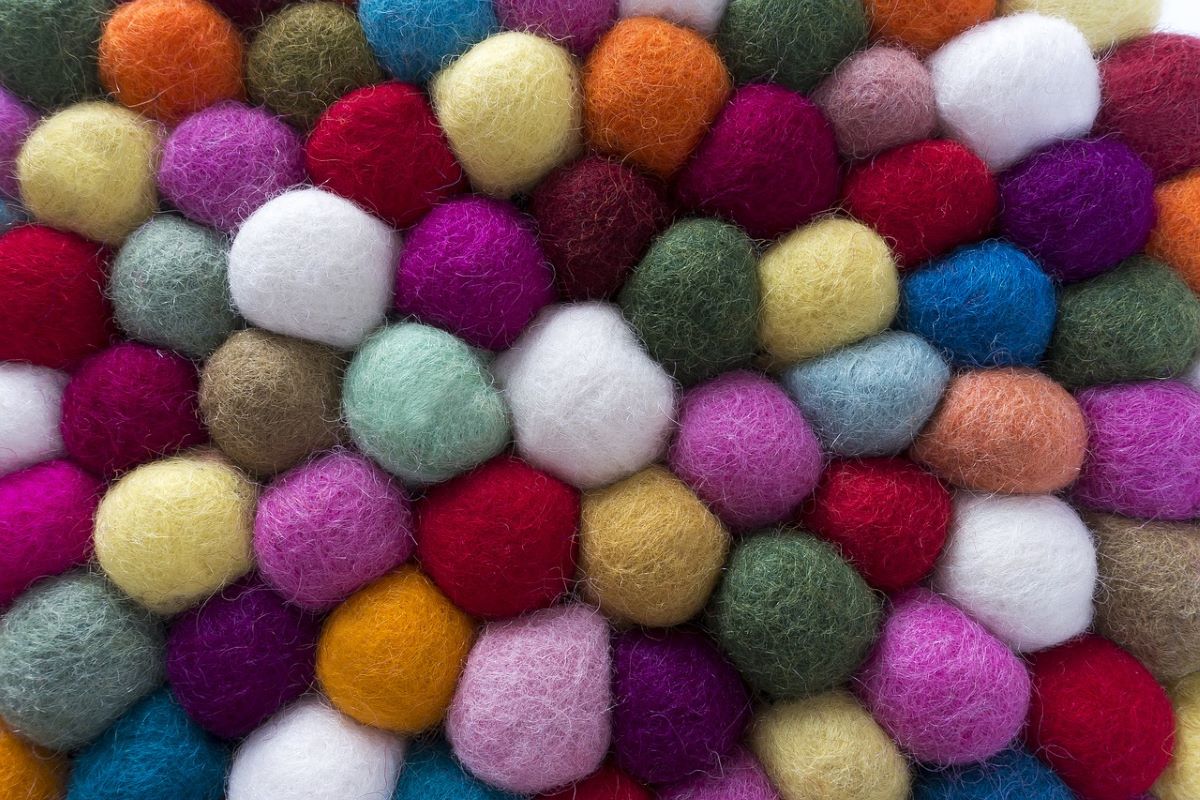
If you feel like making a new craft whose materials are easy to find, cheap and give a fantastic result, I recommend that you consider felt as a base element. It is a very versatile material for making crafts as it has a rigid texture that makes it very easy to handle, especially when cutting the felt or sewing it. Especially if we compare it with the fabric.
One of the crafts that I advise you to do using felt are some pretty brooches with which to decorate our clothes or accessories. A felt brooch will give a unique and original touch to your outfits! Do not hesitate and if you want to try to make a different craft, stay because in this post we will discover how to make felt brooches. Let's go there!
Materials to learn how to make felt brooches
As we said, felt is a great material for crafts. Not only because of its grateful texture for this type of work, but also because it can be found in various types of colors, so you will have the possibility to choose the one you want to create all kinds of figures.
So, the basic material for this craft will be felt of different colors. Also some scissors, markers, pins, wadding, needle and thread.
Steps to learn how to make felt brooches
Image| Stefan Schweihofer via Pixabay
- When learning how to make felt brooches, the first thing you will have to do is choose the model of the brooch that you are going to make: human, animal, floral, abstract, etc. You can find templates for the brooches with a quick search on the internet, although if you have enough time you may want to draw your own design if you have a very specific idea in mind.
- Then, choose the sheets of felt that you are going to use to make the brooch. If you combine the different colors with each other you will get a unique and personalized model.
- Next, take a sheet of felt and with a marker create your template. For sheets of light tones use a dark marker and for sheets of dark tones use a white marker where the lines can be seen well.
- To make felt brooches you can go for a simple shape (i.e. flat) or stuffed. If you choose this last type, you will have to draw the templates on the felt in duplicate in order to sew the two pieces together and fill them with wadding.
- When you have finished drawing all the parts of the figure, grab a pair of scissors and cut out all the pieces.
- To join them together you can use glue or sew them with a needle and thread. The method depends on how you prefer to see the end result. If the brooch has a lot of details, it is best to go with glue as it could be very difficult to sew.
- Let the pieces dry and when they are well attached it will be time to add the pin to the brooch. It does not matter if it is a flat model as a filler because with the brooch you will be able to attach it to your clothes or to your accessories. To do this step you can either sew it or stick it with glue.
- And ready! In a few steps you will have learned how to make felt brooches with your own hands. If you are a beginner, I advise you to choose a simple model while if you have a little experience with these crafts, do not hesitate and choose a more complicated model. You will enjoy every detail of the procedure!
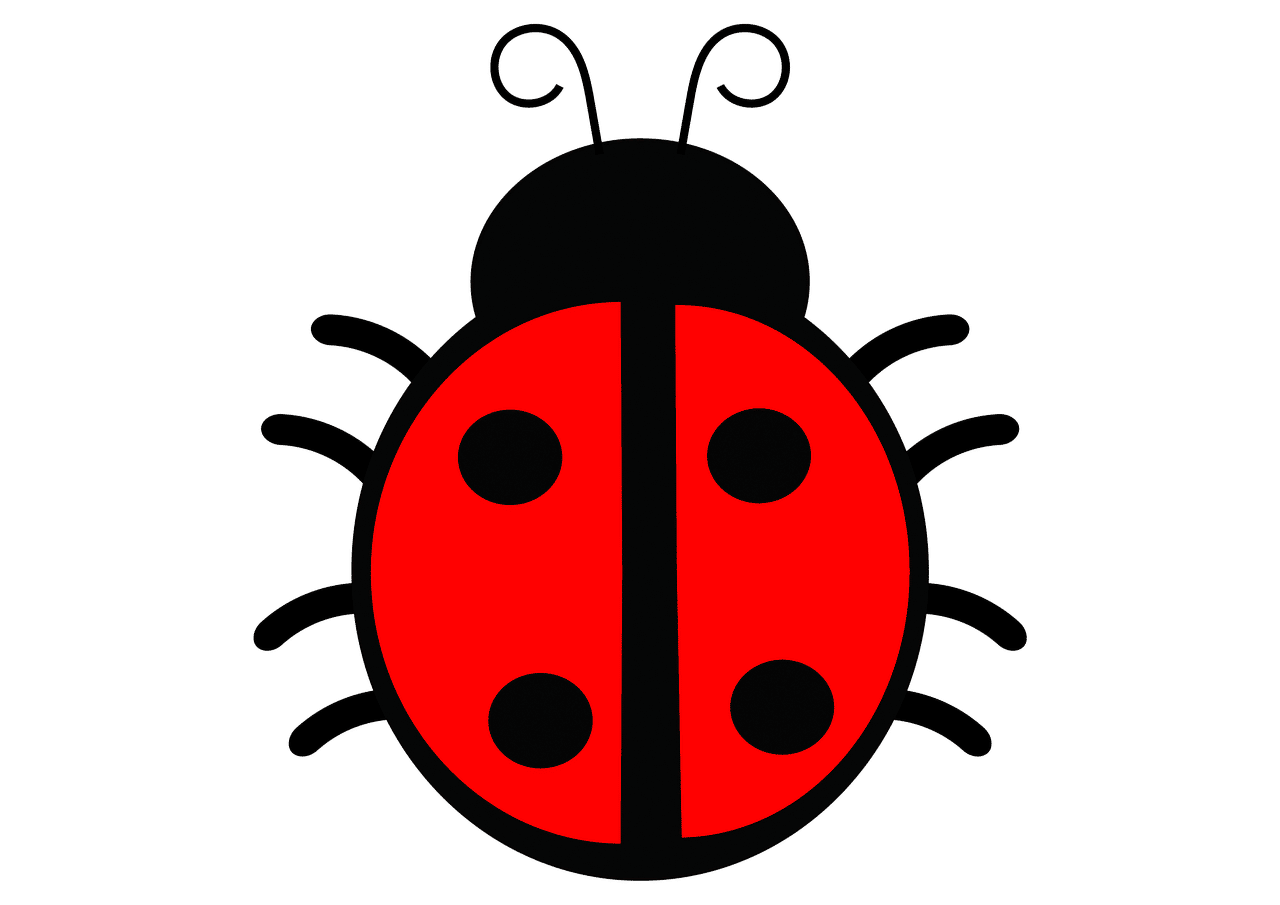
How to make easy felt brooches in the shape of a ladybug
Image| gauravguptagkp via Pixabay
If you are a bit new to making felt brooches, the model of a ladybug will be one of the simplest with which you can start practicing. Next, let's see how to make easy-level ladybug-shaped felt brooches.
What materials will you need to make a felt brooch of a ladybug?
- Two sheets of red and black felt
- Scissors
- A black marker
- a white marker
- Glue
- An unmissable
Steps to learn how to make felt brooches in the shape of a ladybug
- Think about the design of your ladybug template and once you are sure, take the black felt sheet and with the help of a white marker draw the silhouette of its body. As a suggestion, you can choose the one in the photo image, although with a quick search on the Internet you will find many ideas.
- Then, with the help of scissors, cut out the little body of the ladybug and its head. Once you have finished this task, put these pieces aside and save them for later.
- Next, take the white marker again and draw on the black sheet the polka dots of the ladybug that will decorate its wings. Use the scissors to trim the specks as well.
- The next step will be to create the wings of the ladybug. To do this, you will need to take the red felt sheet and the body of the insect. Measure the size of the wings with respect to the body and draw them on the red felt using a black marker.
- Then, use the scissors again to trim the wings.
- When you have the different pieces that make up the ladybug ready, it is time to assemble them using a little glue.
- Paste the red wings on the black body and carefully place the ladybug's polka dots on top of them.
- Let the felt brooch dry for a while. Later, check that the pieces have been well attached to each other.
- Finally, add the safety pin to the back of the ladybug with some glue and let it air dry for a few minutes.
- Wait another while for the whole set to dry carefully. And your precious ladybug would be finished!
As you can see, it is a very easy and fun proposal with which you will enjoy a lot doing it. It will look great on your clothes or accessories to give an original, unique and different air to your outfits. It is also a very cute detail to give and surprise someone special. Don't you think?