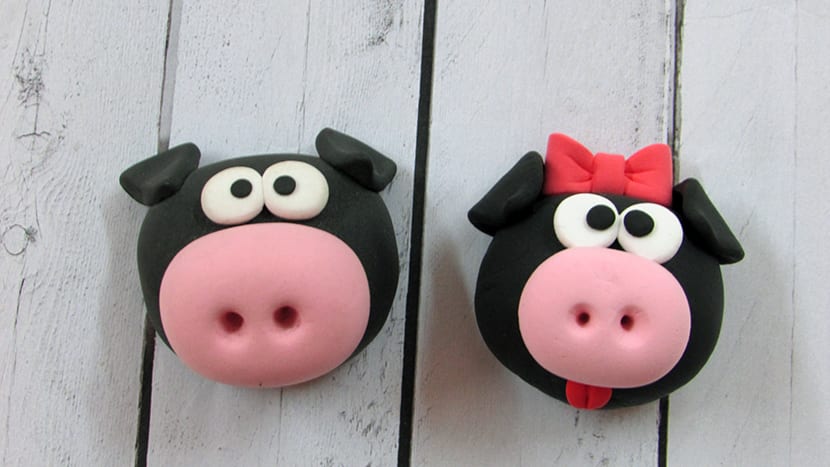
In this tutorial we are going to decorate our refrigerators a bit. I'll tell you how to make piggy magnets with Fimo or polymer clay. In addition, I give you an idea to make the pig pair and make them more fun.
Colors you will need
To make a pig face with the clay you will need the following colors:
- Black
- Pink
- Blanco
Step by step to make the pig magnets
Let's start with the face.
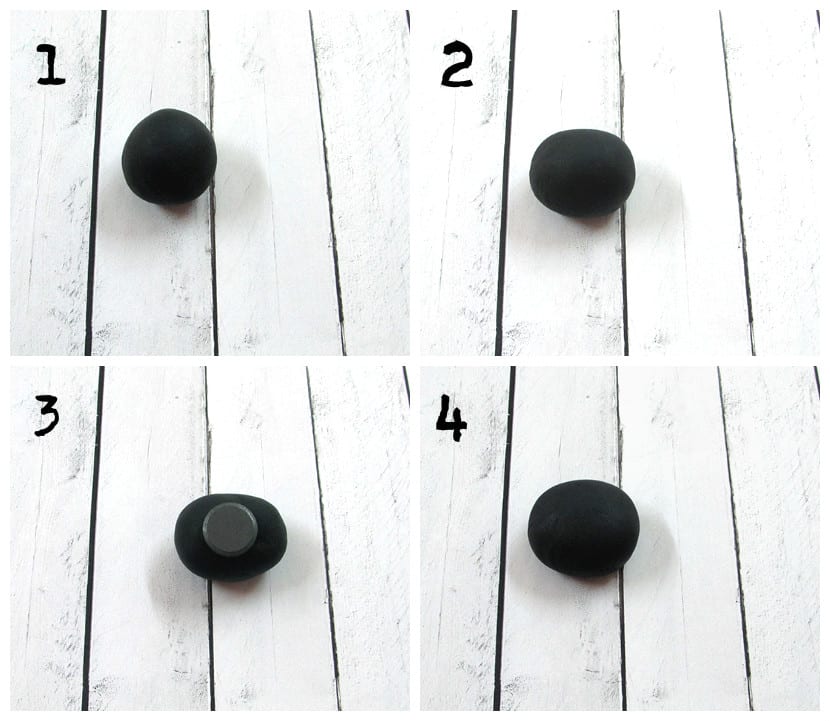
- Make a black ball.
- Create an oval by stretching that ball a bit.
- Place the magnet in the center of the oval.
- Flip it over and press gently with the palm of your hand until it flattens slightly and the magnet is pushed into the base of the face.
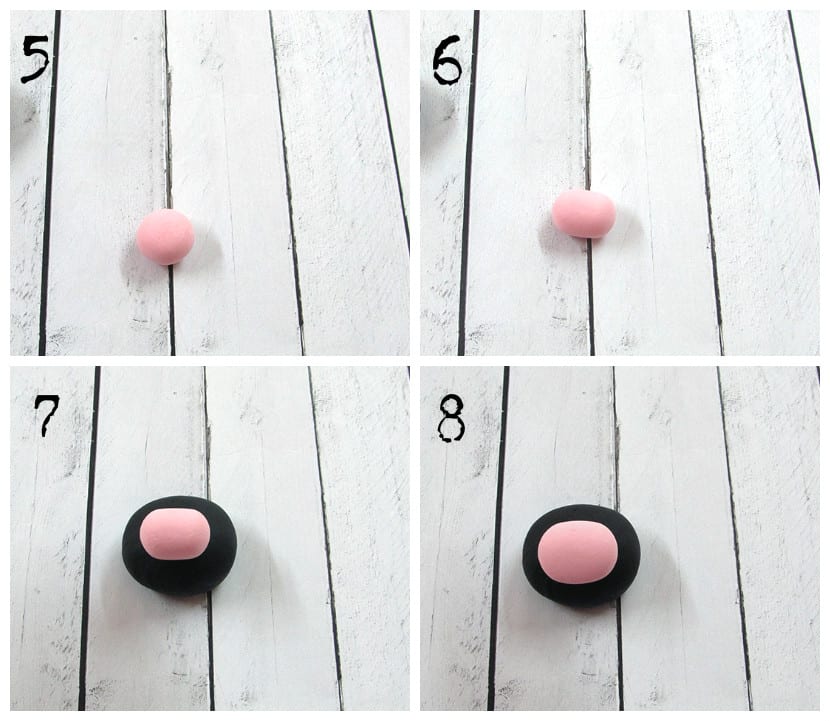
- Make a pink ball for the muzzle.
- Roll it into an oval.
- Place it on the pig's face.
- Flatten it a little with the palm of your hand.
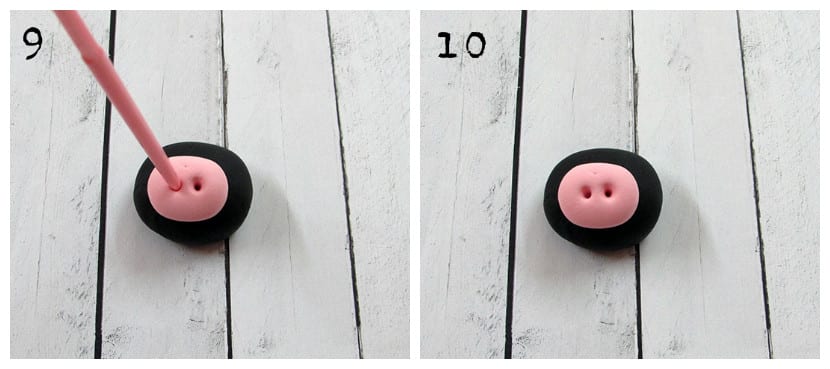
- Mark the nostrils with an awl.
Let's do the eyes.
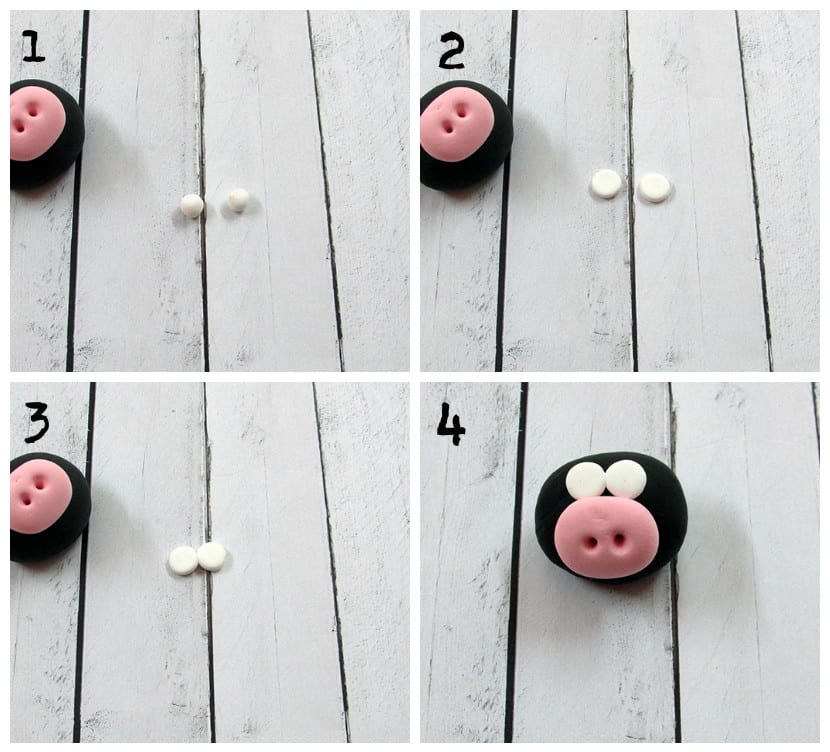
- Make two white balls.
- Crush them.
- Put them together.
- Glue them to the face just above the pig's snout.

- Create two black balls for the pupils.
- Crush them.
- Stick them on the eyes you just made.
We have to put our ears on it.
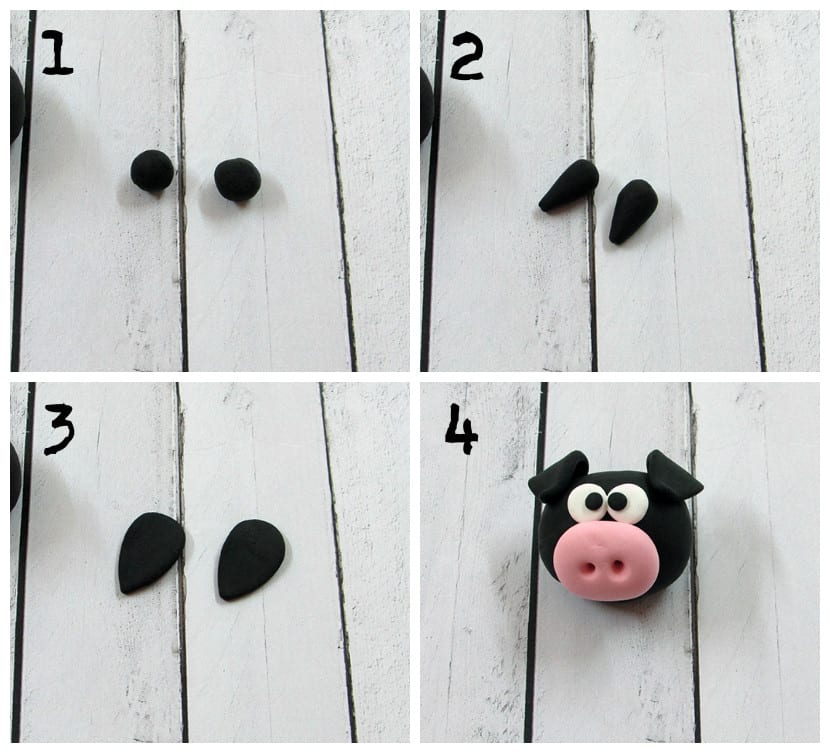
- Create two black balls.
- Roll them on one side to create the teardrop shape.
- Crush the drops.
- Glue them on the head of the creed by the round part, bending them a little so that the peak of the drops faces forward.
To make it funnier we are going to put our tongue out.

- Make a red ball.
- Roll it a bit to create an oval.
- Mark a line with the knife.
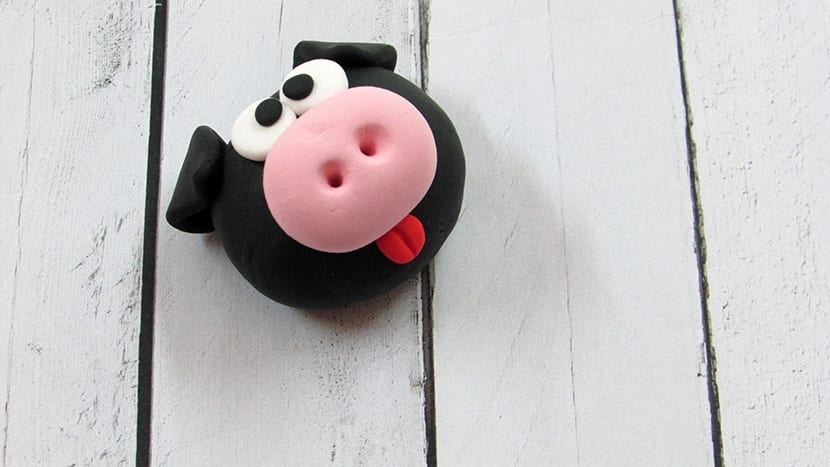
Stick the tongue under the muzzle and you will have your piggy finished.
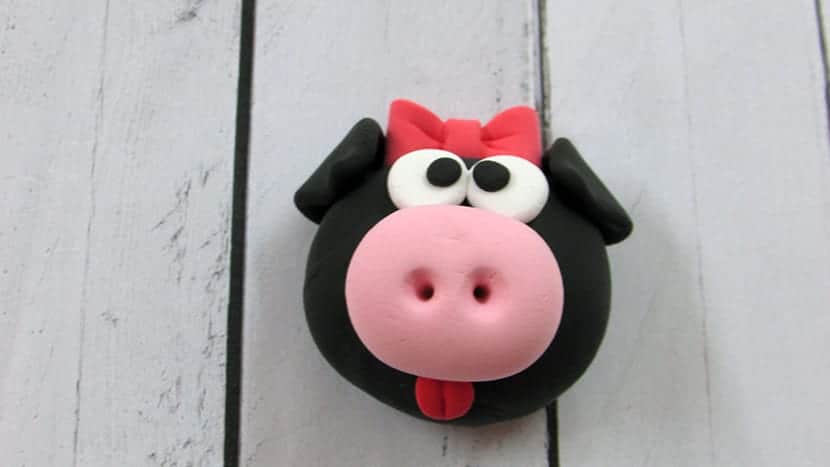
You can also make a pig with a bow. If you want to learn how to do it, you can go through the tutorial where I teach you two ways to make ties with Fimo, and so you will have the couple of pigs, which I find quite funny.
Thanks to the magnet that we have placed behind it we can put them to decorate in the fridge or anywhere where the magnet can be attached.

And this is the result of the pair of pigs made with Fimo or polymer clay.