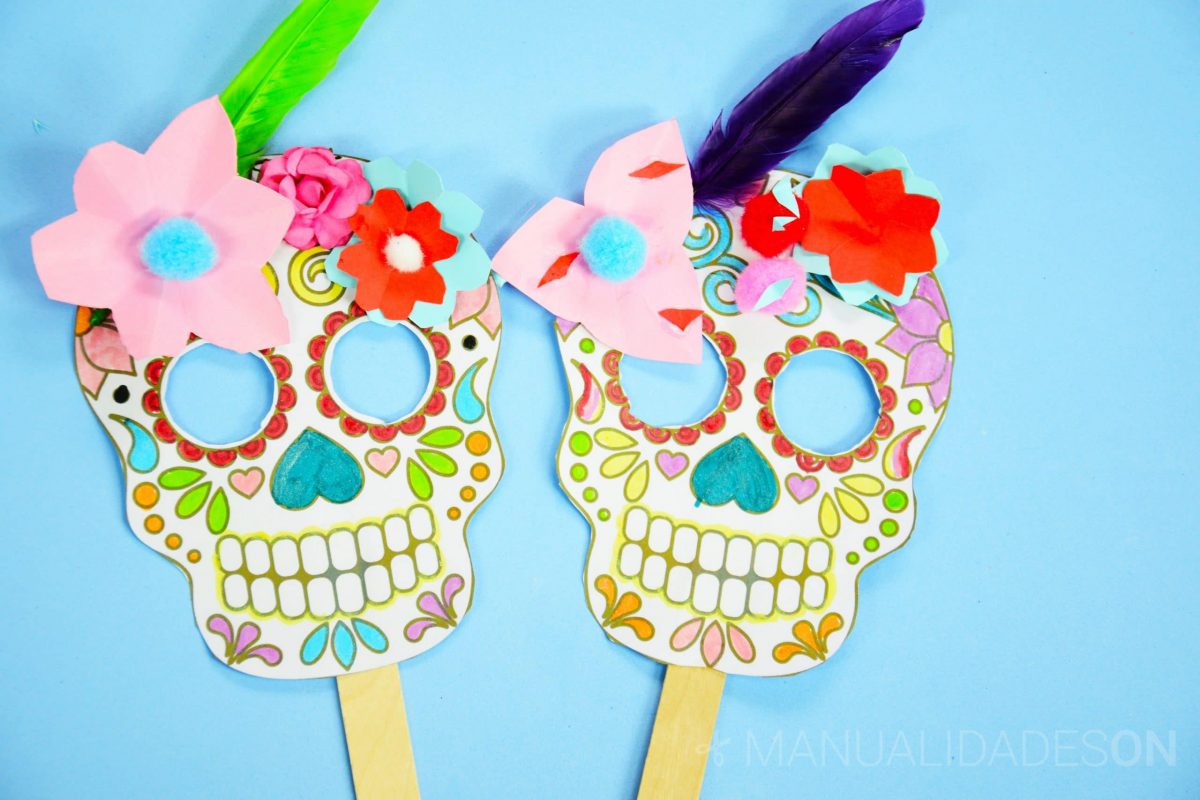
These Mexican skulls are an icon of their country. They began with a simple engraving or drawing and today they already represent the so-called catrina, being as an object of celebration on the day of the dead in Mexico. They are original and colorful, they can be made in countless ways and here we have represented it in the form of a mask, so you can make a craft for Halloween.
In this skill we will learn how to make cardboard or paper flowersYou just have to follow the explanatory steps or watch the video. And with the following ornaments such as the feather, some flower or pompoms, we will make it very feminine and very representative of her country.
The materials that I have used for two masks are:
- 2 A4 cards to print the skulls
- colored markers, in my case I have used ones with glitter content
- 2 popsicle sticks
- cardstock or pink paper
- cardstock or blue paper
- cardstock or red paper
- 2 large pompoms and 2 small pompoms
- two small decorative fabric flowers
- two small colored feathers
- white silicone
- scissors
- compass
- pencil
- ruler
You can print this mask in the image below, if you want to know more models to print you can view this link.

You can see this craft step by step in the following video:
First step:
We print the skulls on the white cardboard. We paint the drawing with bright colors and to our liking.

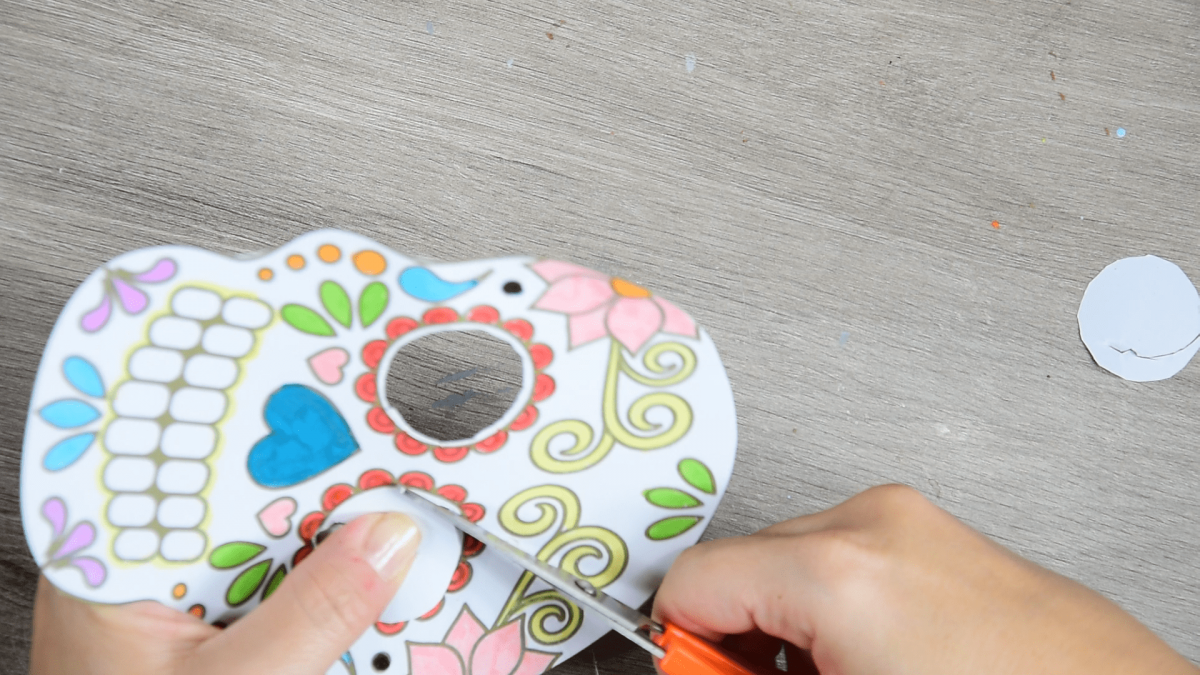
Second step:
We cut out the figure of the skull and the part inside the eyes.
Third step:
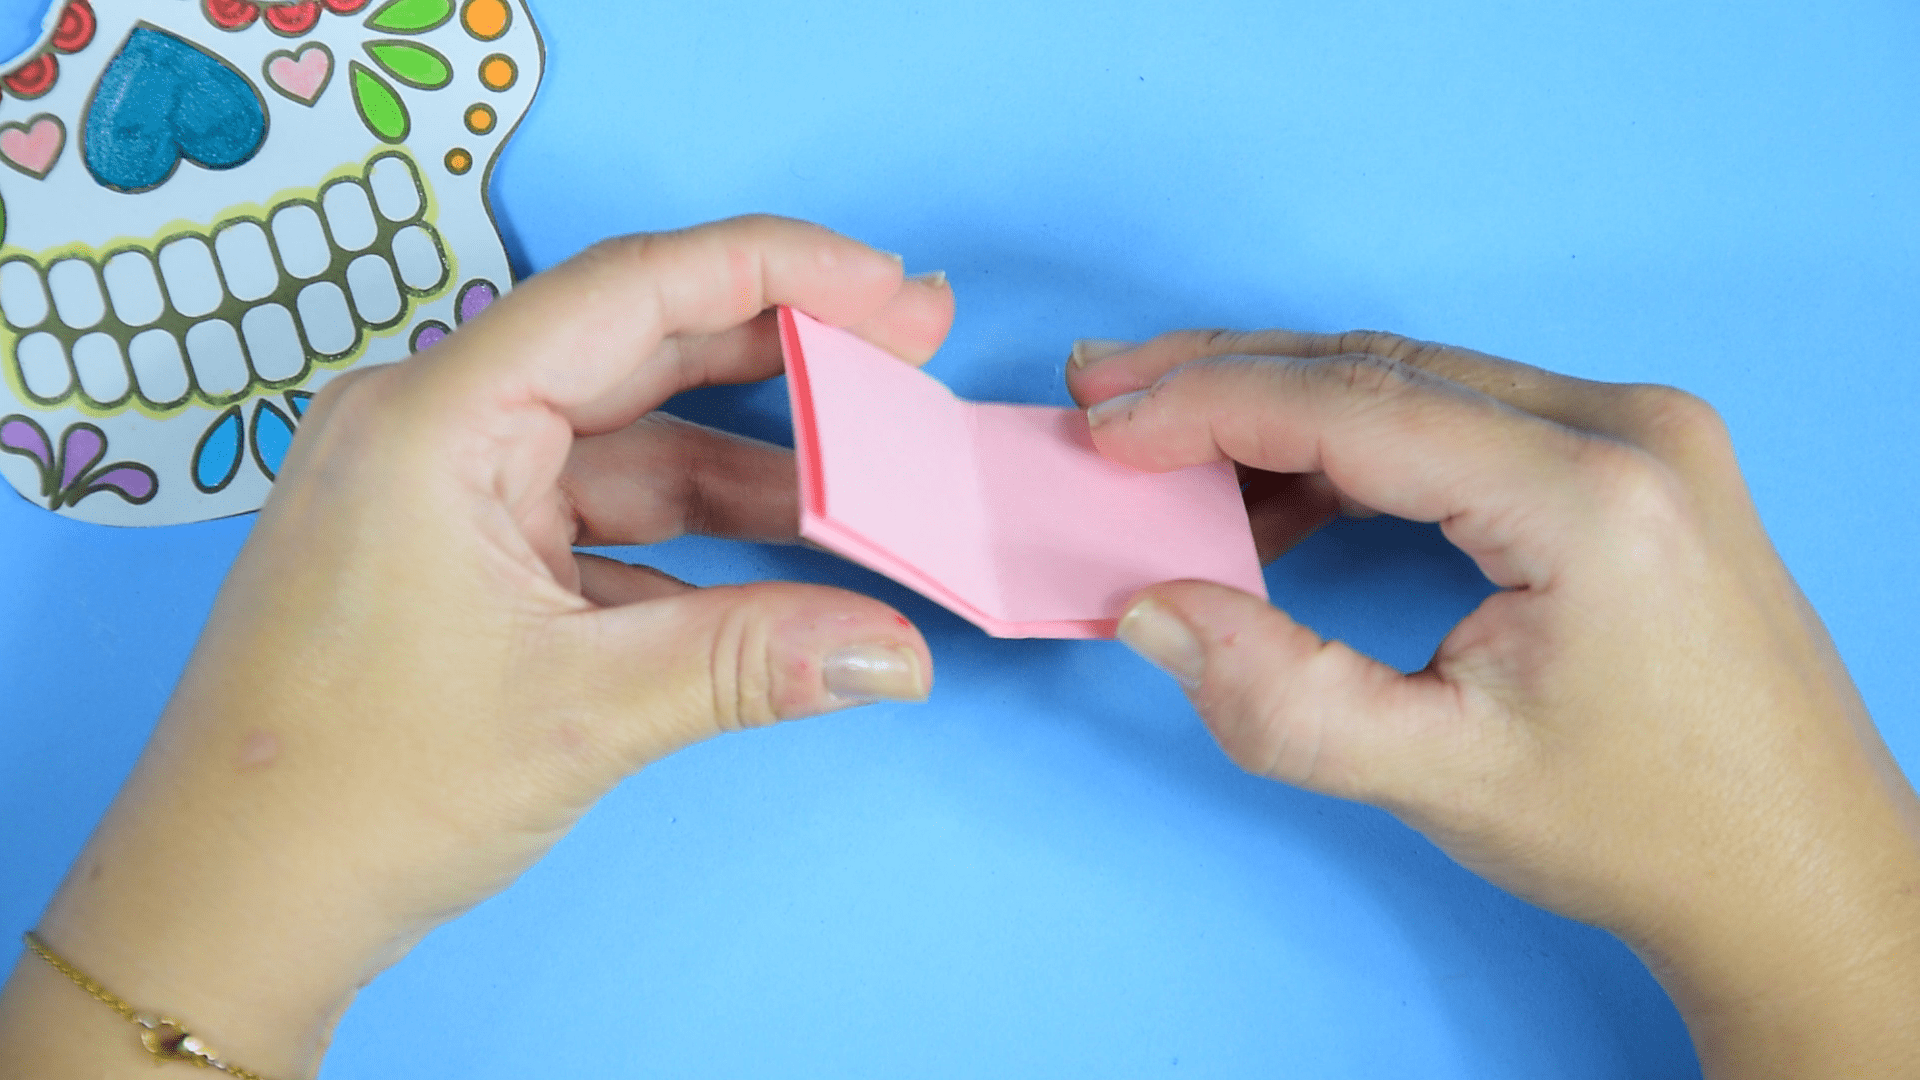
We make the flowers: for one of the flowers we draw an 8 x 8 cm square and cut it out. We fold it in the shape of a cross and in one of those folds we leave it folded in half and down. We fold one of the corners towards the center but going over the middle of the paper. We leave it in that position and we go around the other corner towards the center and also going over the middle.
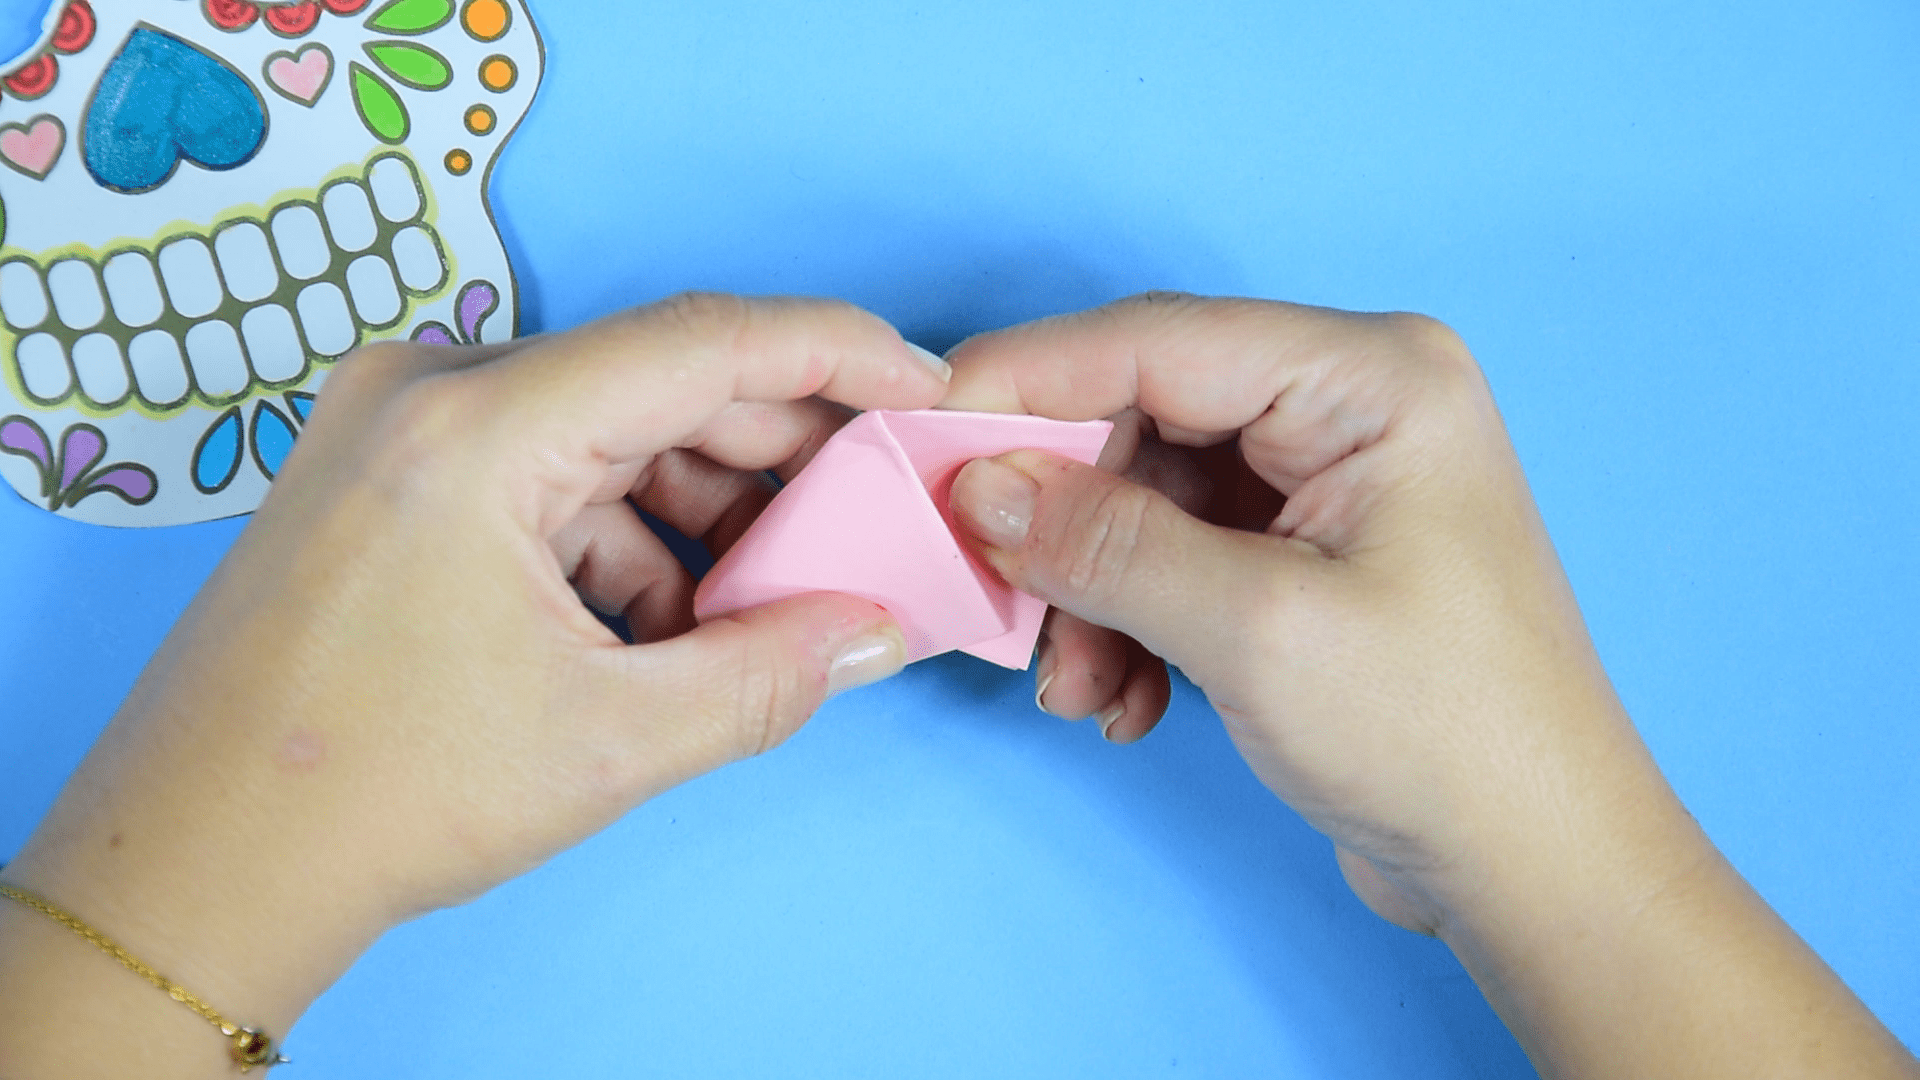

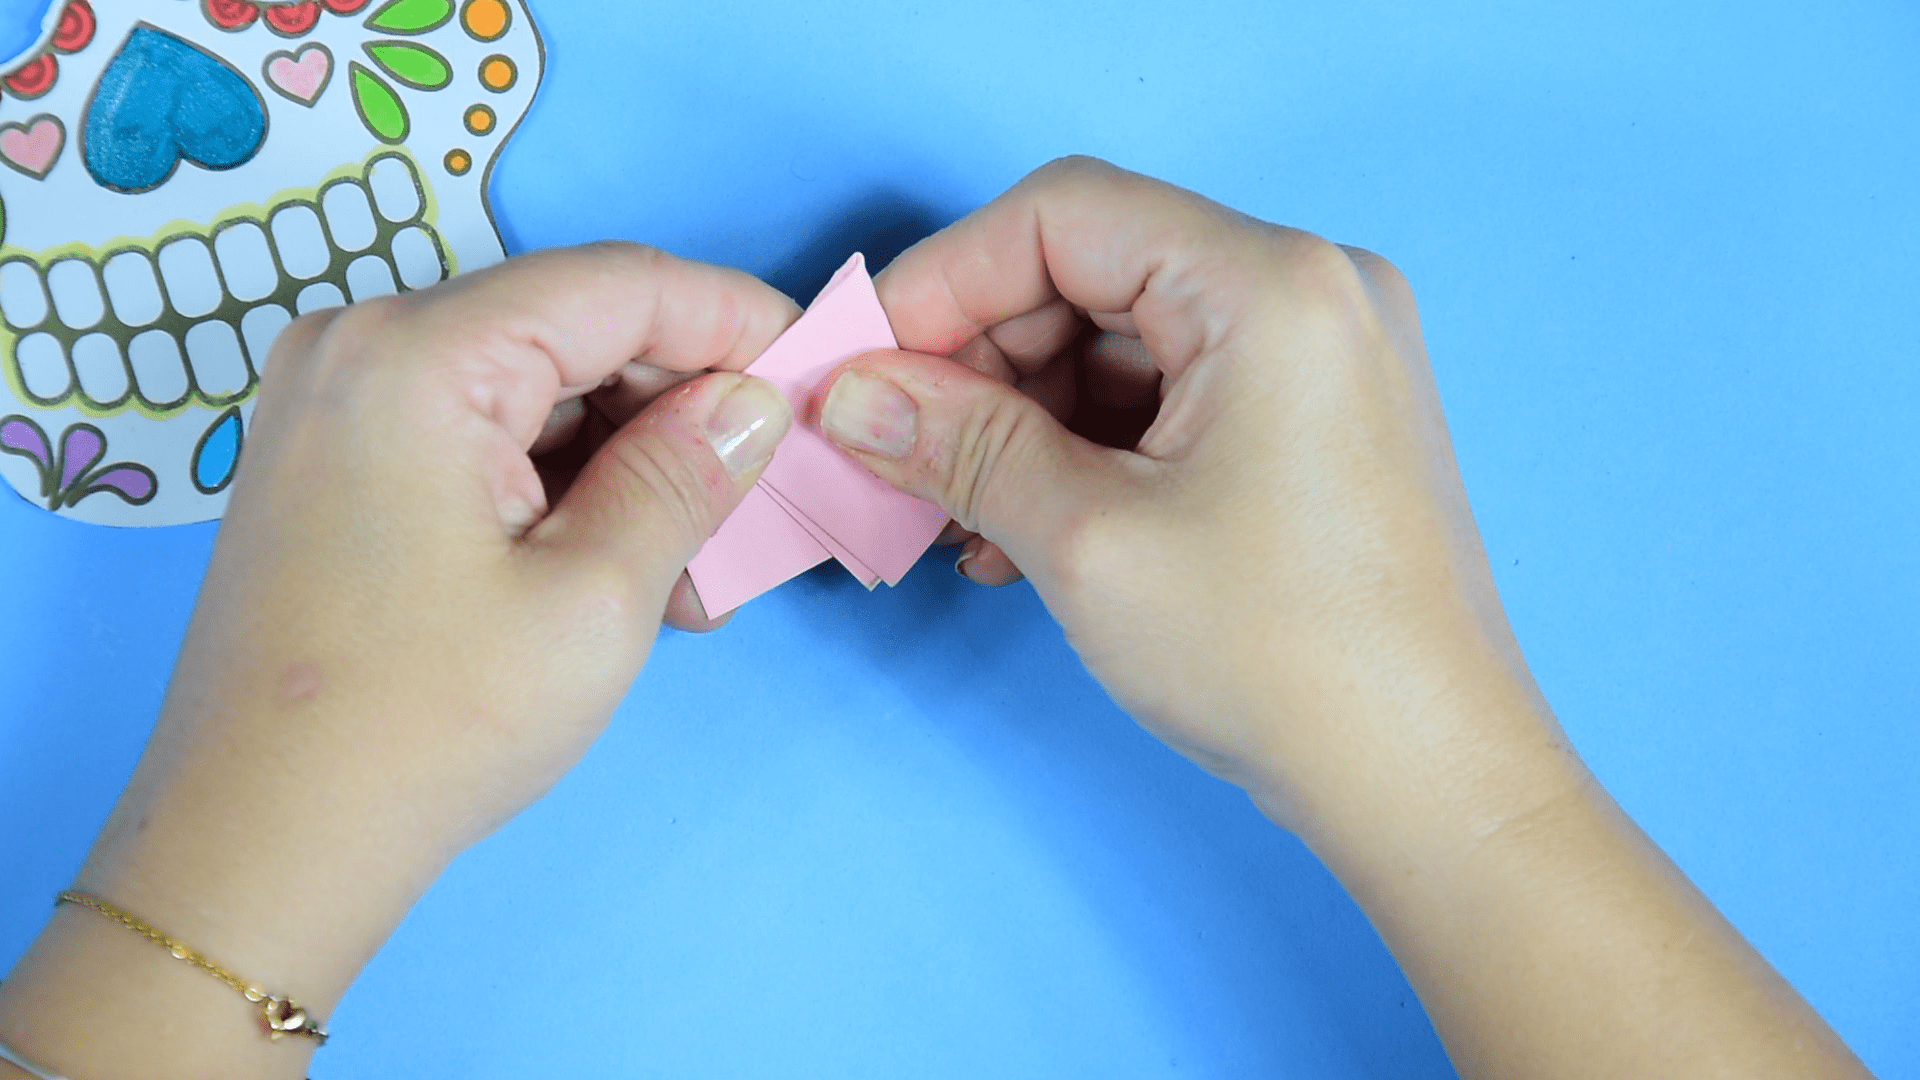
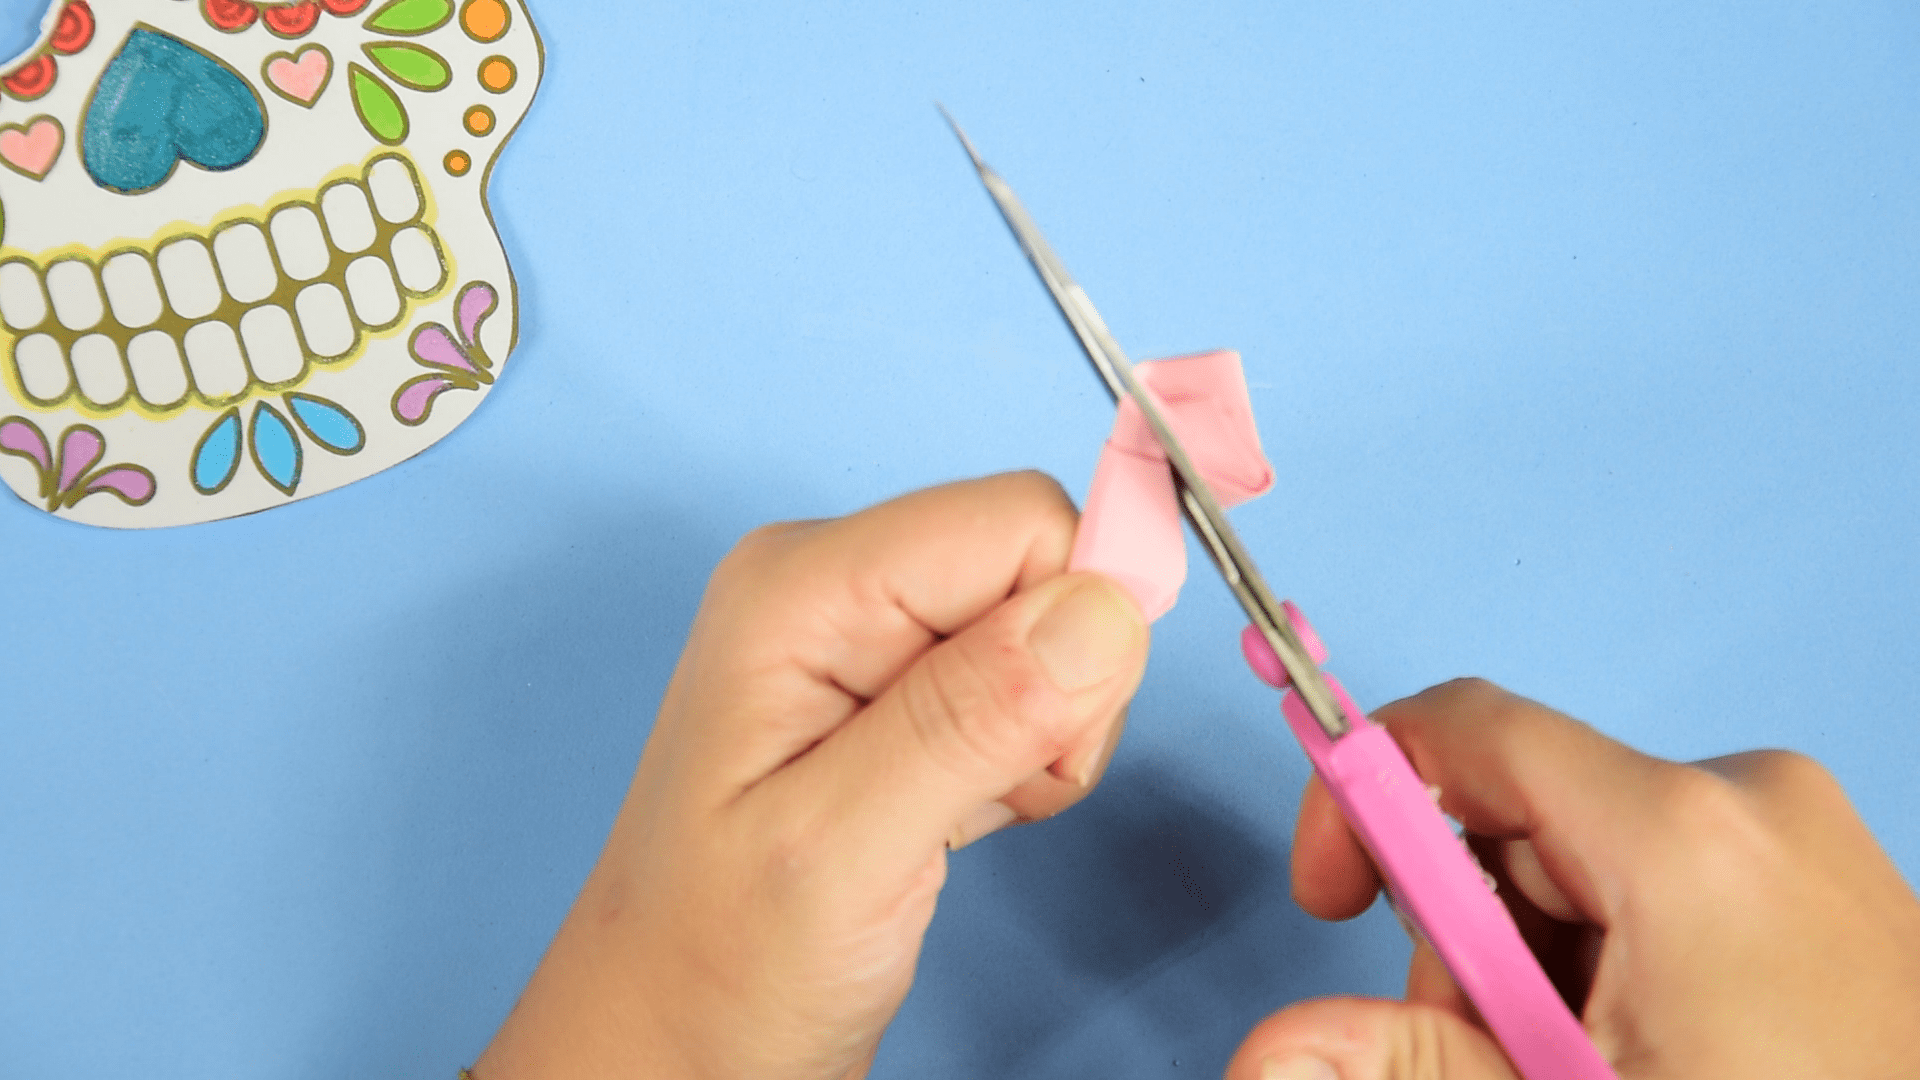
Fourth step:
The entire structure is folded in half again. We turn the pointed part down and the other part we cut its corners. We can unfold the structure and see that the flower is formed.

Fifth step:
For another of the flowers we are going to make two circles with the compass. We will draw one of 5 cm and another of 6 cm, then we will cut them out.
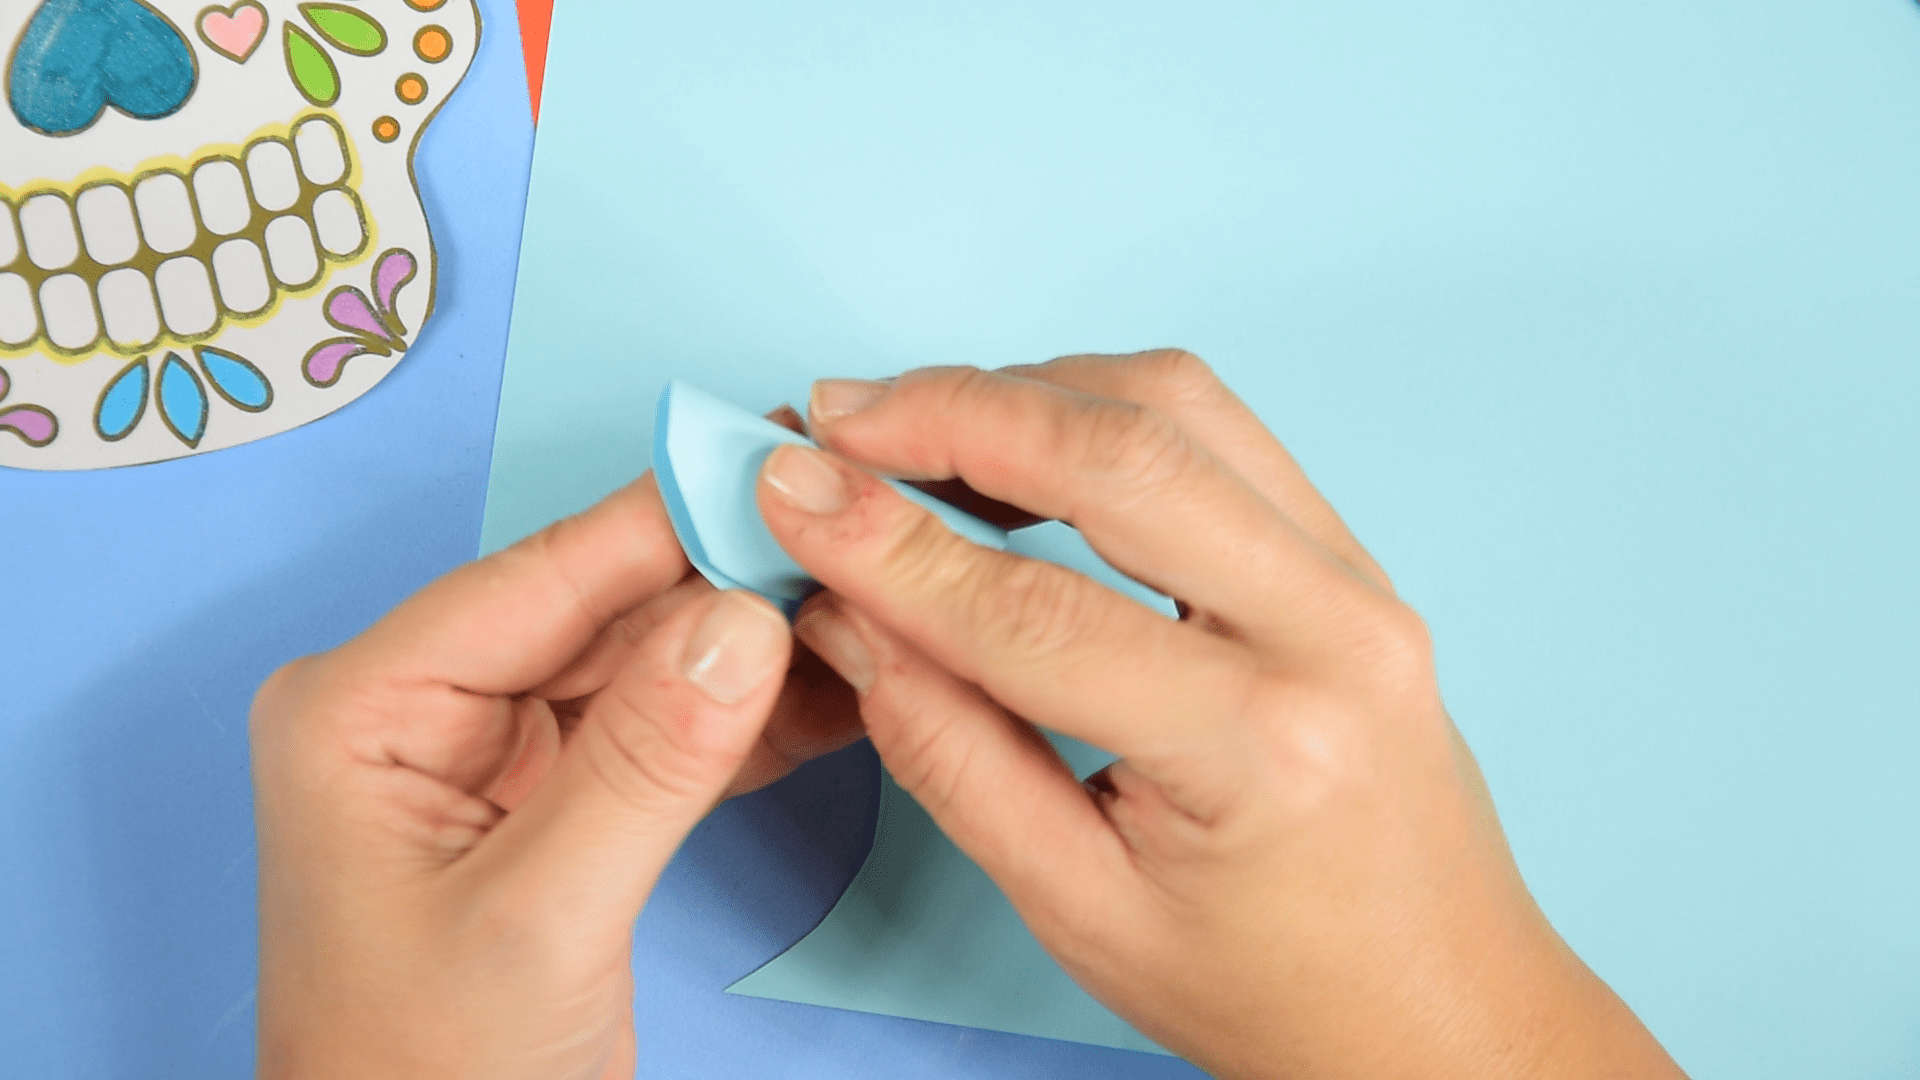
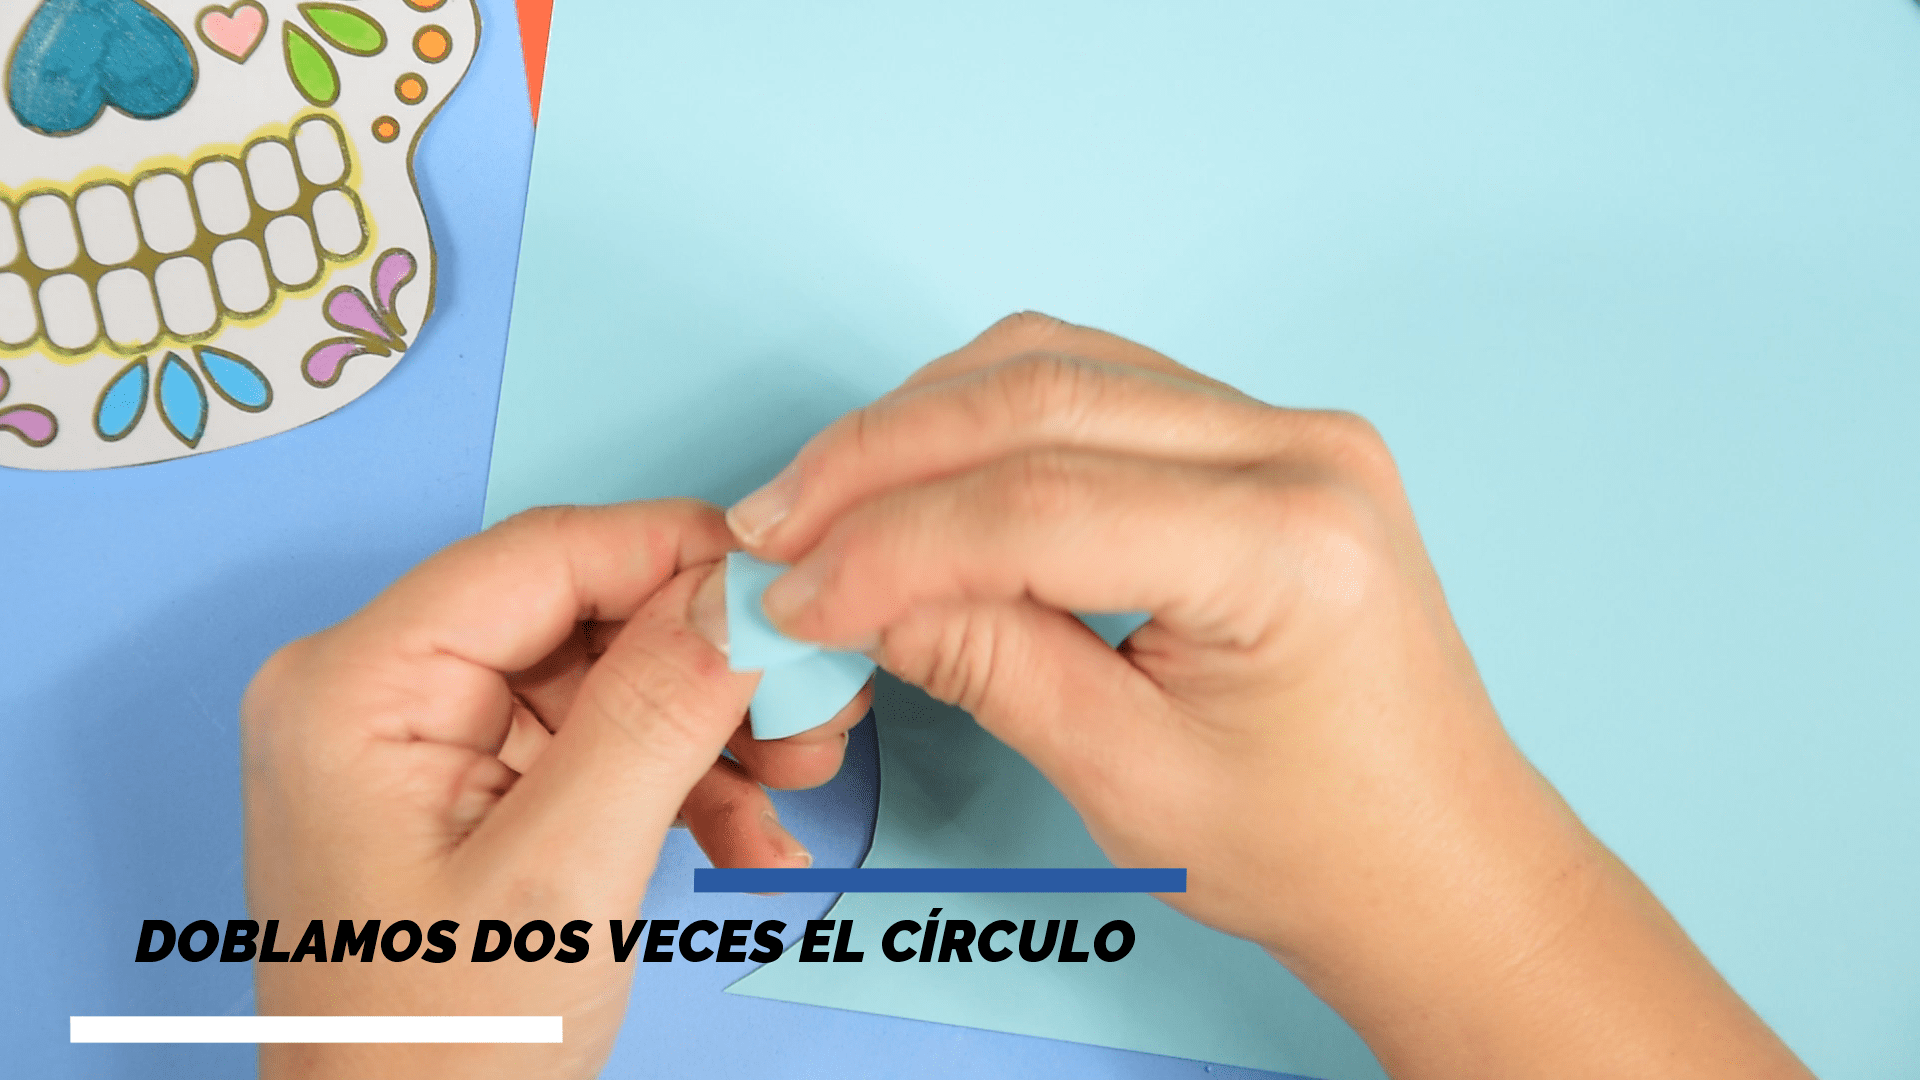
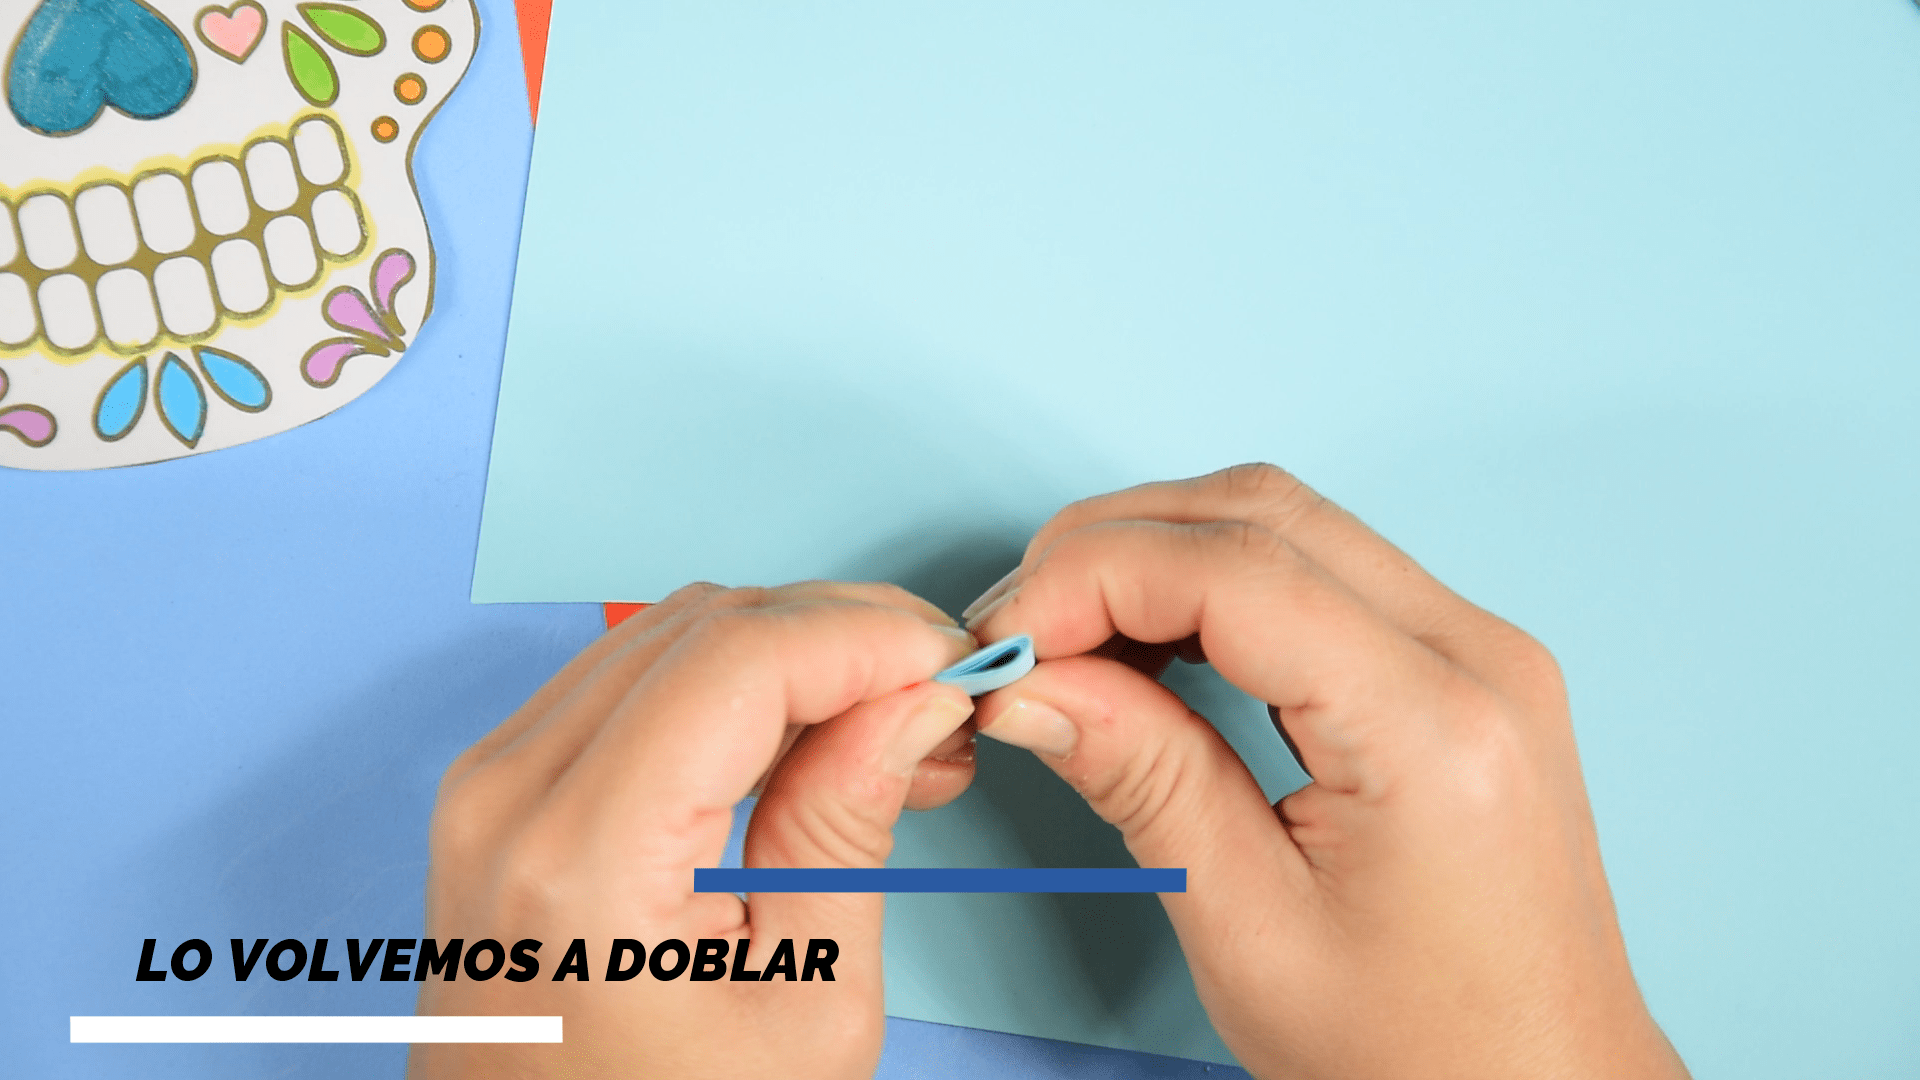
Step Six:
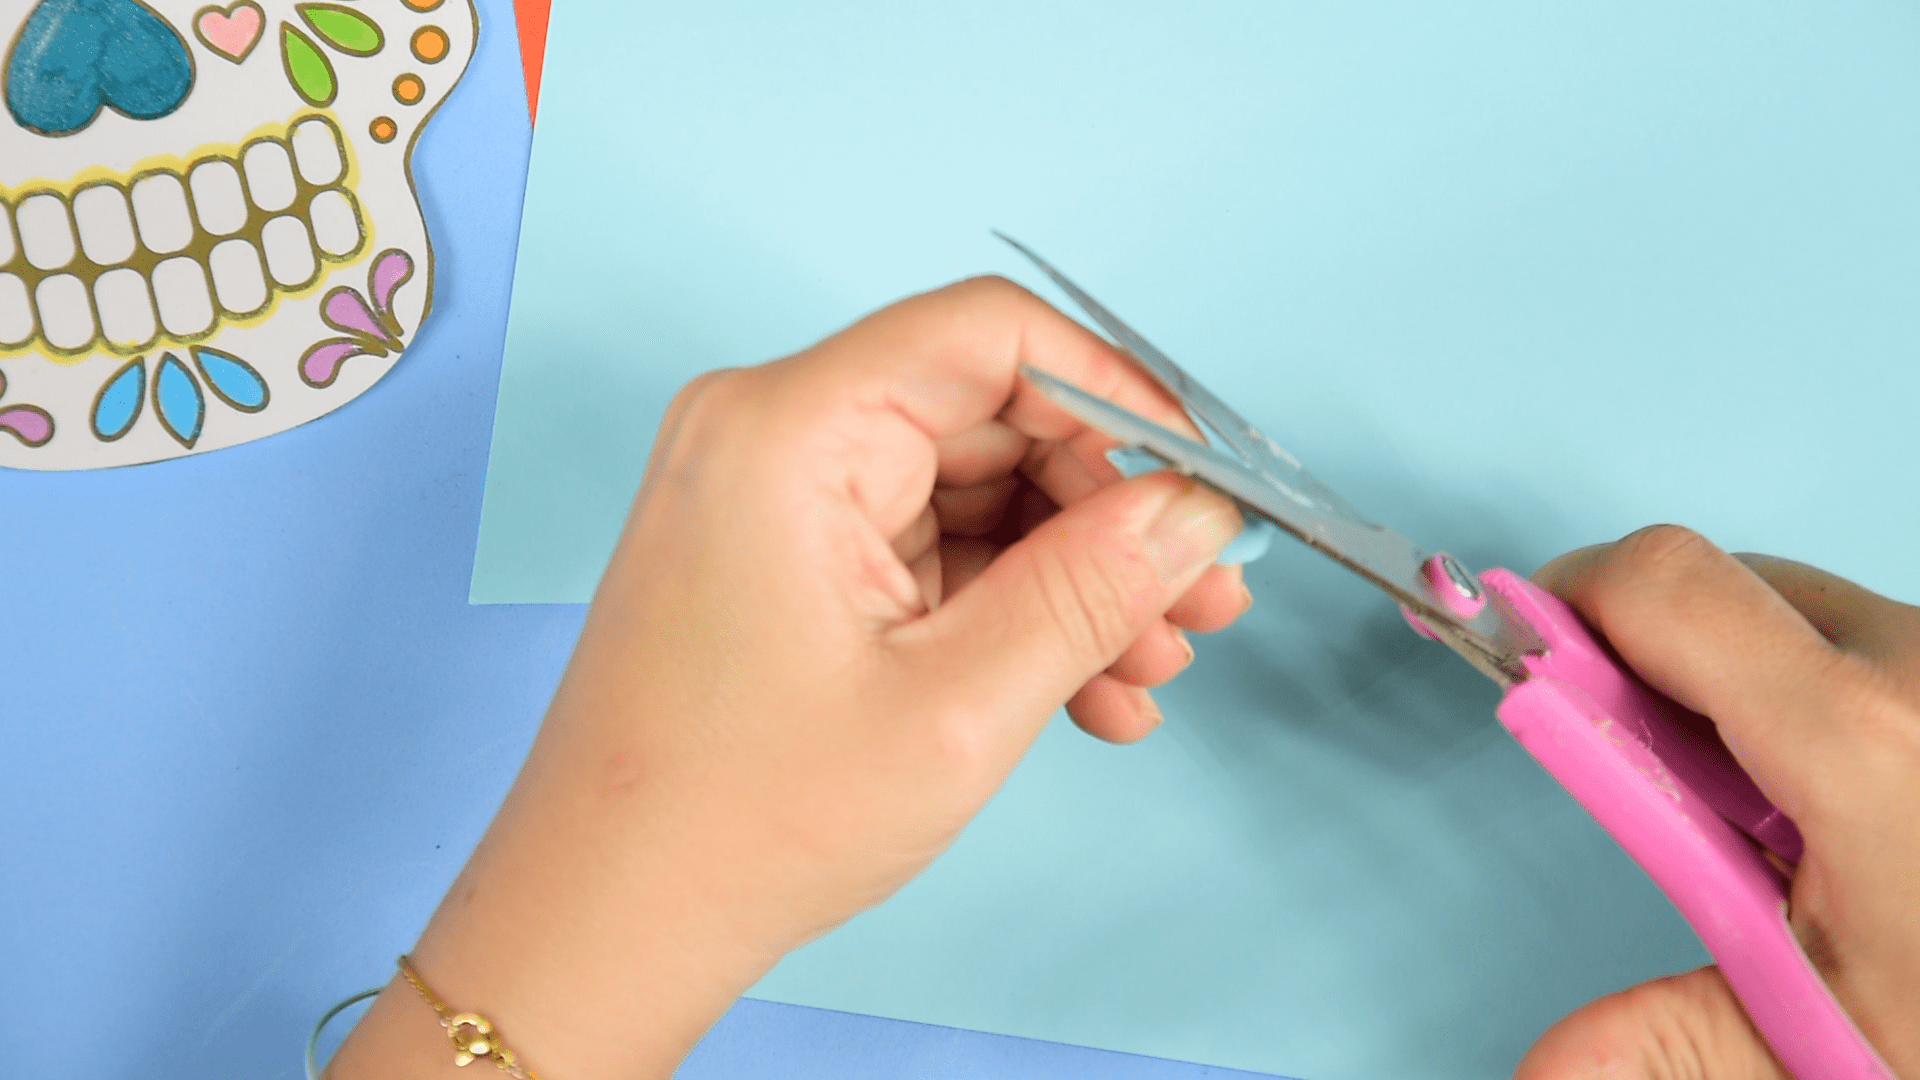
For the two circles we do the following steps: we fold the circle in half, we fold it again in half and again in half. We will form a conical shape, the pointed part will remain below and the other part will be cut by rounding its corners.
Seventh step:
We unfold the two flowers and glue them overlapping one on top of the other. We will stick all the elements on the mask.
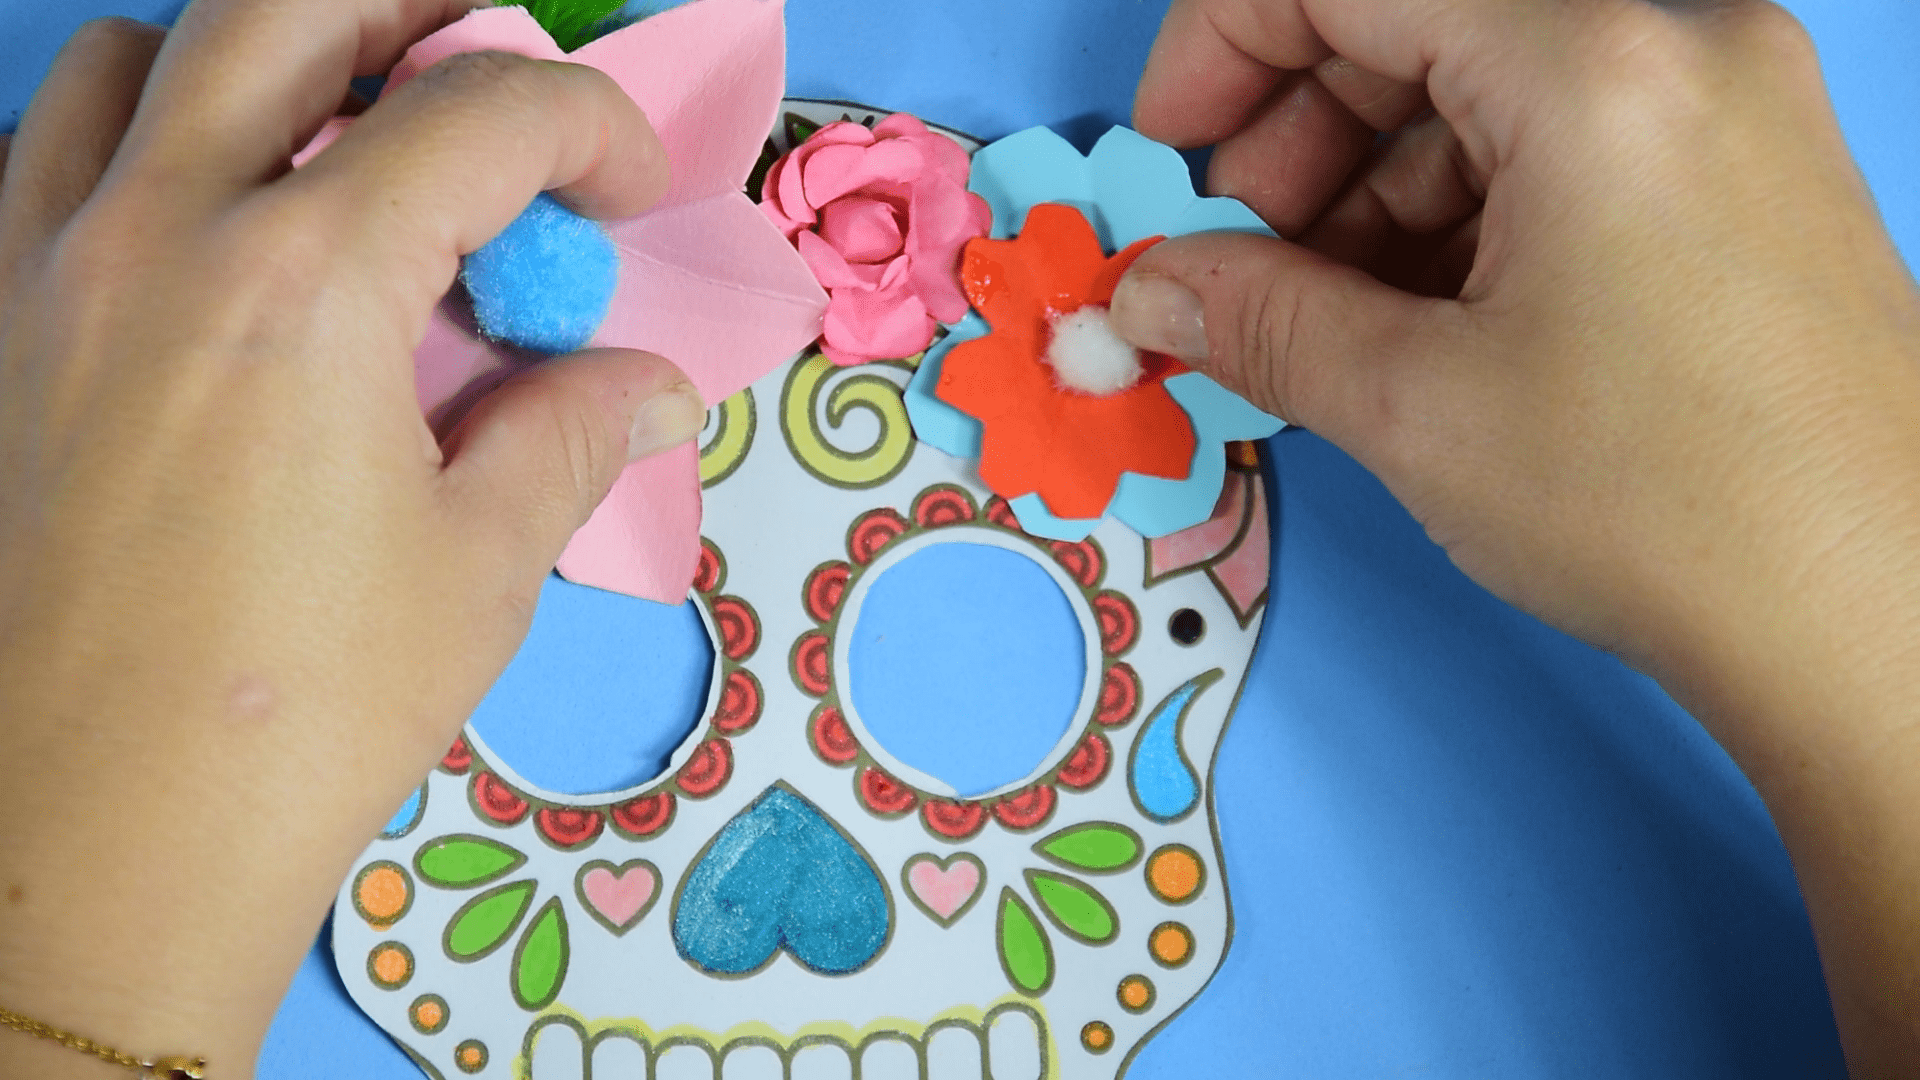
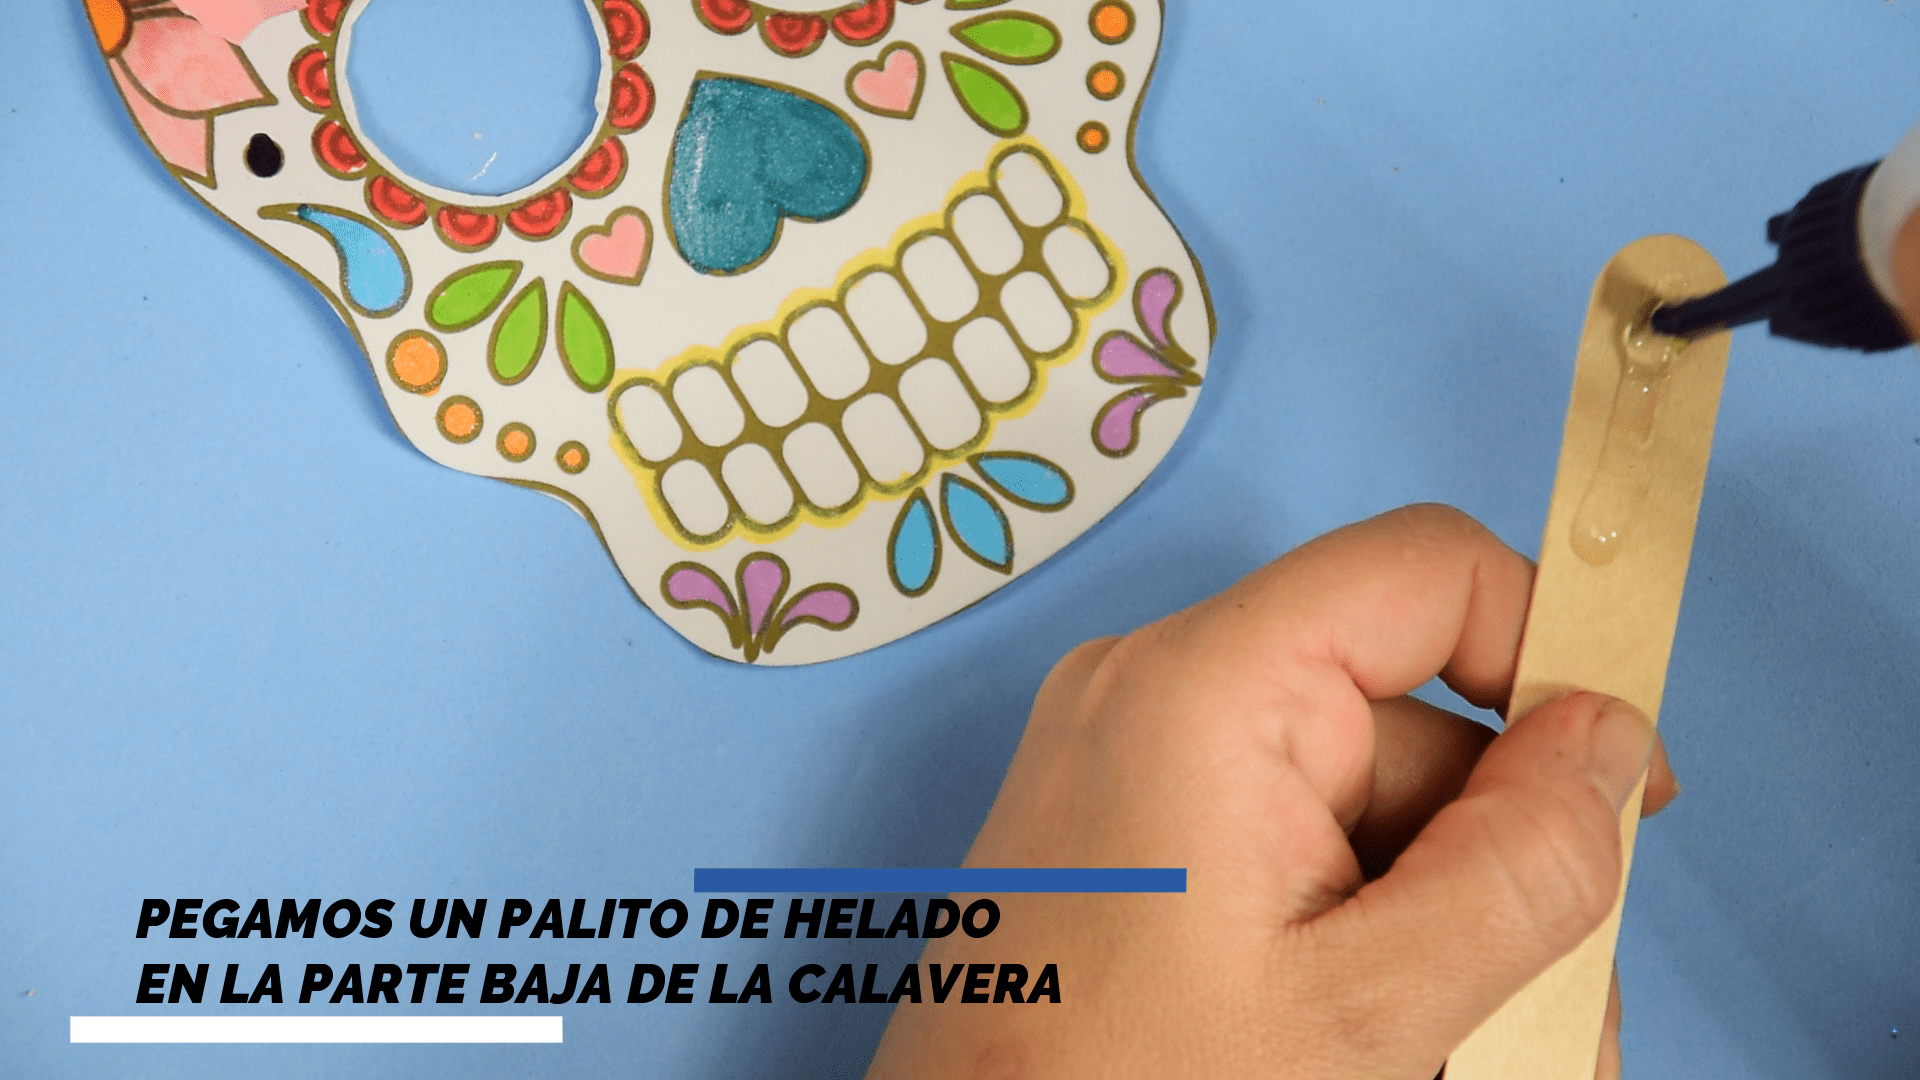
Eighth step:
With the silicone we glue the feather, the flowers, the decorative rose and the pompoms on top of each flower. We will also stick the ice cream stick in the lower part of the mask. The structure will remain as in the photo below.