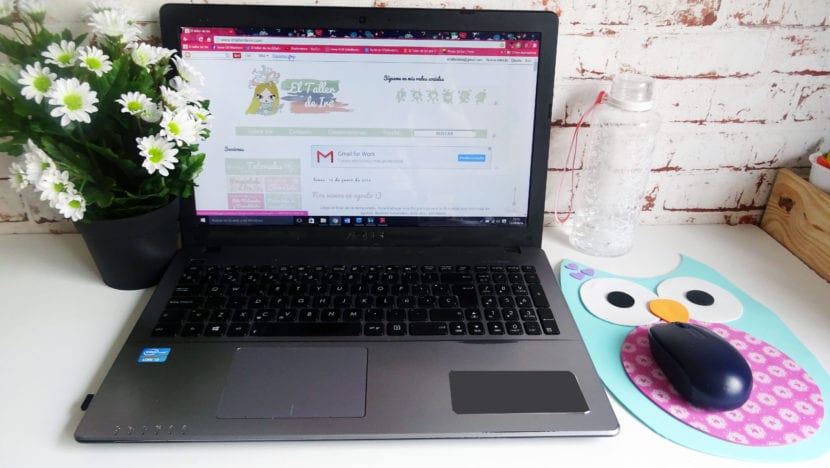
In this tutorial I will teach you how to create one Mouse Pad with eva gum. It is very easy to do and you have many possibilities to design it according to your style and your tastes.
Materials
To make the Mouse Pad you will need the following materials:
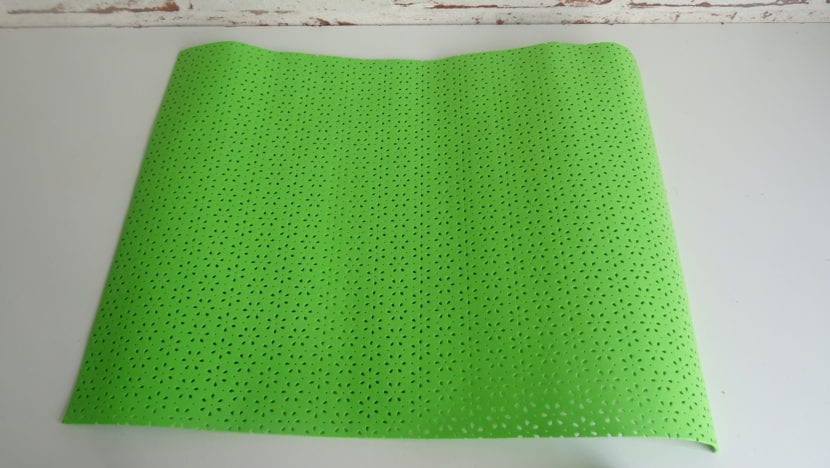
- Rubber eva: I have chosen a green and a yellow one. The yellow one is a normal eva rubber, but the green one is die cut, and it gives a very nice effect to the mat.
- A sheet
- Scissors
- Gun silicone or instant adhesive
- Dies
Step by step
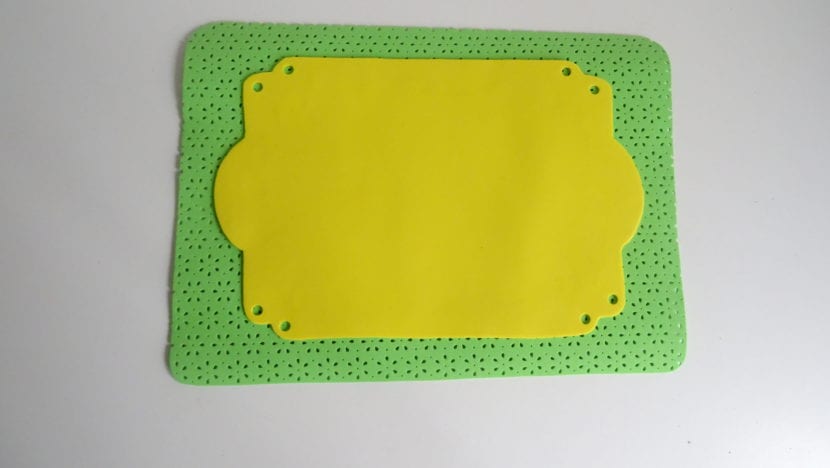
To start doing the mouse mat take the eva gum you want for the base. In my case it is the die-cut eva rubber. You must cut it in size DIN A4, so you can use a sheet to mark the measurements and thus cut the eva rubber.

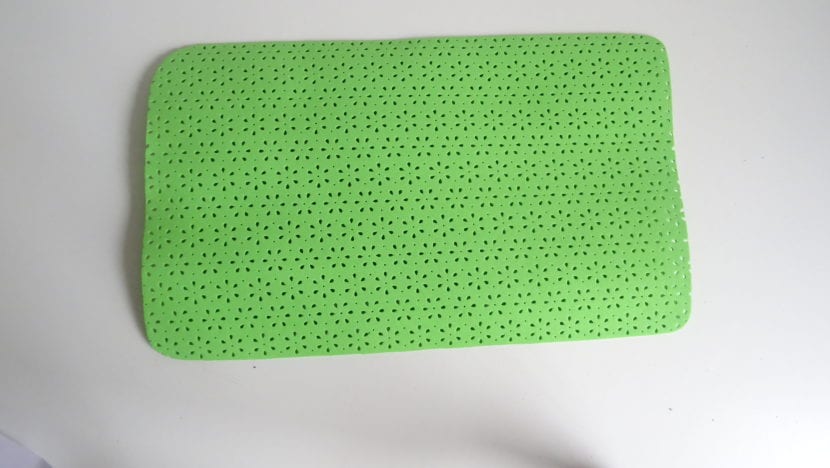
With the scissors round the corners.
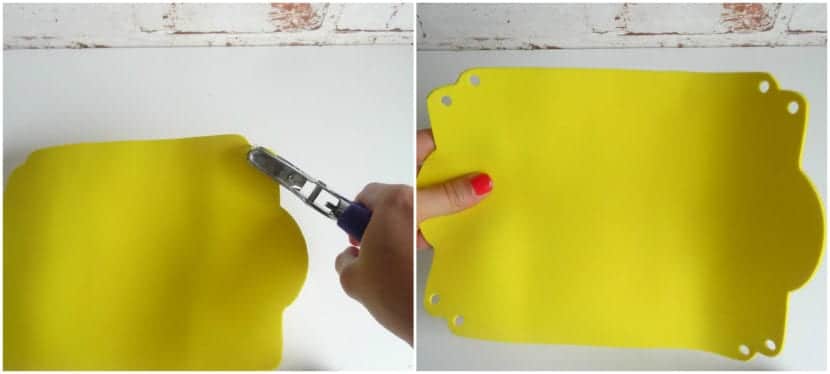
Now take the eva rubber of another color and cut it the way you want, taking into account that this is going to be the basis where you are going to move your mouse. It should be slightly smaller than the picture below for it to show through. If it's easier for you, you can draw or print the shape on a piece of paper, cut it out and use it as template.

To give you more details, with a die circular make holes in the corners.
When you have it to your liking stick it based on the base that you cut at the beginning.
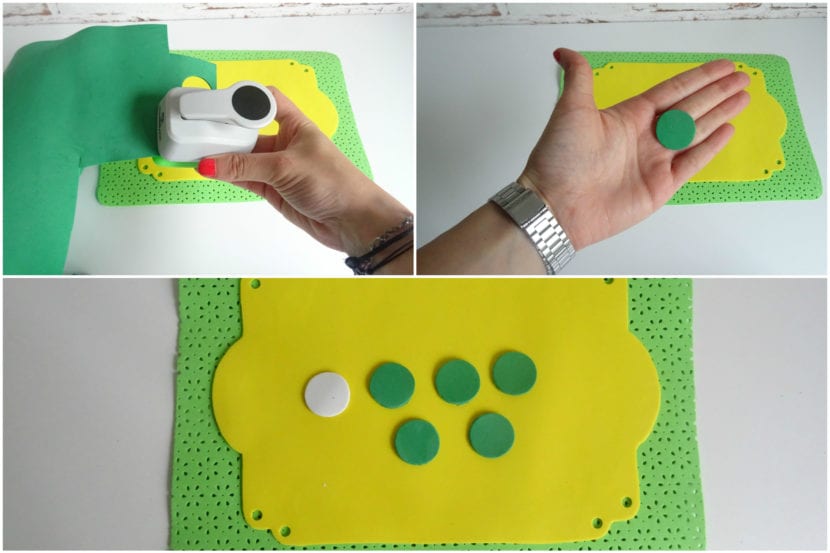
To decorate it you can make a flower. I will show you a very easy way to create it. With a die cutter, cut 5 circles of the color you want the petals and another circle of the color of the center of the flower.
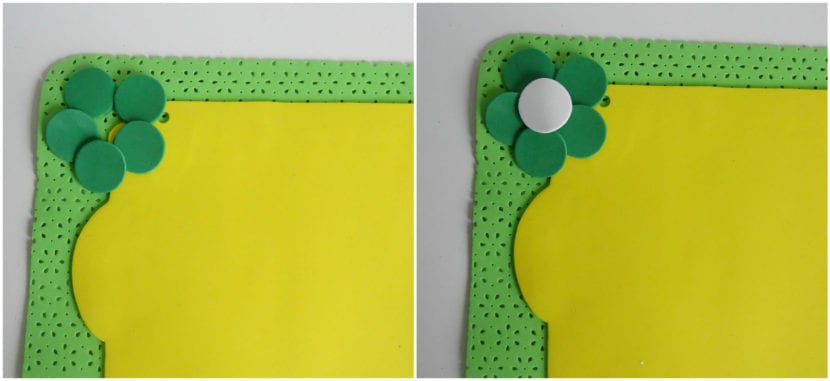
Form a circle with the petals, and stick the different colored circle in the center.
You can also make the small flowers using this shape and a smaller circular one for the center. They look great if you put several in one corner of the mat.
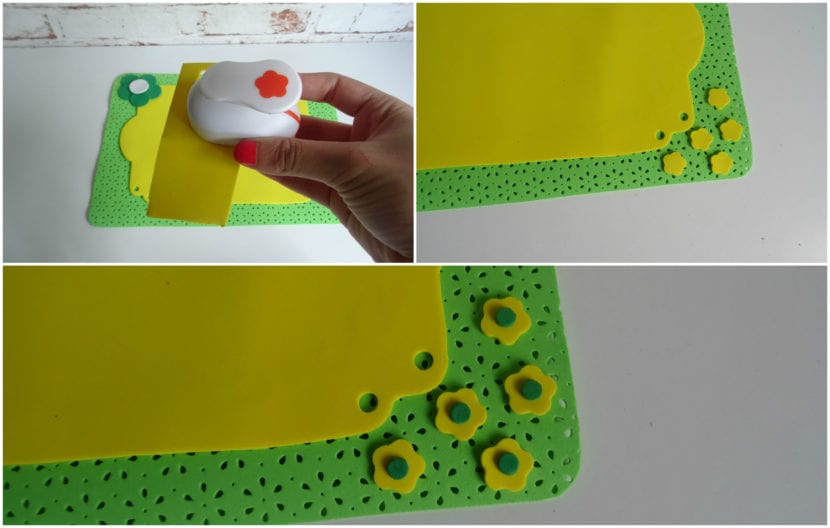
As there are many forms of dies, you have thousands of options to decorate it.

And you will have finished your mouse mat, ready to use.

If you liked this tutorial, maybe you are also interested in the owl mat that I have taught to do a long time ago. You can see the step by step entering HERE.