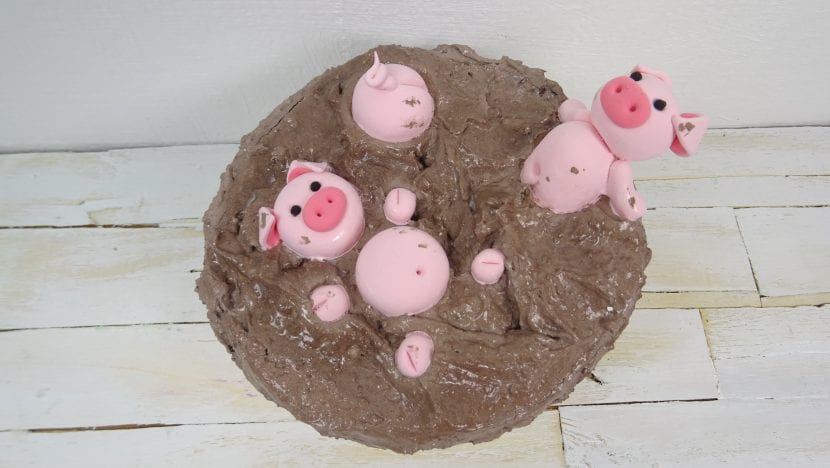
In this tutorial I teach you how to make one piggy box very funny. We will decorate your cover that three piglets in a pigsty. You will see how each of them is made and how the effect of clay is created.
Materials
To make the piggy box you will need the following materials:
- The box you want to decorate
- Polymer clay in the colors: light pink, fuchsia pink and black
- An awl and a knife
- Cement or plaster
- Container
- Water
- Brown acrylic paint
- Stick or spatula
- Glossy finish varnish
Step by step
In the next video-tutorial you can see the elaboration process of the piggy box explained in detail so that you are able to do it yourself.
Let's review the followed to follow so you don't forget any of them:
We begin by shaping the little pig that is lying down:
- We make a slightly flattened ball for the belly with a small hole in the middle to create the navel.
- Create four little balls for the legs with a cut in half to simulate the hooves.
- The head will also be another ball squashed very gently.
- With the fuchsia pink color, make a small ball, stretch it a little and flatten it. Make two holes for the snout and stick it on the piggy's face.
- Also make two holes in the face to insert two black balls in them and thus create the eyes.
- To make the ears you must create two flattened drops of light pink color and another two slightly smaller ones of fuchsia pink. Glue them one on top of the other and put them on the pig's head by folding them down.
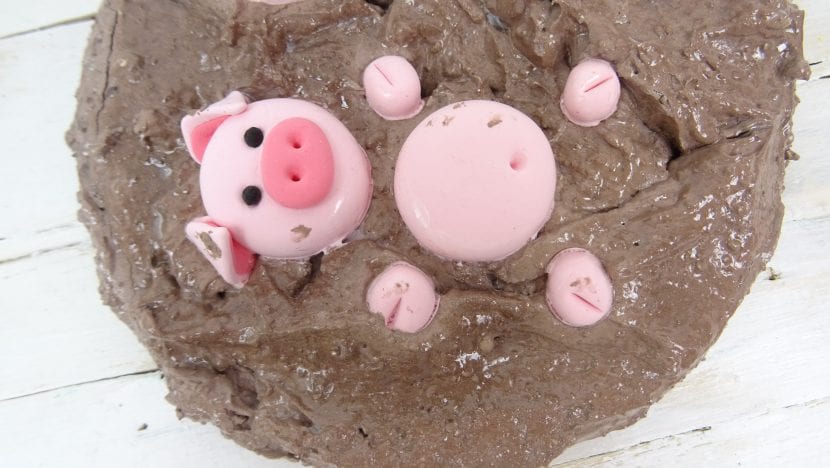
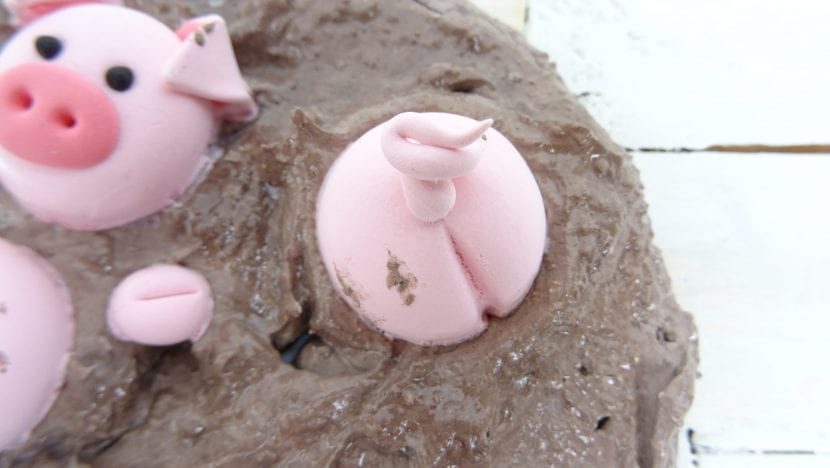
Let's now do the piggy butt:
- Create a pink ball.
- Mark a line from the center to the edge.
- Make a thin line and glue it in the center by rolling it up like the pig's tail.
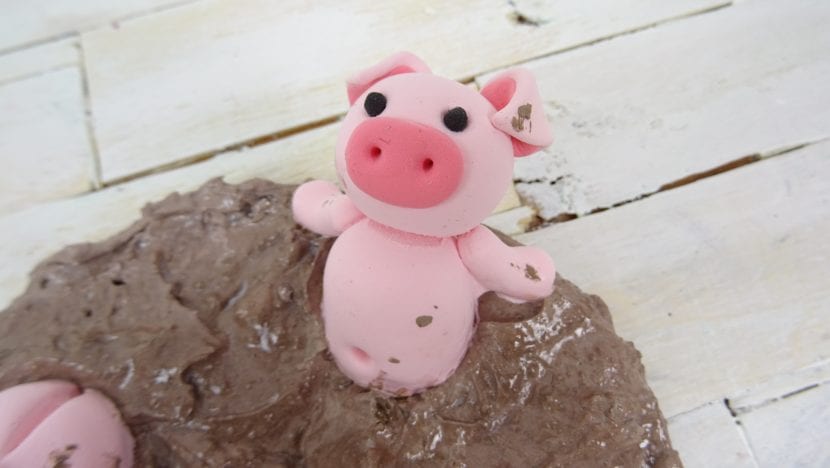
To make the sitting pig:
- Create a ball and roll it a bit to stretch it slightly for the body.
- Make a hole for the navel.
- For the legs, stretch out two pink balls and glue them to the body.
- To make the head, follow the same procedure as in the first pig.
To create the pigsty You will have to:
- Mix the cement or plaster with water until you get a paste.
- Also apply brown acrylic paint to stain it.
- Smear the lid of the box with the putty until it is completely covered, leaving a fairly thick layer.
- Before it dries, place the piglets in it.
- When the putty dries, apply a coat of gloss finish varnish.
And you will have ready piggy box.