
I'm going to start my work on this blog by showing you how to make one of my favorite jobs: a custom rug with recycled material: T-shirts, socks, underwear…. 🙂
At the end of our work we will have this image that I show you.
Material
To carry out this work you are therefore going to need this material to recycle, a mesh base for the carpet, scissors and bias to finish the piece.
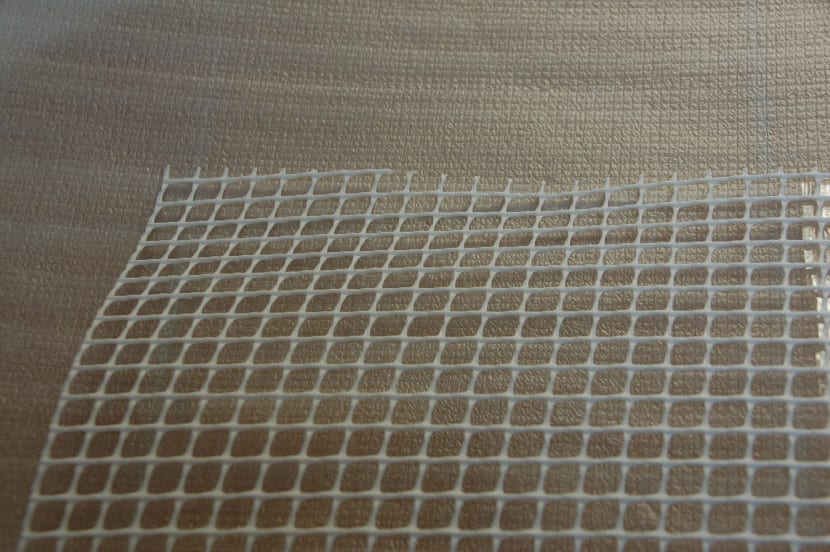
Mesh for carpet base
Our Process
Once you have decided the size of your carpet, you have to get the base. I usually use this type of plastic mesh that can be found in hardware stores or DIY stores. The squares are 1 × 1 cm. A crochet mesh could also be made, which would allow us to wash the rug in the washing machine. This will be the subject of another post.
Gather all the material you have, and think about design. For my carpet, I thought to make small colored squares and fill the spaces between them with white, which was my most abundant material. Seen upside down, you can see what I mean. You can also choose a design in lines, a specific drawing (why not following a cross stitch scheme) or just random.
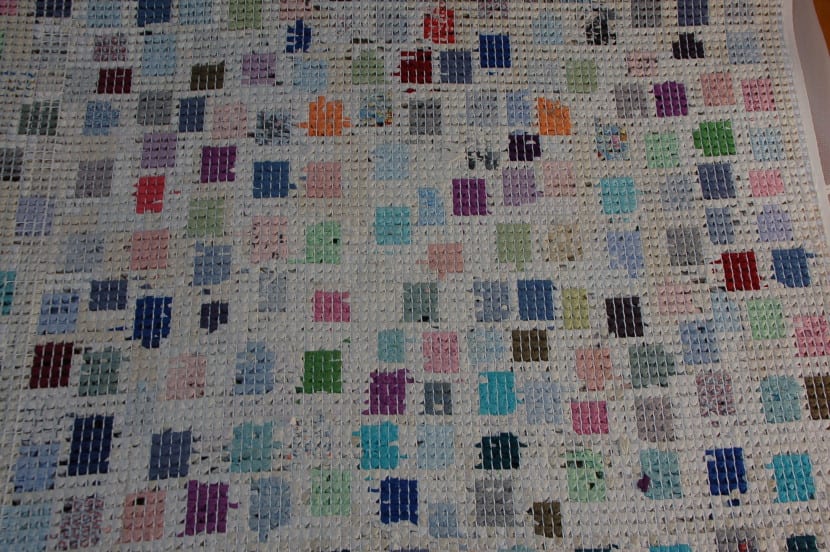
Work scheme. Reverse of the work.
Now we will have to prepare the carpet fringe. To do this, we will cut strips of about 12 cm long by approximately 1 cm wide of the material that we are going to recycle. A very easy way to make sure that all the strips are the same and to make your work easier is by cutting a cardboard to the desired size. You can roll the strip in the cardboard if it is very long, and cut following that pattern. If you do it like this, always try to roll it up with the same tension, otherwise, the strips will not be as long and it will be noticeable in the final work.
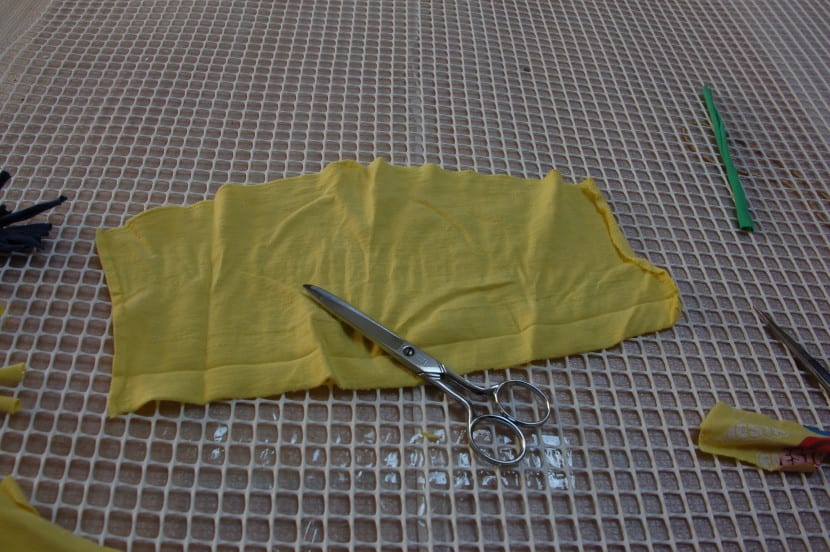
Material for fringes
How to cut
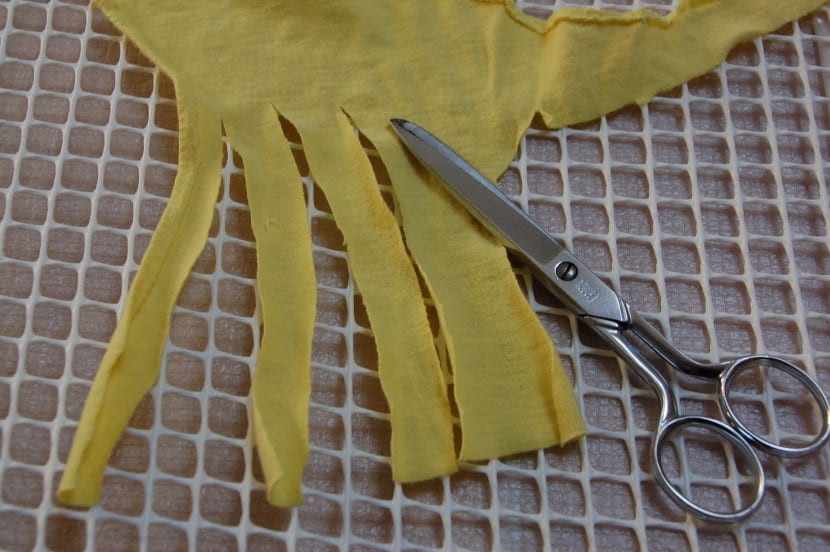
In the case of t-shirts it is important that you look at the cutting direction. To do this, simply pull the fabric and see which way it curls. Look at the strips that I already have prepared. It should curl like the strip on the right. Your work will be better.
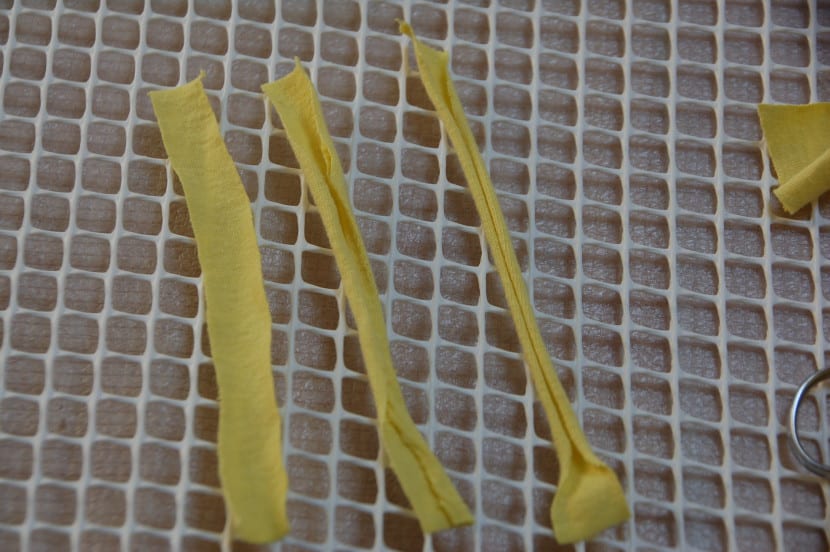
Cut direction
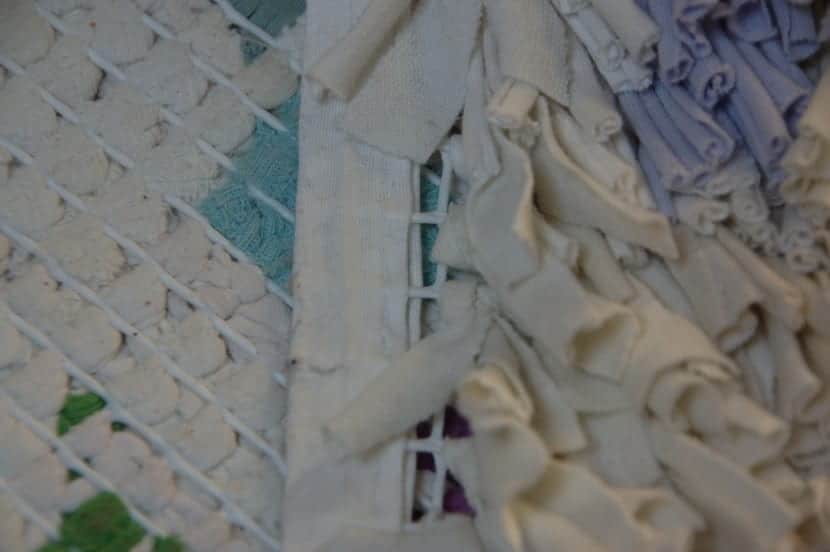
You will need many strips. It is a task that you can do little by little. In order to make the fringes You simply have to fold the strip in half, insert it through one of the holes in the mesh and remove it through the top enough to insert the two ends through it, and then pull. I show you the steps in the image.

Making the knots
You will have to repeat this work until the mesh is fully covered. You can assure yourself by looking at the reverse. No square should not be seen without fringe.

Upside down of the carpet. All complete
Finally for finish the work, sew all around a bias, as seen in the image.
Finish of the work
You can now enjoy your carpet.

Finished work