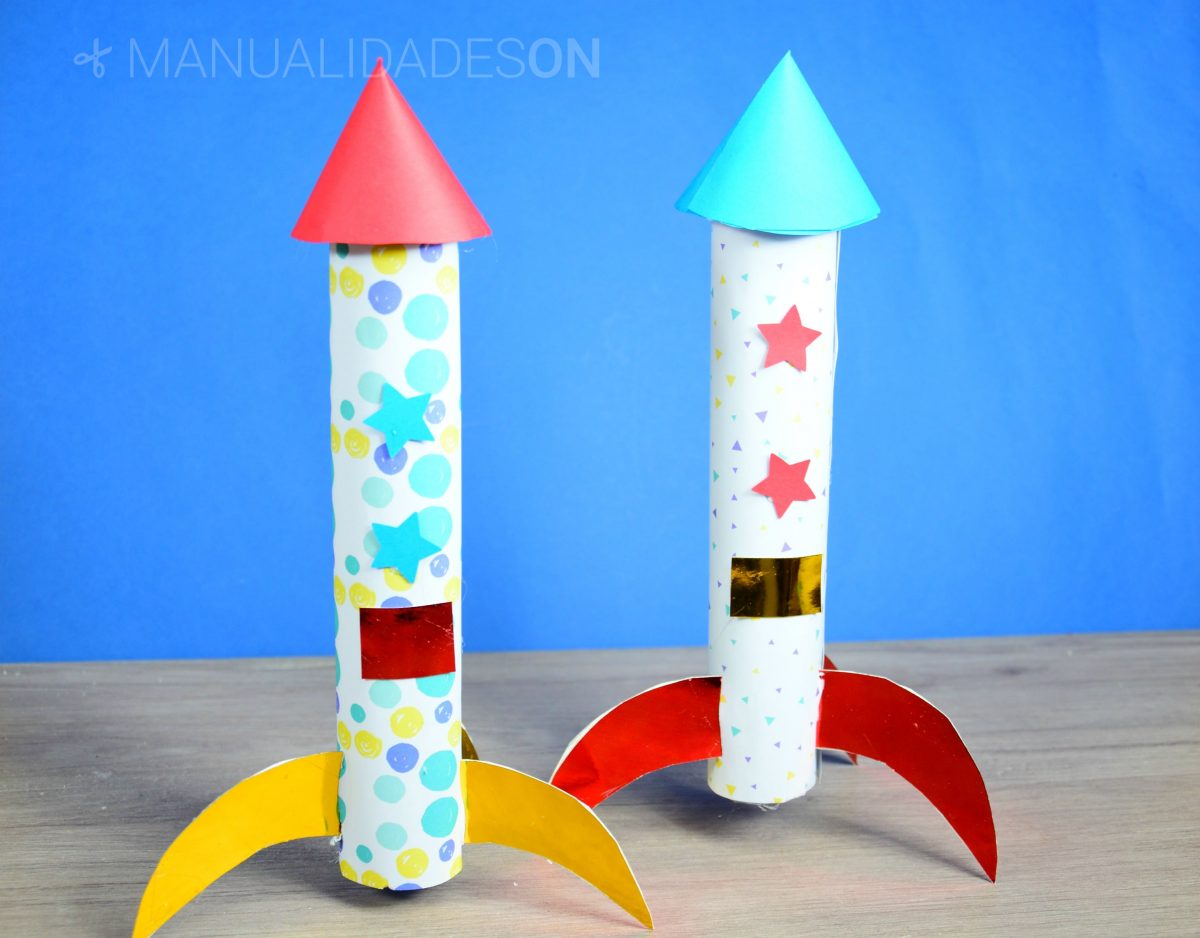

For those free time, you can recreate two very original and fun space rockets. You can make them with cardboard tubes that you can recycle and you will not need much more than recycled paper, a little cardboard and fun colors so that you can make this idea so spatial. It is a craft that you can do with the smallest of the house and be able to decorate a children's area of the house, go ahead!
The materials that I have used are:
- Two long cardboard tubes
- two sheets of decorative paper with different drawings
- a piece of red cardboard and another of blue cardboard
- star shaped die cutter
- cardstock with gold metallic effect
- cardstock with red metallic effect
- a compass
- a cutter
- scissors
- pencil
- hot silicone with gun
You can see this craft step by step in the following video:
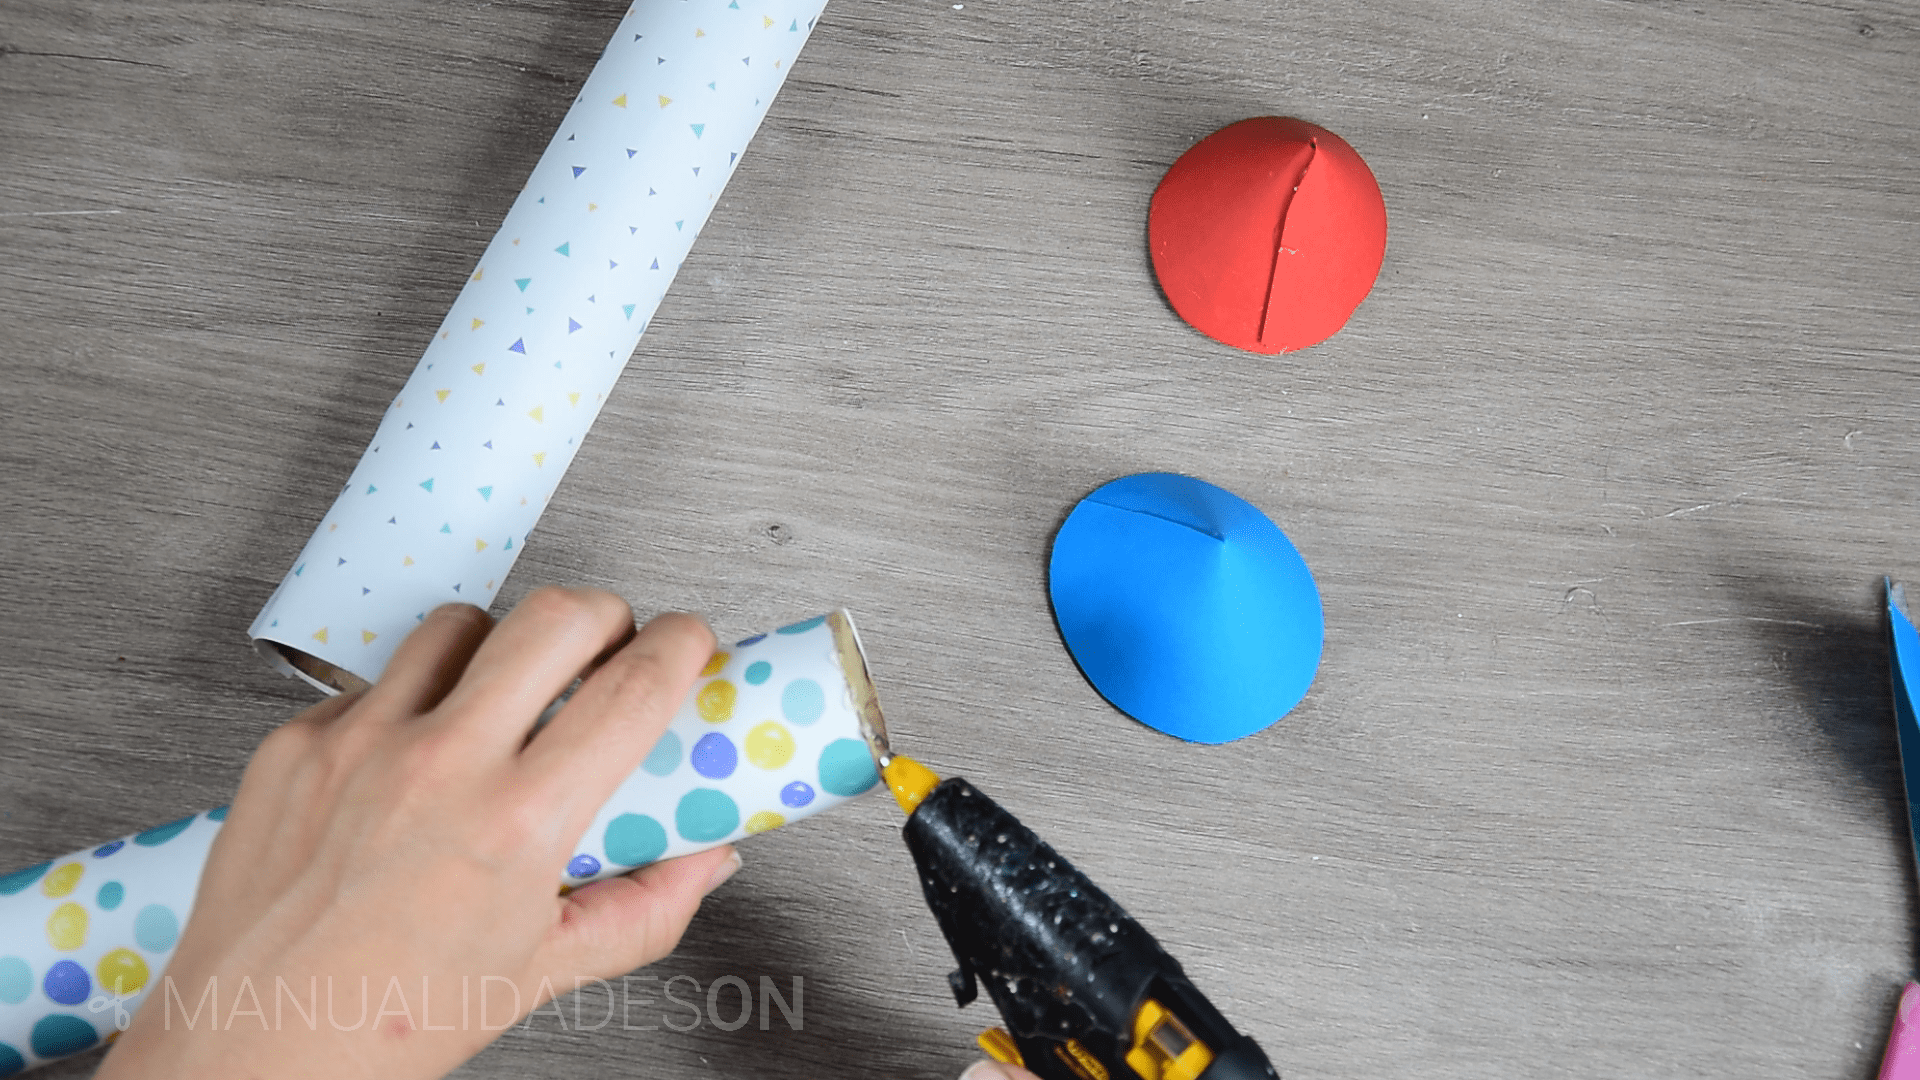
First step:
We glue with hot silicone the decorative paper around the cardboard tubes. On a piece of blue cardboard we make a circle with the help of a compass of about 12 to 15 cm in diameter. We do the same on another piece of red cardboard and cut them out.

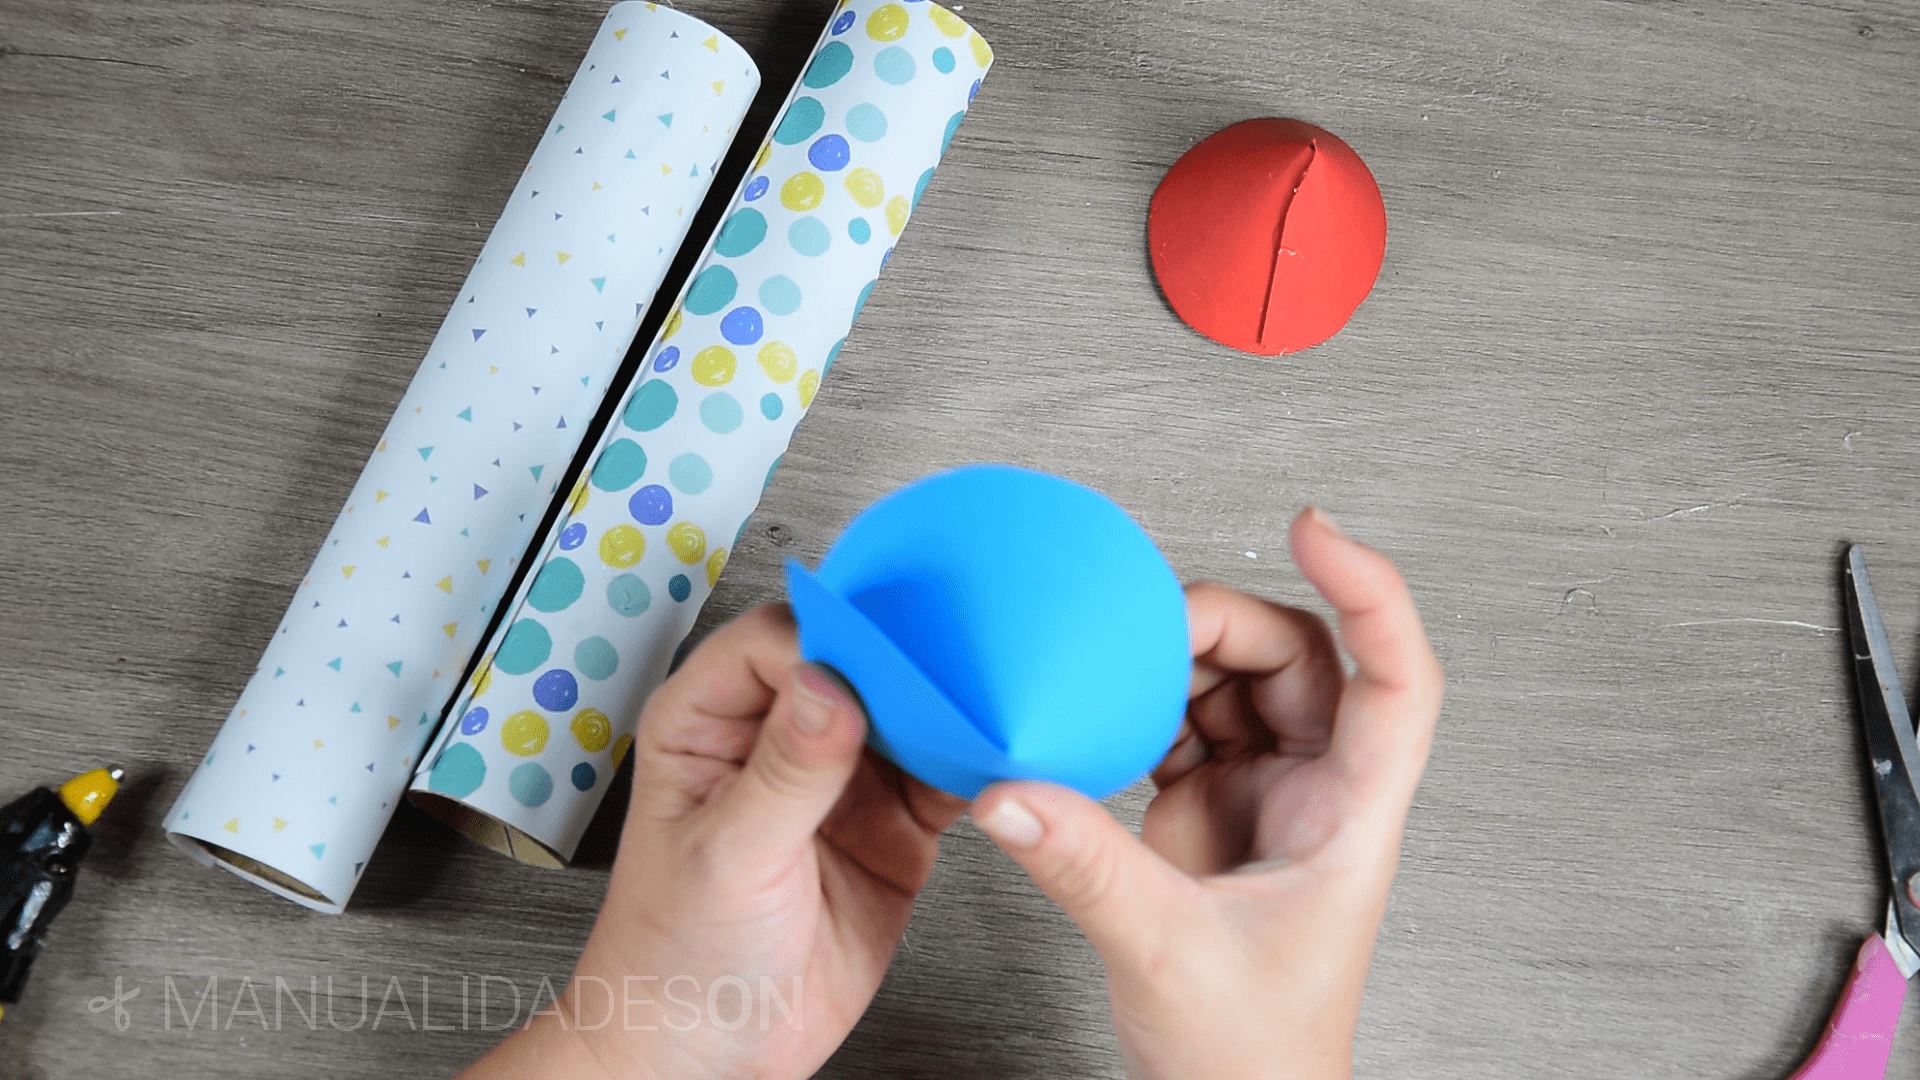
Second step:
We look for the central part of the circle that will have been marked with the compass and we make a side cut to that central point. On that opening we will try make the conical shape. You will notice that there is a lot of cardboard left over on one side, so try to make the conical shape, glue as far as you think it is necessary and then cut the excess part.


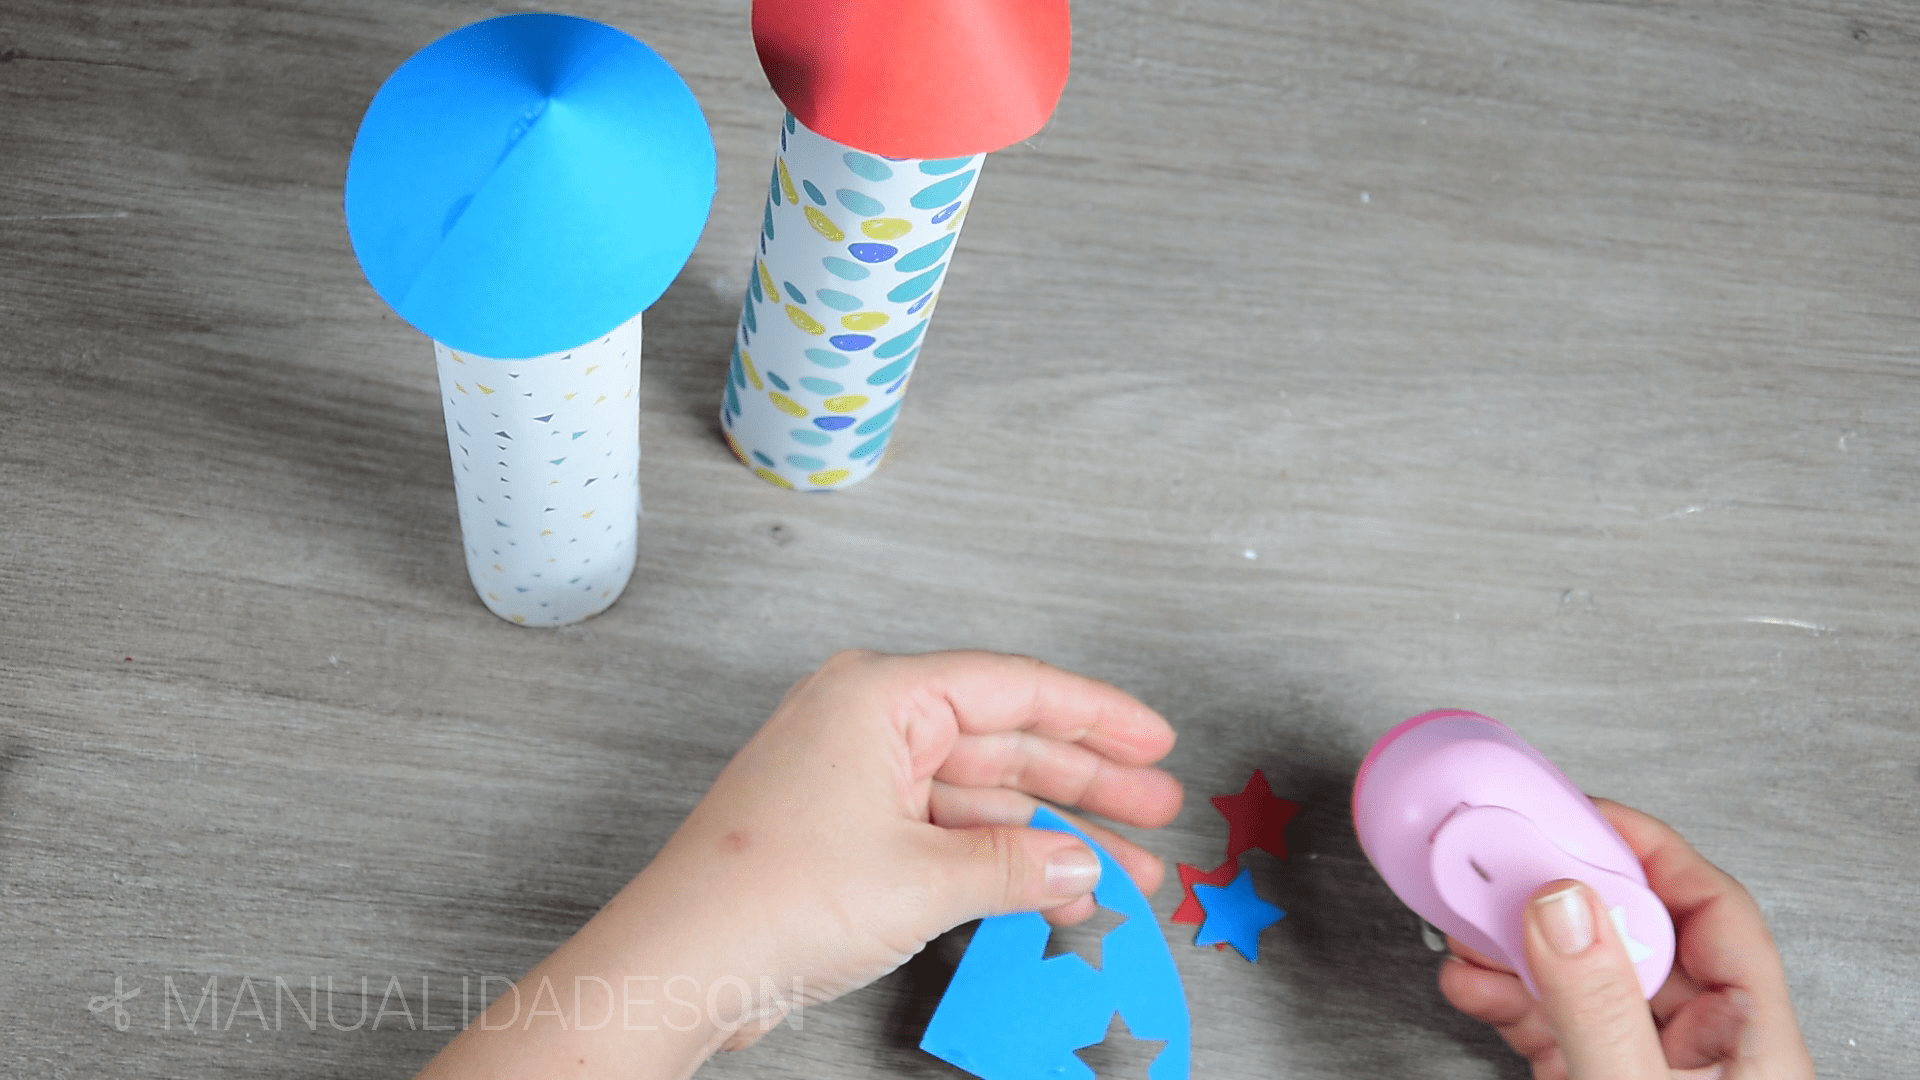
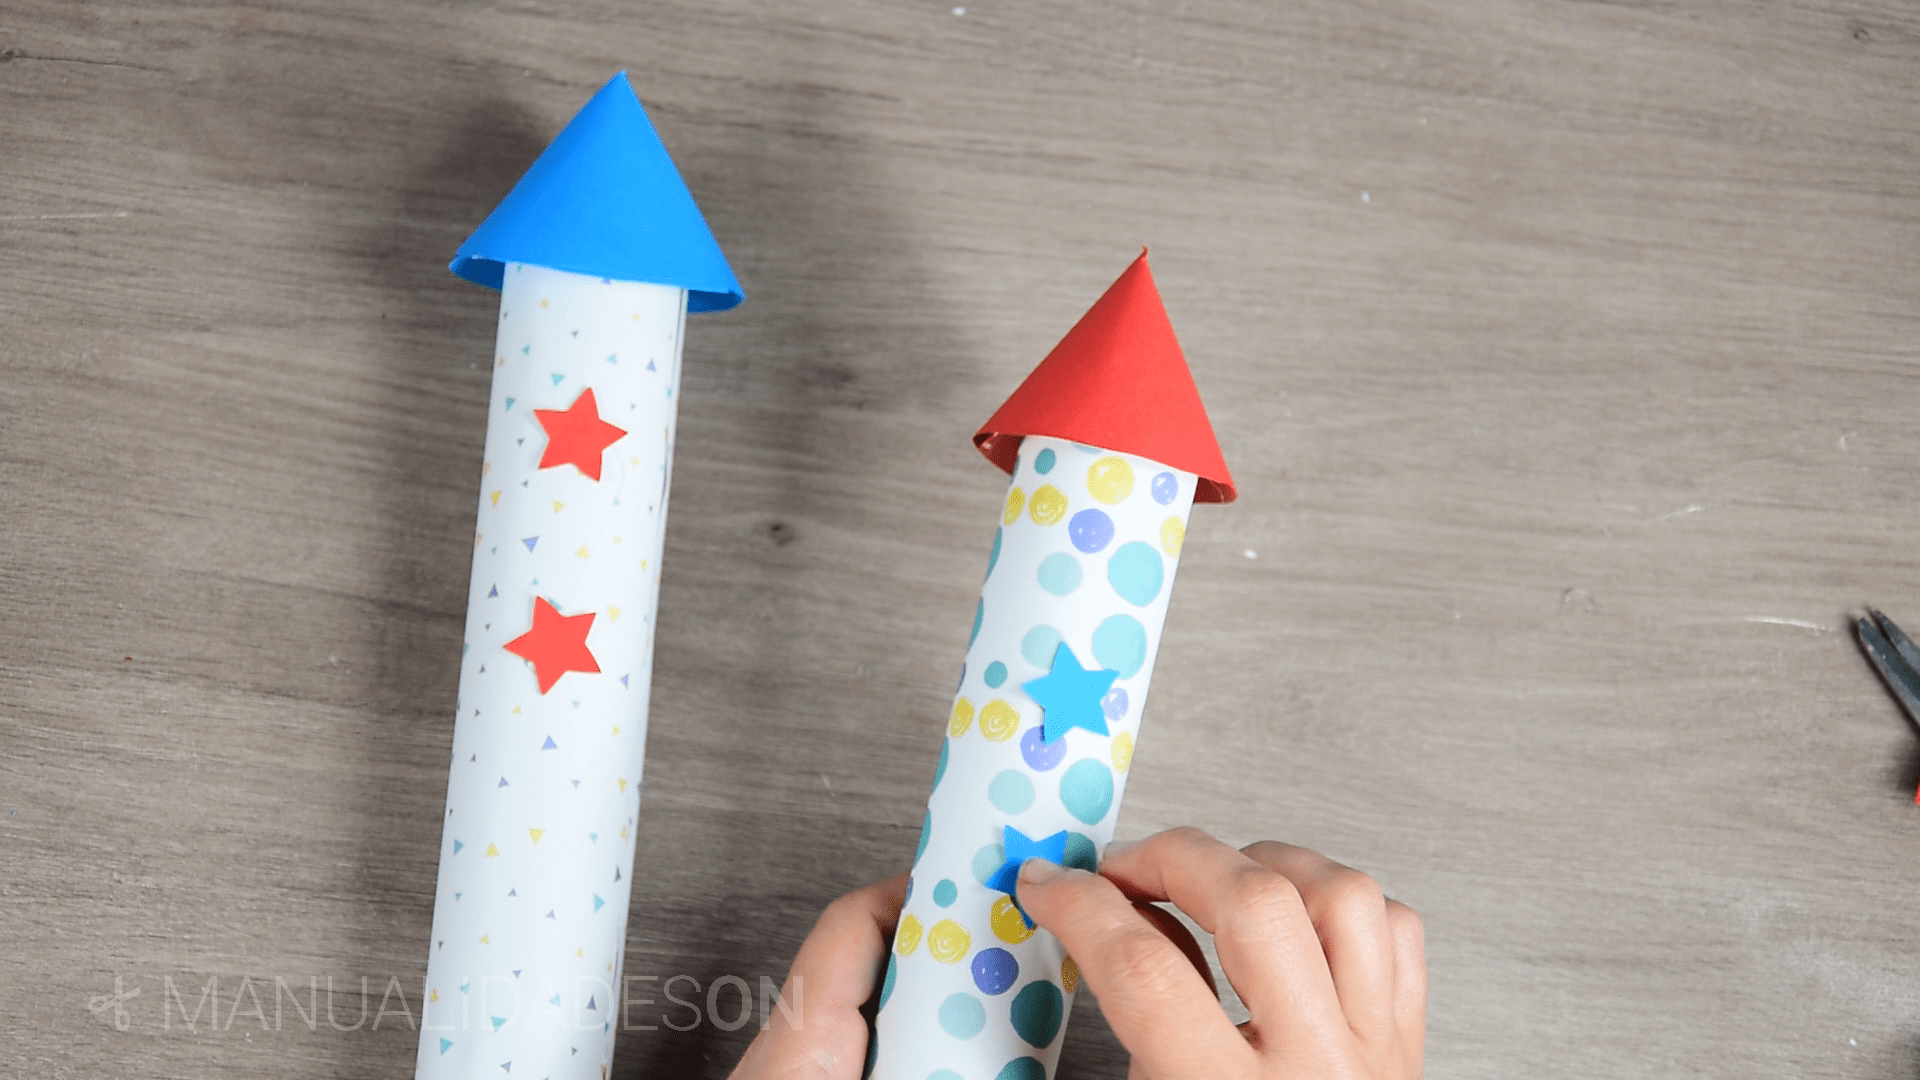
Third step:
We glue the conical shapes on top of the decorated cartons. With a die cutter in shape star we make two of them blue, and another two red. We glue the stars on one side of the rocket.
Fourth step:
On a cardboard with a metallic effect with a golden color, we draw one of the shapes of rocket leg. With this leg, we will use it as a template to draw another two, we will also draw another three but that are traced in reverse. The idea is to have 6 pieces and to match three legs, by doing so we make sure that two cardboard are attached and that they give the rocket more stability and the legs are more rigid.


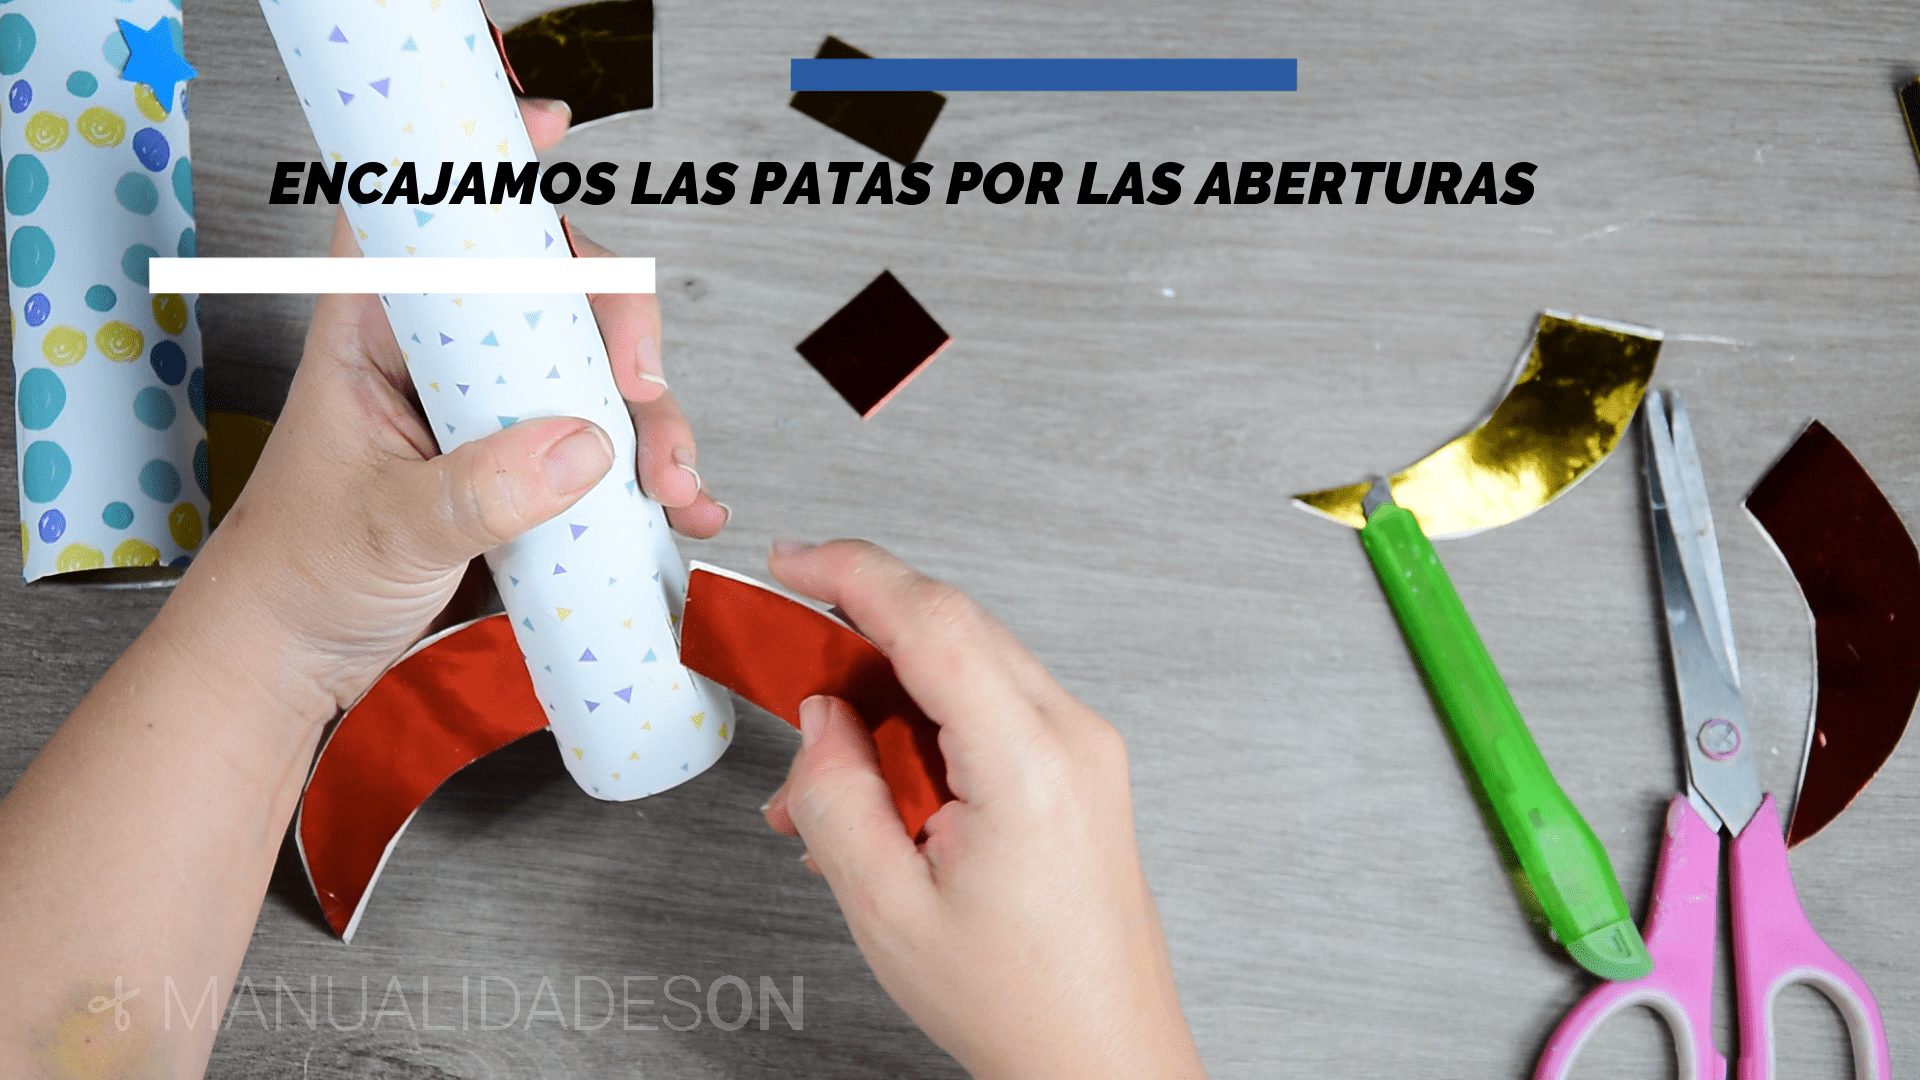
Fifth step:
We place the legs next to the rocket to draw the openings that we will cut out. We make the incisions with the cutter and put the legs in between. It will not be necessary to paste them if we see that they have been pressed. Finally we cut out two rectangles to simulate the windows, we will glue them on the rocket under the stars.