
Good morning to everybody. We continue with the Halloween themed that we had commented to you. Today we will see how to make spiders from a walnut.
It is a very simple craft that we can do it with the little ones in the house And thus lose a little of the fear that we have of this little animal, I speak for myself of course!
Material to make the spiders:

The materials that we will need are the following:
- A nut.
- Clean pipes.
- Black acrylic paint.
- Brush.
- Glue gun.
- Mobile eyes.
Processing:

The first thing we have to do is carefully open the nut, without breaking the shell to be able to make the spider well. And eat the nut of course, it is delicious!
- We paint the walnut. For the first step we will need good quality paint that covers well, so with a coat of paint we will have enough, otherwise we will wait for it to dry and we will give it a second coat.
- To make the legs we split the pipe cleaners first in half and those two parts also in half, thus having four pieces. And we will fold them in half, to make the eight legs.
- With the gun we put two points of silicone on the sides of the nut and we glue the pipe cleaner on the folded side.
- For leg position, the pipe cleaner must be as seen in the photograph.
- We mold the legs with the desired shape. In this case the pipe cleaners had different sizes, so the different spiders have come out.
- Last we glue our eyes.
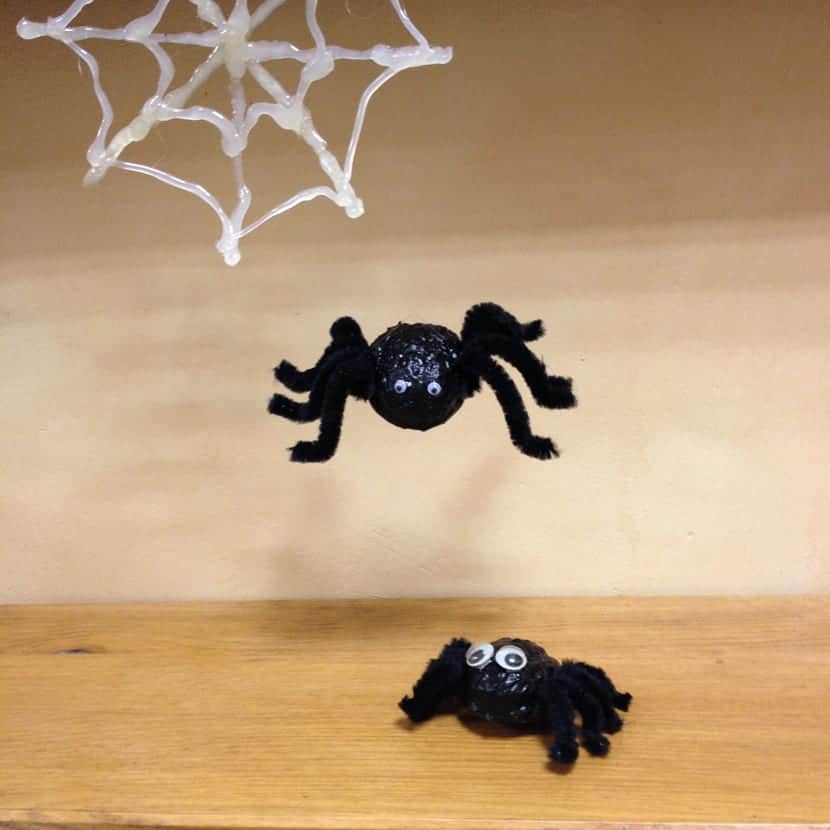
If we do it with the children instead of the gun we can glue it with cold silicone. You can play at making different spider shapes, such as putting just one eye or placing six legs instead of eight, letting our imagination run wild. We can also hang it with fishing line and let it fall from a cobweb, and thus we can decorate our Halloween corner of the house.
I hope you liked it, if so, you already know that you can share, like and comment, as we are delighted to answer your questions. See you at the next Halloween DIY.